
Yesterday I showed you the projects I made for the Stamp-A-Latte Blog Hop using the Snowflake Thinlets. If you missed it just head back to the post before. I didn’t have time in that post to show you how I made the Tag Box so I thought I would show you that today.
Here is the cute box to show you again.
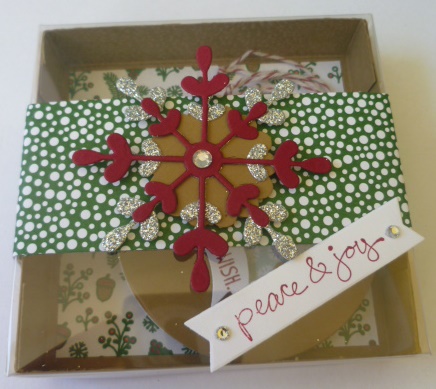
Here is inside the box showing the tags I made too. The green strip of DSP from the Nordic Noel DSP is not a Belly Band. I just added it to the top of the acetate and adhered the ends inside the lid.

You can decorate this however you want to. The finished size is 9cm x 9cm x 2cm (3 1/2″ x 3 1/2″ x 3/4″). But how did I make it?? Here is the Tutorial for you.
TAG BOX
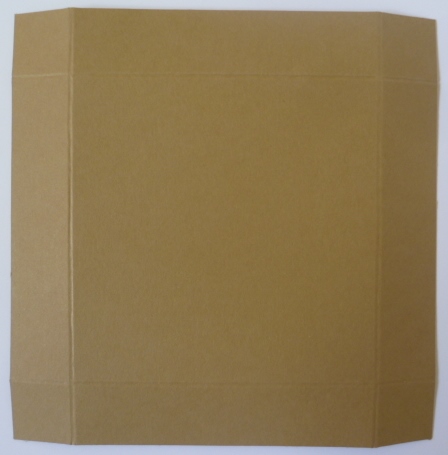
For the Base
NB: If you intend to stamp your box then do so before you assemble the box!!
Cut your card to 13cm x 13cm ( 5 1/8″ x 5 1/8″). Score on each side at 2cm (3/4″).
Fold on all score lines and cut up the 2 tabs on one side and again on the opposite side.
Place adhesive on the small tabs and assemble the box.
For the Lid
Cut your Acetate to 13.4cm x 13.4cm (5 1/4″ x 5 1/4″) and score at 2.2cm (7/8″).
Fold on all the score lines. You may want to use the Bone Folder to burnish (press down) the score lines more.
Cut up on the 2 tabs on one side and then again on the opposite side. Place adhesive on the tabs and adhere together. I used Fast Fuse or you could use Sticky Strip.
This lid is a little snug. You just need to jiggle it in but it works fine.
Decorate your box as you like. I lined the base of this box. The paper size I used was 8.5cm x 8.5cm (3 3/8″ x 3 3/8″).
These fit the tags in just nicely. The tags are punched with the 1 3/4″ circle punch.
Don’t just think of them for tags though. Why not add some chocolates???

Enjoy making them. 🙂
Jenny

Jenny….this is a GREAT idea….LOVE it and soooooooo perfect for Teacher’s gifts at end of year. GENIUS at work…..again….you rock. ooxx
LikeLike
Oooh! Love this idea! Need to remember to CASE this one. Love the acetate lid. Hugs xxx
LikeLike