I have been playing with the Violet Dreams Suite this last week. I will share more soon but this is the card I started out with.
I wasn’t sure where to go first. This card was CASED from one from Stampin’ Up!. I just added a little more stamping and more ribbon.
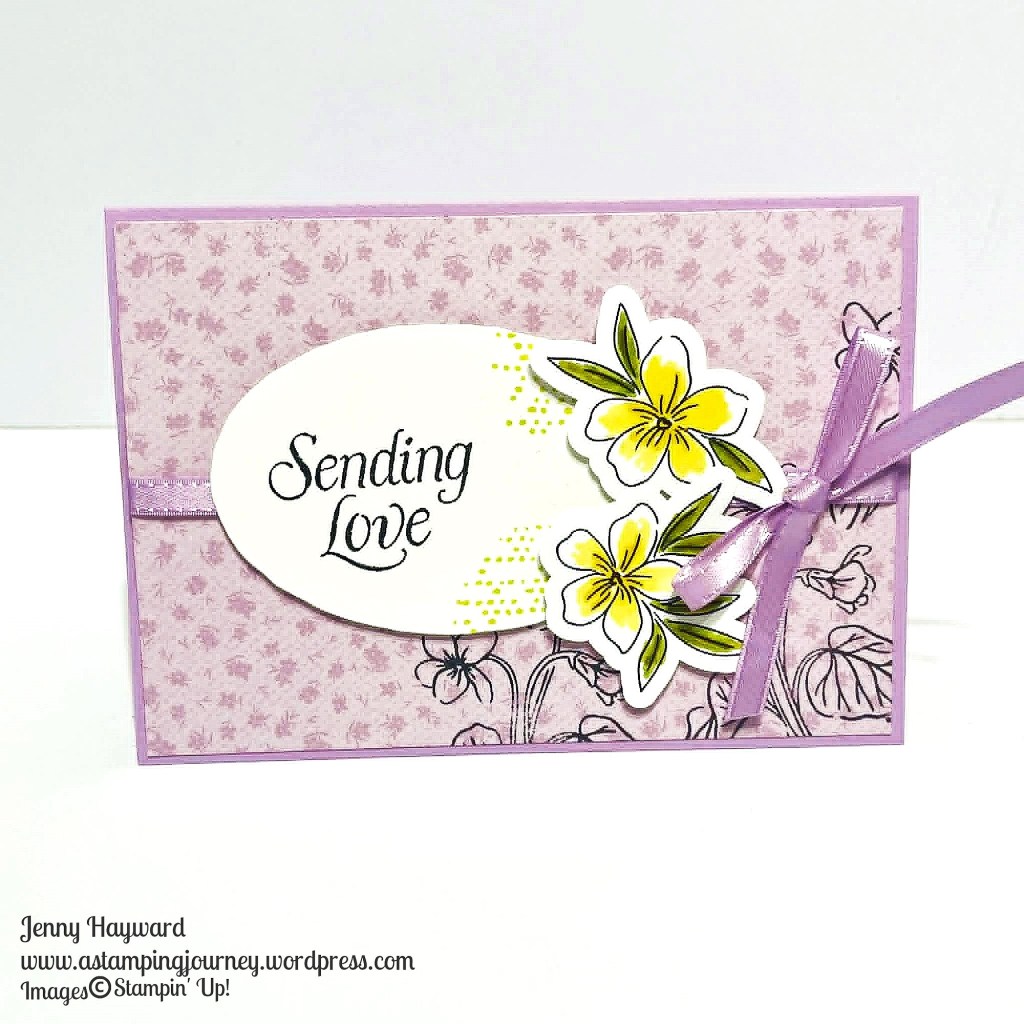
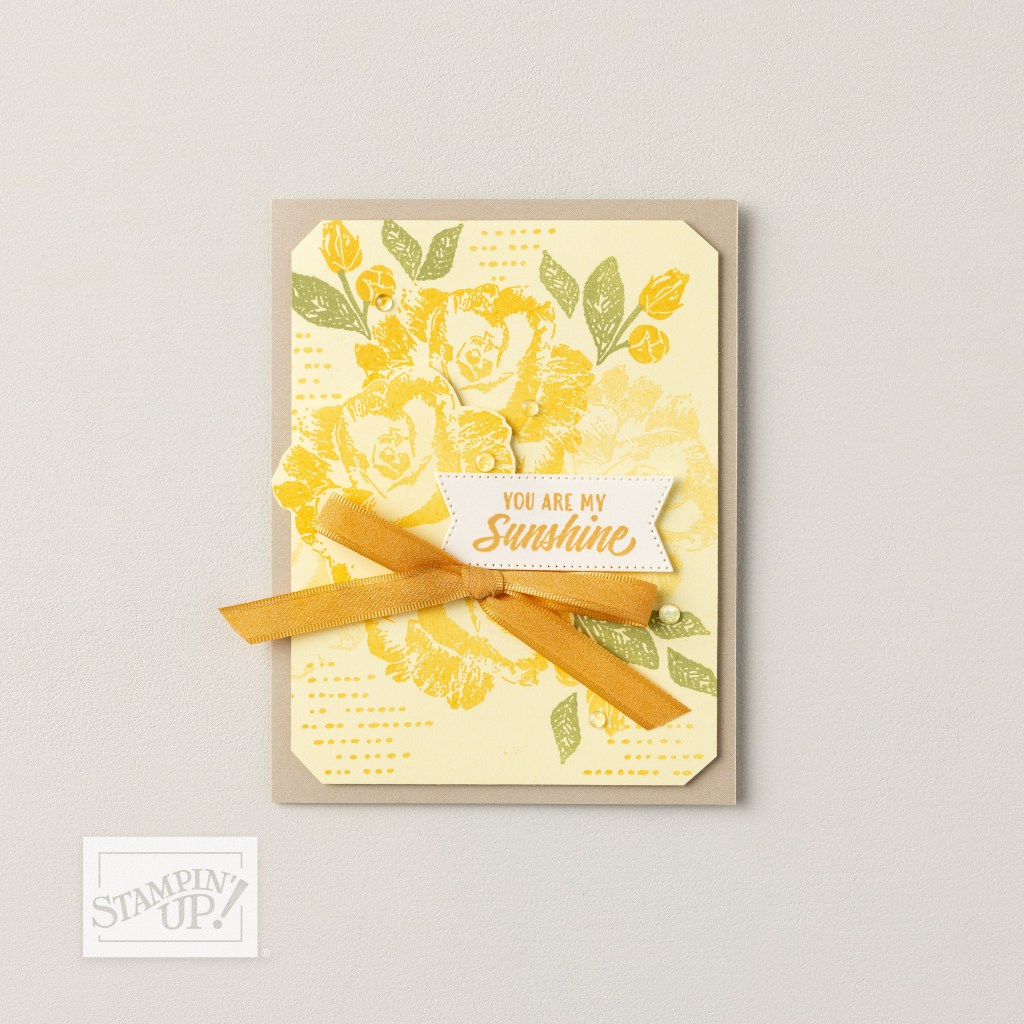
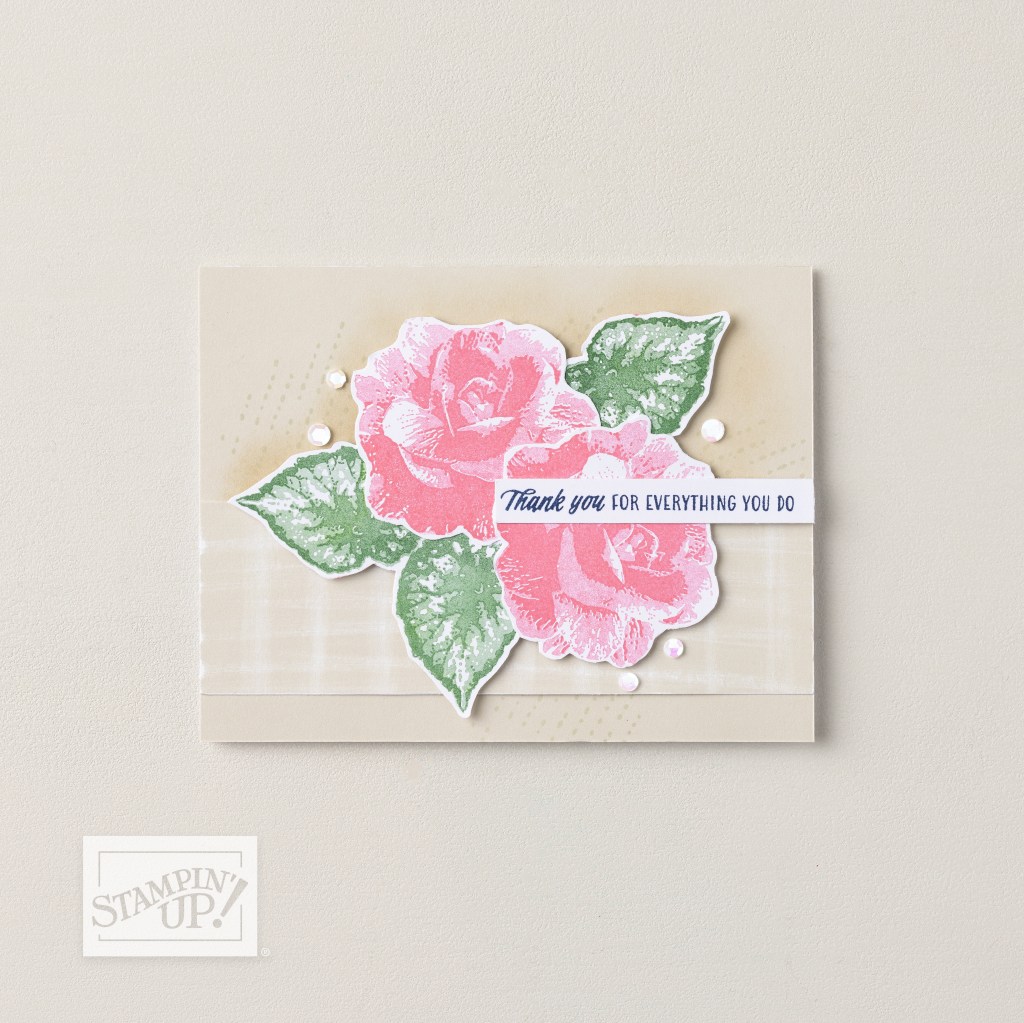
I liked the idea of stamping on the paper. It’s just a subtle amount in the corner rather than all over. The flowers are pre-diecut from the paper and I coloured them with Stampin’ Blends as they had in the original.
The Fresh Freesia ribbon is so satin-ny and adds a little elegance to the card.
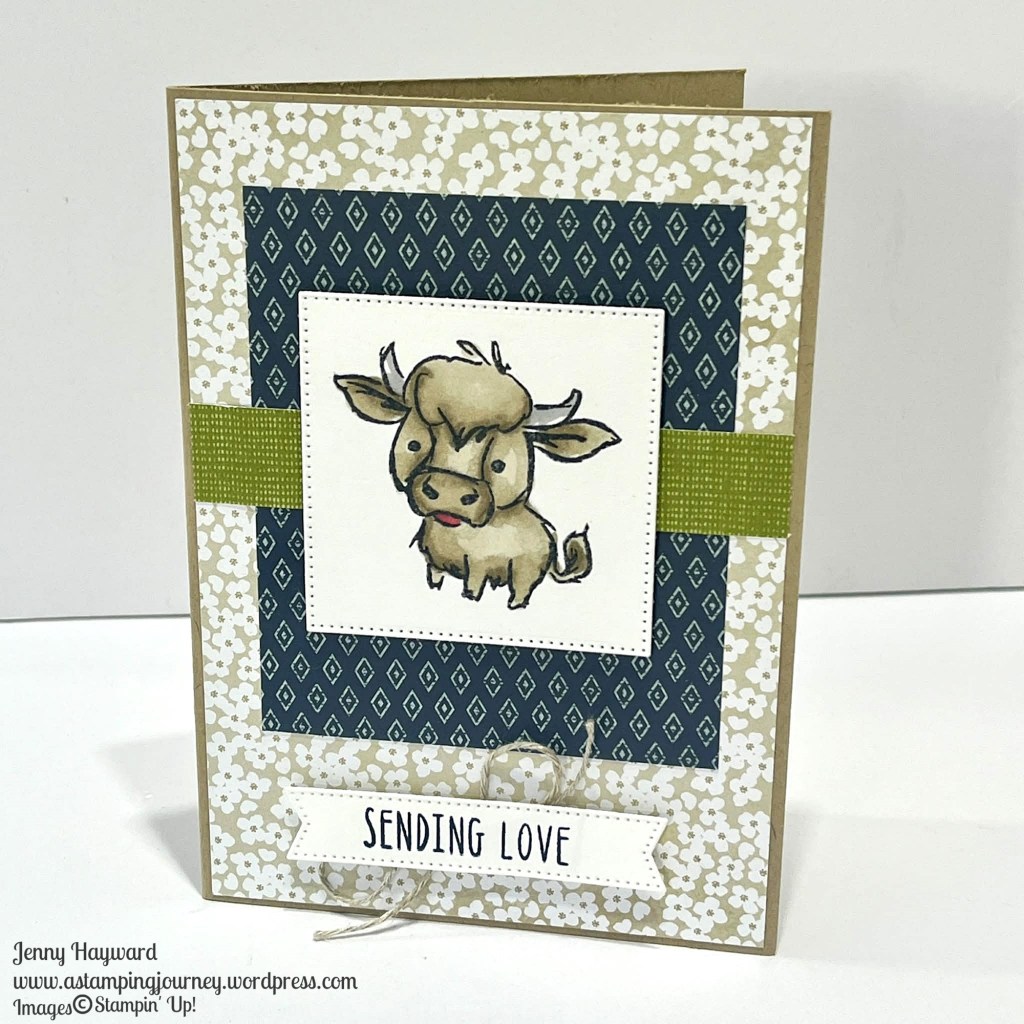
I like this Sending Love sentiment. I like sending out cards like that to share a little love.
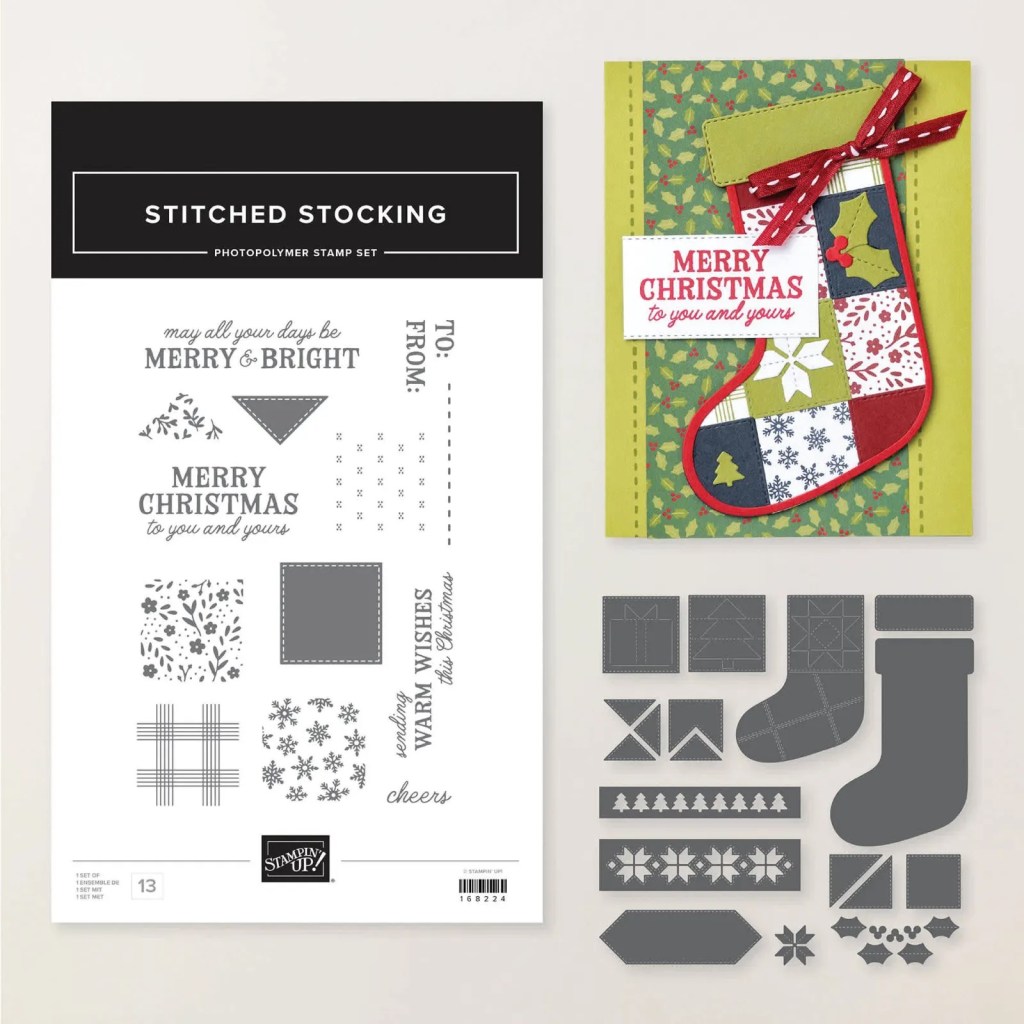
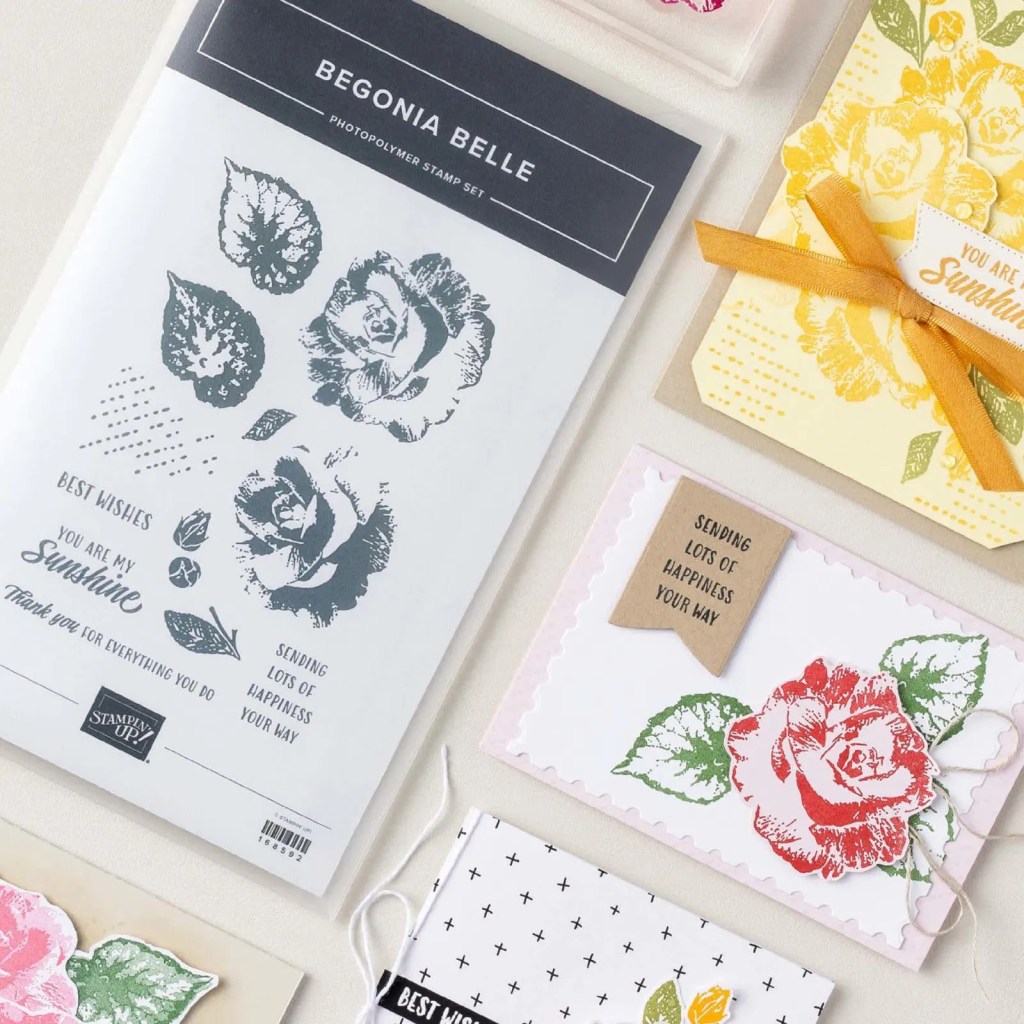
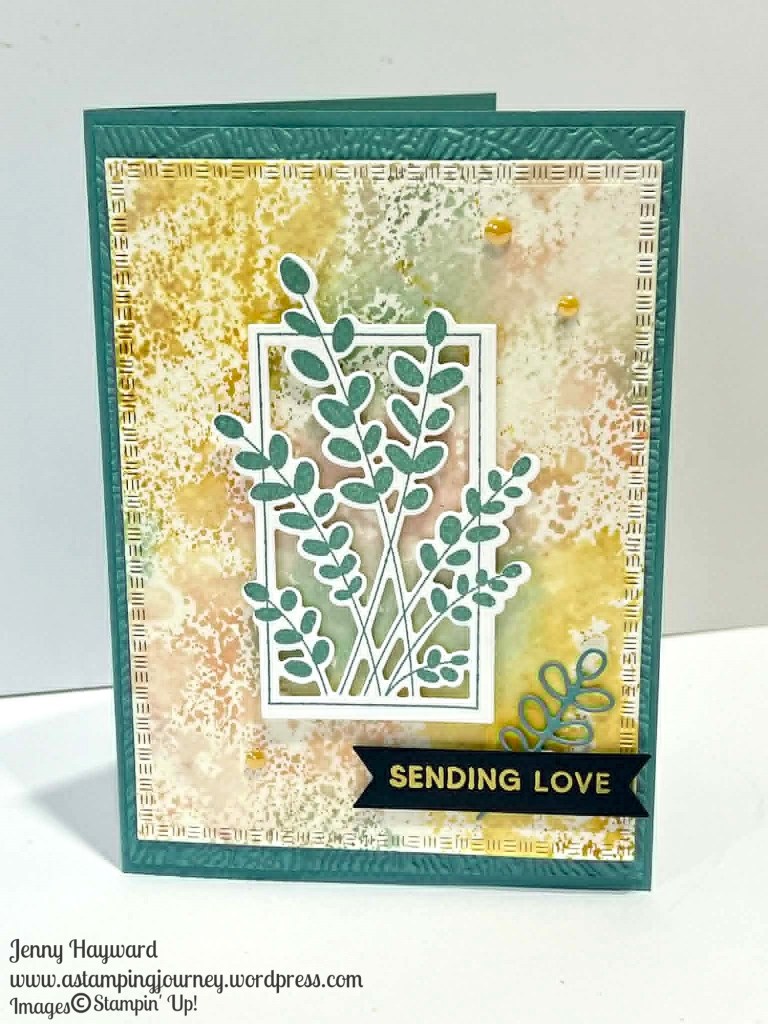
This is Violet Dreams Suite including the paper, ribbon and the Framed Violets Bundle.
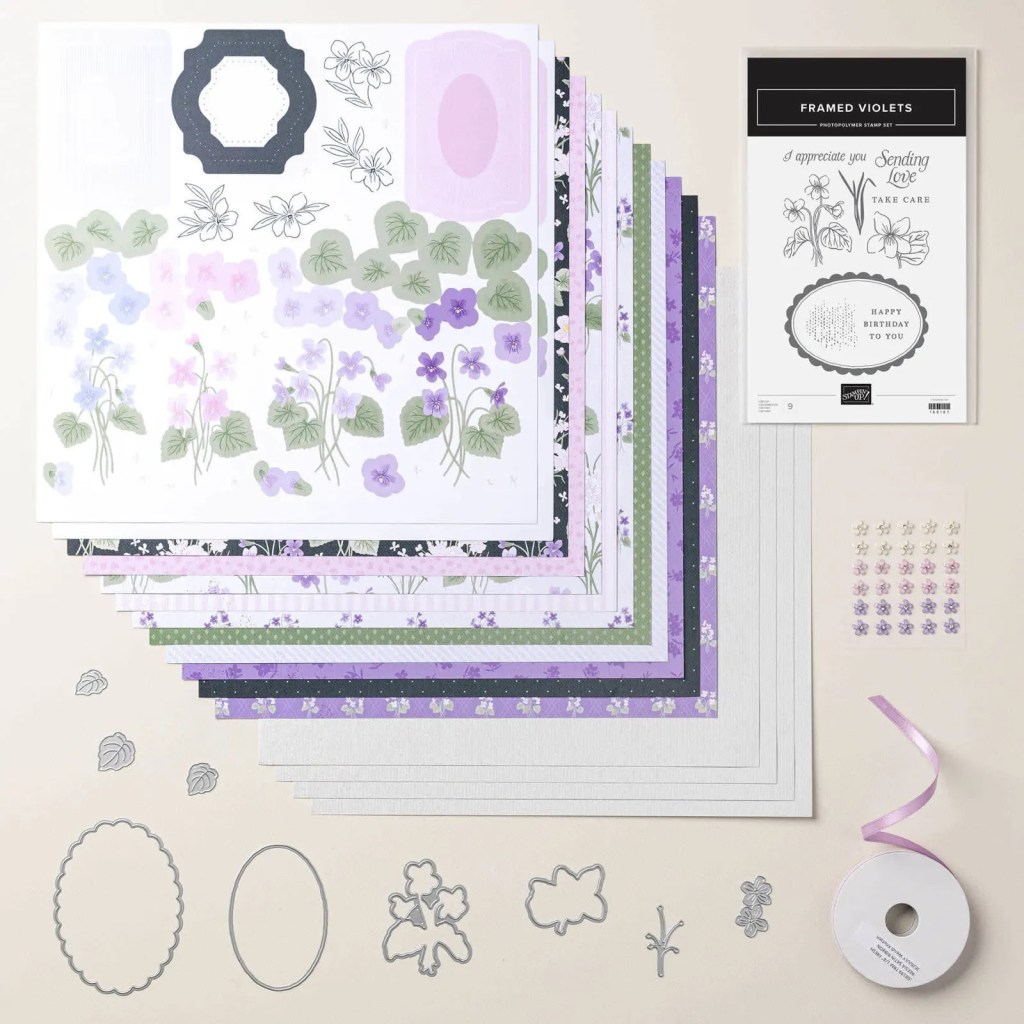
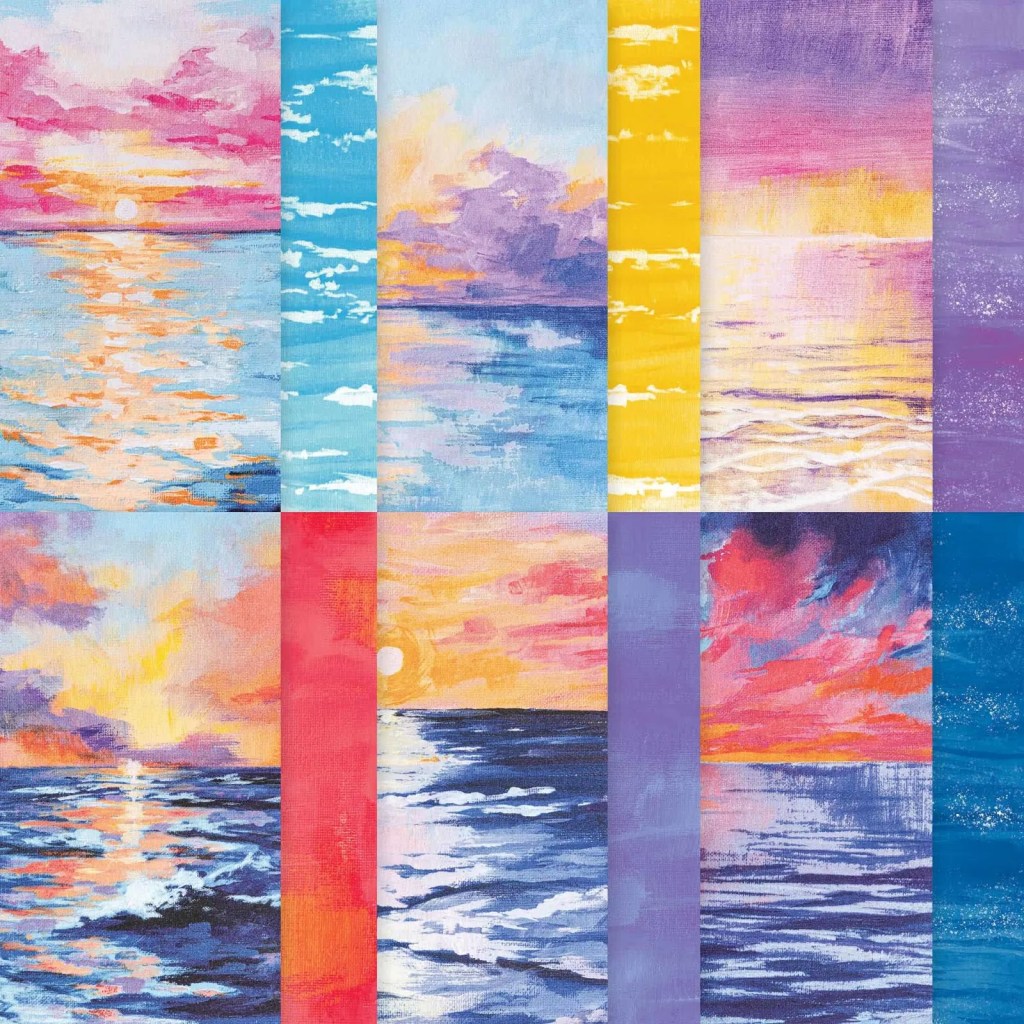
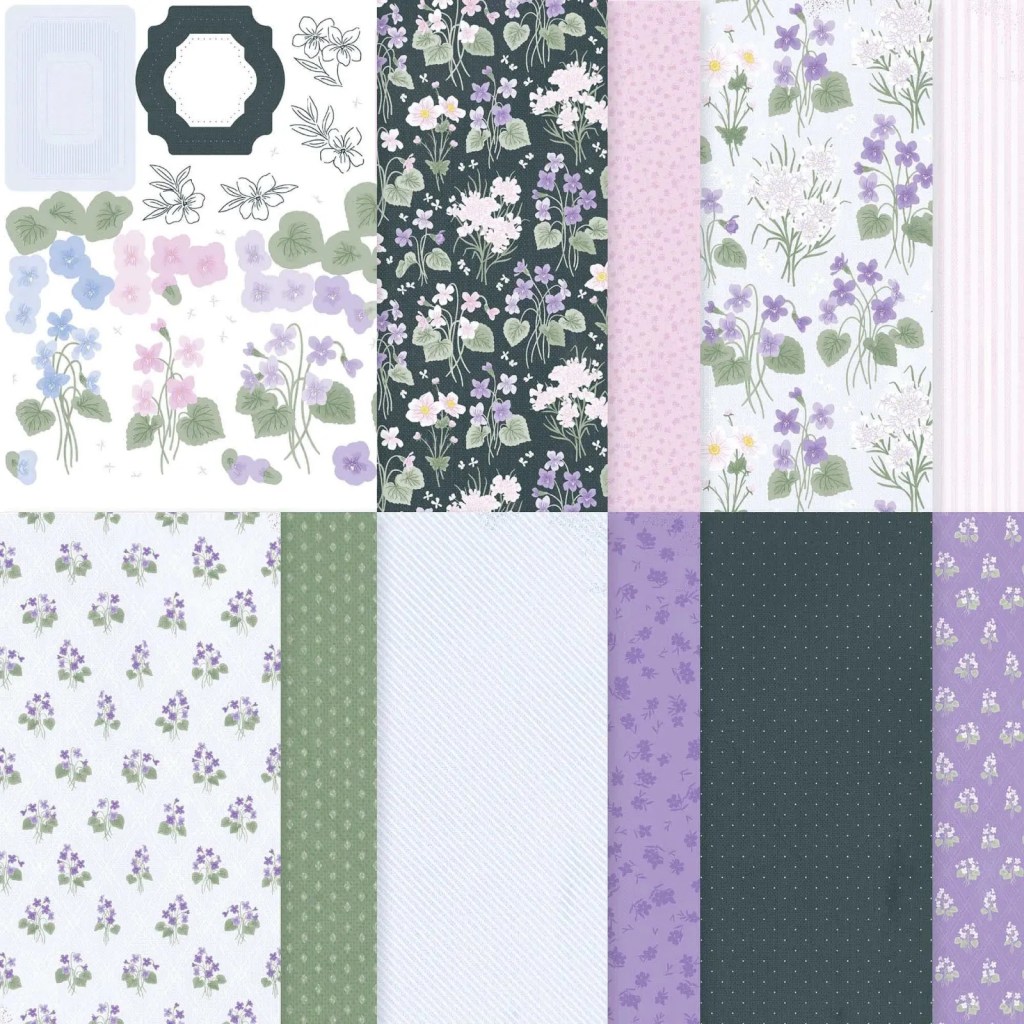
Have a look at the Violet Dreams Paper. I think that is my favourite part of the suite. I love the soft images and pretty purple colours.
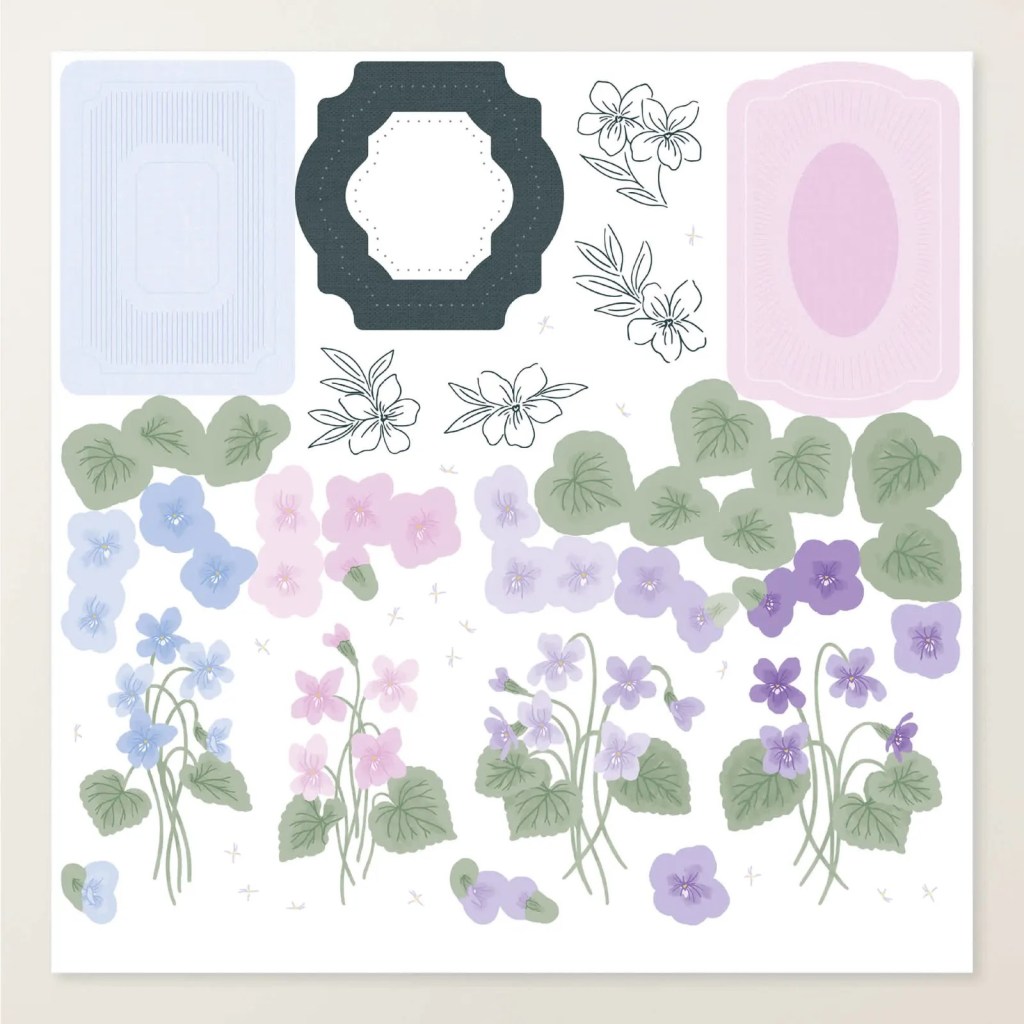
This is a closer look at the diecut sheets from the paper.
The Violet Dreams Suite is available now Online -> HERE. Or you can contact me directly. I would love to help you get this gorgeous suite. (If you are in Australia).
Happy Stamping,
Jenny