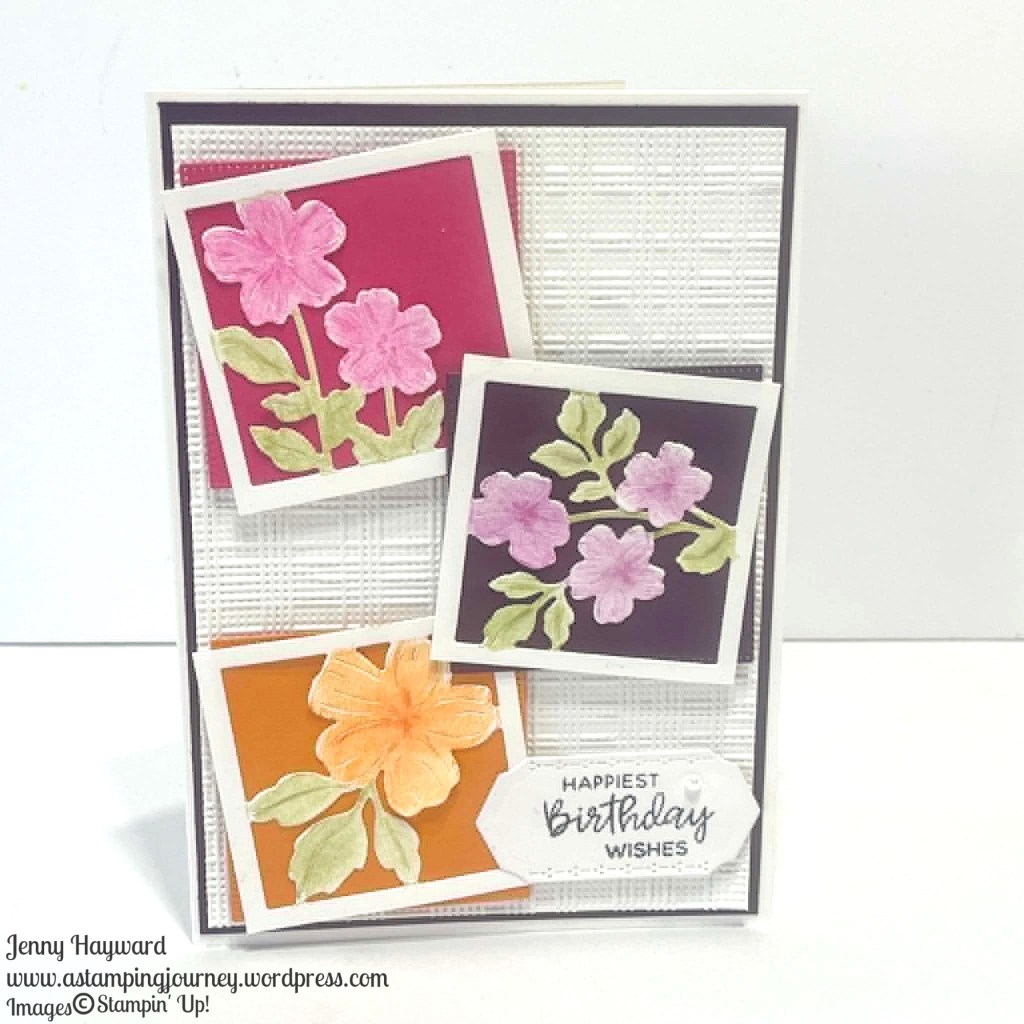
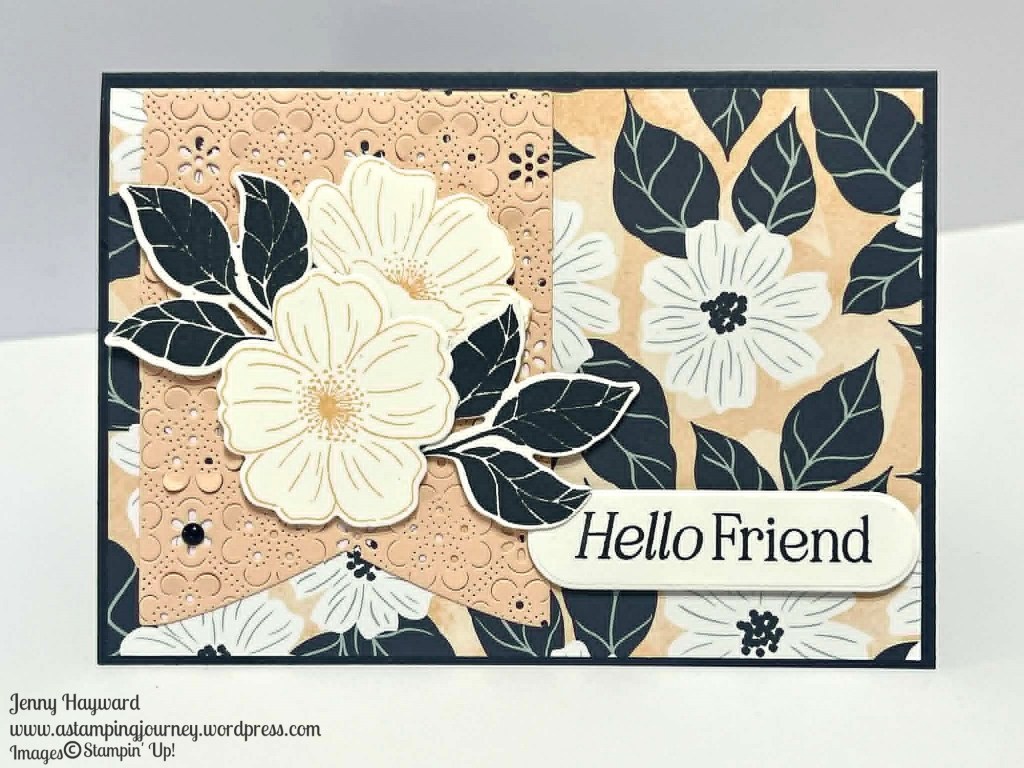
Back with the Poetic Petals. This was one of the first cards I made with these dies.
I have to say this was a redo of the first one though.
I wasn’t happy with how it had turned out so I ripped off the pieces and put the card together again. This time put the flowers and squares on a white card mat rather than the patterned paper mat I had it on. The flowers and squares showed up much better. I coloured the flowers with the Pencils. The white card was embossed with the Softly Woven Embossing Folder.
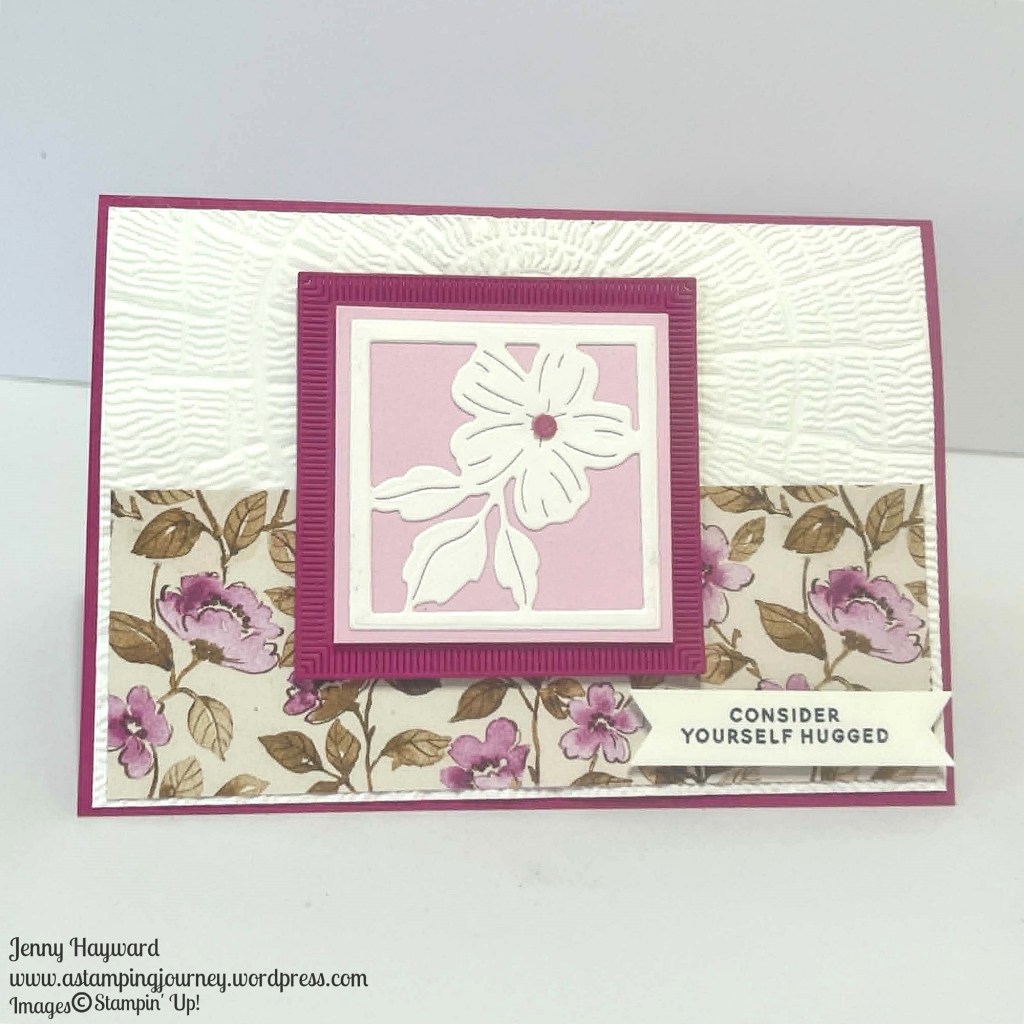
I have been creating quite a bit with the Poetic Petals Dies. This is one of the cards I have made recently. I wanted to check out how they diecut and come together. I will mention more of that below.
To finish the card I added a little texture with the Tree Rings Embossing Folder and a Berry Burst Card mat for the flowers using the Tile Garden Dies.
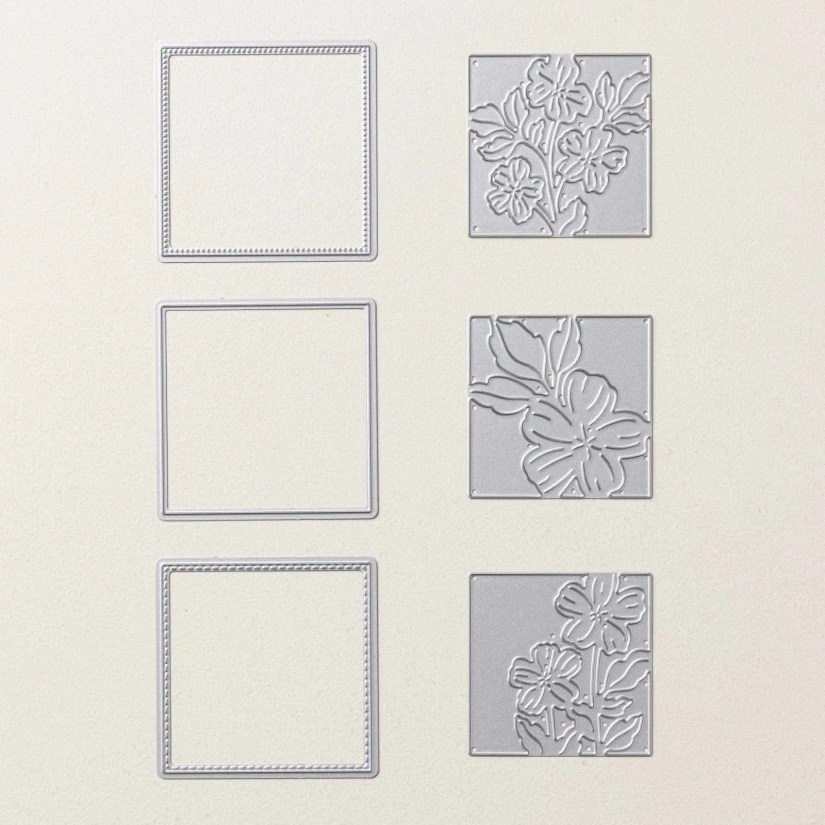
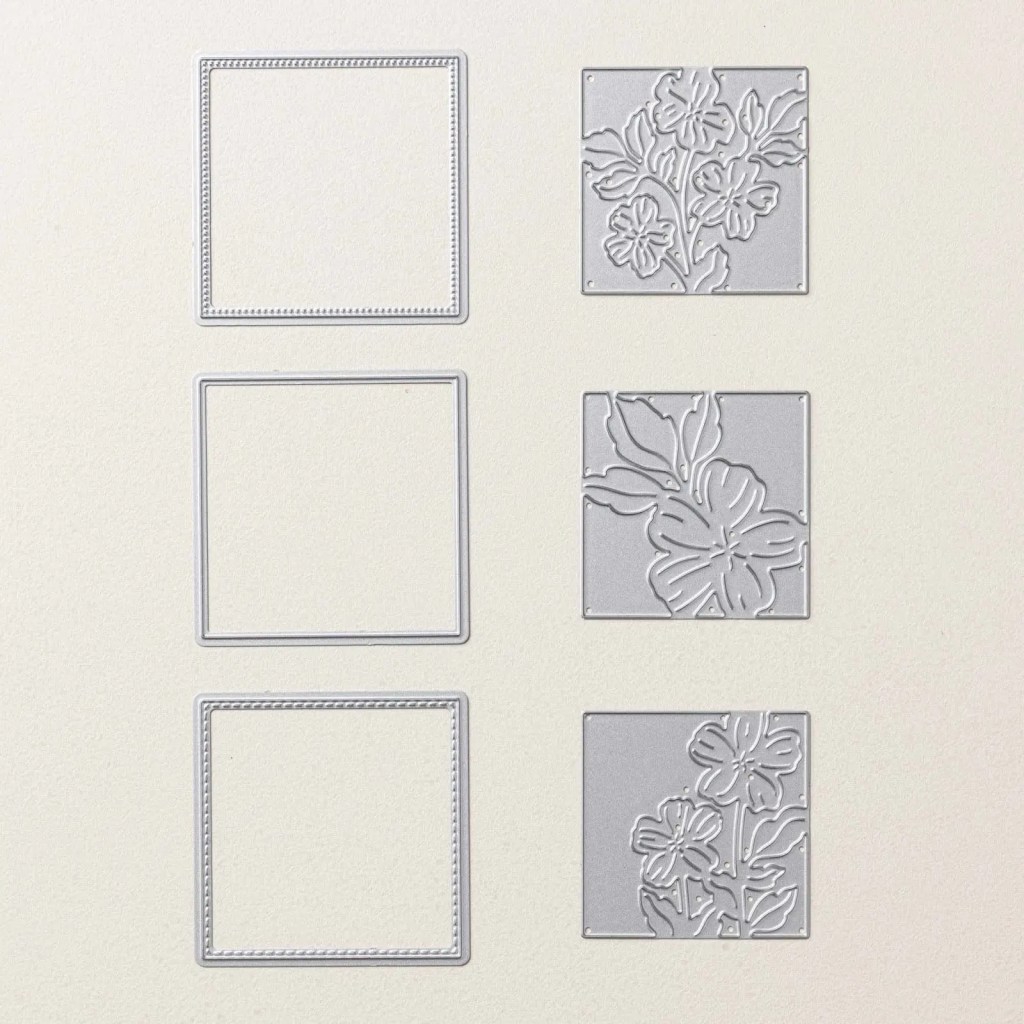
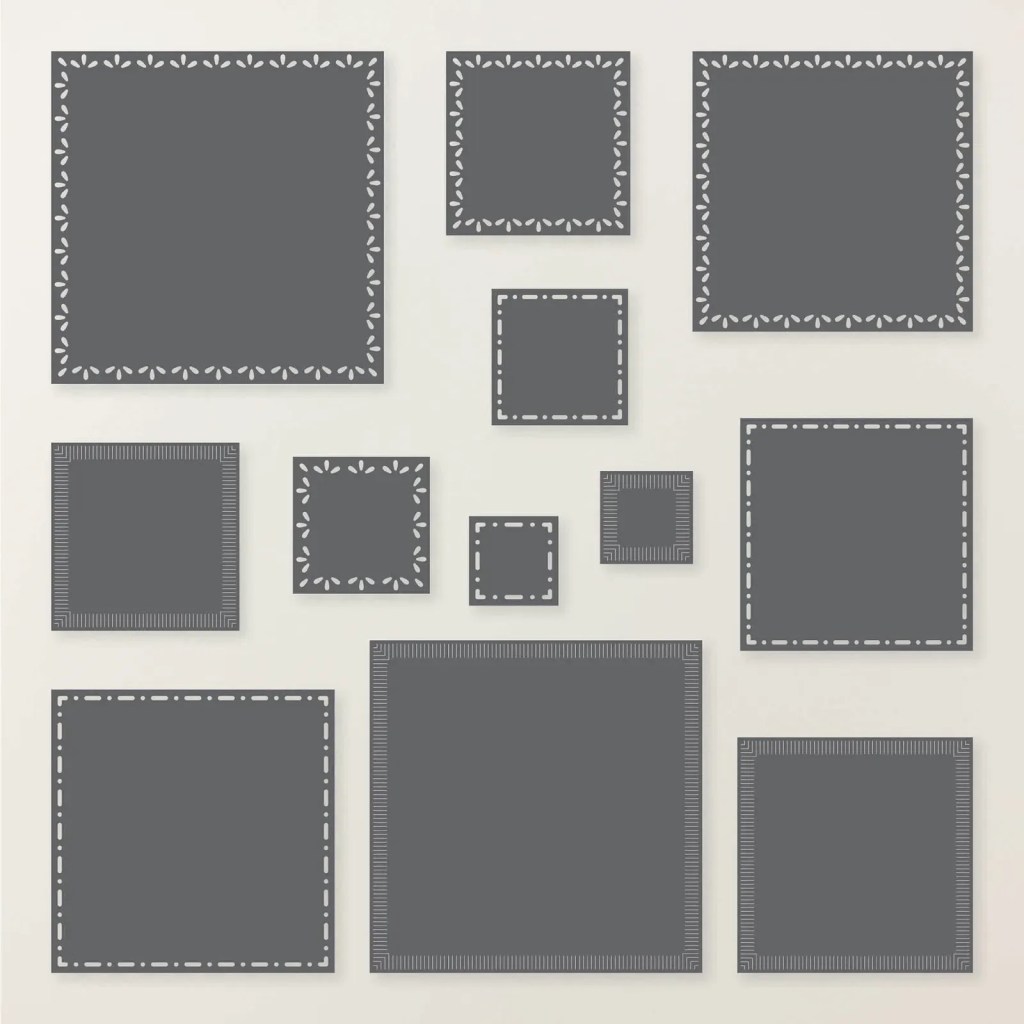
With the Poetic Petals Dies you have 3 different flower designs that diecut the centre out. You can layer them with the square dies. Each of the square dies have a different edging too. One is a straight line, one a “dotted” edge and the other is more of a small dash type edge.
You can just use those squares but for this card I layered them with one of the Tile Garden Dies. They work well with them I think. On these dies there are different edges on these squares. The largest of these dies measure 9.8cm x 9.8cm or 3-7/8″ x 3-7/8″. If you like the Spotlight on Nature circle dies you will love these. They are the same type of edges. I love that we have layering squares of these now too.
I have some more projects to come with these dies so watch out.
Happy Crafting,
Jenny
You can see more about these dies in my Online Store.
The Poetic Petals Dies are Online Exclusives. See them -> HERE.
The Tile Garden Dies are available in the September-December 2026 Catalogue. See them more -> HERE.
I have been creating recently with the Framed Violets Bundle and the gorgeous Violet Dreams Specialty Paper.
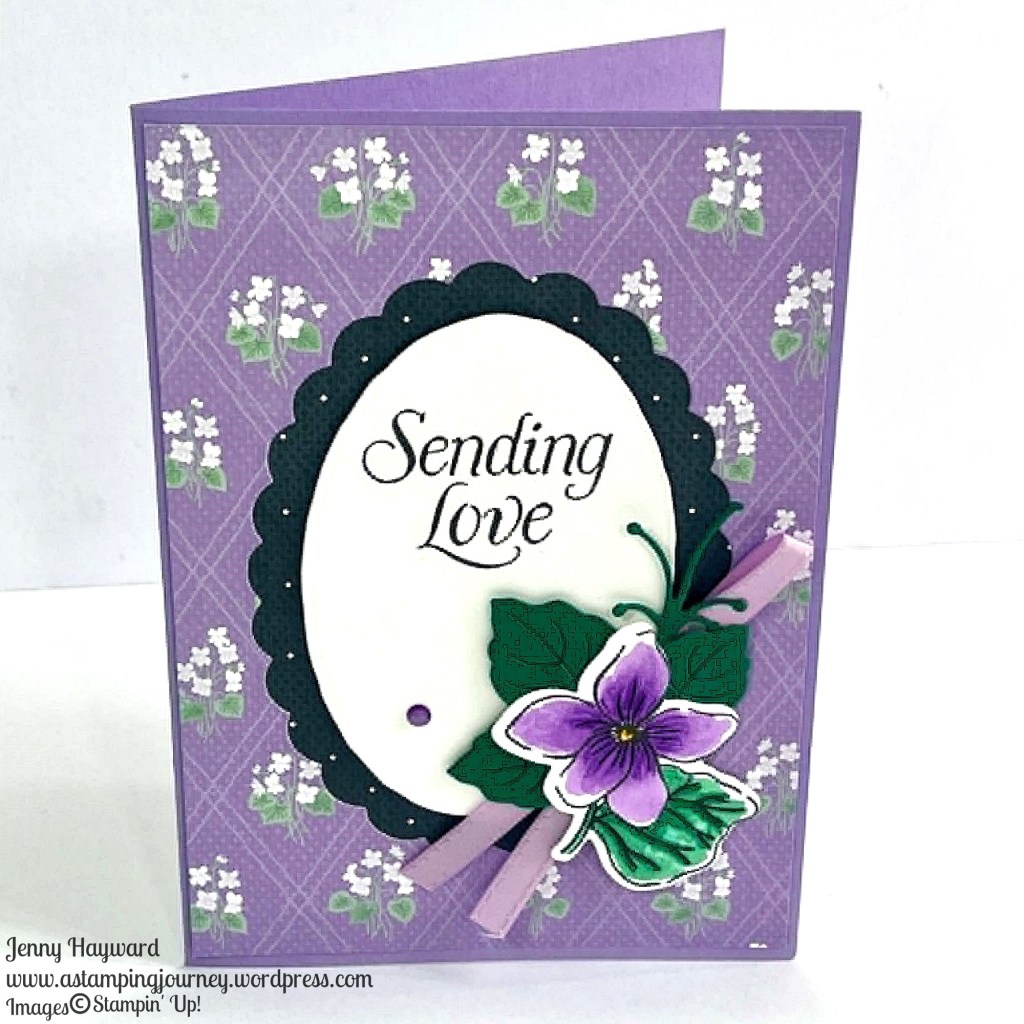
I created the first one diecutting the scalloped oval from the paper and adding more of the paper with the black dotted print behind it. The flower is one of the black pre-printed diecuts in the pack and I coloured it with the Stampin’ Blends.
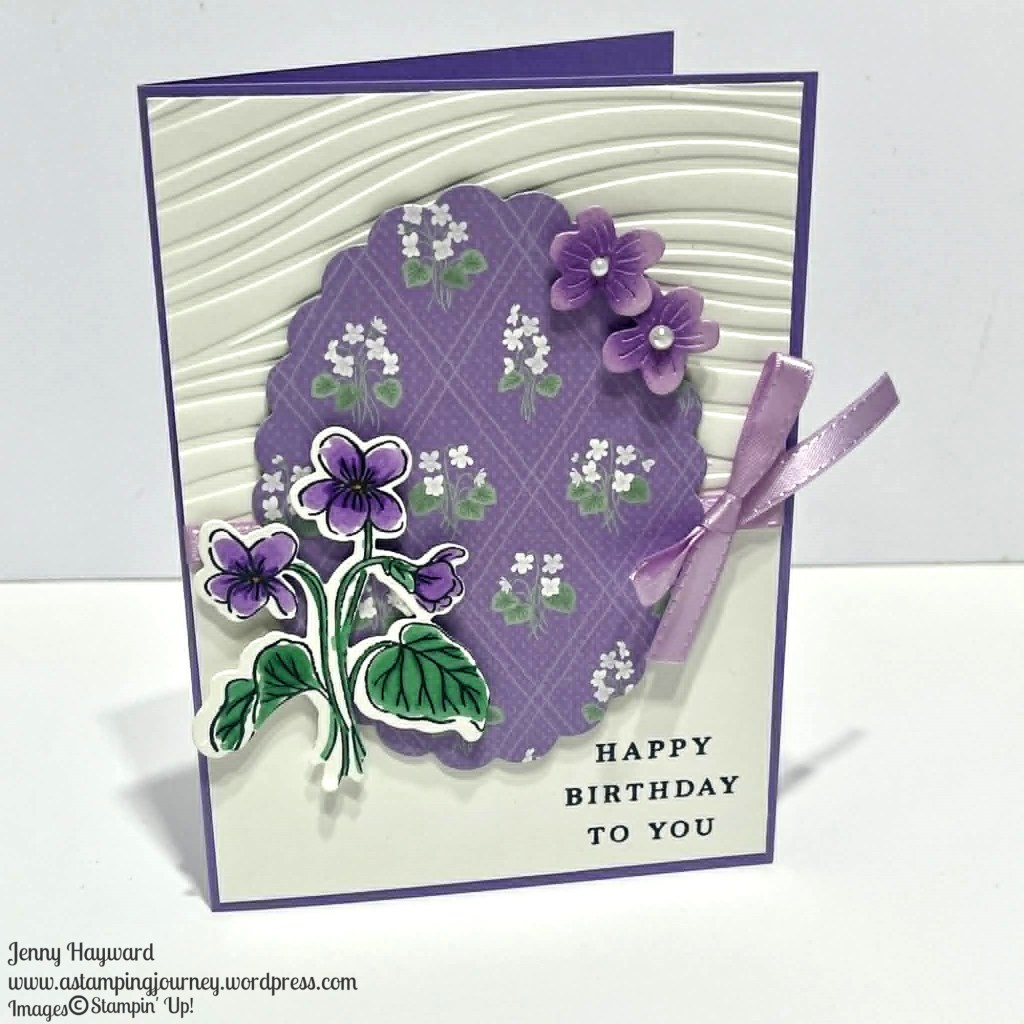
BUT, don’t waste that oval diecut. I then added it to another card.
On this card I embossed just half the card with the Soft Waves Embossing Folder. To do this add the card in just to halfway and emboss as usual. It can leave a slight mark but you can add ribbon or a strip of card or paper to cover that if it bothers you. I like that it leaves a smooth area to stamp your sentiment.
Then the paper oval was added with Dimensionals and I coloured one of the black diecuts with the Stampin’ Blends on this one too.
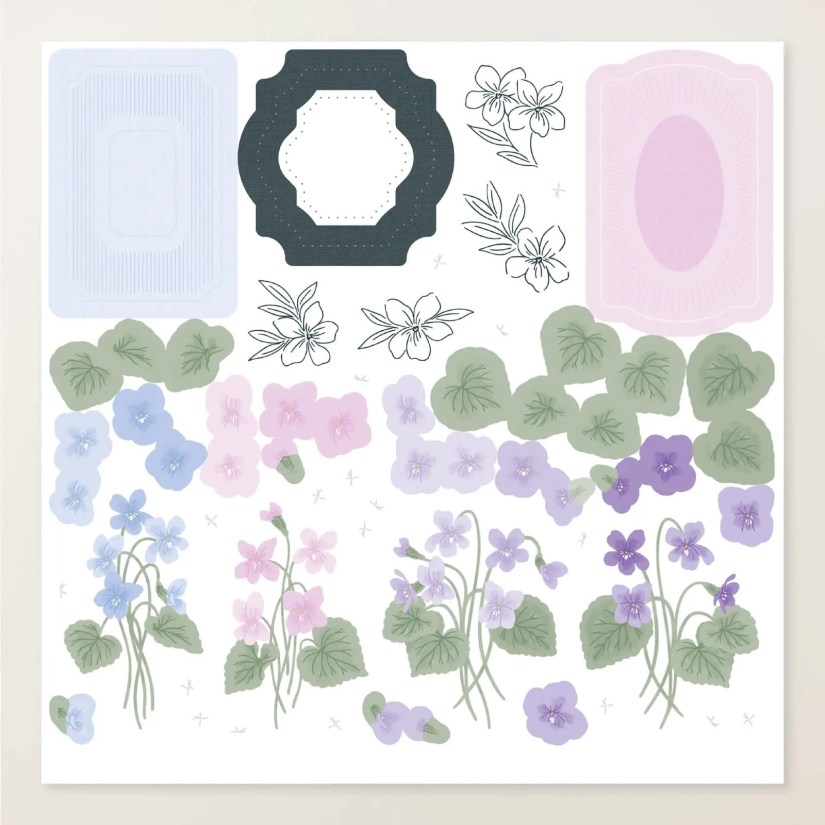
The Violet Dreams Suite is a very pretty one. And did I mention that paper that has the pretty diecuts in?? Many are already coloured which is good for me and some are black and white. So easy to add to your cards.
You can see it more -> HERE. And order too if you would love for your crafting.
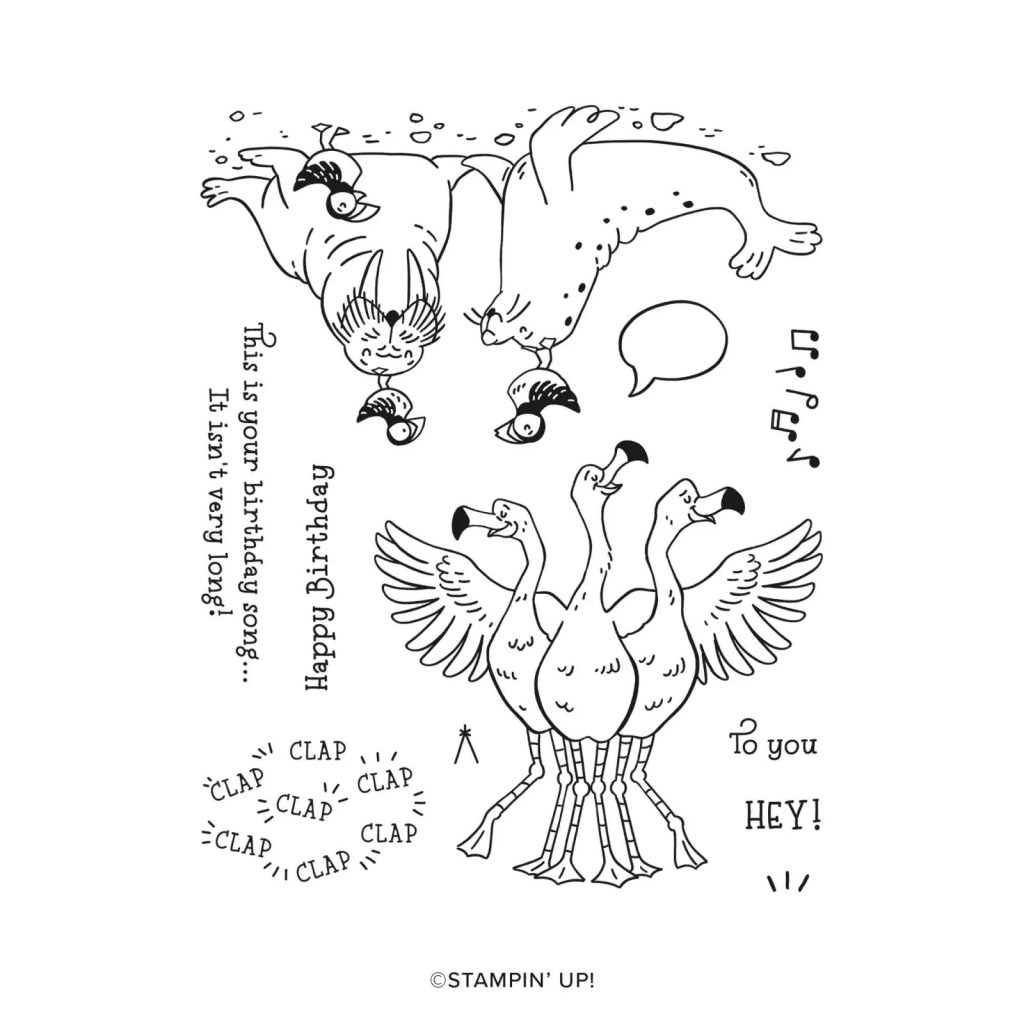
Sweet Sunday with this bunch of happy characters. This is with the Birthday Song Stamp Set.
This card was created by Stampin’ Up! artists but I just had to show you.
I like how all the elements went together. I couldn’t work out the “sea” though. Then I found it is paper from the Waterside Retreat Paper Pack. Clever… The background sky is from that pack too. It’s good to look at your paper in different ways. It really forms a big part of the scene on this one.
The characters are colours so well though too. These ones have been lightly watercoloured with the Ink Pads and Water Brush.
How sweet. Have you noticed this Birthday Song set?
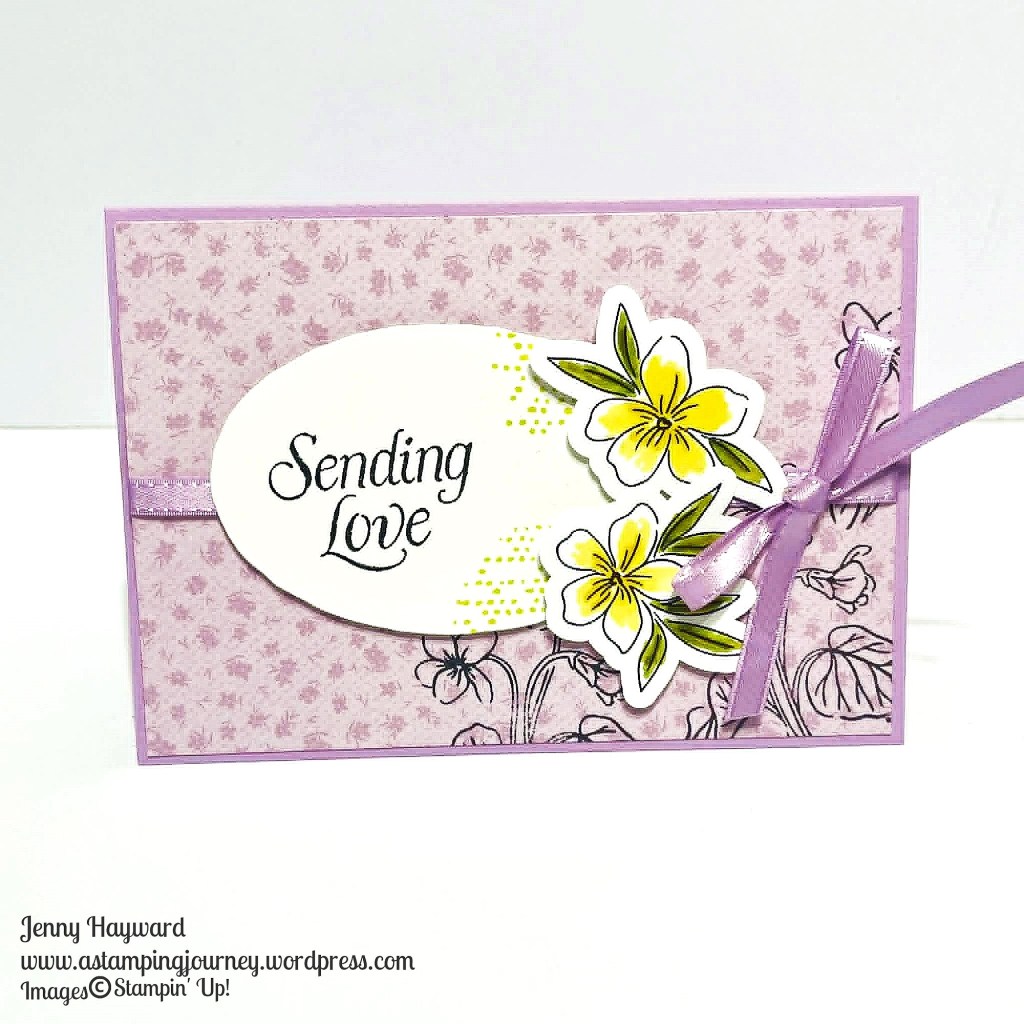
I have been playing with the Violet Dreams Suite this last week. I will share more soon but this is the card I started out with.
I wasn’t sure where to go first. This card was CASED from one from Stampin’ Up!. I just added a little more stamping and more ribbon.
I liked the idea of stamping on the paper. It’s just a subtle amount in the corner rather than all over. The flowers are pre-diecut from the paper and I coloured them with Stampin’ Blends as they had in the original.
The Fresh Freesia ribbon is so satin-ny and adds a little elegance to the card.
I like this Sending Love sentiment. I like sending out cards like that to share a little love.
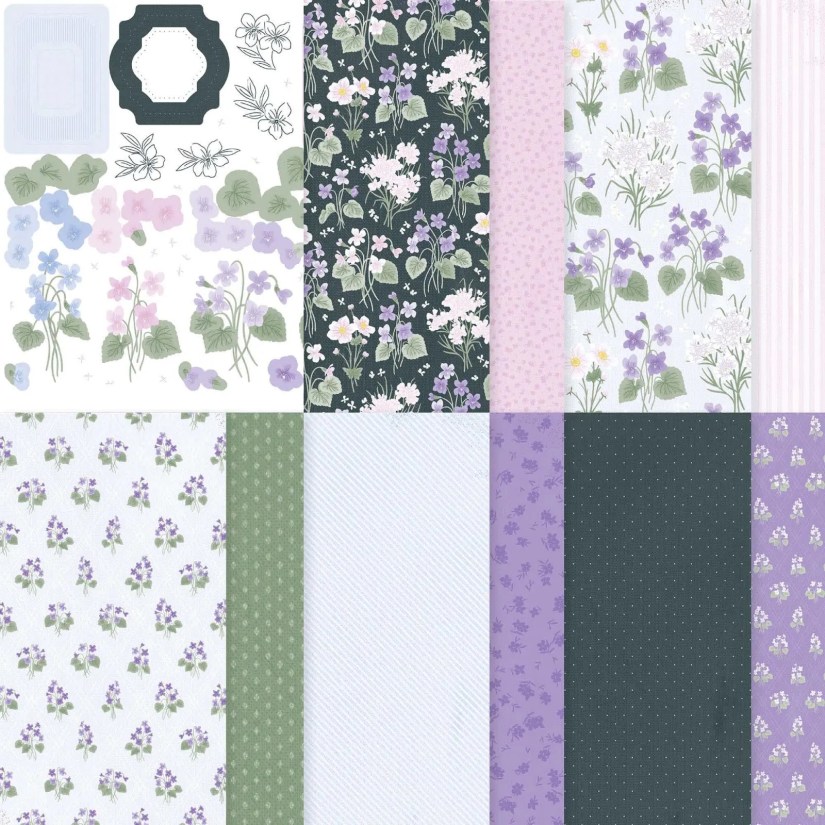
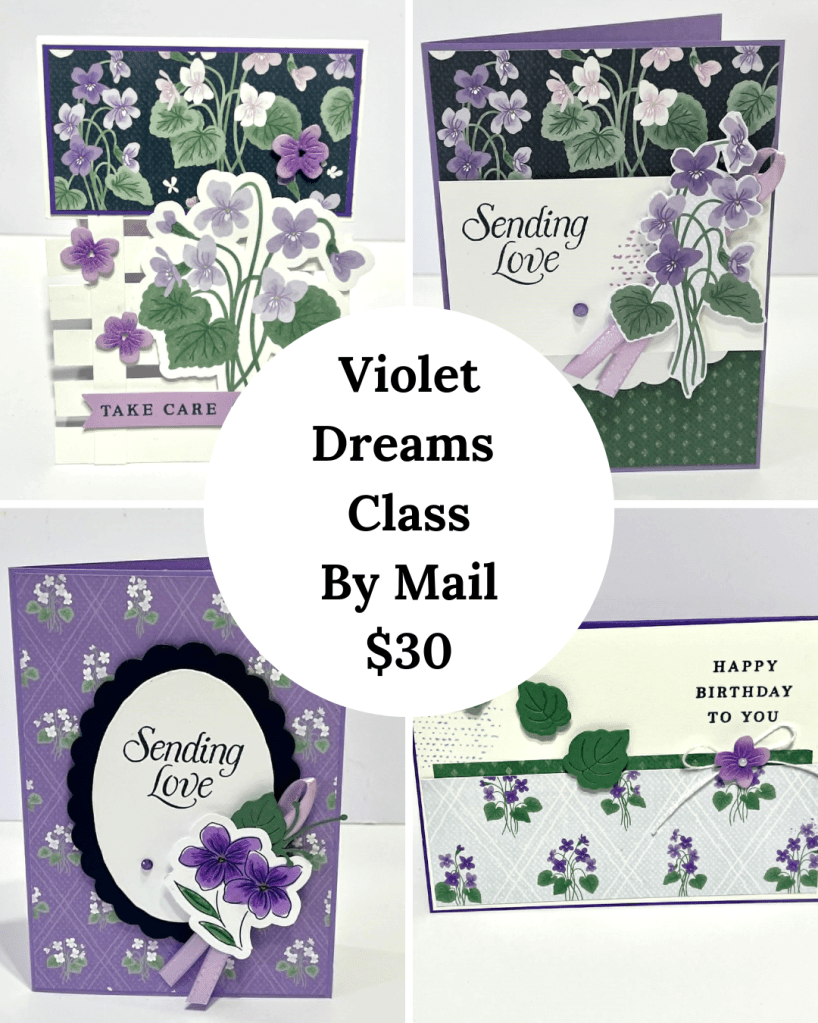
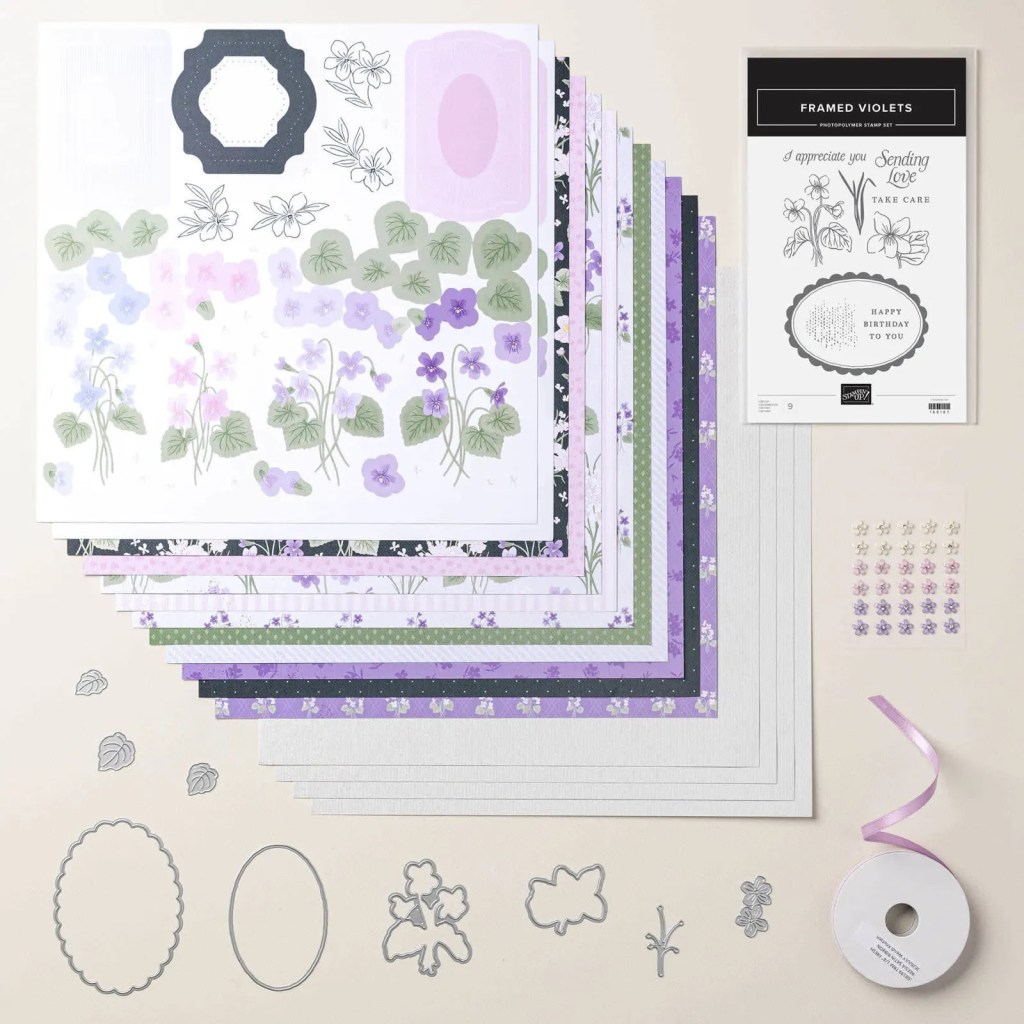
This is Violet DreamsSuite including the paper, ribbon and the Framed Violets Bundle.
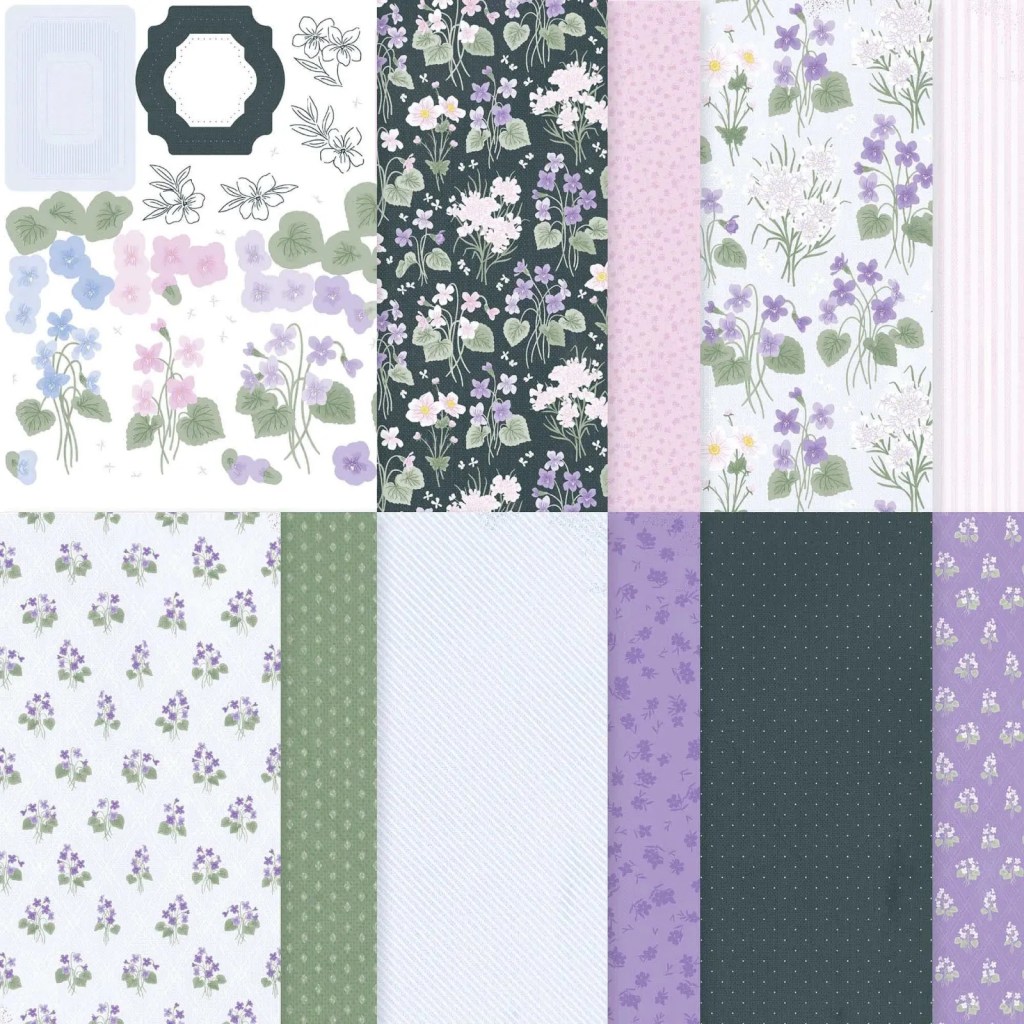
Have a look at the Violet Dreams Paper. I think that is my favourite part of the suite. I love the soft images and pretty purple colours.
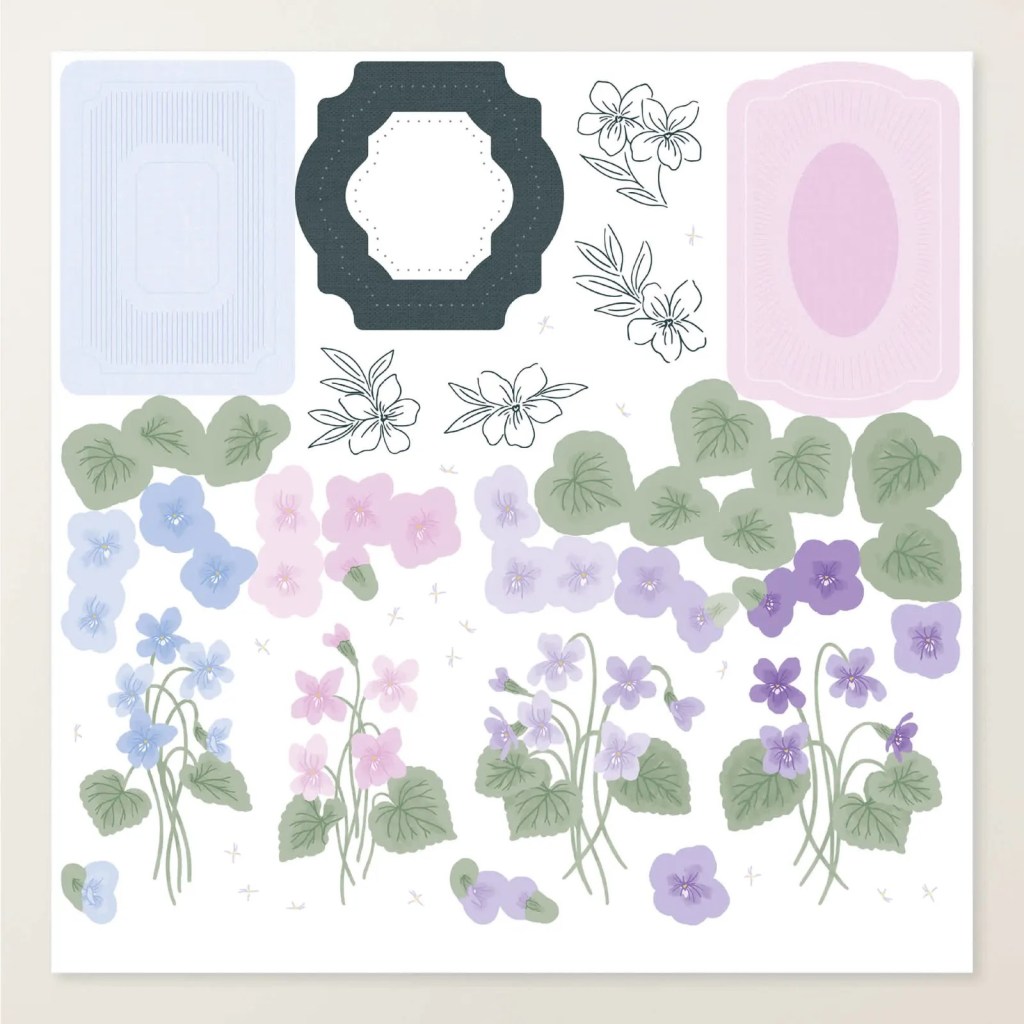
This is a closer look at the diecut sheets from the paper.
The Violet DreamsSuite is available now Online -> HERE. Or you can contact me directly. I would love to help you get this gorgeous suite. (If you are in Australia).
I had a little time over the weekend to play “Just Because”. Which was fun! I don’t often get that chance. So I had a go at this week’s Colour Inkspirations Challenge 212. It has been a while since I have played along with this.
The Colours were Golden Glow, Crisp Canteloupe, Barely Blush and Lost Lagoon.
It was a bit hard with these colours. I don’t have the Stampin’ Blends or the Ink Refills in these colours or any patterned paper. So I went with the Ink Pads. We are creative people. We can work with what we have right?? 😆
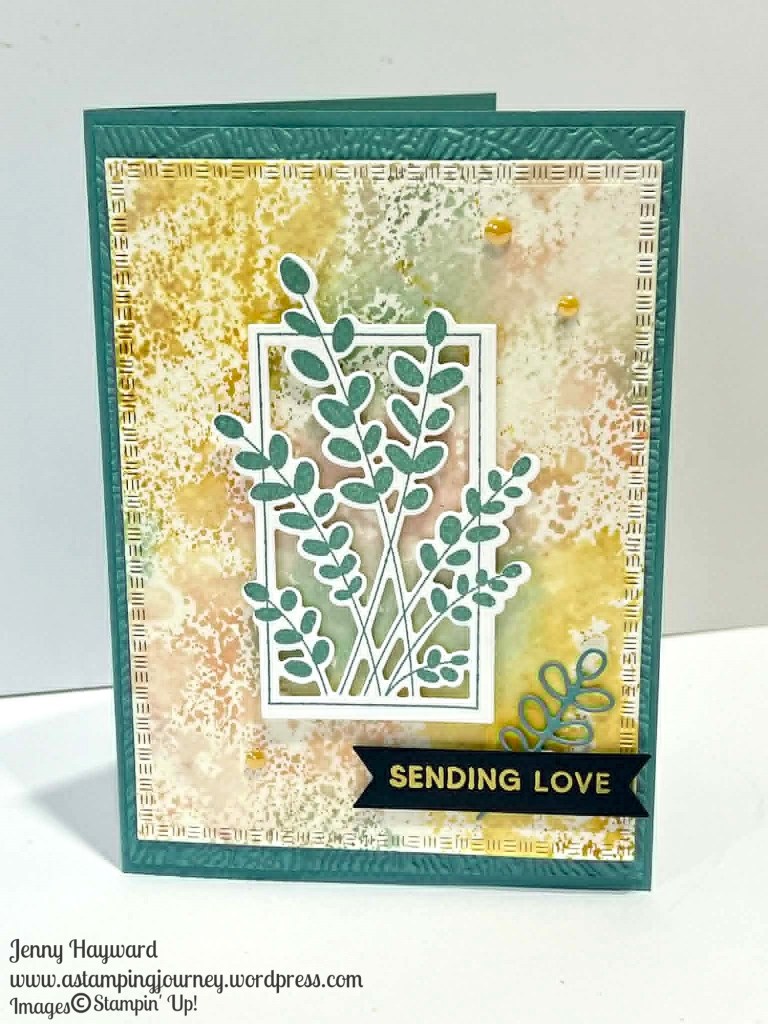
I thought I would go with the “smooshing” technique. I dabbed the ink pads in random places over the large Clear Block. If you don’t have that you could use a piece of acetate. Or if really desparate grab a plate.
I then lightly spritzed the inked block with water and moved the block around a little. Then lay some watercolour paper on to the clear block and pressed over the back of the paper. Voila! It worked ok. The fun thing with this is you could put another piece of paper over and create a second one too as there was enough ink to work it.
I used the Friendly Foliage stamp set and dies. And embossed the Lost Lagoon Card mat with the new Textured Tree Rings Embossing Folder for a subtle background. The sentiment was heat embossed in Gold for a little class.
There is time to play along too if you would like to. It’s good to stretch our creativity. You can find the challenges -> HERE (on Facebook).
Happy Crafting this week with whatever makes your heart happy.
This was an Oopsie card! I hadn’t intended it to turn out quite like this but that’s ok right. Sometimes you start out with an idea in your head and something doesn’t quite go to plan. There is an Oopsie! We are crafters. We can pivot and change it up.
I wanted to use the Eyelet Blooms Die that is this month’s Product of the Month. I diecut a panel for the front of the card. But it slipped when I diecut and it went slightly crooked. That wasn’t going to work for the front. I could have diecut it again. And I probably will try that again at another time but why waste this piece.
I was inspired by a card that Stampin’ Up! artists created diecutting a tag shape. So I used the Party Banners Dies and diecut a piece from it and added that to a piece of the Lovely Blossoms Paper. And I stamped the flowers and leaves. Bonus, no colouring the flowers … The lighting is not great but it might give you some ideas.
When you use this die you can use the Take a Pick tool or a piercer to lift the little petals of some of the flowers. You could use a Dauber and add some ink to the edges of the petals to highlight them.
So don’t throw away your Oopsies. See how you can change them. Have you done that before?
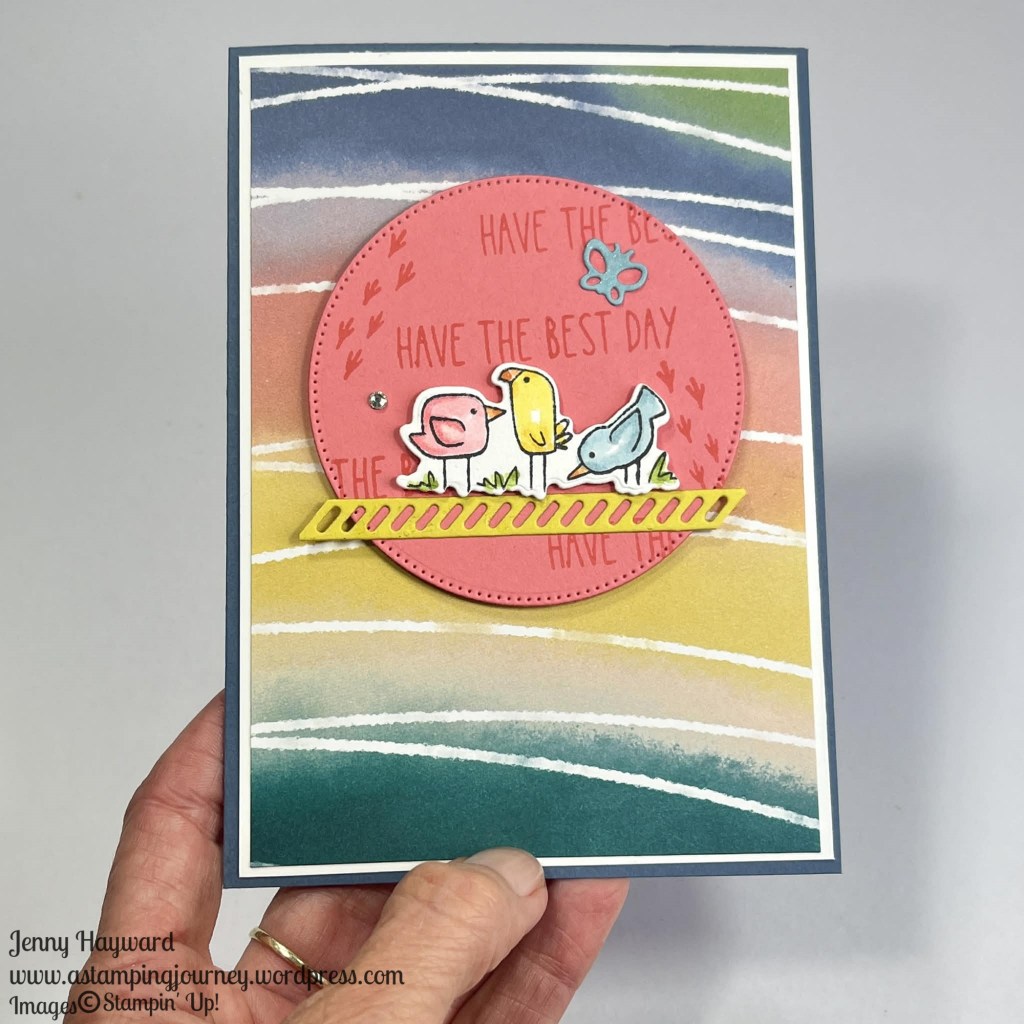
This time it is the birds I have created with the Cutest Crew Bundle. It’s such a fun, cute set.
I coloured these ones with the Stampin’ Blends. Then I realised how was I going to finish the card. Sometimes I really don’t plan ahead. I found this piece in the Painted Illusions Paper matched well.
Trying something different too with stamping the sentiment over the diecut circle. That’s out of the norm for me.
Have you been creating with the Cutest Crew yourself?
The Cutest Crew is an Online Exclusives. If you would like this in your collection and you are in Australia, you can order through my store -> HERE Or Contact me directly. I hope you might grab this on as it is so fun to create with.
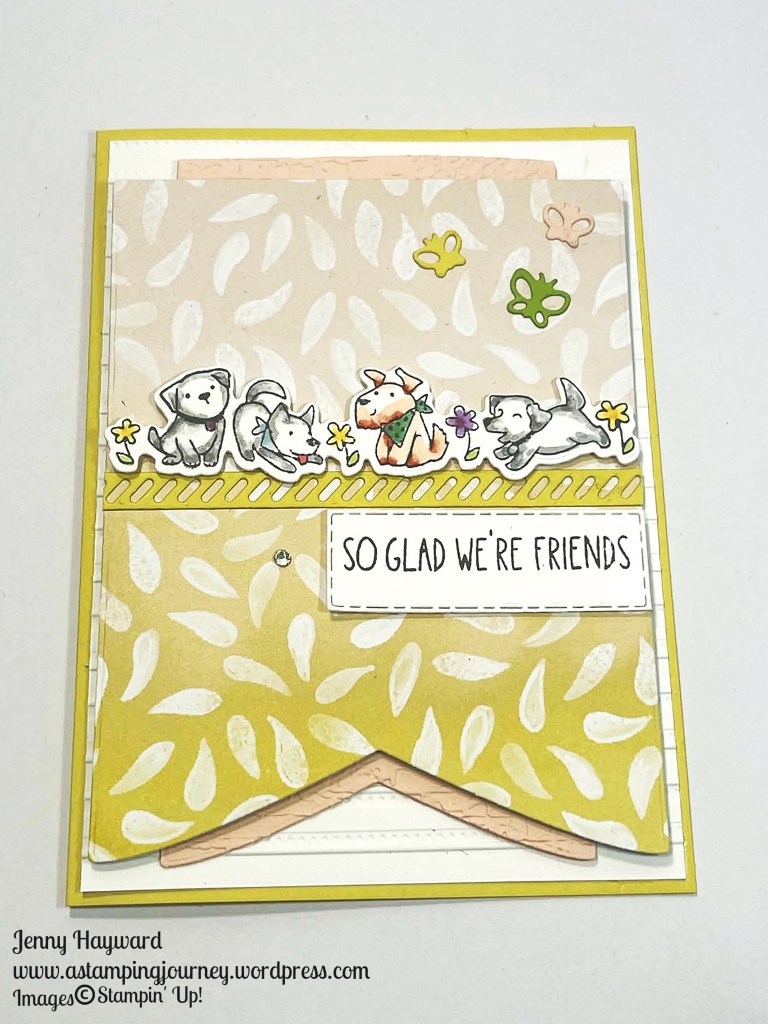
I had the little puppies coloured for a few weeks. Then to put the card together I couldn’t get it to work where I was happy with it. I probably redid this card 4 times.
Here it is though. Because we can share the good, the bad and the ugly.
I diecut the banner from the Painted Illusions Paper but the background… Do I add a strip of card? The colours weren’t working. I diecut the strip? Still not great. Do I emboss the white card mat. One time the embossing just wouldn’t work with the paper. It seemed too busy for the pattern on the paper. Maybe I was overthinking it all.
So I settled on this. I’m still not sure about it but I think it is the better option. 😁
What are your thoughts? Should I change the colour? Maybe file it in the bin? HAHA! At the end of the day the puppies are cute. 😊
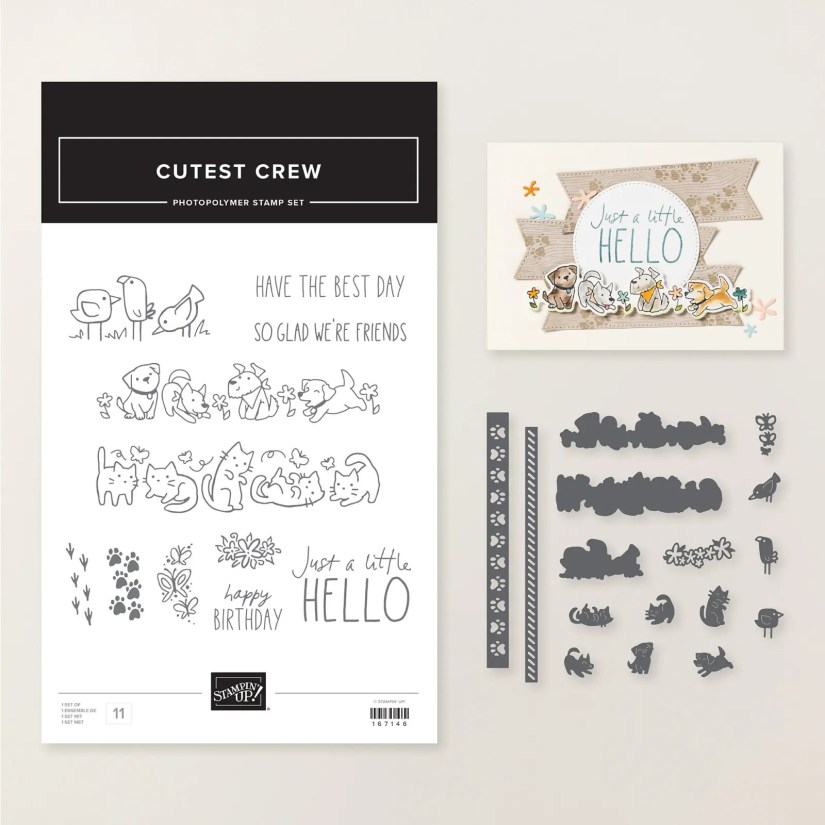
Oh! And if you hadn’t seen the stamps and dies bundle before it’s the Cutest Crew Bundle.
The diecut banner is from the Party Banners Dies. And another one I have had for a while and this was the first time using it … The White card is embossed with the Lovely Stripes Embossing Folder.
If you need the cute little puppies and kittens in your crafting life you can see them more -> HERE.
You can shop there if you are in Australia OR Contact me directly and I would love to help you out.