3D projects, cards

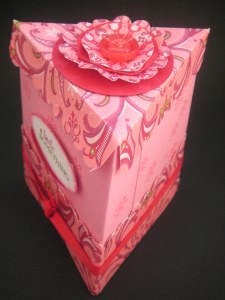
A BIRTHDAY BOX!!

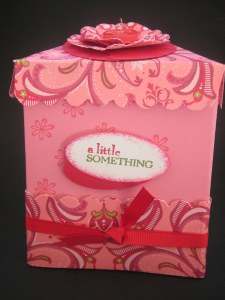
I saw this cute little box at Ness’ recently.  It is different to the Triangle boxes I usually make so I wanted to check out how to make one.  After much searching I came across the instructions for something similar here at Splitcoast.  I copied the base instructions to make the lid too but I made the sides of the top a bit longer so I could scallop the edge.  I used the beautiful Rasperry Tart paper to go with the Regal Rose cardstock.  The flower on the top I came across also at Splitcoast here and wanted to make one straight away.  I thought it would go well on top of this little box.  Here is how you make them.  They are crinkle paper flowers.  Aren’t they cute!  The button I used is not an SU one,  just one I had lying around and it matched perfectly.
PICT1307

PICT1309

Cardstock: Regal Rose, Real Red, Whisper White, Raspberry Tart DSP.

Ink: Regal Rose.  Real Red and Old Olive markers.

Stamps: Best Yet, Short and Sweet.

Other: Wide and Large Oval Punch, Circle Tab punch, Scallop Border Punch, Mounting Tape,  Sponge, Red Grosgrain ribbon, Red button and pink thread (not SU).

I filled this box with chocolates and rhinestone brads for a lovely friend’s birthday that was yesterday.  I’m sure she won’t be looking today to spoil the surprise, so it is safe to put this here today.  I’m going to have to make another one to keep myself though.  I don’t think mine will come with chocolates though!

This is the card I made to match.  This is using the beautiful set ‘Thoughts and Prayers’.  It is a very simple card.  I inked up the branch with markers, sponged around the edge of Regal Rose cardstock for the base and I added a red rhinestone brad and red grosgrain ribbon to finish it off.

thoughts

Thanks for looking.  Enjoy your day!

cards, Challenges

A HEART FOR BELLA!

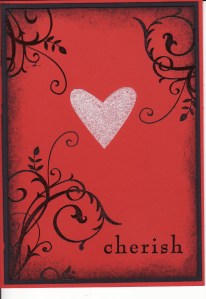
This is for all you die-hard Twilight fans.  (I probably shouldn’t use that term!!).  I just made this card today.  Funny how inspiration comes to you.  I was out walking my dog this morning and I passed by a car that had a crystal hanging from the rear view mirror.  As I am reading Eclipse at the moment (the 3rd in the series) it got me thinking about the crystal heart that Edward gave Bella (and we all go AAHHHH!!).  Anyway, I was thinking about it on a card and came up with this.  Last week our team challenge was to use red and embossing.  Since I hadn’t got around to doing it yet I thought that would work well with this card.

IMG_0006

Here is a close-up of the heart so you can see the sparkle.

PICT1226

I stamped the Baroque Motifs swirl in Versamark and Basic Black and clear embossed them on Real Red card.  I did the same with the word ‘cherish’.  I stamped the heart from ‘Best Wishes and More’ in versamark onto vellum.  I sprinkled over heat and stick powder and heated it with the heating tool.  I then sprinkled over dazzling diamonds and heated it again slightly.  You need to heat the vellum gently so it doesn’t burn.  I cut it out and adhered it to the card.  I sponged around the edges with basic black.  I then adhered this to black card and then to real red base.  There you have it.- Bella’s crystal heart!!  TFL.

cards

Look What I Got?

Today I got a nice surprise in my mailbox.  It was a special parcel from the lovely Tanya.  Look at this.  Don’t I feel spoilt! Go and check out Tanya’s blog.

PICT1184

This was a prize for winning the recent Non-Convention Goers online sketch challenge.  This was my entry.
pict1148
 

Tanya made this cute box from some ‘Sweet Always’ DSP.  It’s a wonder you can’t smell it!  Inside had some beautiful handcream and soap, as well as a tealight candle and this lovely bookmark she made using the felt ‘flower fusion too’.  Isn’t it great.  It was so special.  Thanks Tanya you made my day XO.

I also received some great swaps from some very clever demos around Australia.  Here they are for you.

IMG_0002

The first one is mine I made.  This is using Rose Red and Regal Rose cardstock.  I used the ‘Best Wishes and More’ stampset and ‘Weathered’ background.  You can’t quite see the bling on the picture though.  I added some dazzling diamonds on the heart and the Taken with Teal piece.  That piece actually is the centre of the snowflake in that set.

The next 2 cards are by Tanya.  She has made the rooster look good!  This is a Level 2 hostess set. Rustic Rooster.  I love the layout on this one.  My DD loved this next one.  She has been asking me to buy this set.  This is ‘Just Jawing’.   I love the glittery heart eyes using the chunky glitter.

IMG_0001

In this group, the first one is by Margaret Knoops. She has used the ‘Crazy for Cupcakes’ set.  I love the eyelets and she has used the chunky glitter too.  The next one is from Rebecca using ‘Crazy for Cupcakes’.  She has used some chunky glitter and fine supernova for extra bling.  I love the layout on this one.  The end one is from Claire Harrison.  She has used ‘Inspired by Nature’.  I love this set.  This is one on my evergrowing wishlist.  She has used some lovely In-Colours of Baja Breeze and Pacific Point.  It is a very clever effect using the white gel pen and basic black marker to highlight the image.

It was great fun being part of the non-convention goers online weekend.  I still have to make a few of the projects, when I find some time!

cards, Challenges

NON-CONVENTION CARD CHALLENGE!

Many SU Demos have been in Chilly Canberra this weekend for the annual Stampin’ Up! Convention.  Unfortunately I couldn’t make it.  A forum I am on had a non-convention goers card challenge, among many other fun challenges.  Thanks Tanya for organising this!!

This is the sketch that we had to create a card.  I like this sketch.  It is very simple.  I might be using it for some upcoming workshops! 

cardsketch1

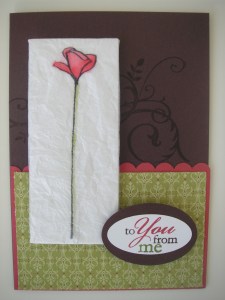
This is the card I created.   I was inspired by this card by Claire.  I loved how she used the Baroque Motif swirls on the background.

pict1148

I have used the faux silk technique for the rose.  First I stamped the rose image from Embrace Life in stazon on white tissue paper.  Then I watercoloured the rose with the stamp pads and aquapainter.  Leave it to dry for a short time and then scrunch up the tissue into a ball.  Carefully unwrap the ball.  Adhere the tissue to white cardstock.  For the card I stamped the Baroque Motifs swirl with choc chip ink onto choc chip cardstock.  I scalloped the edge of Ruby Red card and adhered a piece of the Raspberry Tart DSP onto this before adhering both to the choc chip card.  I used mounting tape to mount the faux silk image.  The greeting is from the Level 1 hostess set, Best Yet.  I inked up the words with markers and used the Large oval and the new Wide oval punch.  I was really pleased how this turned out. There are so many other projects Tanya has set for us, but I think I will be trying these over the next couple of weeks. This week is turning out to be very busy.

cards, Tutorials

CASTING TISSUES!!!

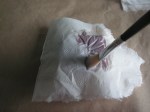
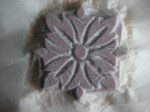
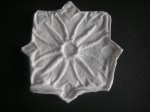
The other day I showed you some cards I made by making paper casts of some stamps.  I have put together a tutorial to show you how it is done.

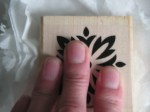
WHAT YOU WILL NEED:

pict1098

Stamp of choice                           

Large brush (stippling brush is best)

2 tissues (2 ply)   torn into quarters (8 squares)       

glue/water mix (1 part white glue [like PVA ] , 3 parts water)      

STEP ONE

pict1099

Place 1 square of tissue on upturned stamp.  Using brush apply some glue mix to the tissue.  Dab the brush up and down ( Don’t brush) to cover the whole stamp.  Continue dabbing the glue mix on to soak the tissue.  Ensure you get the glue mix in all the grooves and around the edges.

STEP TWO

pict1102 

Continue applying all the squares of tissue.  If the tissue tears don’t worry just continue applying the glue and tissue.

STEP THREE

pict1103

Carefully pick up the tissue and stamp.  Turn the stamp upside down and place on a plate or board.  Press down gently on the stamp to help shape the tissue.  Gently remove the stamp.  Leave the cast image for some time to dry.  It may take overnight.  Make sure it is completely dry.

STEP FOUR

pict1111

Once dry cut around the image.  You may wish to just carefully tear around it.  Apply SU pastels or chalks to the image.  If pastels fall in areas you don’t want, don’t rub but blow them off.  Use an eraser gently to remove any parts you are not happy with.

STEP FIVE

pict1113

Create your card. 
Card: Rose Red, Whisper White, Raspberry Tart DSP
Ink: Old Olive,
Other: Stampin’ Pastels – Rose Red, Dimensionals, Corner Rounder.

Here is a card I made using the swirls from ‘Baroque Motifs’ set.  You get like a reverse image.  I’m not completely happy with the final result, but it shows you what you can do.
pict1115

Why don’t you  have a go!  Send me a copy of your card or a link so we can see what you have done.  Have fun!!!

cards

A TISSUE, A TISSUE……

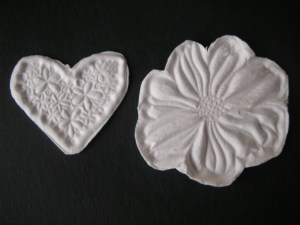
At last week’s team meeting Sarah showed us paper casting.  Thanks Sarah! It was great fun.  It is such a different way to use your stamps.  Here is the cast images of the stamps I used after they had dried and I had cut around them.  This is just made with tissues and a glue/water mix.  Sarah got the details from here.  Here they used just water. We used a mix of 1 part white glue (PVA) to 3 parts water.

pict1088

I then created 2 cards with them.   I used the SU pastels and daubed it on.

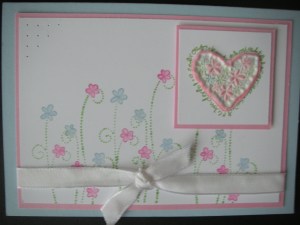
The first one is with the Simply Said set.  I don’t often use Soft Subtles colours, but it is “so pretty” as my DD said.

pict1091

Card:   Bashful Blue, Pretty in Pink, Whisper White

Ink: Bashful Blue, Pixie Pink, Gable Green Markers.

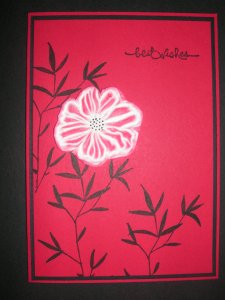
The next card was inspired by this card by Nikki Stalker.  I loved it when I saw it.  It was stunning.  I used the flower from Eastern Blooms and I thought it looked oriental so would work well for this card.  I was really pleased with how this card turned out.

pict1104

Card:  Real Red, Black

Ink: Basic Black, Black Stampin’ Write Marker.

Stamps: Eastern Blooms, Embrace Life, Short and Sweet.

The paper cast images add another dimension to your cards and it is such fun to do.  It is very relaxing dabbing away at your stamps.  I’m putting together a tutorial to do paper casting, so check back in the next day or two and I can show you how it is done.

cards, Challenges

MAKEESHA’S INSPIRATION CHALLENGE

I had a go at Makeesha’s Inspiration Challenge for this week.  I have to say it was a hard one. I wasn’t sure how to tackle it.  I knew I wanted to incorporate the circles from the soup mugs somehow.  I was flicking through the 2007-2008 Stampin’ Up! catalogue the other night and came across a card on page 86 that I thought I would work with.  It was a little bit fiddly, but it was fun to do.

Here is the photo we had to work with.


This is my end result.

pict10691

To punch the circles I used the 1 3/8″ circle punch.  I punched some out first on scrap paper and used the 2-way glue on certain celery cardstock.  This is great repositional glue to use.  If you add some to the card and let it go clear before you fix it to your piece you can then take it on and off until you are happy with the position.   I then traced around these circles and punched out on the marks with the punch.  I placed a piece of whisper white card under the certain celery card.  I punched out some circles with the 1 1/4″ circle punch from scrap paper again and lined it up within the circles on the certain celery card.  I marked these circles in pencil and then punched them out from the whisper white card  with the 1 1/4″ circle punch.  One of the circles I cut from a scrap of chocolate chip card.  All these circles were quite fiddly to do.  I don’t know if there is a simpler way of doing it, but it worked out ok.  I used the ’embrace life’ set and stamped the blossom in chocolate chip onto pumpkin pie card.  I inked the words one at a time in the chocolate chip marker and stamped them on pumpkin pie so one word ran under the other.  I inked up some white taffeta ribbon with my pumpkin pie marker.  I punched out a slit with the slit punch and tied the ribbon through.  I had curled the edges of the celery card with my bone folder to give it a distressed edge. I adhered this piece to chocolate chip base and then pierced holes down each side.  This is a bit hard to see in the photo.  I think it is missing something though, what do you think?

I’ve just received my new Rubbah. Gotta like that. Even better is it is all FREE! How good is that. You can earn some great FREE stuff being a demonstator. If you want to find out how you can earn some FREE rubbah, just contact me. I’m off to play!!

cards

BLOOM AWAY!!

I have been inking up my new stamps.  As a demonstrator we can preorder some selected stamps sets from the new 2009-10 Catalogue.  When I saw these I had to get it.  I loooove Australian Native Plants.  The first card I created was very simple.  The detail in these stamps are so fine you don’t need to do anything with them.  I stamped the Waratah in Chocolate Chip and stamped it twice on the Close to Cocoa card base.  I then stamped it on Bordering Blue and then also stamped on the word.  The words come with the flowers but I separated them to give me more flexibility.  I tore the top and sides and then distressed it with my fingers.  After distressing it for a little bit I could then separate the two layers and curl the corner.  I did the same on a larger square of  Kiwi Kiss, one of the new In Colours.  I adhered the 2 colours together and punched a hole in the bottom left corner.  I tied a small piece of twine through the hole and frayed the edges.   Then it was a matter of sticking the piece to the base card.  The longest part of this card was distressing the card.  I really liked the end result, if I can say that!

pict10231

cards

More “Summer By the Sea”

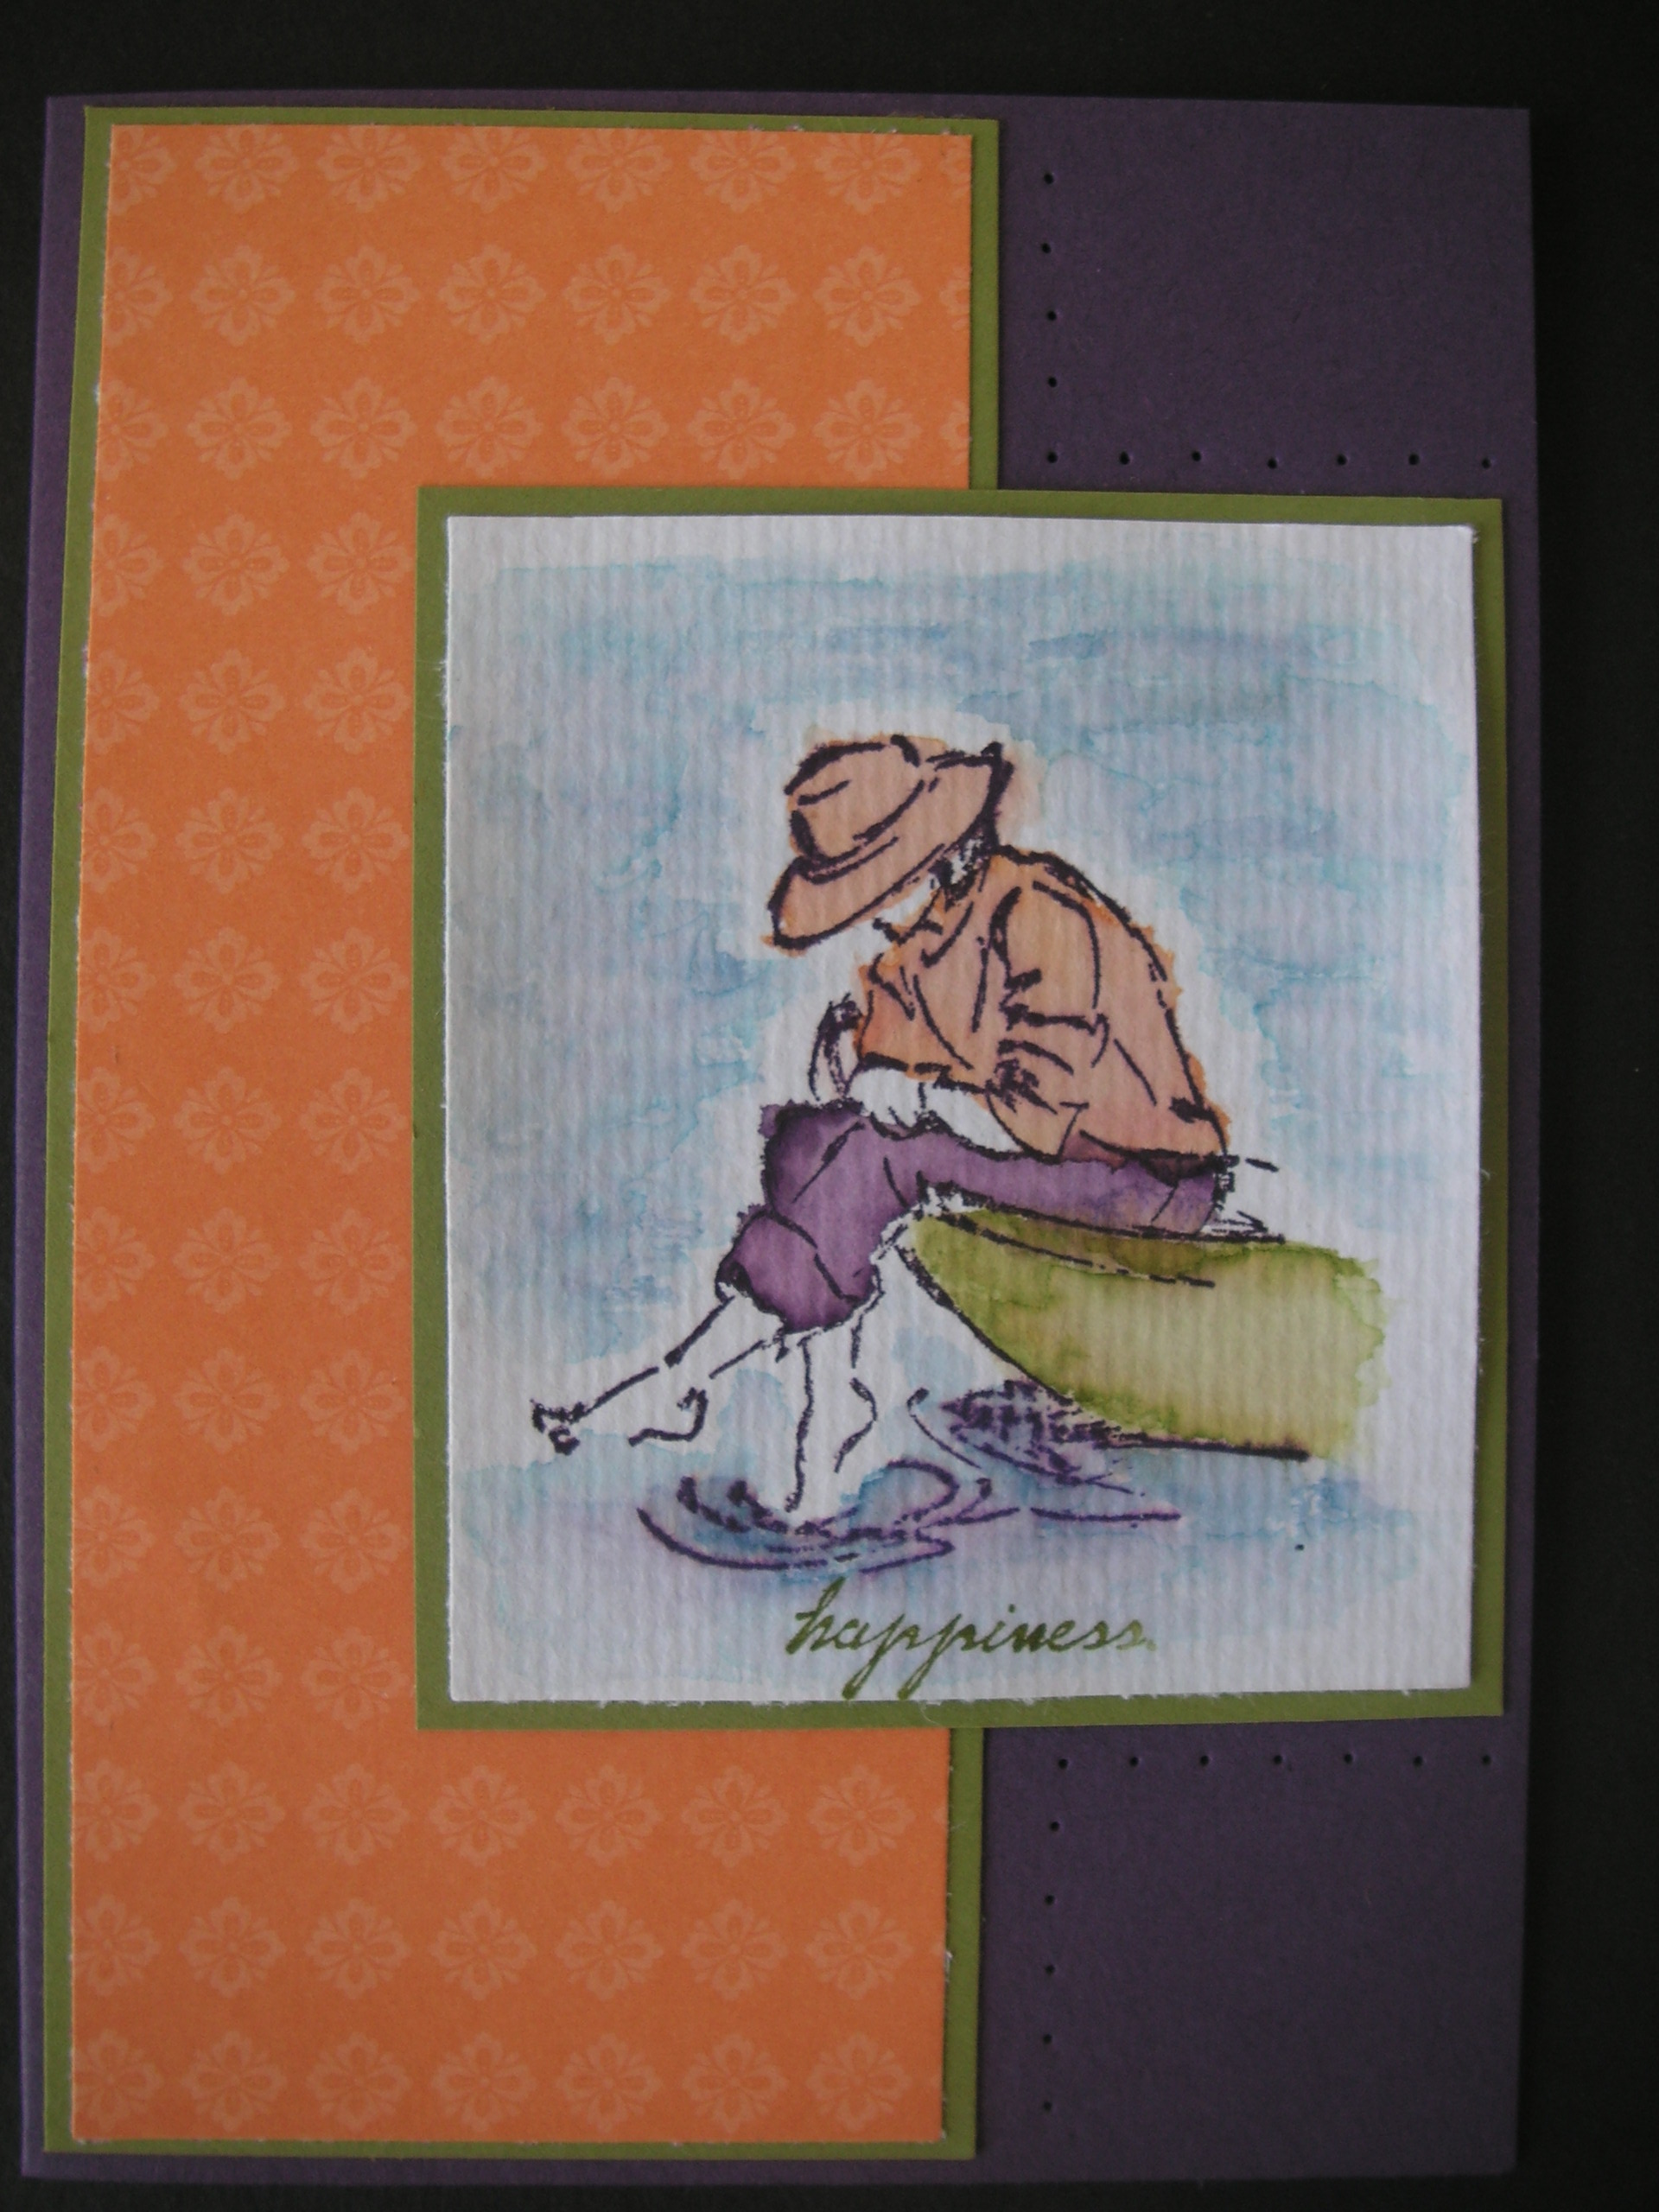
When I was stamping the other images from a previous post I stamped this one as well.  One lesson learnt: It is very important to stamp the image in Stazon if you intend to watercolour to prevent the ink from running.  Hence, the purple mark in the water.  Buy hey, I think it looks like reflection from her pants!!!

pict10161

I used inkpads and aquapainters to watercolour the image in Elegant Eggplant, Pumpkin Pie and Old Olive.  I used an Old Olive marker to ink up just the word ‘happiness’ on the text stamp in this set.  I matted this on Old Olive.  I used a strip of Bali Breeze DSP and matted that on Old Olive as well.  The base is Elegant Eggplant.  It may not show up too well, but I paper pierced around the image.  I have enjoyed watercolouring these images from this set and I will be sad to see it go at the end of the month. 

While I had the paper scraps out I whipped up another card for my niece’s birthday next month.  Early for a change!!  I cut a strip of the Pumpkin Pie DSP and mounted it on Ruby Red card.  I sponged around the edge with Ruby Red and stamped the text from ‘Sincere Salutations’.  I mounted this on Tempting Turquoise base.  This is not a colour I have used very much but it goes well with the paper.  I cut out the flower images on the reverse of this ‘Bali Breeze’ sheet and adhered them to the bottom of the card.  The flower brad is not SU and I can’t quite remember what brand it is – Sorry.  This card didn’t take long at all. 

pict1013

I just received my new stamps that demonstrators can preorder from the new catalogue.  It is very exciting.  I have been getting them inky so I will show them to you next time.

cards

A Late Challenge!!

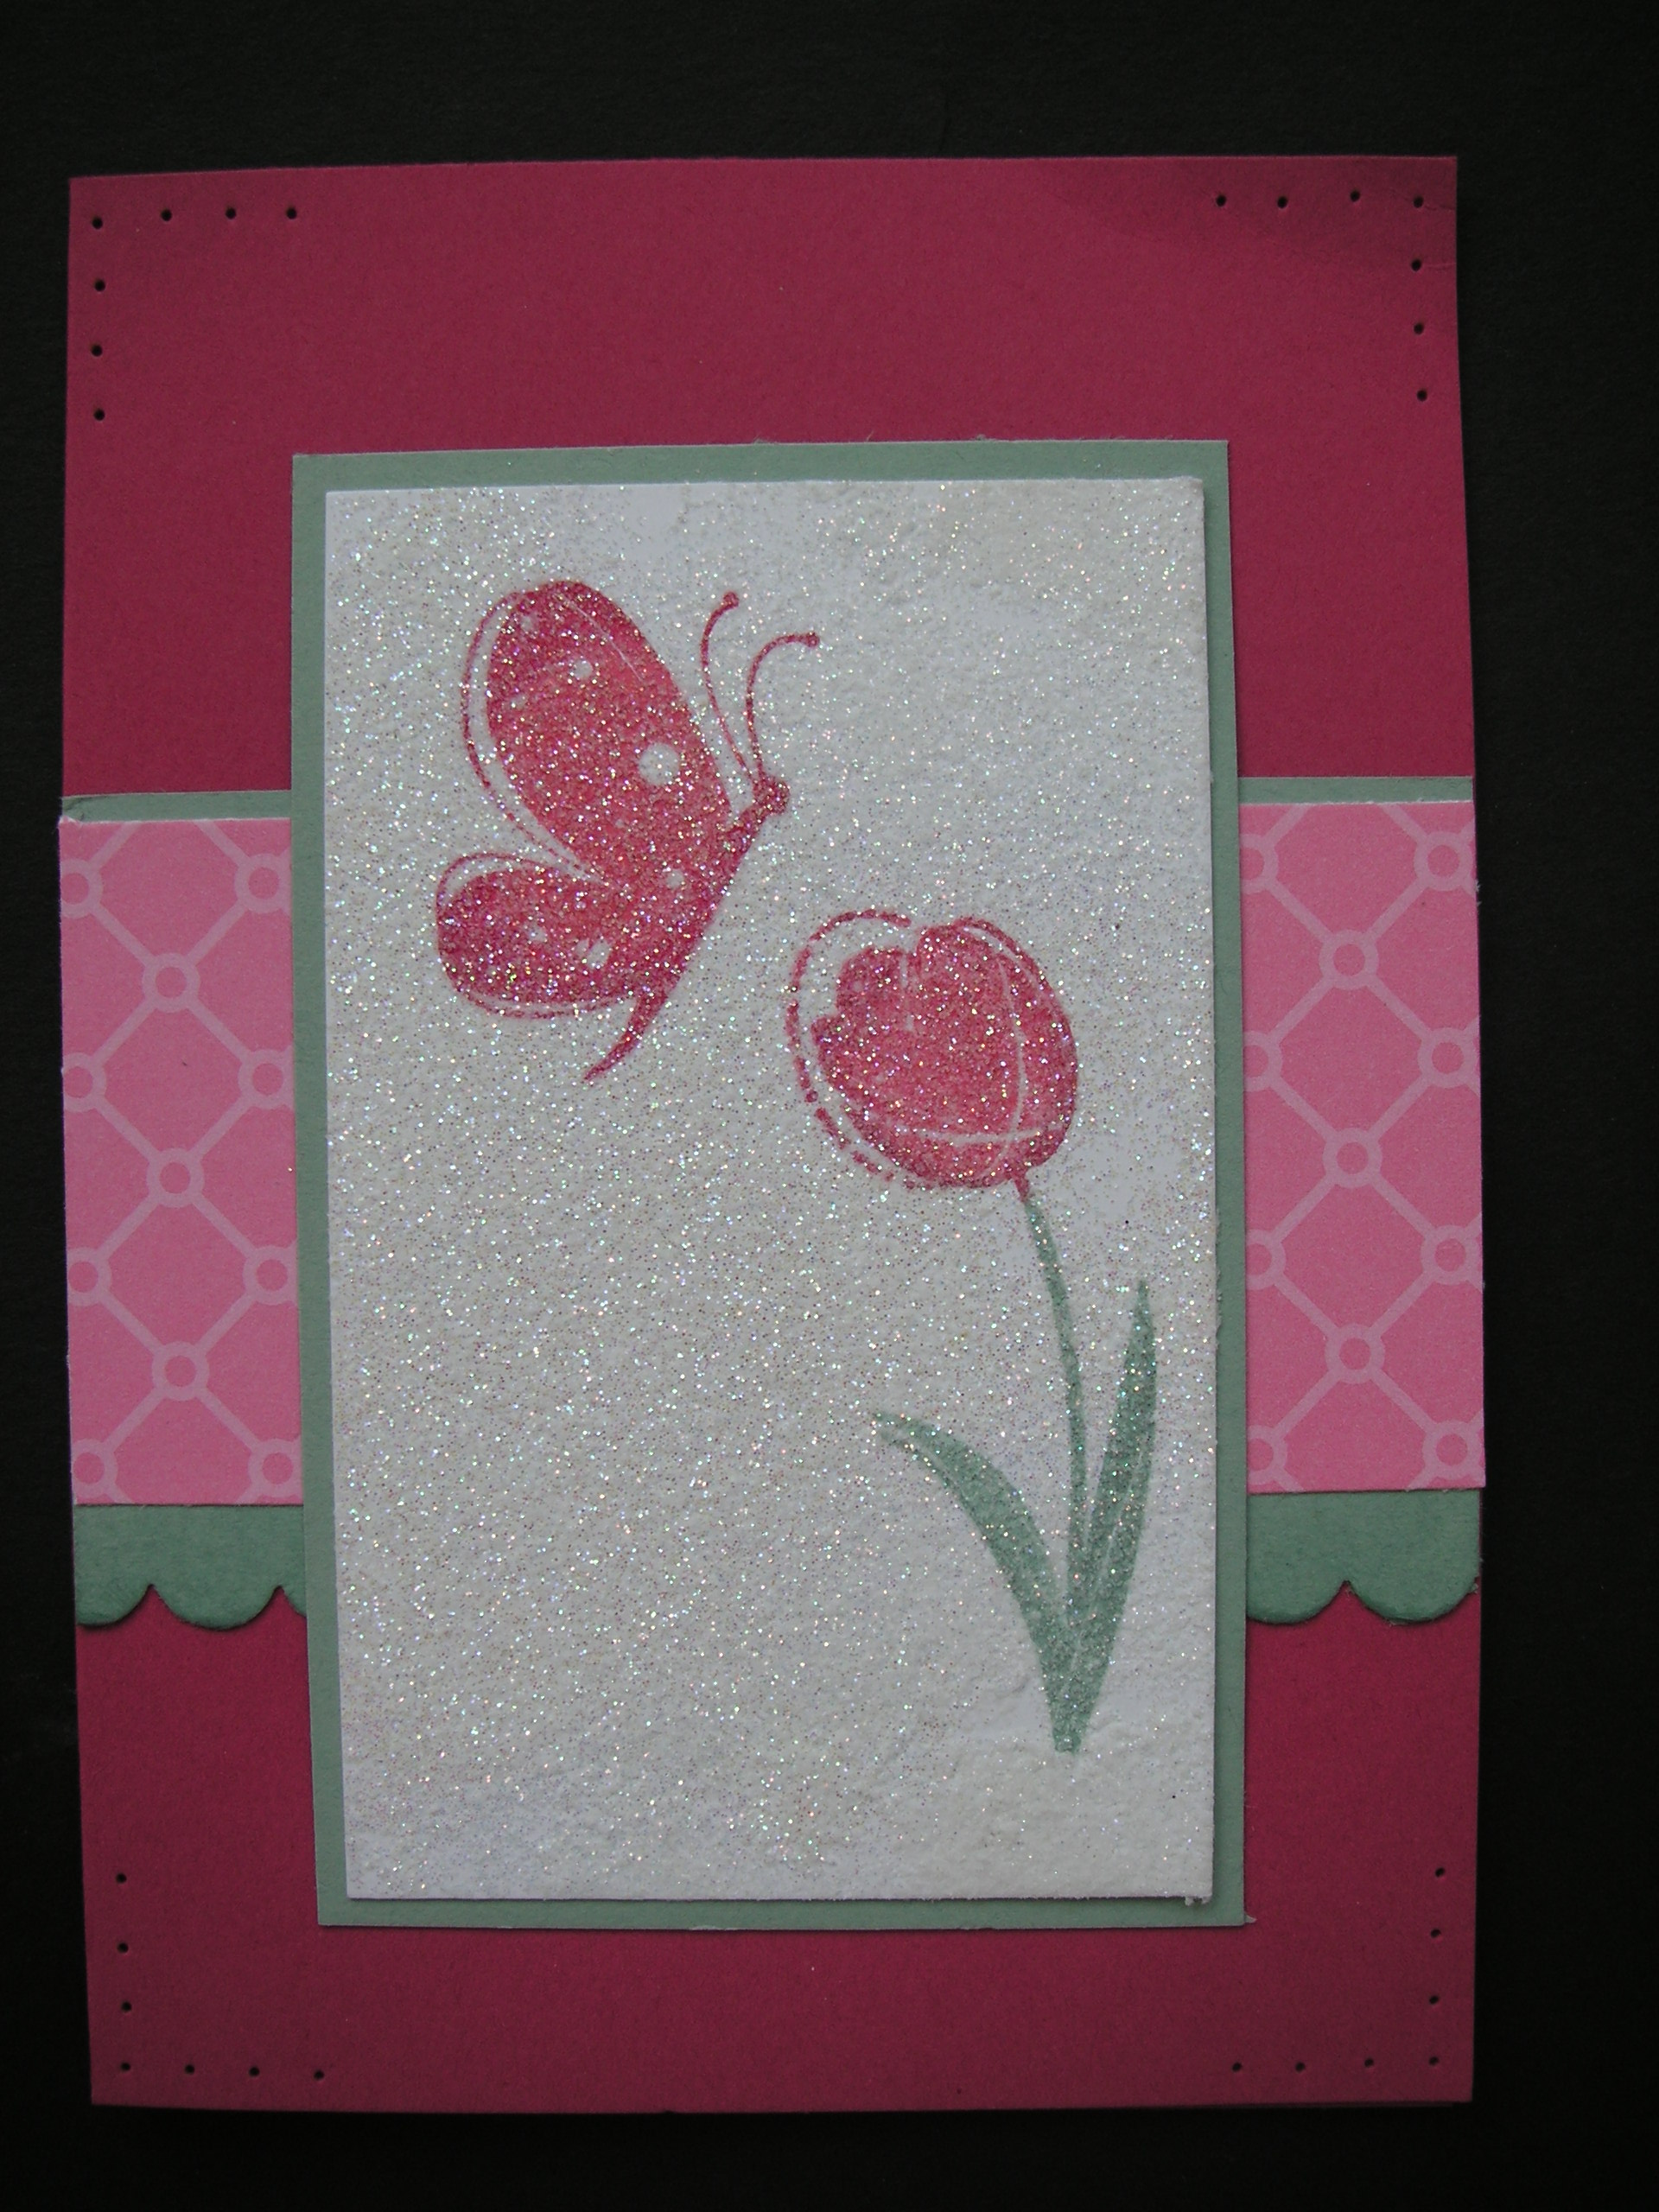
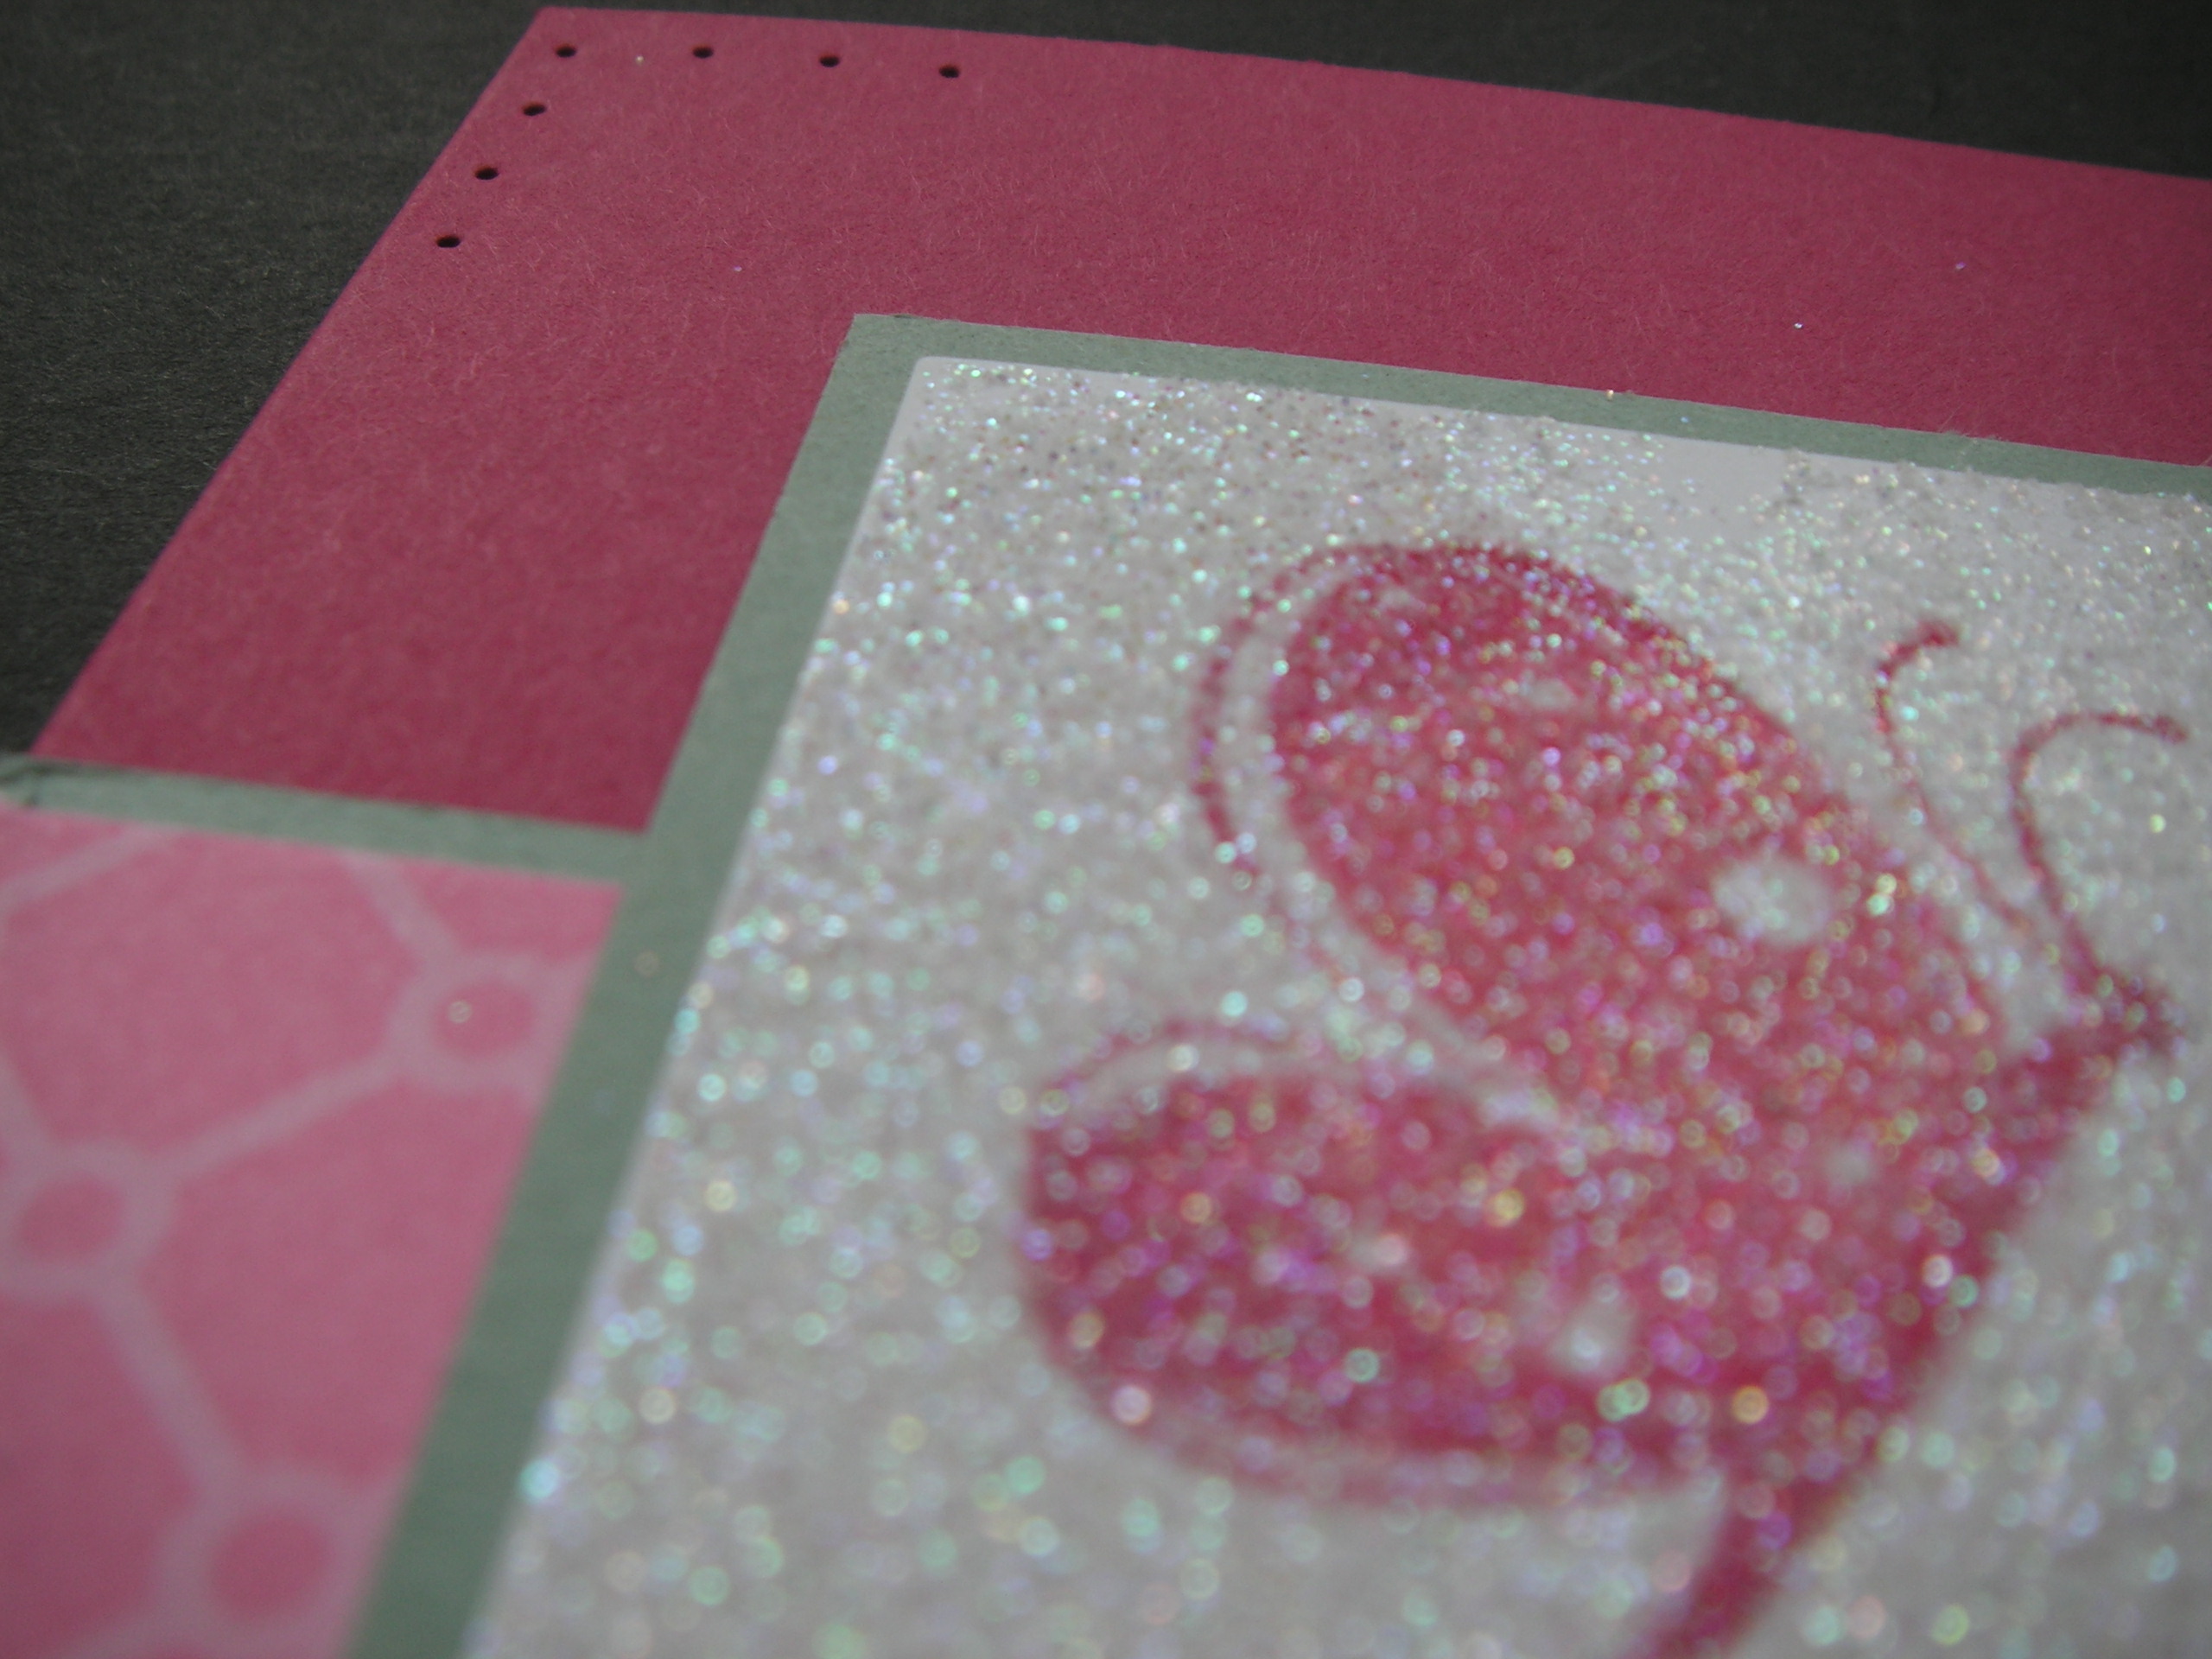
A few weeks ago Makeesha set a colour challenge.  The colours were Rose Red, Regal Rose and Sage Shadow.  You can check it out here. I wanted to use Garden Whimsy and use embossing some way.  Anyway, here’s the result.  I rock and rolled the butterfly in regal rose and then rose red.  For the flower I inked the stem in sage shadow and the flower top in regal rose.  I inked the edge of the flower with the rose red marker.  This was stamped on whisper white  and matted onto sage shadow card.  The patterned paper is from the Crew Kids Girl Scrapping Kit.  I scalloped the sage card strip.   I paper pierced the corners of the rose red card base.   To create the glittery finish, I swiped the stamped cardstock with the versamark.  You need to make sure there is good coverage.  I sprinked over the Heat and Stick powder and heated it with the Heat Tool.  Then I sprinked over the Dazzling Diamonds and heated it again.  I was quite pleased with the bling finish.

make-up-day-020

Here is a close up of the Sparkle!!

make-up-day-021

It was quite fun to do and I’ll have to try it out again sometime.