

Wednesday’s WOW! #132 – You can create a cool background with a detailed border die. What a great way to extend your dies. It does take a little time and is a little fiddly but the effect is so cool.
You can see the effect in this card below. (This card is created by Stampin’ Up! artists). Also note the rainboots have been stamped in reverse stamping which I am not going to address in this post today.
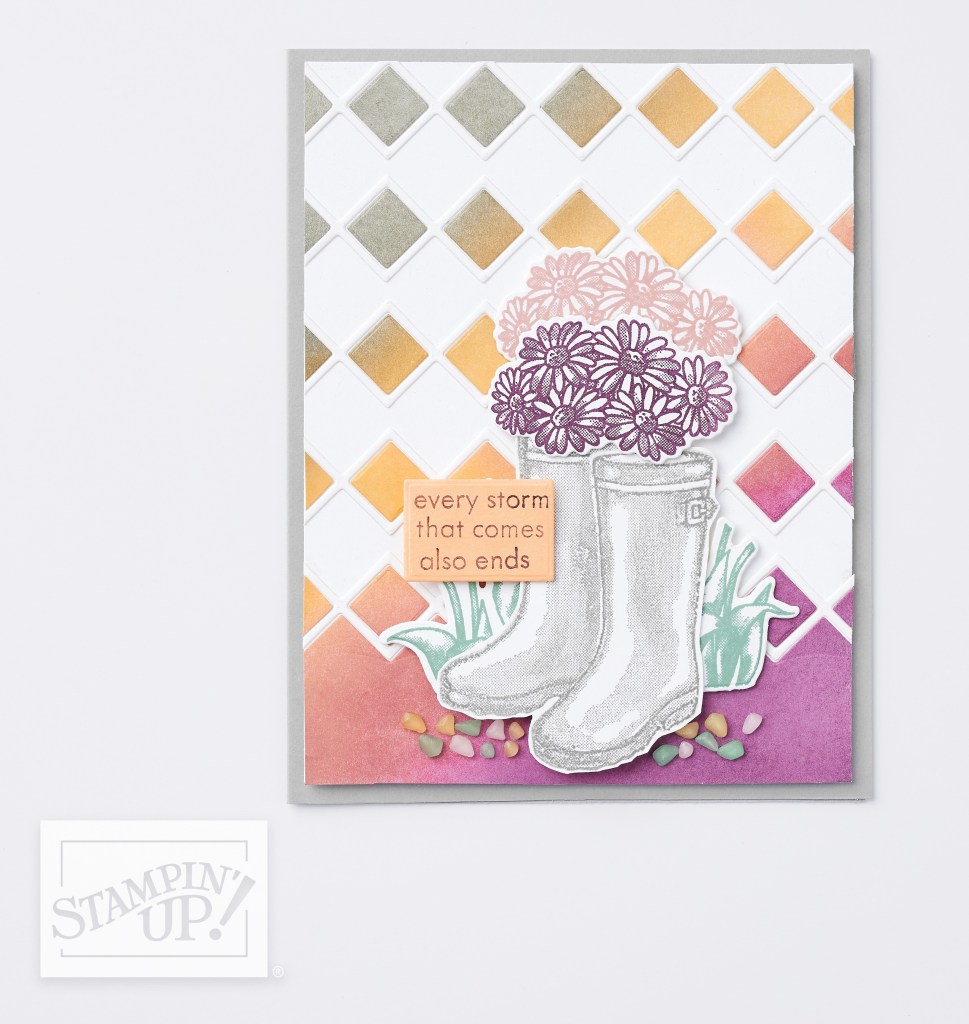
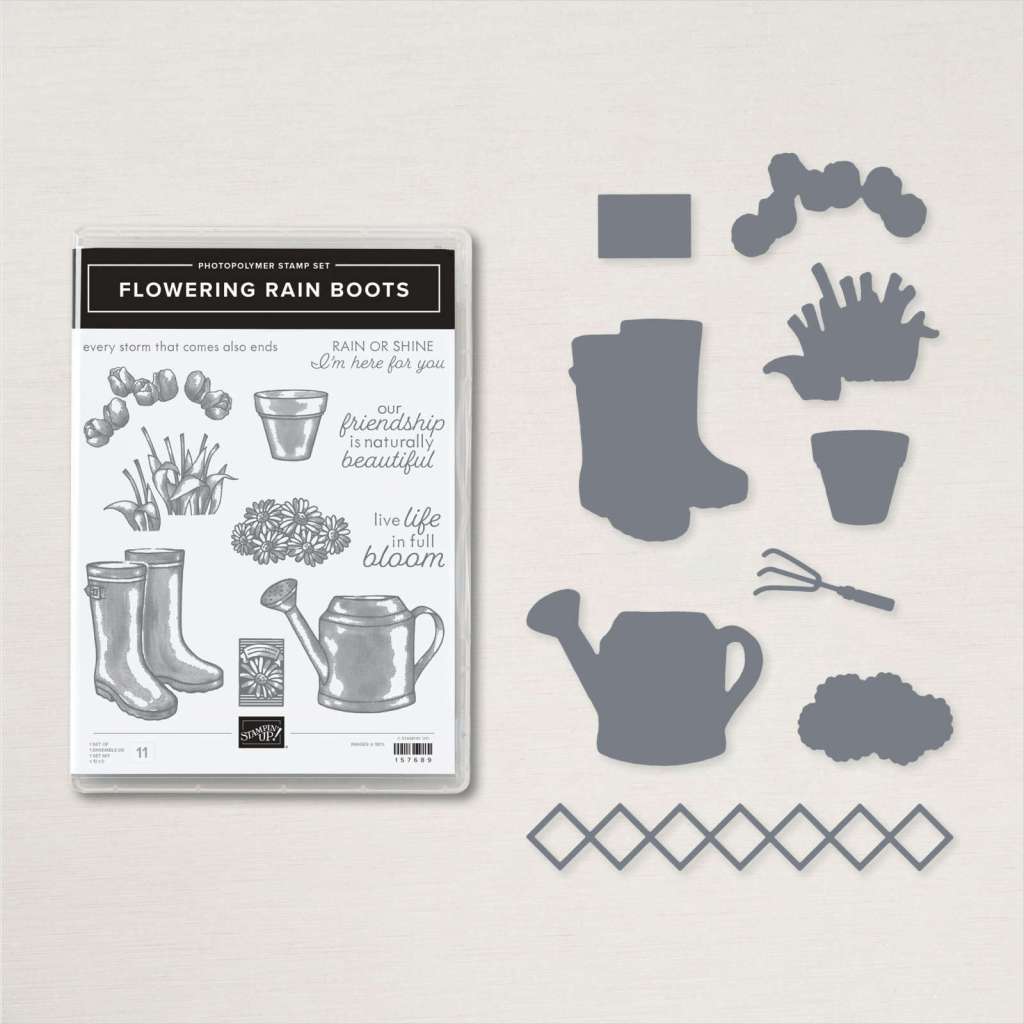
See the white background. This is actually created by the thin diamond strip die from the Rainboots Dies shown below.
How do you create such a cool background effect?
NOTE: This particular sample has been diecut just in white and then white card has been coloured with the Blending Brushes and inkpads.
Here is a simpler way.
You will diecut several of these dies out for the rows on the card. Firstly in white card. 5 was used on this card but check for the card you are creating. Then diecut the strip again in other colours. You can use individual colours for the centres. BUT…
There is an even easier effect – Diecut the detailed die strip in a piece of patterned paper.
Once all the pieces are diecut then assemble the card. Adhere the white diecut strips to a white card base. (You can adhere it straight to your card base but I think assembling it separately gives you some “control”). It might be helpful to lay out all the coloured diecut diamonds separately beside your card. Once you are happy with the layout then adhere each diamond inside the strips. This does take time but how effective is the end result. If you use the adhesive sheets this will also make it easier.
This method is call the Diecut Inlay Technique.
You could try this with any detailed die strip you have. Check them out and see what you can do.
Need to order and in Australia?
Head to my store -> HERE. Please use the Host Code: AFHWZJKK
Or contact me directly and I can help you with your order.

Have a great day,
Jenny
