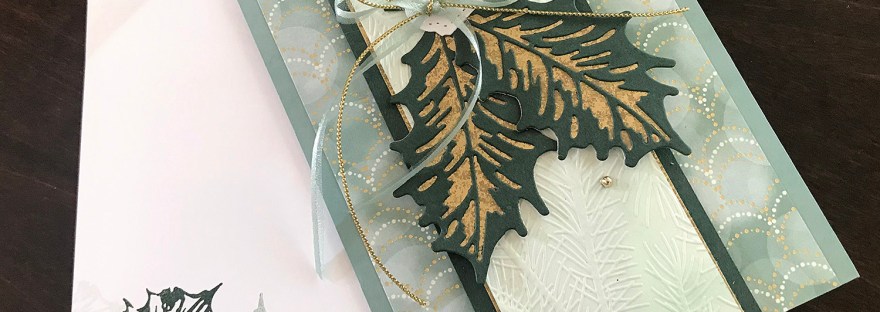
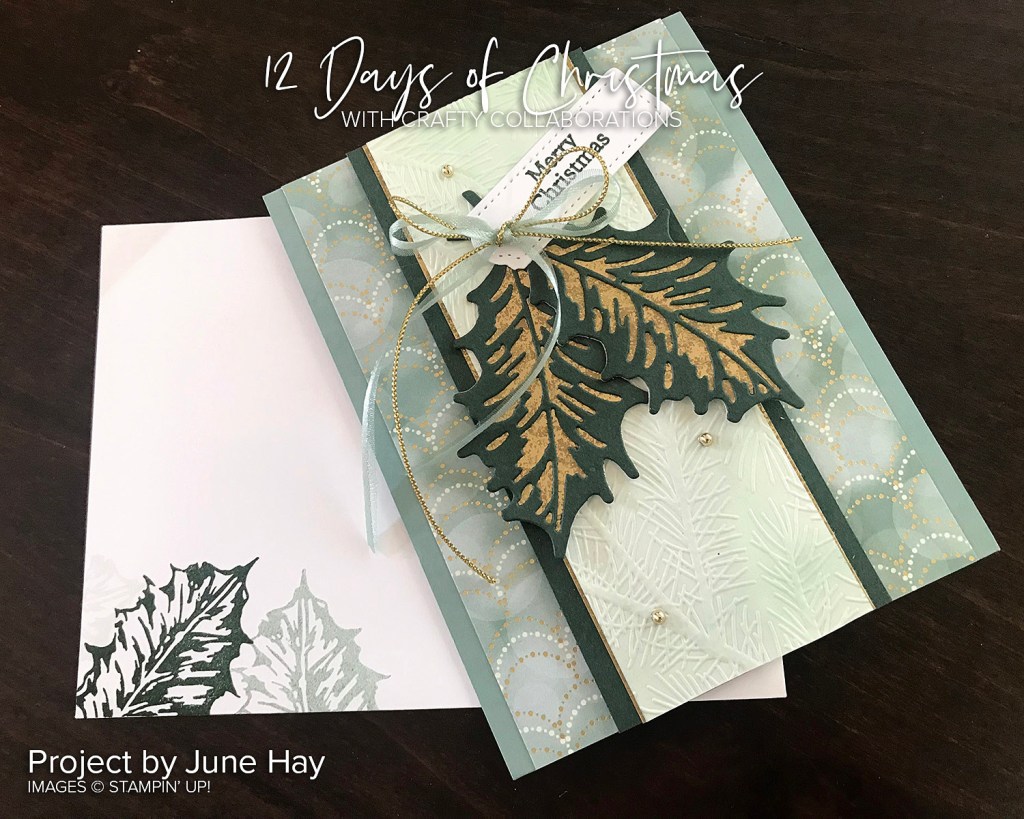
Day 9 of 12 Days of Christmas is a Layered Leaves of Holly card created by June.
You can find the full tutorial to recreate this card -> HERE.
The centre piece embossed with the Pine Embossing Folder is actually Watercolour card sponged with different shades of ink. You could easily simplify this with a piece of card either Soft Succulent or Soft Sea Foam and lightly sponged over it.
Looking for some supplies to get you creating and you are in Australia?
You can stop by my store -> HERE Please use the Host Code: JCBE3B2U
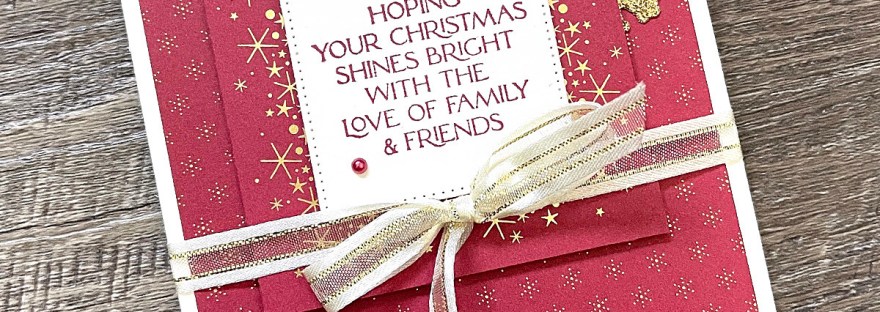
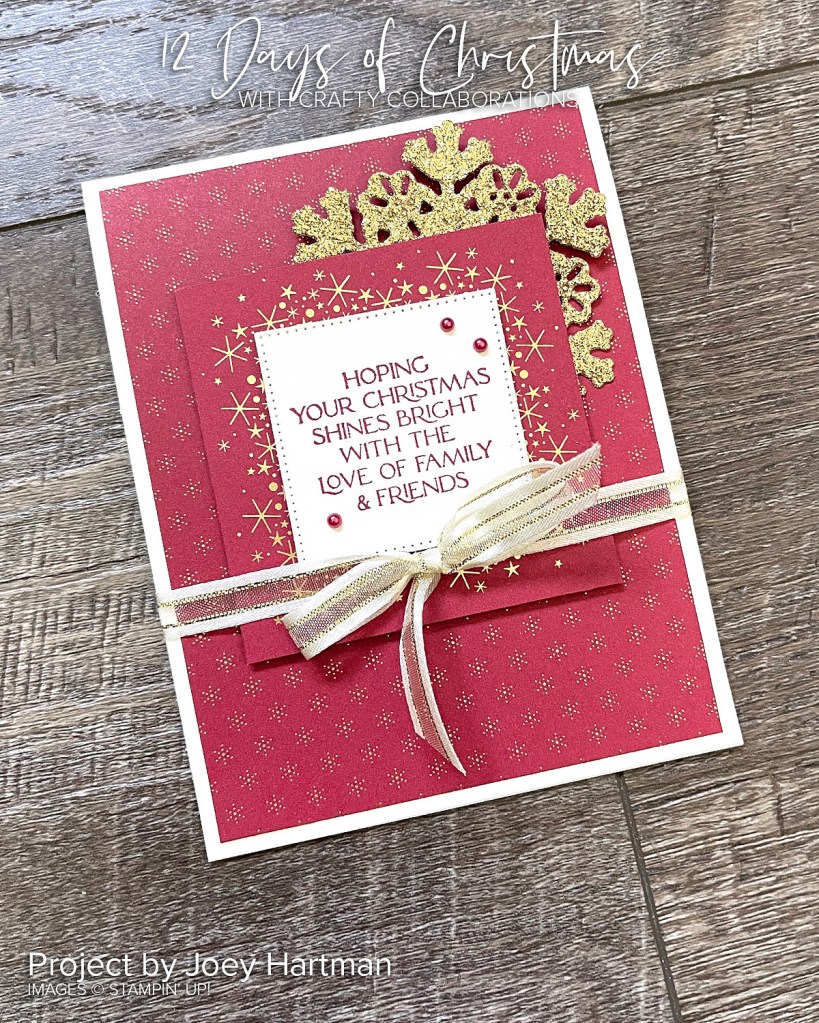
Day 5 of 12 Days of Christmas. It’s a Glimmery Lights Aglow card.
It’s a simple card with the Lights Aglow Specialty Designer Series Paper but the the Glimmery Gold snowflake and Gold Satin Edged Ribbon makes it look so elegant.
Each day for the next 12 days I’m bringing you some special Christmas projects for our 12 Days of Christmas. I hope they might inspire you with your Christmas creating.
These projects are a collaboration from some Demonstrators from around the world so you are in for a treat.
Today I’m kicking off with a project I created. I couldn’t wait to share it with you.
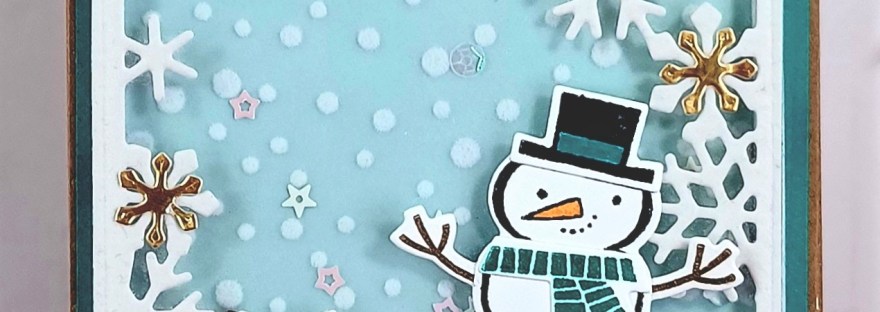
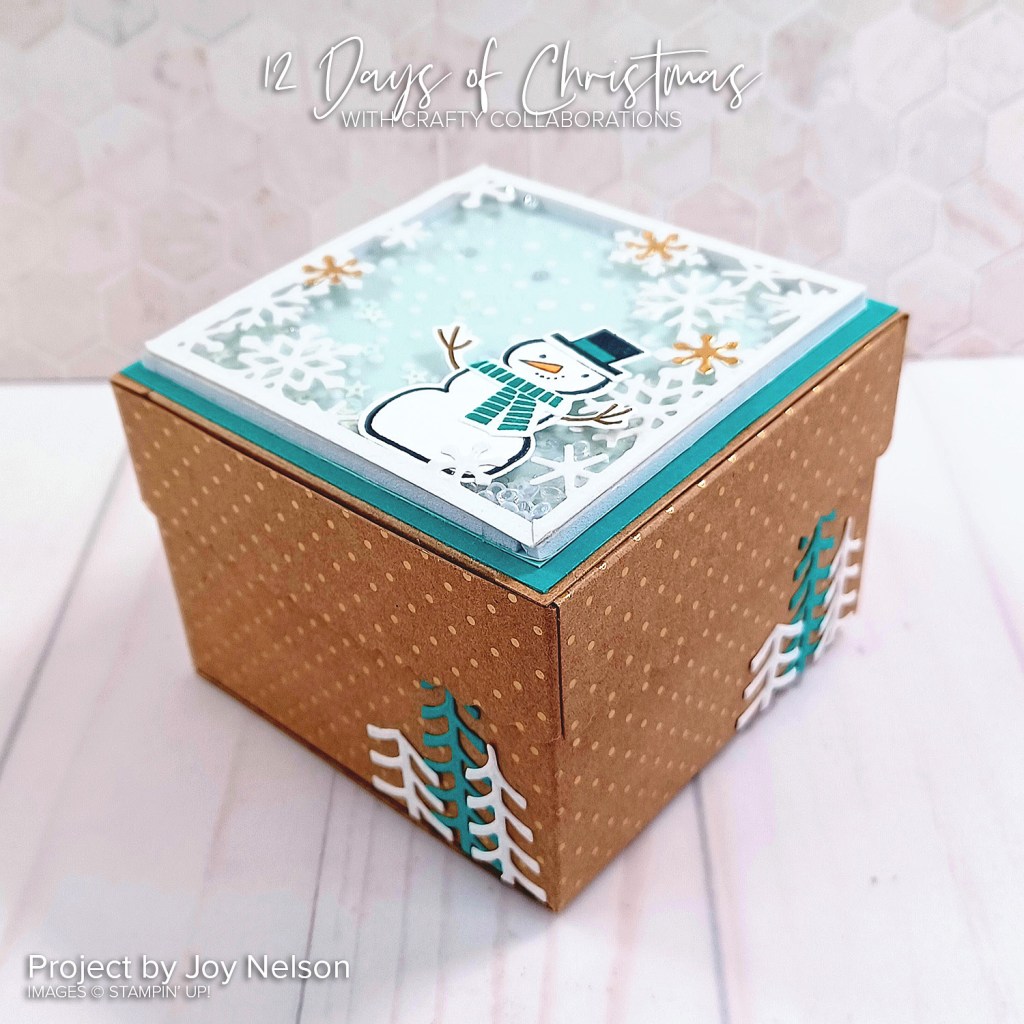
I have used the Merriest Moments Stamp Set and the Merriest Frames Hybrid Embossing Folder.
This would look lovely as a centrepiece for your Christmas table or sitting on a shelf. What do you think?
I love making little Thank You cards to send out thanking people for their orders.
These little ones I created for recent orders. I have used the Notecards and Envelopes. They are so easy and quick to put together when making cards. Also there is the gorgeous Sun Prints Designer Series Paper and the Cottage Wreath Bundle.
Thank You to everyone who shops with me.
Also, Thank You for your support in following my blog along and my little corner of the crafting world. I do appreciate each and every one of you.
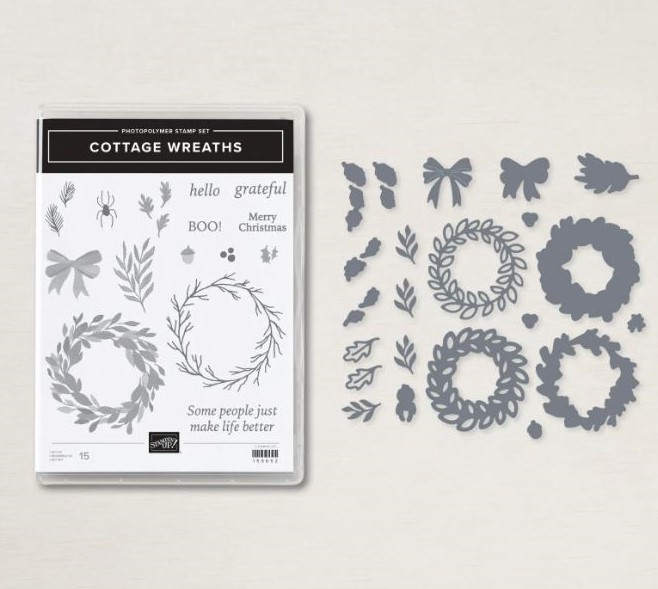
Here is the Cottage Wreaths Bundle.
Need supplies and you are in Australia?
You can shop in my store -> HERE. Please use the Host Code: 3WVA7CQE Or contact me directly. I am more than happy to help you. And you might just receive a little card and gift from me to say thank you. 🙂
I know you love to get good value for your money? Who Doesn’t!
Well I wouldn’t be doing my job right if I didn’t let you know about this.
It’s $114 of free products!
Now that sounds good but what does it really mean??
You can be part of the Stampin’ Up! Family.
In October pay only $169 and get $283 of products. That’s $114 of free.
And it doesn’t matter how long you stay. Join for the bonuses. Get the extra Value that is all part of it.
When you don’t reach the quota ($460 AUD per quarter) or when you have had enough you can leave. No penalty.
It really is the best value!
If you order for yourself during the time you are a “Demonstrator”, (Not that you have to Demonstrate). Then you receive a 20% discount while you shop. More savings there.
Not only a discount BUT
Sneak Peek on Products
Order Early
Fun together
Attend Events
Sharing together
So How is that? You can receive $114 of free products.
You pay $169 and get your choice of products for $283.
The most common question I get asked about is the quota you need to make.
Is there a quota?
I can say YES you do BUT… It’s in your first full quarter. Joining now you don’t need to reach that quota until the end of March next year. The quota is $460.
It’s a long time to enjoy the discount. And If you don’t don’t reach it you can drop and continue as a customer.
Wednesday’s WOW! #141 – See the Lovely Layers Vellum.
You might have missed this vellum in the Annual Catalogue. You can find it on page 93 and p139.
I love using vellum on projects. It adds a subtle softness. This vellum though comes printed in various patterns. You can use them as they are directly on your projects. But did you know you can stamp on this vellum too to add that extra dimension??
Check these samples out below. Created by Stampin’ Up! artists.
On these projects below.
Left – Stamp directly on the vellum. Be careful using Classic Inks as the ink will slip on the vellum paper. Allow to dry completely too.
Centre – Layer the Vellum on coloured card. See how it changes the colour of the pattern.
Right – Use the Vellum directly to the project and layer other elements to the front.
For this project below apply colour to the back of the vellum with the Stampin’ Blends. Then swirl the colours with the Water Painter and Rubbing Alcohol. Allow to dry.
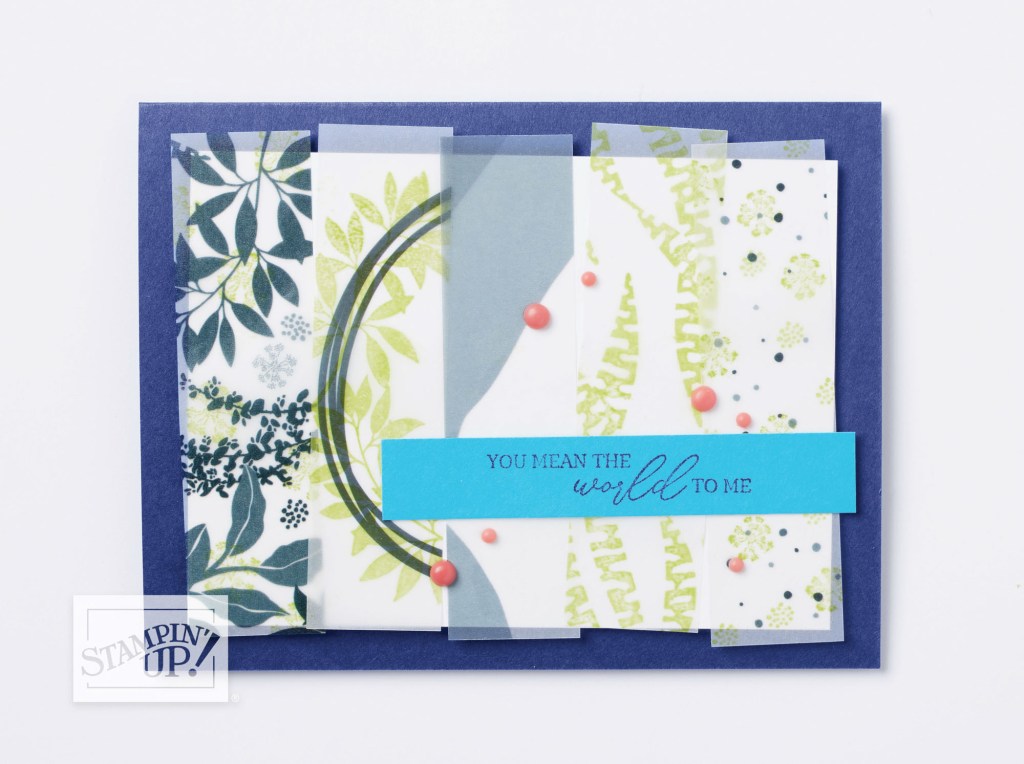
A different Look for this one. Add strips of the different vellum patterns but stamp on them first.
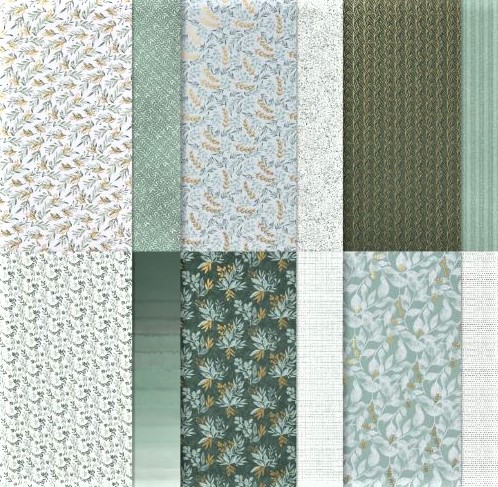
The Lovely Layers Vellum can be purchased individually. Also as a bundle in the Botanical Layers Bundle.
This is the bundle below. $46.25 AUD. You can also see it in store -> HERE.
In Australia and want to give this vellum a try? Head to my store at the above link. Or contact me directly and I can add it for you.