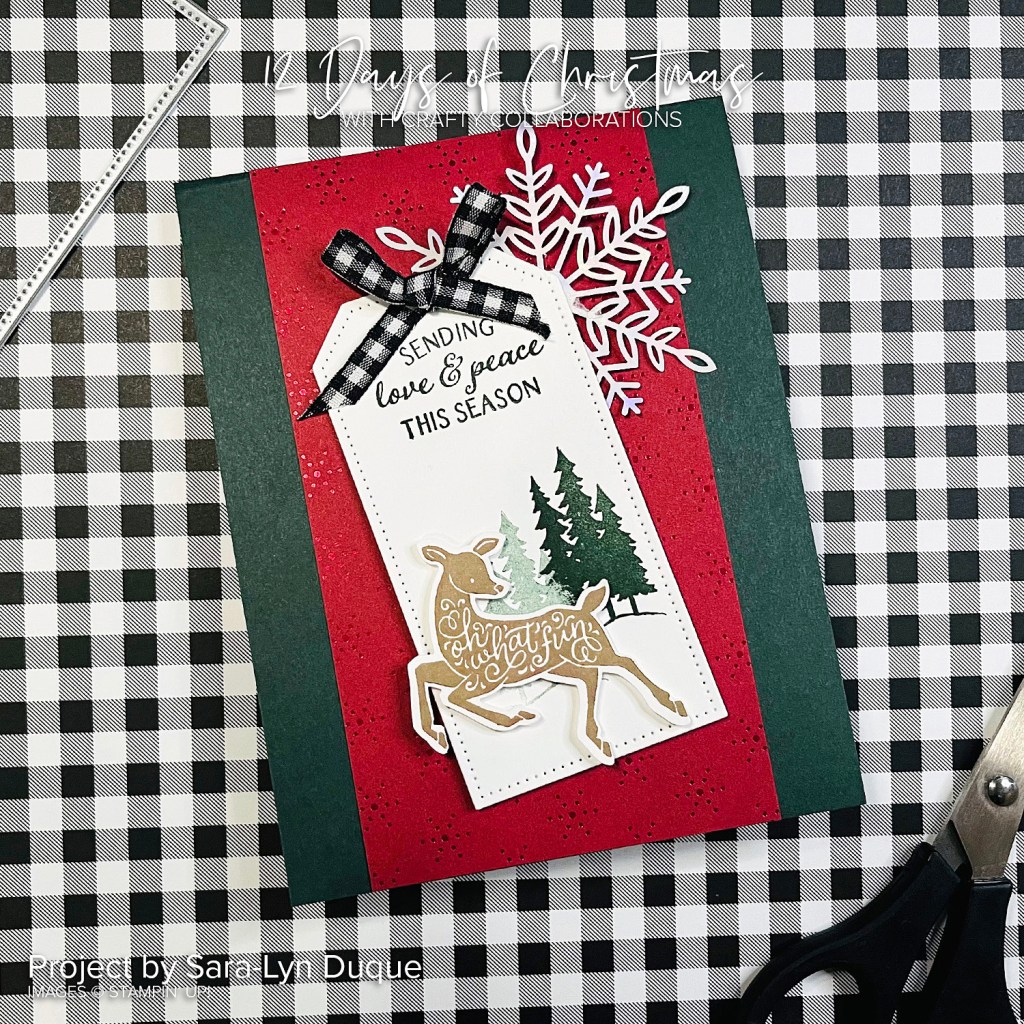
We have Day 2 of 12 Days of Christmas. This project was created by Sara-Lyn Duque.
It’s a gorgeous card using the Peaceful Deer stamp set and the punch. And notice the background?? That is using the Festive Foils Specialty Designer Series Paper. I really hadn’t paid much attention to this paper but isn’t it lovely.
You can find the full tutorial for this project -> HERE.
Need some crafty Christmas supplies and you are in Australia? I would love to serve you.
Head to my store -> HERE. Please use the Host Code: JCBE3B2U
Or contact me directly.
Thank You for your order.
Have a great day. See you in the next post tomorrow.
Each day for the next 12 days I’m bringing you some special Christmas projects for our 12 Days of Christmas. I hope they might inspire you with your Christmas creating.
These projects are a collaboration from some Demonstrators from around the world so you are in for a treat.
Today I’m kicking off with a project I created. I couldn’t wait to share it with you.
I have used the Merriest Moments Stamp Set and the Merriest Frames Hybrid Embossing Folder.
This would look lovely as a centrepiece for your Christmas table or sitting on a shelf. What do you think?
We had our JEN’s INK team get together on the weekend. It was nice to be able to be back together in person. It was a small gathering this time to get us back. That’s ok though. 🙂
I put together some card kits and the crafting challenge was to create a card with the pieces.
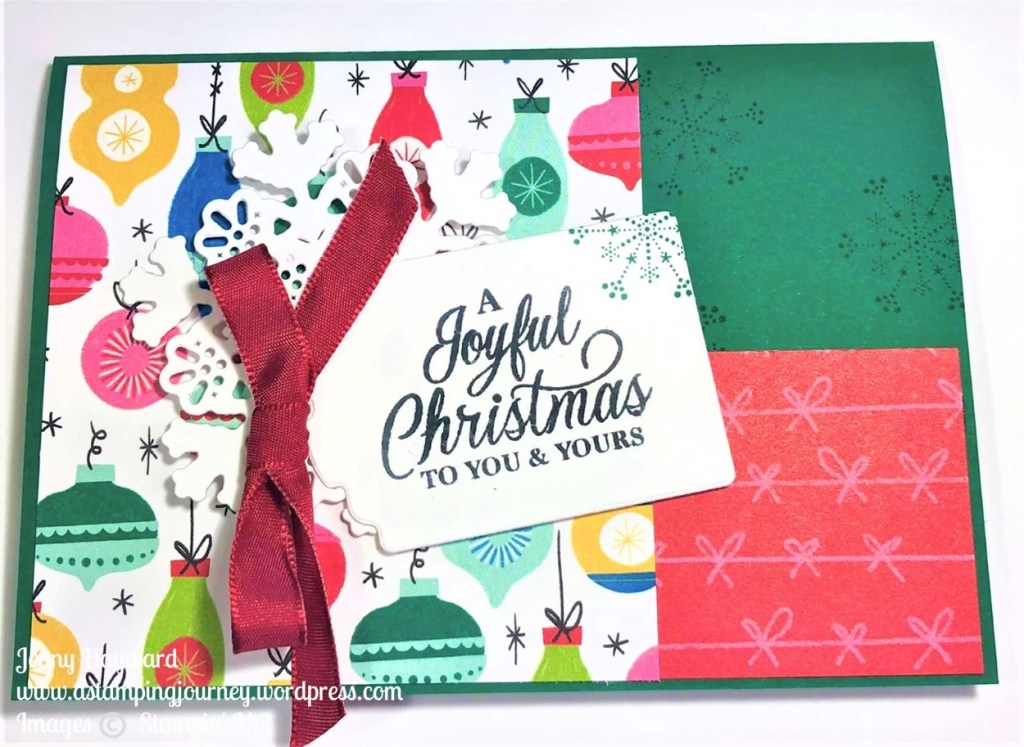
This was the card kit. This uses the Celebrate Everything Designer Series Paper (host paper pack).
There was extra white card and some Silver and Gold Foil. I had a number of inkpads, Ribbon, Christmas stamp sets and dies and embossing Folders. That was it!
This was my card. I trimmed down the piece of DSP. The sentiment from the Merriest Moments stamp set was stamped and diecut with the Designer Tags Dies. And I added a diecut snowflake from the Twinkling Lights Dies.
It was a fun exercise but I tell you it was hard.
What would you create with these limited supplies?
Come and be part of my fun JEN’s INK Team. I love welcoming new team members. There is no better time than this month with the extra bonus.
You can order up to $283 of products and only pay $169. And then you have the fun of saving with the discount you receive each time you order. You can stay as long as you like. Email or message me if you want to know more. This ends on October 31st.
Find out more of Why You need to be part of the Stampin’ Up! Family -> HERE.
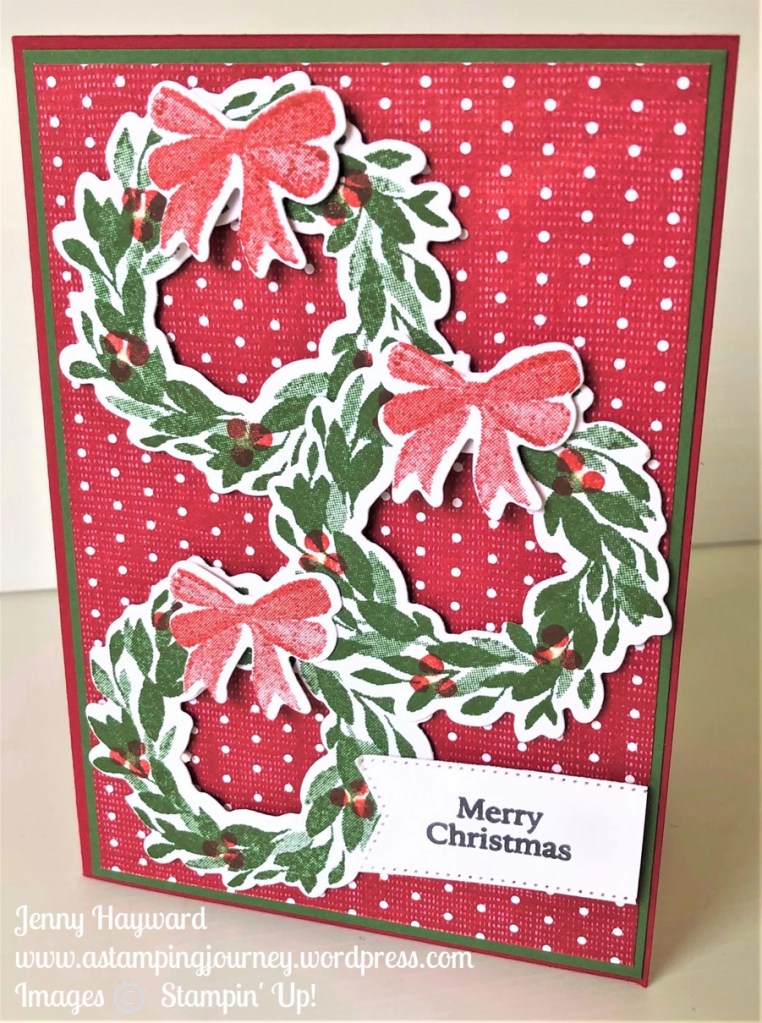
I shared in a recent post a card with the Cottage Wreaths Stamps and the Country Wreaths Dies. That was the card for visitors to make when they came along to my table at the local Doll, Bear and Craft Show. As I was sitting there I made some other cards with just what I had. This was one of them.
The paper is the Sweetest Christmas Designer Series Paper. You can’t see the centre of the berries but I added a little sparkle with the Wink of Stella pen.
This was actually a fun card to put together. I will show you another card I made then shortly.
Happy Stamping,
Jenny
Need some supplies and you are in Australia? I am happy to serve you. You can stop by my store -> HERE. Please use the Host Code: 3WVA7CQE
OR you can contact me directly and I can help you with it.
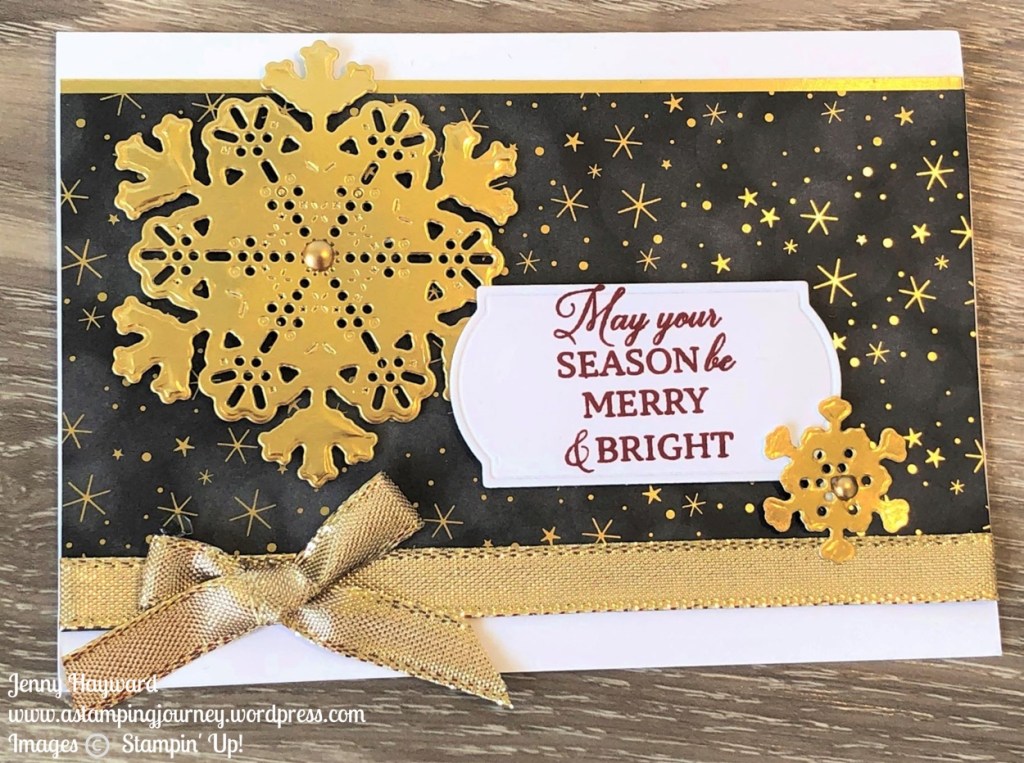
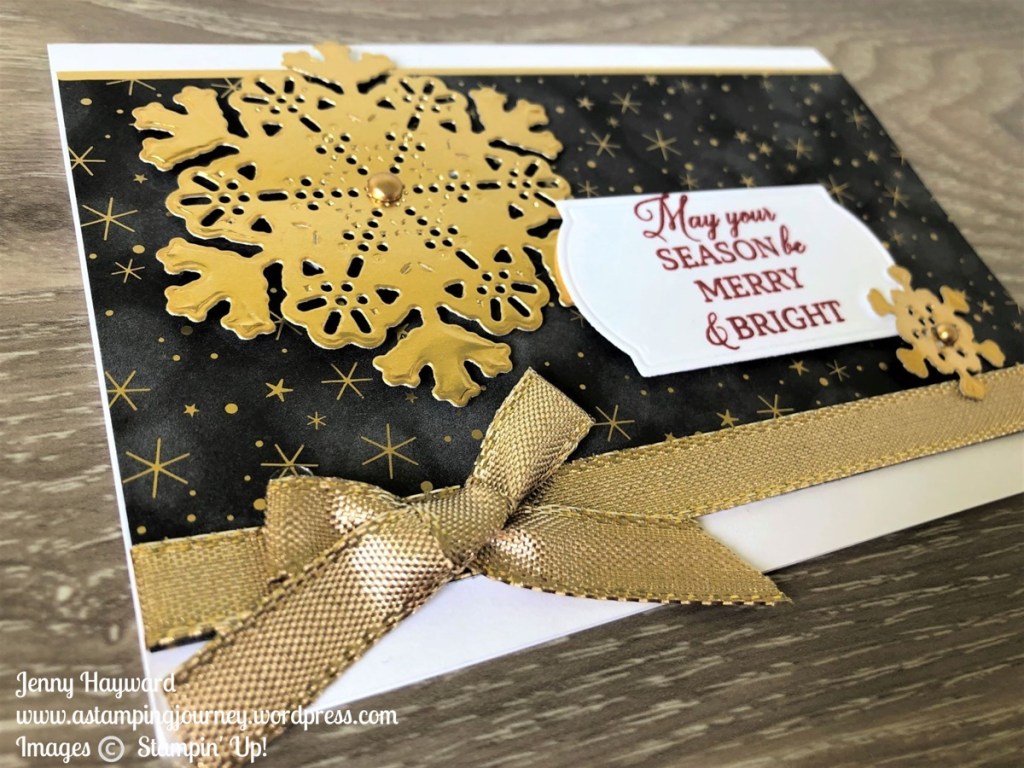
A shiny, gold Christmas card for you today. This Lights Aglow Specialty Designer Series Paper and with the Twinkling Lights Dies can make a very elegant card.
The sentiment is from the Trimming the Tree Stamp set and diecut with one of the dies from the Painted Labels Dies. And some shiny Gold Shimmer Ribbon.
In Australia and would like to order some of these awesome products for your Christmas creating?
Head to my store -> HERE. Please use the Host Code: 6PPKEPZJ
Or you can contact me anytime for me to order for you.
Today’s Video project is up now on Youtube. You can catch it here too.
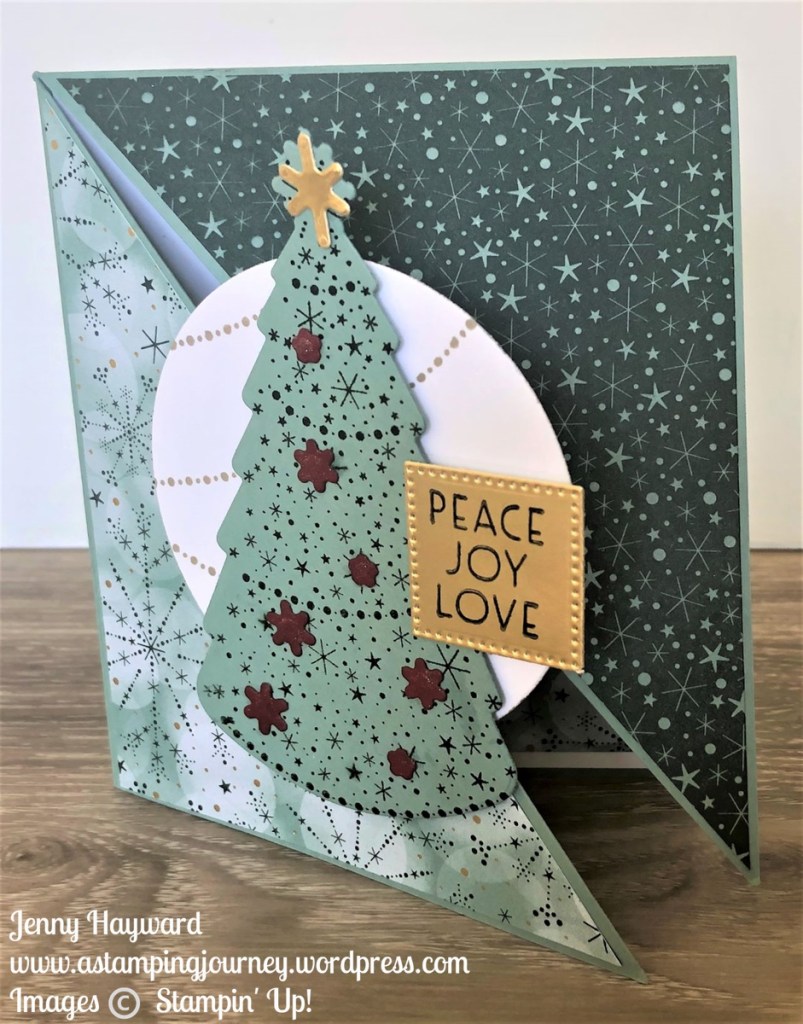
Today’s card is a Diagonal Fun Fold card. It’s super easy and creates such a WOW! Bonus too you can create 2 cards from the card and paper pieces.
Check it out below.
If you receive this blog post update via email the video may not show so do head to my blog directly and view it there.
The Measurements are further below too to create your own.
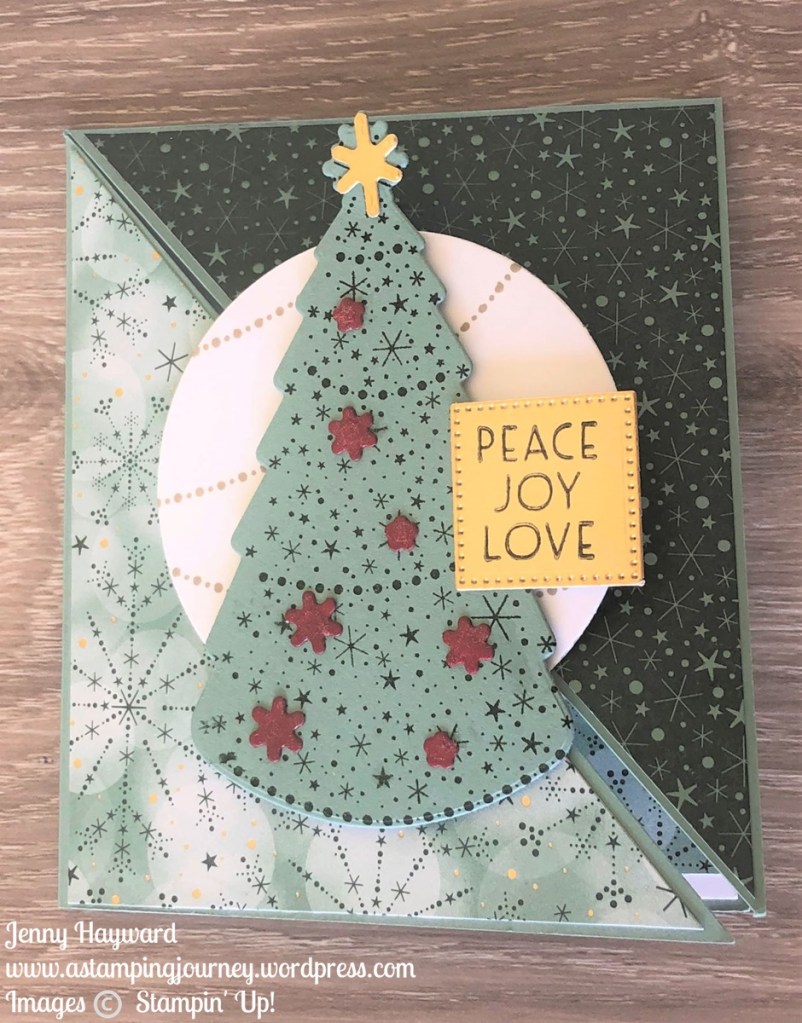
Here is the Christmas Lights Diagonal Fold card. I have used the Christmas Lights Bundle and the Lights Aglow Specialty Designer Series Paper. The sentiments are from the Inspired Thoughts Stamp Set.
MAKE YOUR OWN DIAGONAL FOLD CARD
Base card – 21cm x 24.5cm Score at 10.5cm on the short side. Turn and score at 12.3cm on the long side.
Base card – 8 1/4″ x 9 5/8″. Score at 4 1/8″ on the short side. Turn and score at 4 7/8″ on the long side.
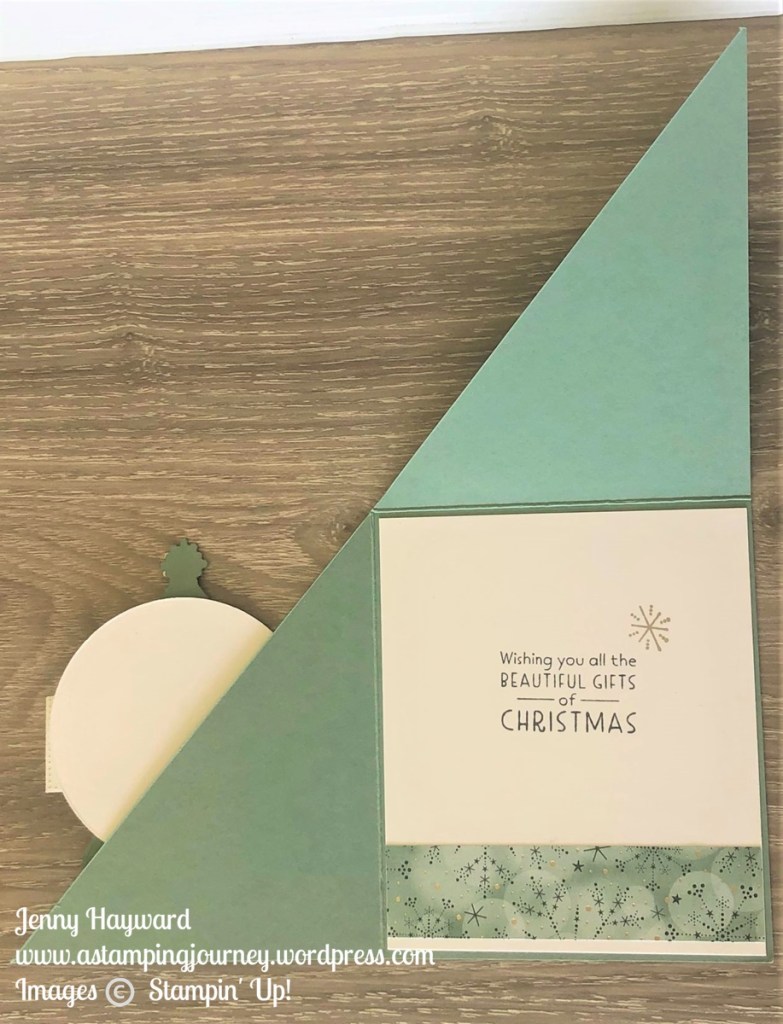
Cut the card diagonally from the Top Left to the Bottom Right.
Designer Series Paper – 2 pieces at 10.1cm x 11.8cm 3 7/8″ x 4 5/8″
Cut Diagonally from Top Left to Bottom Right.
White card for inside – 10.1cm x 11.8cm 3 7/8″ x 4 5/8″
Designer Series Paper strip for inside – 2.5cm x 10.1cm 1″ x 3 7/8″
I hope you get to make one. Do let me know.
Do you need any supplies and you are in Australia? I would love to serve you.
Head to my store now -> HERE. Please use the HOST CODE: DK3ZG2DU. Or contact me directly and I will place the order for you.
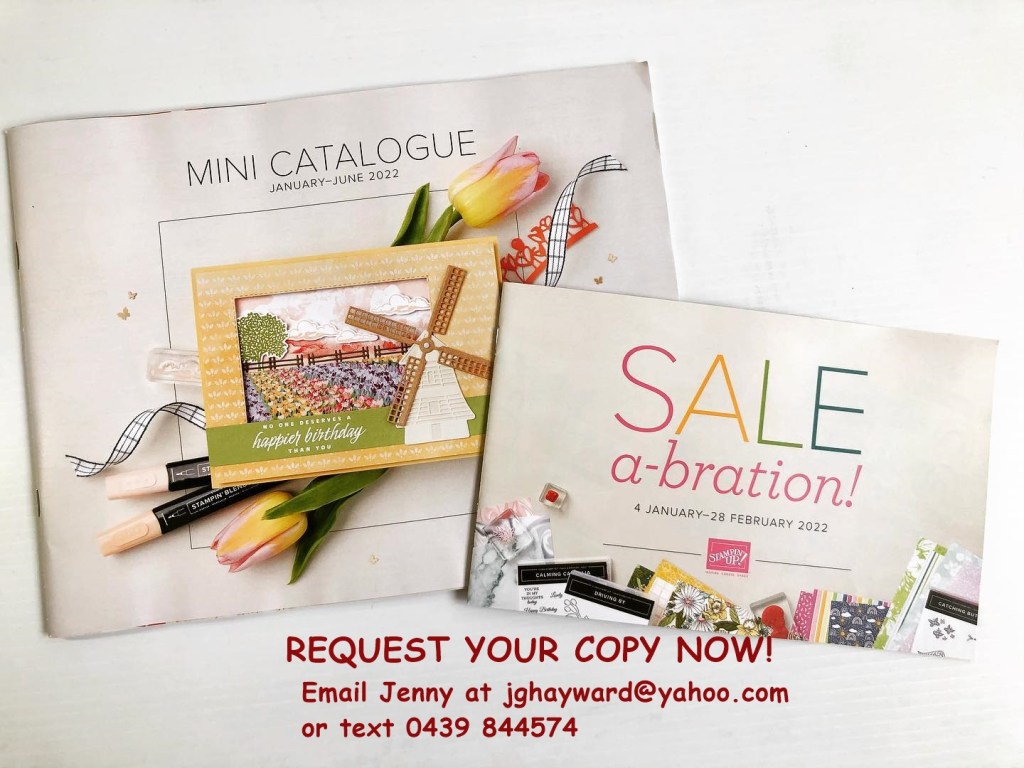
I know it’s a crazy, busy time. I am just preparing all the new catalogues to send out. The 2022 Mini Catalogue starts on January 4th. Woo Hoo!
Would you like one?
Just take a quick minute and comment here or email me at jghayward@yahoo.com and say a big YES! I will get one in the mail to you very soon. (Australian residents only).
Now back to your crazy Christmas preparations.
I look forward to sharing more creating with you in the New Year. Thank you for all your support this year.
On our Team Zoom Christmas chat on the weekend we were given a Challenge. Use Non-Christmas products to create a Christmas card – in 20 minutes! YIKES!
I have to say it took me half that time to work out what I was going to do but here is my card.
I ended up using the Tasteful Touches stamp set and the Watercolor Shapes Stamp set. Also who would have thought that the You’re A Peach Designer Series Paper would work for Christmas.
What would you do? Why not give it a try.
Hope all your preparations are going well. It’s a crazy time.
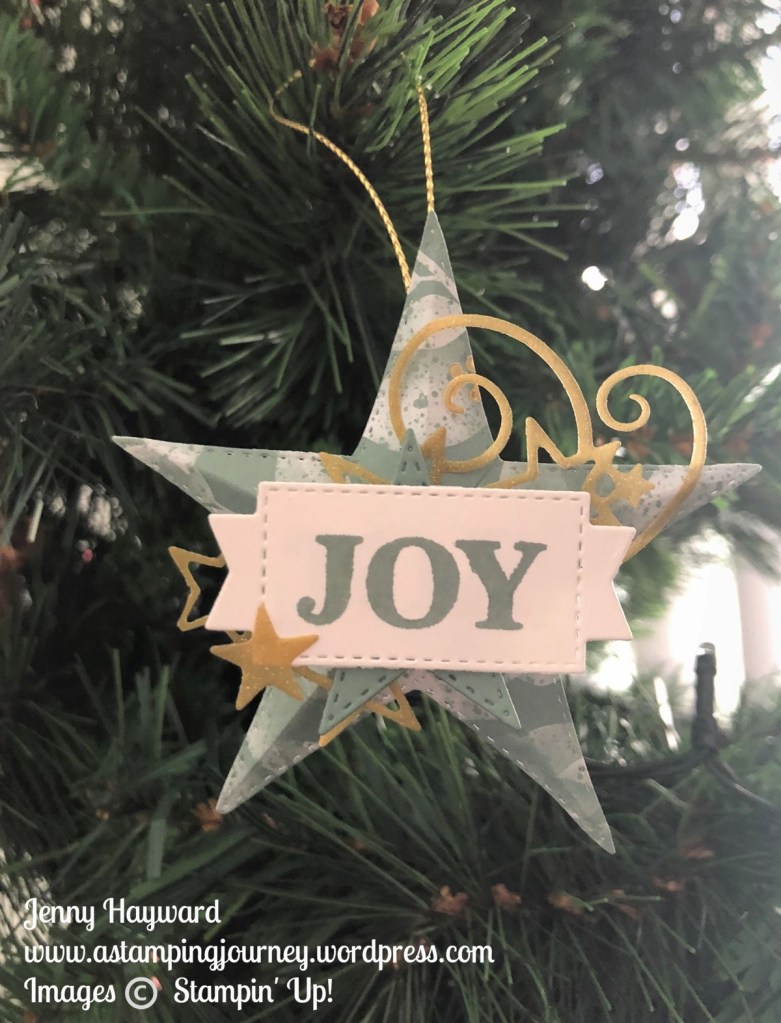
Today I’m sharing a bonus project for our last Christmas class held this weekend.
We created this Joy Christmas Star. It could be a tree decoration or a gift tag. I used the Stitched Stars Dies. The star was inspired by Sara Douglass. You can see her version -> HERE.
It looks so lovely hanging on the tree.
I hope you all are getting your Christmas gifts and wrapping sorted. It’s crazy that it is less than a week.
Wednesday’s WOW! #130 – Extending your diecuts to make them larger.
This is a tip I use so often. It works well with punched out shapes too. If you have a die or a punch that you wish would be just a little larger, cut the piece in half and separate the pieces to adhere them under the images or sentiment.
This is what Stampin’ Up! have done in the tag on page 3 of the Mini Catalogue with the Christmas Season bundle and the Painted Christmas Designer Series Paper -(and it’s a gorgeous tag they have created too).