cards, Stampin' Up!

FOXY CATS!

Since I have got back from Stampin’ Up! Onstage last week I have been running.  I think in circles more so but anyway… I haven’t had a lot of time to go through my photos to share with you as yet but I hope to very soon.  In the meantime I still have cards to share.

Today is a card with cats!!

These cats are made with the Fox Builder Punch.  I am not a fan of foxes so I haven’t got this punch but I used this punch on our stamping weekend.  I found this idea on Pinterest so thought I would make a card with this.   I thought it was a cute idea.

foxy-friends-cats

The cats are stamped in Crumb Cake and Early Espresso using the ‘Foxy Friends’ set. The sentiment is from the set ‘Better Together’. The leaf and the curvy spray of leaves is from the ‘Foxy Friends’ set too. A good thing with the stamps being photopolymer I could curve the spray before I inked it to match the White oval piece that I had already cut with the Oval Layering Framelits. 

The base is Sweet Sugarplum and the paper is from the Playful Palette Paper stack. Before I adhered the cute cats and the Oval sentiment piece I swirled around some Silver Thread and tied around some Sweet Sugarplum Ruched ribbon.

These cats look pretty happy don’t you think. 🙂

Have an awesome day wherever you may be.

jenny-_-signature

cards, Stampin' Up!

STITCHED FRAMELITS ARE HERE AND GET 25% OFF SELECT SETS!

I have been eyeing off these type of Framelits for a while and I am so excited that Stampin’ Up! have released them.  And early! These will be available in the 2017 Annual Catalogue but why wait until then. Get them now during November.

These ‘Stitched Shapes’ Framelits create a “dotty” stitched effect around your cut shape. They are $50 and there are 12 dies in all in Circles, Squares and Ovals.

stitched-frameltis

They will co-ordinate with many of the current sets but Stampin’ Up! have announced 25% off select sets that will work well with these.

discount-sets-with-stitched-framelits

Here they are for you.

Greetings From Santa                                  Hang Your Stocking

greetings-from-santa                            hang-your-stocking

Christmas Pines                                          Merry Mice

pines                              merry-mice

Tin Of Tags                                                        Suite Season

tin-of-tags                   suite-season

Oh! What Fun                                               Baby Bear

oh-what-fun                     baby-bear

Blooms and Wishes

blooms-and-wishes

DO YOU WANT MORE??

If your order is over $55 you will receive a limited edition, exclusive Pop-Up Scrap Bin FREE to celebrate Stampin’ Up!’s 10th Birthday in the South Pacific region.

sp_10yr_shareable_thumb

TO ORDER:

Order Online HERE.  ** Until the 28th November please now use the HOST CODE: YTKD9JKB

*Please note: your Pop-up Scrap bin will be sent separately so please leave your name and contact details when you order online. 

Or 

Contact me Directly by email at jghayward@yahoo.com

Thanks for your order

jenny-_-signature

Catalogues, Stampin' Up!

CELEBRATE 10 YEARS OF STAMPIN’UP! IN AUSTRALIA WITH YOUR FREE GIFT!!

Stampin’ Up! are celebrating 10 years in the South Pacific Region this year.  To mark this awesome occasion they have released an exclusive, limited edition Pop Up Scrap Bin.

sp_10yr_shareable_thumb

You can receive your special Scrap Bin Free when you place a minimum $55 order with me.  As these are “while stocks last” this will only be available until November 12th.

To place an order:

~ Order Online: Please now use the Host Code: YTKD9JKB

* If you order online your scrap bin will be sent separately so please be sure to add your contact details to the order.

~ Or you can contact me directly.

Thank you for your order.

jenny-_-signature

Classes, Stampin' Up!

HOLLY JOLLY CHRISTMAS CLASS!

Come and join us this week if you are in the Wollongong area. I think you will love this class.

It’s a Holly Jolly Christmas Stamp A Stack.  

holly-jolly-christmas

Here are the details.

We will make 6 cards.  (3 each of 2 designs)

When: Friday October 28th at 10am or 7.30pm at my place in East Corrimal.

Cost: $20.  $5 discount if you bring your own adhesives.

Please RSVP by Wednesday 26th. Can’t make it?? Let’s make a special time for you and maybe a few friends.  Let me know.

I hope you can come.  Can’t make it?? Let’s make a special time for you and maybe a few friends.  Let me know.

Jenny

cards, Stampin' Up!

PEEKABOO PEACH FAIRY!

This is another project I made on our stamping weekend.  Originally I stamped and coloured this Fairy from Fairy Celebration for the Panel card I showed a few posts back but I thought it was a little detailed to go on the card.  So I created another card to put this on.

peekaboo-peach-fairy

The fairy is stamped on to Watercolor card and coloured with the Aquapainter.  (Don’t look too closely at the colouring.  I have a bit to work on with that).  I did finish it with the Clear Wink of Stella Brush but you can’t quite see the sparkle unfortunately. The sentiment is stamped on a strip of the Watercolor card.

I wanted the rest of the card to be kept simple so I adhered a piece of the Playful Palette DSP on to  the Peekaboo Peach base card and then could assemble the coloured piece and the sentiment.  It was finished off with a White Baker’s Twine bow and some Rhinestones. I thought the sentiment was a bit bare so I cut a small flower from Blushing Bride from the little flower in the Flourish Thinlits. 

I hope you like this one.  It was the first time I have played with this set.

Thanks for visiting

Jenny

cards, Personal Ramblings, Stampin' Up!

CRAFT ALIVE REVIEW!

All of a sudden it is Thursday!  Where has this week gone to?  I have had every intention of getting back here to share our exciting weekend at the Craft Alive Fair but there has been so much happening.  So here we are today.

Craft Alive is a big Fair of papercraft and needlework exhibitors held in various large centres on the East Coast of Australia.  I am so excited it has now come to Wollongong AND we got to have a stand there this year.  I thought you might like to see our little display.  It was such fun to share in this with my stamping sisters Leonie and Vanessa.

This was set up day.  It took 5 hours to put together.  Such a huge day but we were so pleased with the final display.

20161013_150449

We had so many positive comments about our stand which was nice. We added stars on the space near the tree which I think just finished it off.

20161013_150237

We had 6 Lucky Draw prizes over the weekend which some lucky visitors received a stamp set and some lovely embellishments. Of course you have to have them under the tree.

20161014_142811

20161014_142709

20161014_142807

This photo was courtesy of the Craft Alive Facebook page.  We were kept busy having a card for the visitors to make.

make-and-take

The Make and Take card was very popular so I thought I would show you.  Everyone loved the Cookie Cutter set.  This card was Cased from Jillstamps.

craft-alive-make-and-take_1

Thanks for sharing in this with me. I still have more cards from our stamping weekend.  I might have to hit you hard with them all next week to catch up so stay tuned.

Jenny

Catalogues, Personal Ramblings, Stampin' Up!

LET’S TALK STAMPIN’ UP!

The Holiday Catalogue has been out for a month now and we have had the Annual Catalogue out for a few months. How is that Wish List going? Still adding to it?

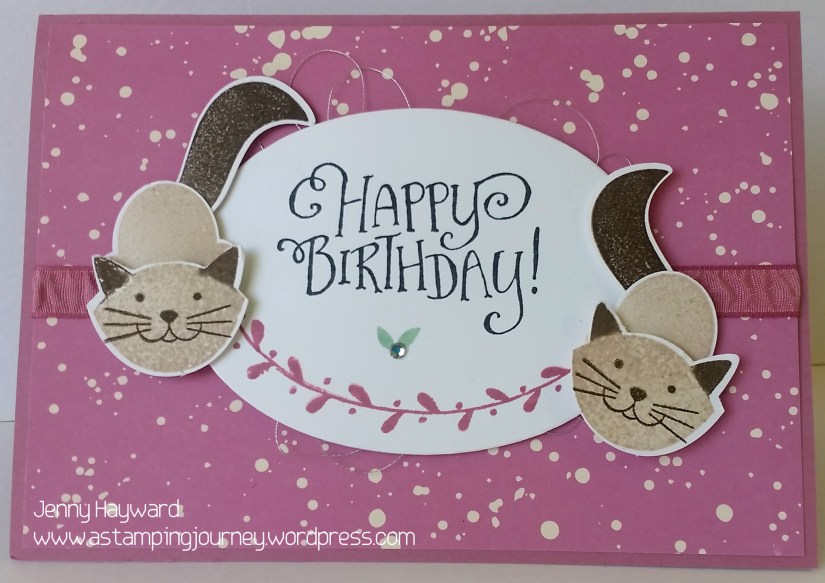
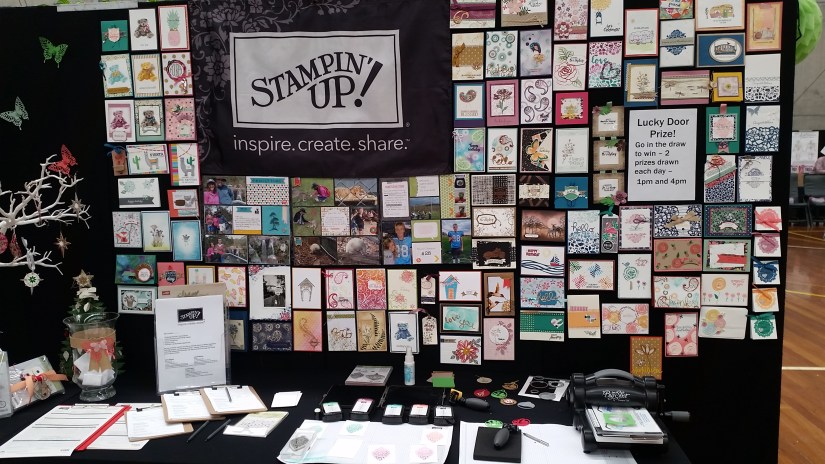
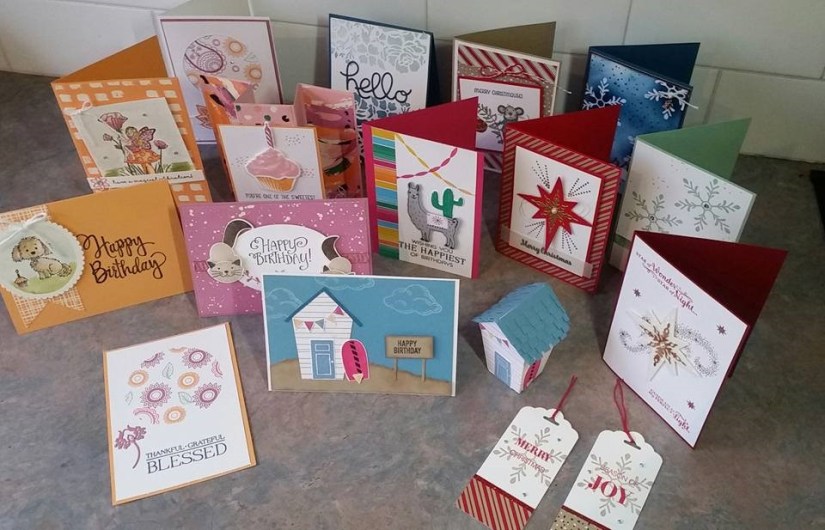
There is so much to love isn’t there?

I am so grateful that I get a discount whenever I order anything. (Even a few freebies doesn’t hurt either!). 🙂

love-the-products_contact

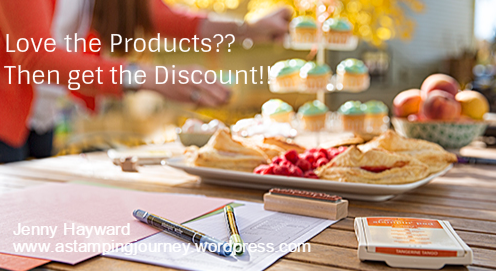
So what would it mean for YOU to get a discount on what you order?

Perhaps it will enable you to buy a few extra craft things you couldn’t get, or use that savings on your grocery bill? Why do we have to eat right, or clean the house for that matter!

You love stamping.  You love the Stampin’ Up! products – and you want it all!

Have you considered Joining Stampin’ Up! to get your own Discount?

OK before you start hyperventilating. I know you are thinking I can’t do parties and classes.  (I am sure that you could show a couple of friends your amazing cards.  You might even do that already. It doesn’t have to be anything formal or fancy).

You don’t have to do Classes or Parties.  It is entirely up to you.  You can sit at your table and craft away – but save money in the process.

What is involved in joining Stampin’ Up!?

You choose $235 of products from any of the current catalogues and Pay only $169.  You don’t even pay for the shipping.  How is that!   That is a huge saving!

Check out this example below to see how it works.  Here you could save $75.91 just by joining Stampin’ Up!

sample-kit-with-savings

I am sure you have more than $169 on your own wish list right?

To remain active with Stampin’ Up! you do have a quota to put in each quarter which is approximately $450 AUS. I think your wish list will keep you going for a while though. You might have friends (or new-found friends) who will order from you.

You can stay as long as you want.  All the time enjoying a minimum of 20% discount.

What you will get out of it?

  • You will receive a minimum 20% discount and that can increase.
  • You will even receive a few free items along the way!
  • Each week you receive an email from Stampin’ Up! with a cute project.
  • A quarterly magazine from Stampin’ Up! with easy to create projects and you can read about other Demonstrators from around the world.
  • Access to an online Forum with literally thousands of projects to inspire you.
  • But best of all, the friendships. I have made so many friends locally and now globally and we all share in this fun hobby of stamping.

Now you are thinking “You are too far away from me to support me!” Isn’t technology wonderful with emails, texts, phones and even Skype! As long as you are an Australian resident, you can join with me.  I help you all the way.

Want to know more?

Head to my ‘Join my Team’ Page HERE where I list 10 reasons why you need to be a part of this wonderful family (and my Team).

Still not sure?

Ask me to send you my “Thinking About It” package, which includes some information sheets – and a blank card for you to send on to someone.

Ready to join already?

Yes, I want that discount.

You can join my lovely team the JEN’s INK. right now on my website HERE.

I help you along the way whatever you want to do.

I have been a Demonstrator for over 8 years now.  I have loved so much about it.  My only regret is that I didn’t join sooner.  So don’t have the same regrets as me.

So contact me for more information, or head right to my website now to join the family.  I look forward to welcoming you.

Jenny


Catalogues, Stampin' Up!

IT’S WORLD CARDMAKING DAY WITH GREAT SPECIALS – AND EVEN A FREE PAPER SPECIAL!!

wcmd_shareable-1_oct0116_uk_sp

Did you even realise there was a day celebrating Cardmaking??  Why wouldn’t there be with such a wonderful hobby that brings so much joy to others.  You just have to celebrate it. Also it’s a day to remind everyone that the age-old giving of cards is not gone out the window with all the technology we have.

Yes, it is easy to drop an email or a text but isn’t it nice to say it with a card. 🙂

Are you going to make a card this weekend?? It’s a long weekend here so I am hoping to make a card – or 2 🙂

Stampin’ Up! are celebrating today with some special offers available for the next 5 days. These offers are up to 25% off.  They will certainly help with your creative projects.  Check them out.

wcmd

Great savings on that cardstock.  If you haven’t got an Envelope Punch Board yet why not grab one at 25% off.  They are great not just for envelopes but for gift boxes and treat holders.  The Tin of Cards project kit is really gorgeous and at 25% off you will love it.

This is the Tin of Cards kit.  All you need to do is provide the adhesives and the stamps and ink of your choice.

tin-of-tags-set

———————————

dsp-_-sale

Not only do we have great specials for World Cardmaking Day but there is a fantastic special on Designer Series Paper for the whole month.

Buy 3 Packs of Designer Series Paper and you can choose one FREE!!!

Awesome!

Here are the choices.

dsp-packs-_-sale

So how to order any of these delectable bargains.

You can order directly from me by emailing/phoning me or by stopping by my store HERE.  If you do Shop Online please use the HOST CODE: HTNCJWUH

 Now off you go and check out these specials.

Jenny 🙂

3D projects, Stampin' Up!

HOME SWEET HOME EXTENSION!

I showed you the little beach house yesterday. I have to show you this house though. When I started making these houses I thought they were cute but it would be good to be a little bigger. So the house underwent an extension.

Here is my extended version. I will explain the “how-to” below.

mint-macaron-larger-house

On this house I cut the house in Thick Whisper White and stamped the Hardwood Background stamp in Smoky Slate.  The roof is Mint Macaron and the windows and door frames are in Basic Gray.

I did cut the door out but I think next time I won’t worry about this.  It tends not to stay shut but then you could sneak one of those Hershey Kisses out! This size actually fits 24 Kisses in.

house-_-side-view

Side View

house-_-rear-view

Back View.

HOW TO EXTEND YOUR HOME SWEET HOME HOUSE:

1. Cut 2 house pieces from the Home Sweet Home Thinlits.  To save card you will only need to cut the front/back of the house section so the one with the peak leaving a small tab around each side. With the same colour card you will need 2 pieces cut at 10cm x 6cm (4″x 2 3/8″).  Score at 1cm and 7cm (Score at 3/8″ and 2 3/4″)

20160930_105359

2. Stamp or decorate your pieces as you like before assembling.  Also, cut your door and windows. TIP: Before cutting your windows, mark a line in pencil across the card piece then line up the bottom edge of your window Framelit on the pencil line to be sure that the pieces are level.

20160930_111436

3. Fold on all the score lines and assemble together. Consider where you want to be able to open your house to get the treats.  On mine although I had the door cut I had the bottom open.  I just used Glue dots to stick it together temporarily.

To assemble add your adhesive on the side tabs of the front and back of the house. I used Fast Fuse but you can use Tear and Tape or other adhesive. Adhere one side wall piece to the tab on the front of the house piece and one side wall to the other tab on the front of the house. Do this by lining up the top score line of the side of the house to the top of the tab piece if that makes sense. The bottom score line should line up with the bottom of the front tab.

Adhere the back of the house to the other wall piece.  If you wish to have the back opening then just add adhesive to only one tab.

4.  For the roof: Cut your card to 7 cm x 9cm.  Score 4.5cm. (2 3/4″x 3 1/2″ Score at 1 3/4″)

Emboss your piece with the Brick Embossing Folder checking that the “bricks” line up the right way on your card.  That is that they run across.  Line up the score line of the card with an edge of the brick wall.

Place adhesive to the top tabs of the front/back house piece and also on the top tab on the side walls.  Line up the “roof” piece with the top of the house and adhere together.

5.  Now decorate to your little hearts content.  🙂  The options are endless really.  With this size you can fit so many treats.  As I had mentioned I was able to fit 24 Hershey Kisses. Unfortunately I didn’t have any Ferrero Rochers on hand.  That would be interesting to see how many can fit.  That’s for another day. 🙂

Have you been making Tiny Houses?  I would love to see them.  Why not drop me a comment with a link for us all to check out.

Thanks for visiting.

Have a great weekend.  It’s a long weekend here so I am not sure what is in store.

Jenny


cards, Catalogues, Stampin' Up!

WEEKEND STAMPING HAUL!

This past week I had a fun weekend with some of my stamping buddies.  These are great times just to sit and stamp and not be interrupted … and have a few laughs and eat too much!!!

I want to show you all my creative efforts for the weekend.  It still amazes me what you can put together with some ink and bits of card.  I plan to share details on the projects individually over the next couple of weeks so stay tuned for that.

group-cards

It was a mix of Christmas cards and general cards.  I think the project I loved most was the Beach House and the card.  It took some time put I was pleased with the end result.  It has shown to be popular on my Facebook page and other group pages I am on too.  I will tell you about that one soon.

The great thing when you get together with others too is sharing stamp sets that you don’t have yourself.  It’s great to make cards using those sets.

Now what will I share with you first????

See you again soon.

Jenny