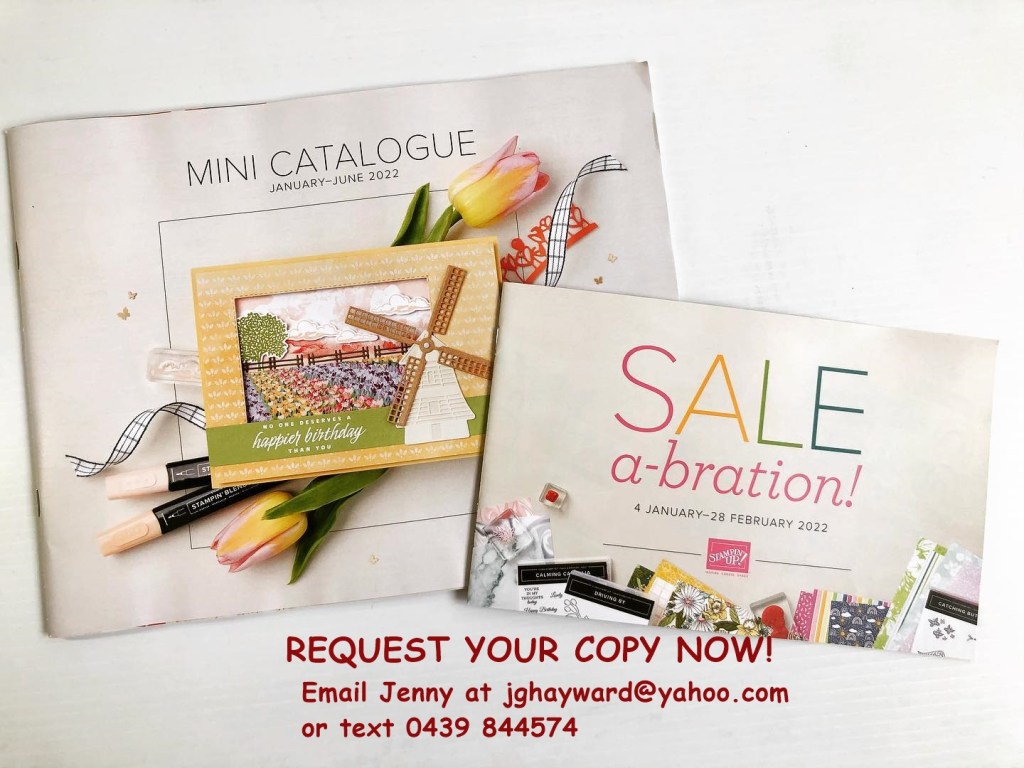
I know it’s a crazy, busy time. I am just preparing all the new catalogues to send out. The 2022 Mini Catalogue starts on January 4th. Woo Hoo!
Would you like one?
Just take a quick minute and comment here or email me at jghayward@yahoo.com and say a big YES! I will get one in the mail to you very soon. (Australian residents only).
Now back to your crazy Christmas preparations.
I look forward to sharing more creating with you in the New Year. Thank you for all your support this year.
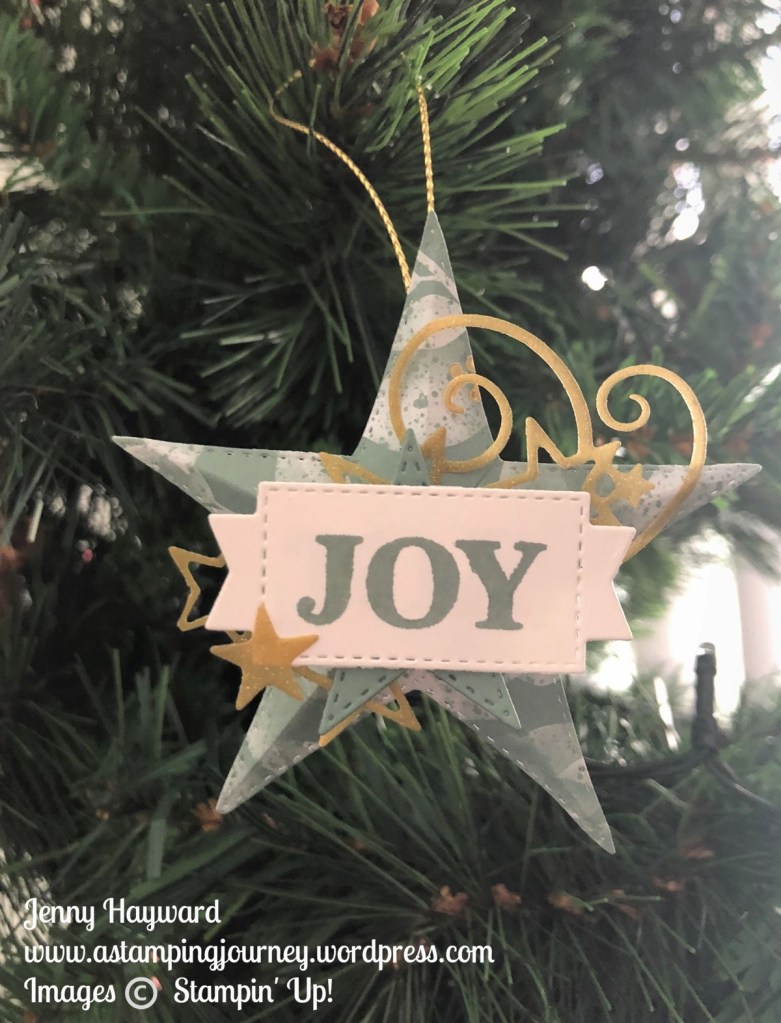
Today I’m sharing a bonus project for our last Christmas class held this weekend.
We created this Joy Christmas Star. It could be a tree decoration or a gift tag. I used the Stitched Stars Dies. The star was inspired by Sara Douglass. You can see her version -> HERE.
It looks so lovely hanging on the tree.
I hope you all are getting your Christmas gifts and wrapping sorted. It’s crazy that it is less than a week.
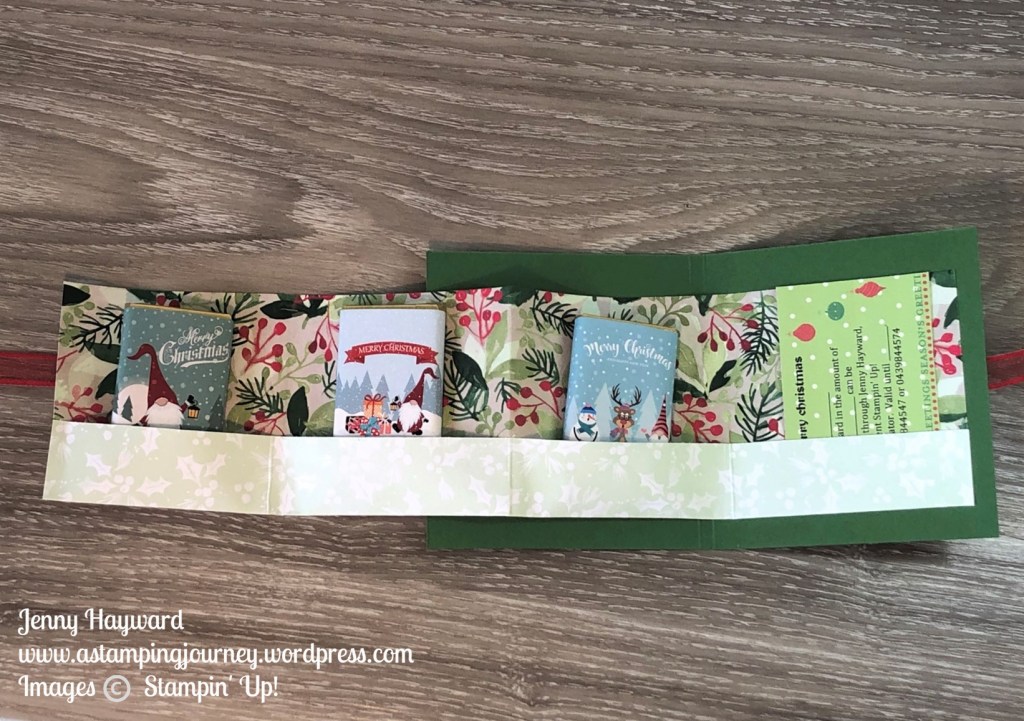
Week 6 (our last week) of A Merry Little Christmas Series. These weeks have flown! This week’s project is a Gift Card/Chocolate Treat Accordion Wallet.
If you give out Gift Cards at Christmas or even other occasions this would be great for you to make. You can add a few little Chocolate treats to go in with it.
I used the Painted Christmas Designer Series Paper for this Accordion Wallet.
Watch the video how to make it below. If you receive this blog update via email the video may not show so head to the blog and catch it there.
As with other weeks, place an order over $50 in the next week and receive the card kit to make this. Also go in the draw to win a Gift Card for $20 from me.
Create your own Gift Card Accordion Wallet
Accordion paper strip: 30.5cm x 10.1cm 12″ x 4″
Scored on the short side at 2.5cm or 1″
Scored on the long side at 7.6cm x 15.2cm and 22.8cm or 3″, 6″, 9″
Card Folder: 18.5cm x 10cm Scored at 9cm and 9.5cm
7 1/4″ x 4″ Scored at 3 1/2″ and 3 3/4″
Card Mat for front: 8cm x 9cm (@2 pieces – one for the back) 3 1/4″ x 3 3/4″
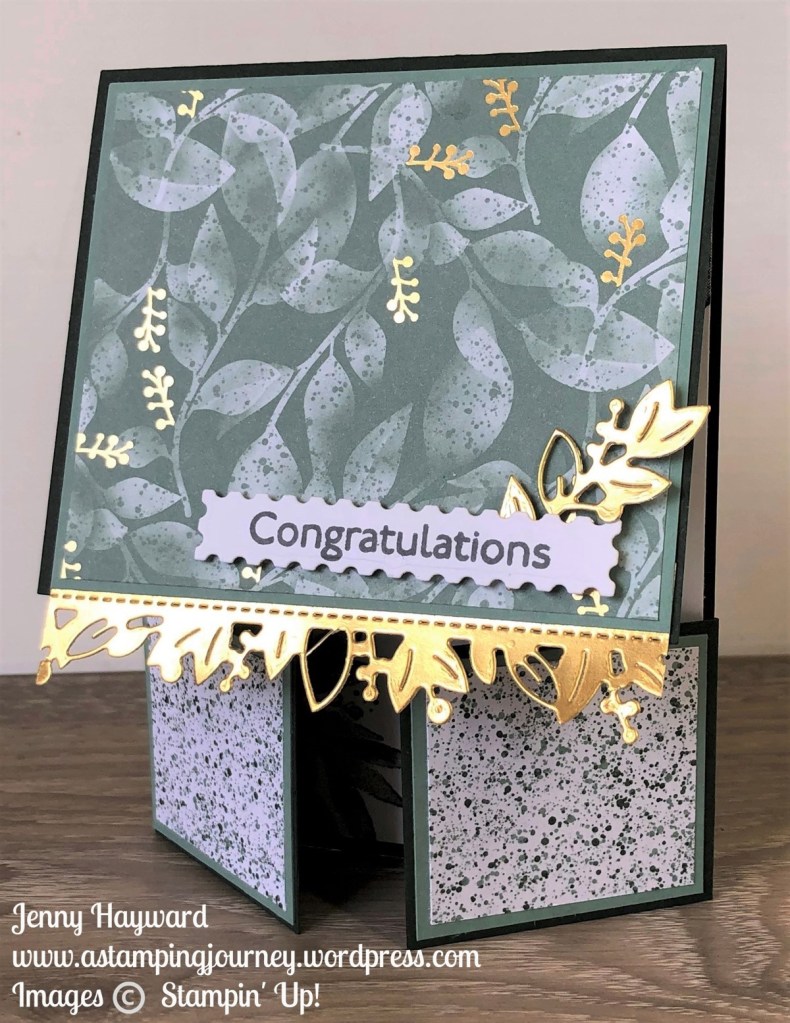
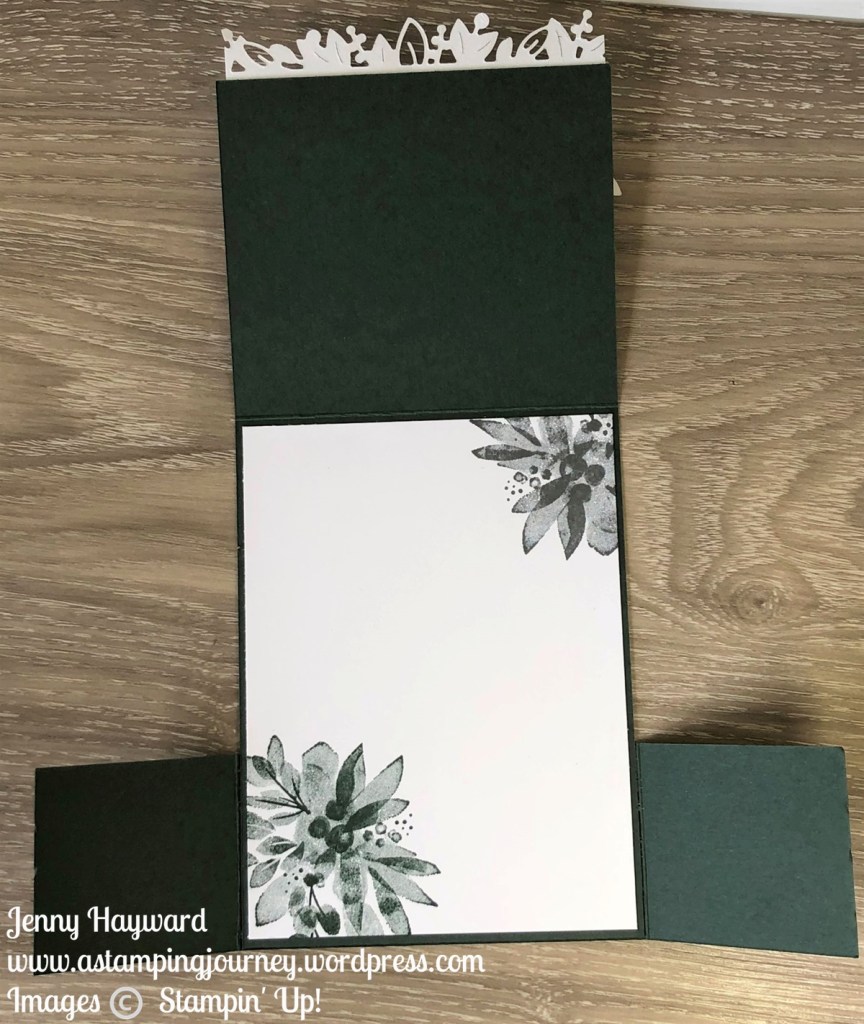
I shared this card in my video the other day. I thought I would show you a closer look at the card. We made this card at class last week too.
I used the gorgeous Ever Eden Specialty Designer Series Paper. The sentiment on the card is from the Art Gallery Stamp set and cut with the Floral Gallery Dies.
Inside is stamped the flowers a couple of times.
I will share more of the other cards from the video shortly too.
If you missed the video jump back a couple of posts on my blog. Or it is now on Youtube.
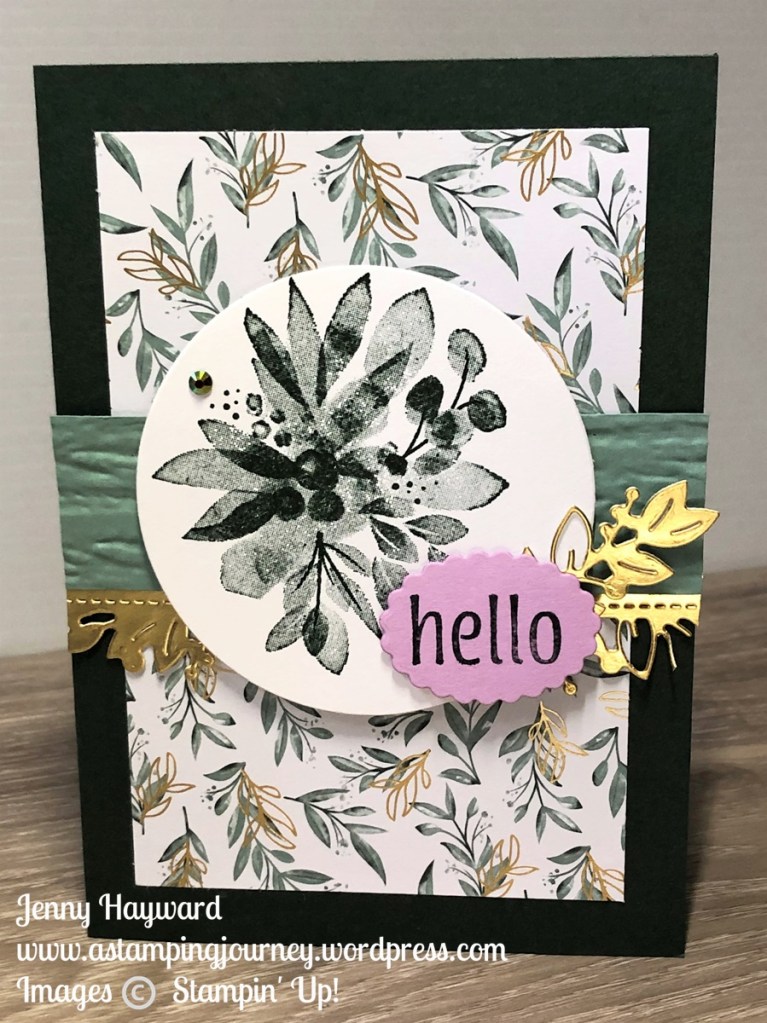
Yesterday we had our monthly JEN’s INK team Zoom Craft and Chat. This month I gave them the measurements and details for a Mystery Card.
It’s always interesting to see how the cards look giving just the same basic details. I will share more of those soon. Today I thought I would share my card.
The basic requirements were a Standard Card base, Rectangle of DSP, a strip of co-ordinating card and a small square of white card. I did give them the measurements. They could add some extra card or embellishments and could add diecutting or embossing.
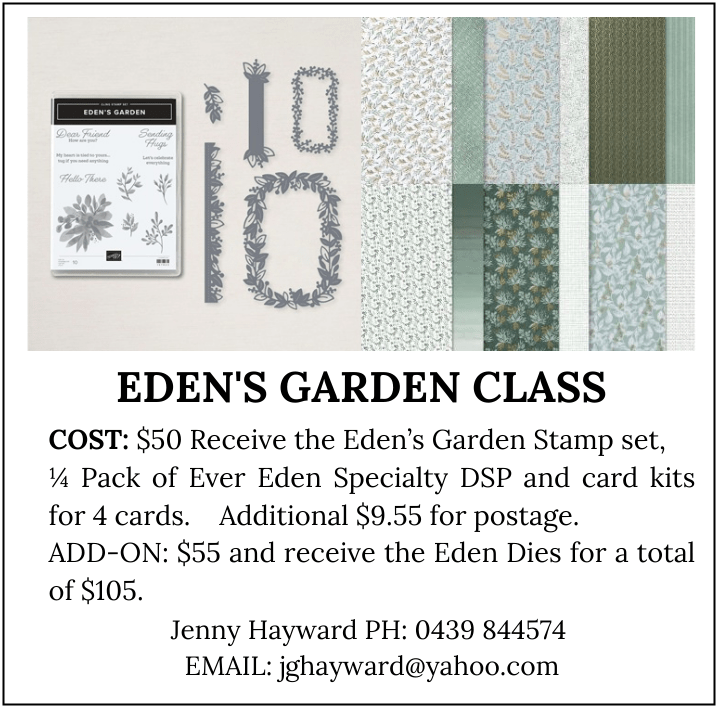
This is the card I created. I used the Eden’s Garden Suite.
I am just in love with the Ever Eden Specialty Paper. ❤
What would you make with these elements?
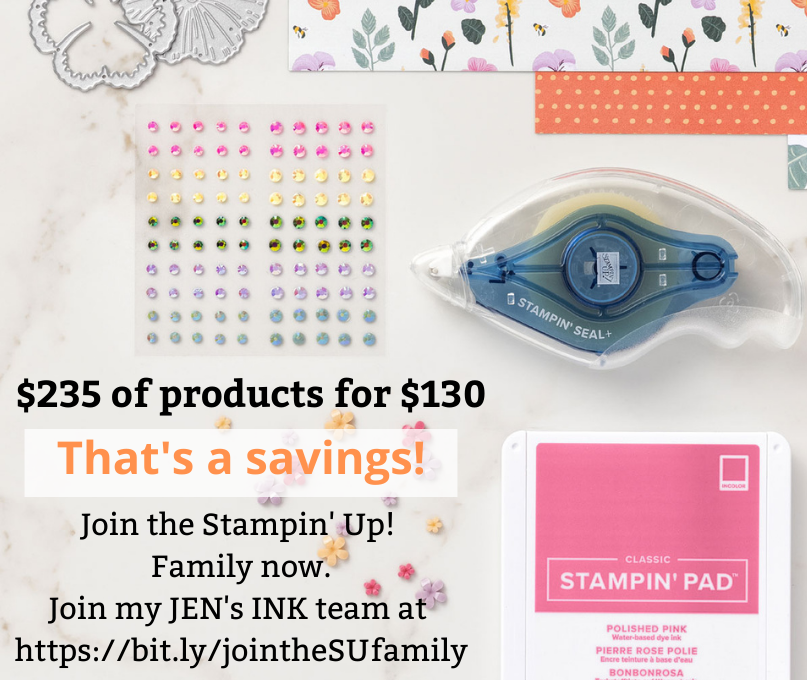
If you are in Australia now is a great time to join the Stampin’ Up! family with the exciting Savings available. Pay $130 and get $235 of products. I would love to welcome you to my JEN’s INK Team.
I’m so excited to finally start classes back up. I have missed all my stamping buddies.
See all the details below. If you can’t make it or not local then grab the Class By Mail.
Just a note: According to NSW Health all attendees must be double vaxxed. Apologies if this offends anyonebut I must comply.
Christmas Stamp A Stack – Make 6 cards, 2 each of 3 designs. (Check the sneak peek below)
COST: $25 or free with an order over $35
WHEN: Thursday 4th November 10am
or
Friday 5th 10am (full) or 7pm
If you want to make a different time please let me know.
BYO: Adhesives and Scissors
RSVP: Wednesday 3rd by email at jghayward@yahoo.com or text on 0439 844574
CLASS BY MAIL: Receive the card kits and embellishments and also instructions. Use your own stamps to create them at home or you can order them separately.
Last weekend I joined in an online “Craft-along-athon”. (It’s a bit of a mouthful). It was a Zoom event for Demonstrators in the South Pacific Market – Australia and New Zealand. It was a fun time crafting together. Isn’t it always. 🙂 (And that’s why you need to join the family to take part in these fun type of events. I always love to welcome new crafters to my JEN’s INK team).
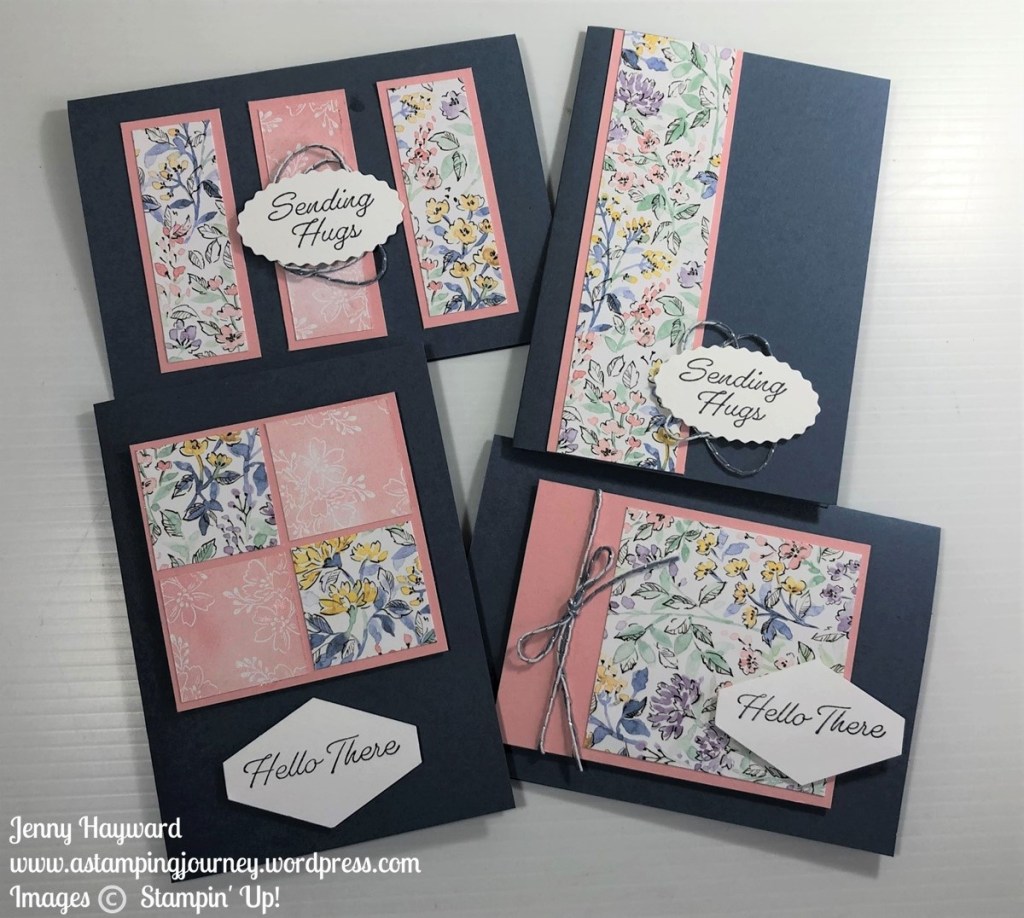
One of the projects we made was using one sheet of 6″x6″ piece of paper to create 4 cards. It’s similar to a One Sheet Wonder which you might have heard of. I loved it and I have to say I have been creating them all week. It’s a great way of creating lots of cards in a short time – and using up that paper you have.
So today’s video I’m going to share with you how to create 4 cards from one sheet of 6″x6″ paper.
Be sure to stay to the end and I will show you the other card sets I have made. I would love to hear what your favourite is. You can find the Template Link further below.
Watch the video below or it’s now on Youtube.
Here are the cards from today’s video using the Hand-Penned Designer Series Paper.
Would you like to get the Cutting Guide Template? Head -> HERE.
I hope you get to create these cards. They are fun and easy.
I will share the other cards I created at a later date.
Have a great day,
Jenny
In Australia and need some supplies? I would love to serve you. You can head to my store -> HERE (Please use the Host Code: F4PDXAY7) or contact me directly on 0439 844574.