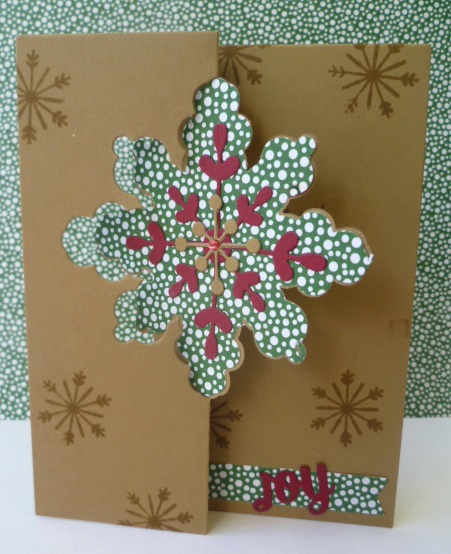
Yesterday I showed you the projects I made for the Stamp-A-Latte Blog Hop using the Snowflake Thinlets. If you missed it just head back to the post before. I didn’t have time in that post to show you how I made the Tag Box so I thought I would show you that today.
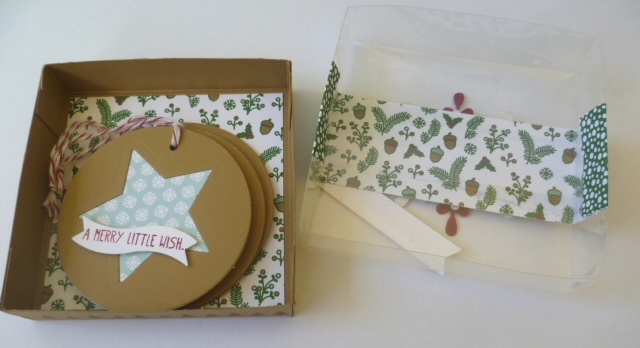
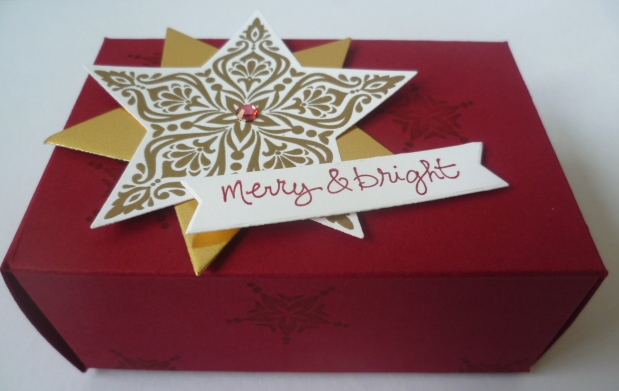
Here is the cute box to show you again.
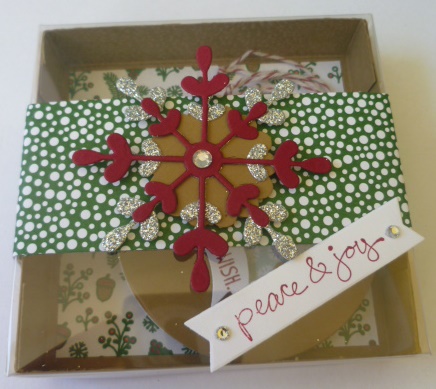
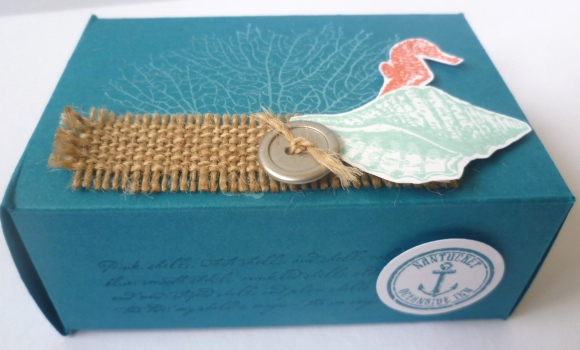
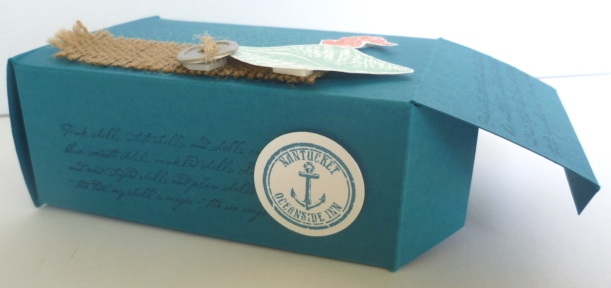
Here is inside the box showing the tags I made too. The green strip of DSP from the Nordic Noel DSP is not a Belly Band. I just added it to the top of the acetate and adhered the ends inside the lid.

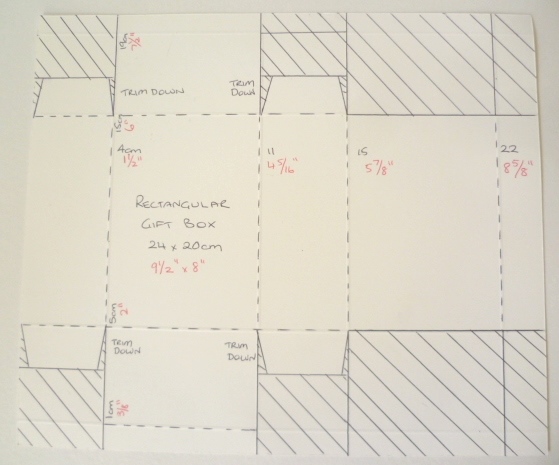
You can decorate this however you want to. The finished size is 9cm x 9cm x 2cm (3 1/2″ x 3 1/2″ x 3/4″). But how did I make it?? Here is the Tutorial for you.
TAG BOX
For the Base
NB: If you intend to stamp your box then do so before you assemble the box!!
Cut your card to 13cm x 13cm ( 5 1/8″ x 5 1/8″). Score on each side at 2cm (3/4″).
Fold on all score lines and cut up the 2 tabs on one side and again on the opposite side.
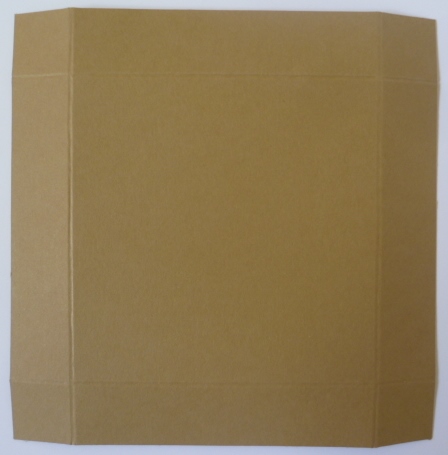
Place adhesive on the small tabs and assemble the box.
For the Lid
Cut your Acetate to 13.4cm x 13.4cm (5 1/4″ x 5 1/4″) and score at 2.2cm (7/8″).
Fold on all the score lines. You may want to use the Bone Folder to burnish (press down) the score lines more.
Cut up on the 2 tabs on one side and then again on the opposite side. Place adhesive on the tabs and adhere together. I used Fast Fuse or you could use Sticky Strip.
This lid is a little snug. You just need to jiggle it in but it works fine.
Decorate your box as you like. I lined the base of this box. The paper size I used was 8.5cm x 8.5cm (3 3/8″ x 3 3/8″).
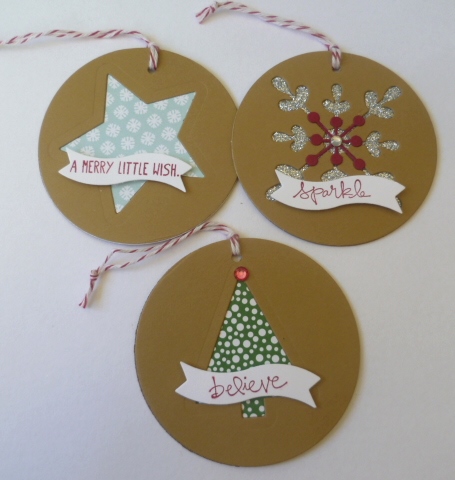
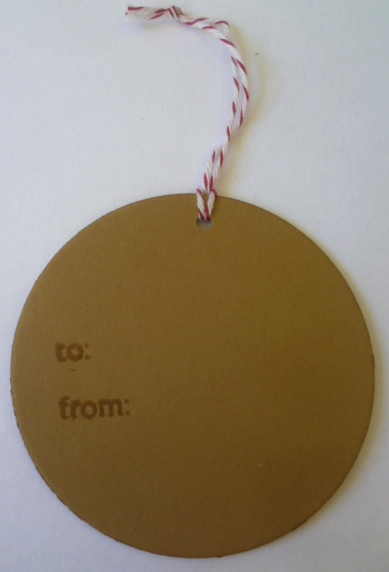
These fit the tags in just nicely. The tags are punched with the 1 3/4″ circle punch.
Don’t just think of them for tags though. Why not add some chocolates???

Enjoy making them. 🙂
Jenny