
When I was creating the other day I thought I would CASE a few cards from the catalogue for my upcoming Launch next week. This card started out as a CASE of a card on page 39 of the Occasions catalogue. It took a life of it’s own very quickly though.
This is the original card if you haven’t got your catalogue handy and then I will show you my card – and the thought process that went behind the making of it. 🙂

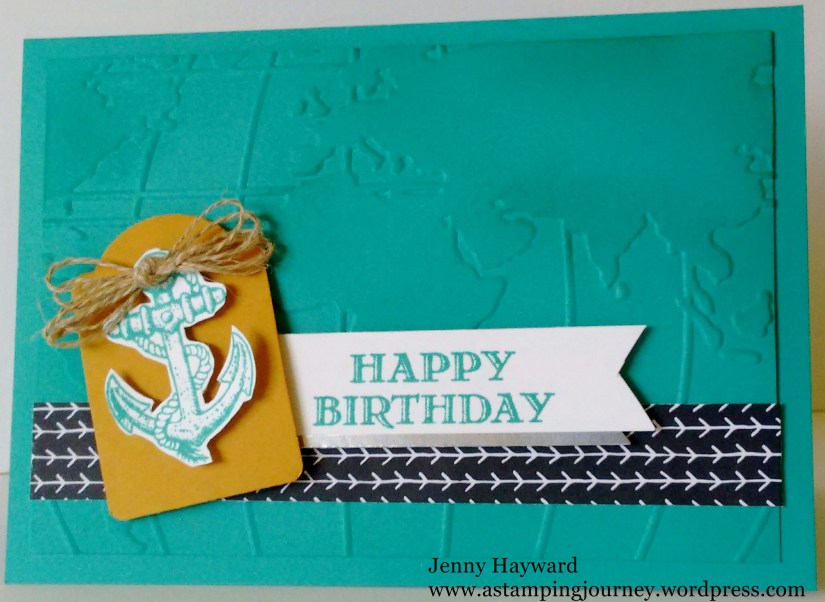
When I started to emboss with the World Traveler Embossing Folder I realised that the orientation of the World map on the folder was different to the card, and I didn’t want to double emboss the map to cover the card front. That’s what I would have to do to cover my size card front. I just couldn’t get my head around doing that. To me that is not how the world map is depicted. Petty I know but …. ??
So I thought I would change the orientation of my card but that’s when the whole card changed. I didn’t have the ‘Going Global’ stamp set but I could use ‘Guy Greetings’. That’s all good. But now that it was landscape what was I going to put on the front? It needed more than just a greeting. I stamped the anchor in Bermuda Bay but I couldn’t have it just floating there. I punched a tag with the Note Tag punch in Delightful Dijon. That colour was chosen after looking at the colours in the ‘Bohemian’ DSP. I looped up some Linen Thread and tied it in a bow and adhered that on.
The greeting is from ‘Guy Greetings’ and I stamped that on a piece of Whisper White and flagged the ends. But still it needed something more! I added a strip of the black arrow paper from the ‘It’s My Party’ DSP stack. It still needed more! I added just a strip of the silver Foil under the greeting. I just finished it off by sponging some Bermuda Bay ink over the embossed edges. OK, I think it was done now. I was going to brush over some Wink Of Stella in the Clear but decided to leave it.
See how you can take a card and use it as a springboard to create a completely different card. Sometimes you just need a little inspiration to get it going.
I hope I didn’t bore you with the whole creating process of this card. It just shows you what goes into creating at times. Maybe that will help you when you are in a rut.
Thanks for visiting today,
Jenny

