Each day for the next 12 days I’m bringing you some special Christmas projects for our 12 Days of Christmas. I hope they might inspire you with your Christmas creating.
These projects are a collaboration from some Demonstrators from around the world so you are in for a treat.
Today I’m kicking off with a project I created. I couldn’t wait to share it with you.
I have used the Merriest Moments Stamp Set and the Merriest Frames Hybrid Embossing Folder.
This would look lovely as a centrepiece for your Christmas table or sitting on a shelf. What do you think?
We had our JEN’s INK team get together on the weekend. It was nice to be able to be back together in person. It was a small gathering this time to get us back. That’s ok though. 🙂
I put together some card kits and the crafting challenge was to create a card with the pieces.
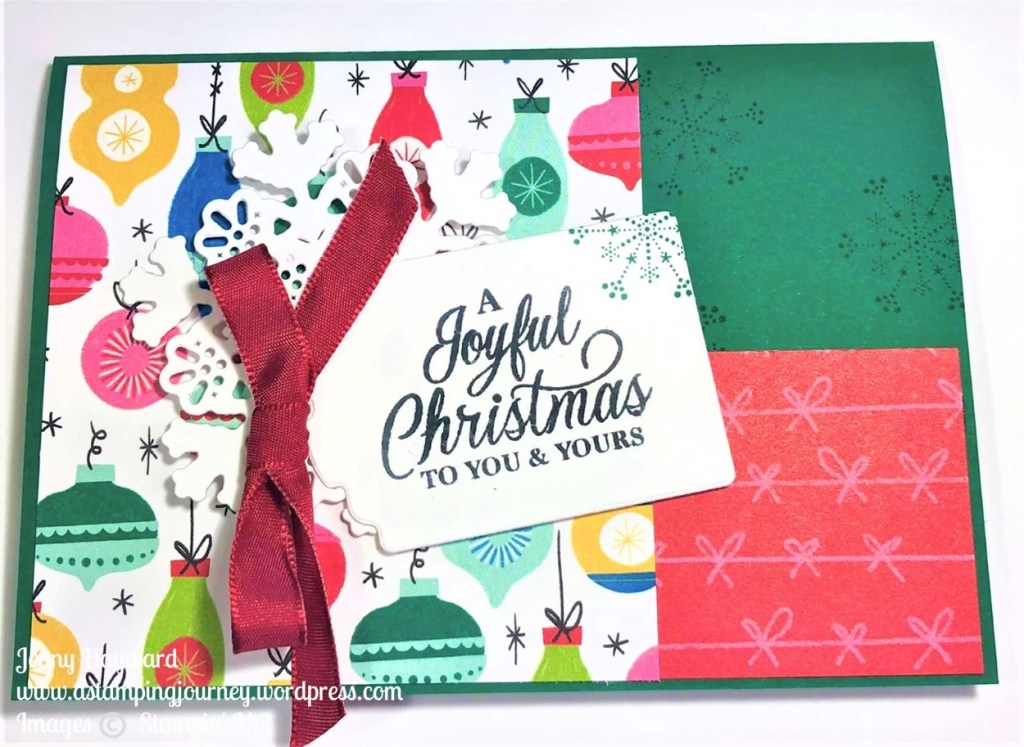
This was the card kit. This uses the Celebrate Everything Designer Series Paper (host paper pack).
There was extra white card and some Silver and Gold Foil. I had a number of inkpads, Ribbon, Christmas stamp sets and dies and embossing Folders. That was it!
This was my card. I trimmed down the piece of DSP. The sentiment from the Merriest Moments stamp set was stamped and diecut with the Designer Tags Dies. And I added a diecut snowflake from the Twinkling Lights Dies.
It was a fun exercise but I tell you it was hard.
What would you create with these limited supplies?
Come and be part of my fun JEN’s INK Team. I love welcoming new team members. There is no better time than this month with the extra bonus.
You can order up to $283 of products and only pay $169. And then you have the fun of saving with the discount you receive each time you order. You can stay as long as you like. Email or message me if you want to know more. This ends on October 31st.
Find out more of Why You need to be part of the Stampin’ Up! Family -> HERE.
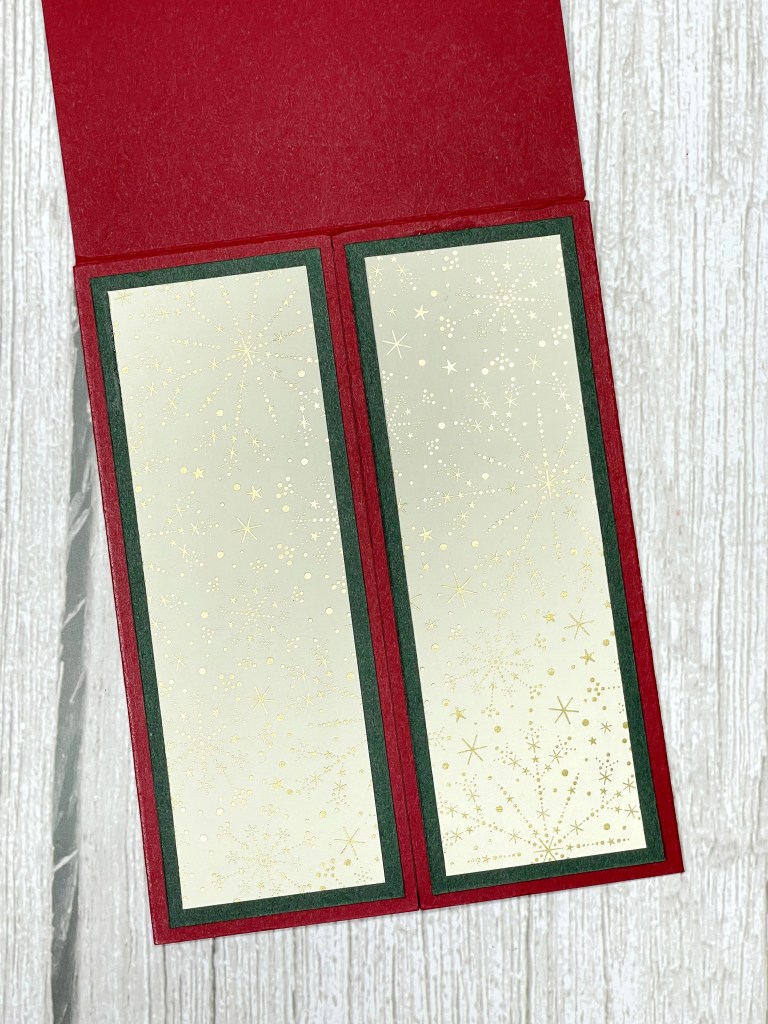
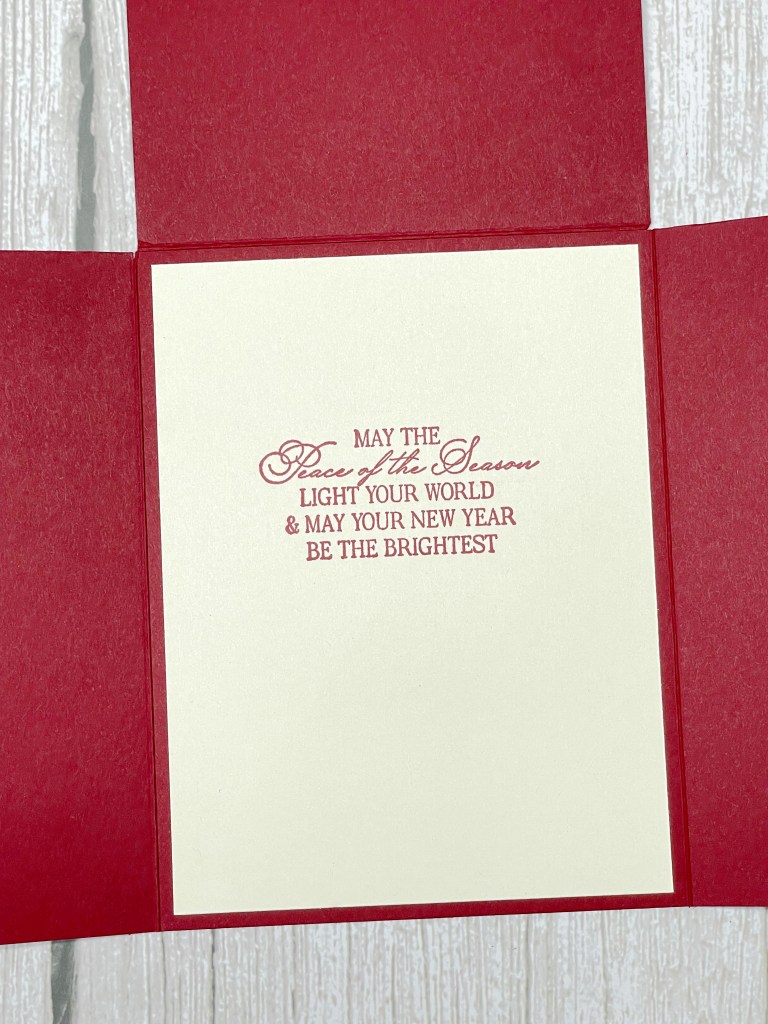
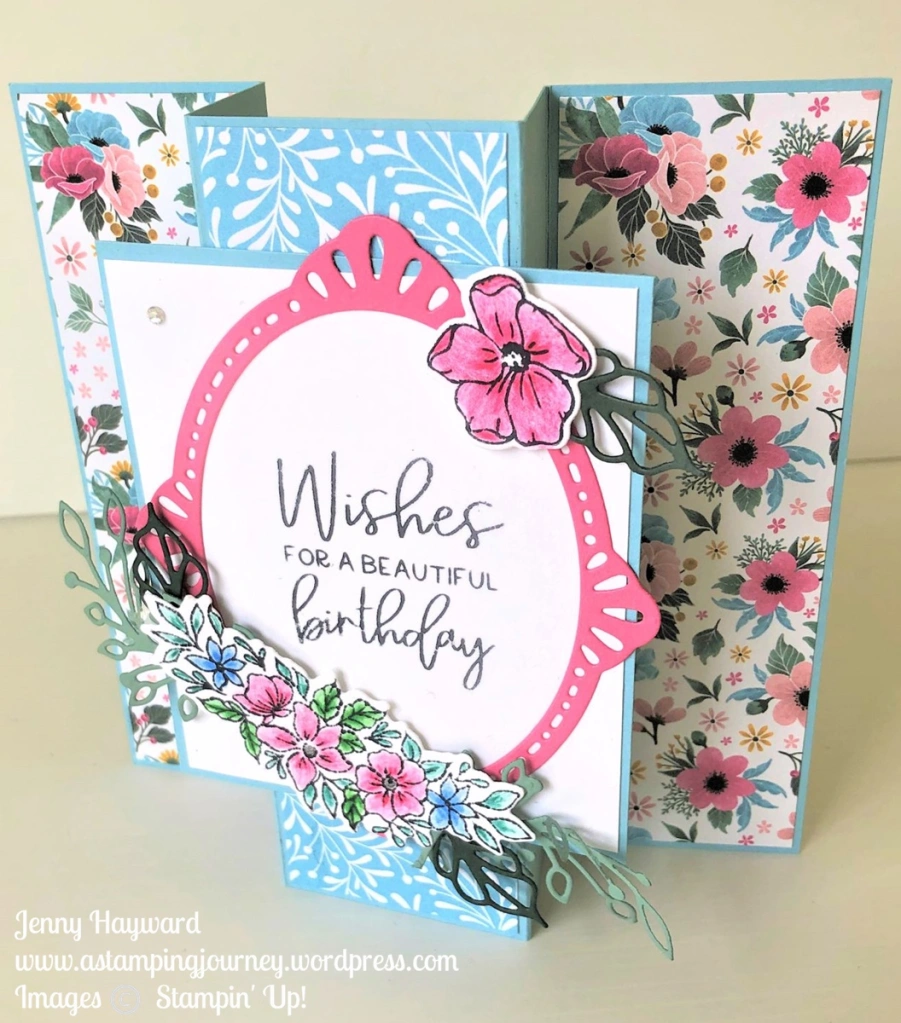
You have probably seen the Fitting Florets Suite around now. It is all so gorgeous. I had to play with it. And I pulled out an old fold that I haven’t done in a while – A Panel Fold Card.
Here it is for you.
And it folds flat for you to post.
You can catch how to create one on the video below. (If you are receiving this blog update by email and the video is not showing, head to the blog post and view it there).
The Fitting Florets Suite will be available to order in November. The Framed Florets Bundle (Stamps and Dies) will be carried over in to the January-June Mini Catalogue but the gorgeous Fitting Florets paper and the Gold Swirl Gems won’t be so you will want to grab that early. I will tell you more about this soon.
But … You could get this earlier. As Demonstrators we can order it now. And if you have considered joining Stampin’ Up! what better way than joining now (also with the extra bonus you get this month) AND you can order it now. Because we can’t wait for these things right. 🙂
Here are the measurements.
MAKE YOUR OWN PANEL FOLD CARD
Card base: 21cm x 14.8cm Score on the long side at 5cm and 8cm. Turn card 180’ – Score at 5cm and 8cm on the other side.
8 ½” x 5 ½” Score on the long side at 2” and 3 1/8”. Turn card 180’ – Score at 2” and 3 1/8” on the other side.
Designer Series Paper strips:
For sides – 4.7cm x 14.4cm @ 2 pieces
1 7/8” x 5 3/8” @ 2 pieces
For centre – 4.7cm x 14.4cm @ 1 piece
1 7/8 x 5 3/8” @1 piece
Front Panel – 10.4cm x 8.8cm 3 ½” x 3 1/8”
White mat – 10cm x 8.4cm 3 3/8” x 3”
I hope you get to make one.
If you are in Australia and need supplies I would love to serve you. You can head over to my store now -> HERE.
Please use the Host Code: 3WVA7CQE Or contact me directly.
How exciting we get a day all to ourselves to celebrate this wonderful craft of Card Making.
You know what I love about making cards?
I can make something special and send it to someone to let them know I am thinking of them. I love how it makes them smile.
And I love that I can share card making with others whether it is crafting together, talking about making cards or teaching (hopefully inspiring) them.
So be sure to enjoy this day just for you. Go and Get crafting.
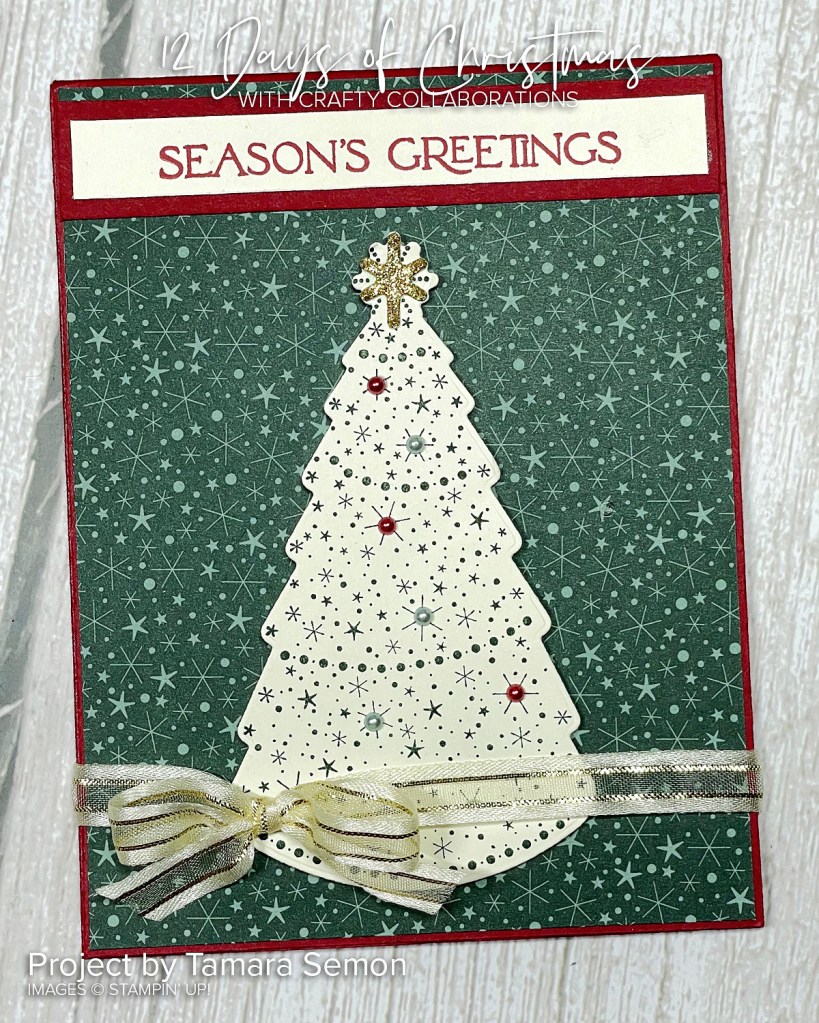
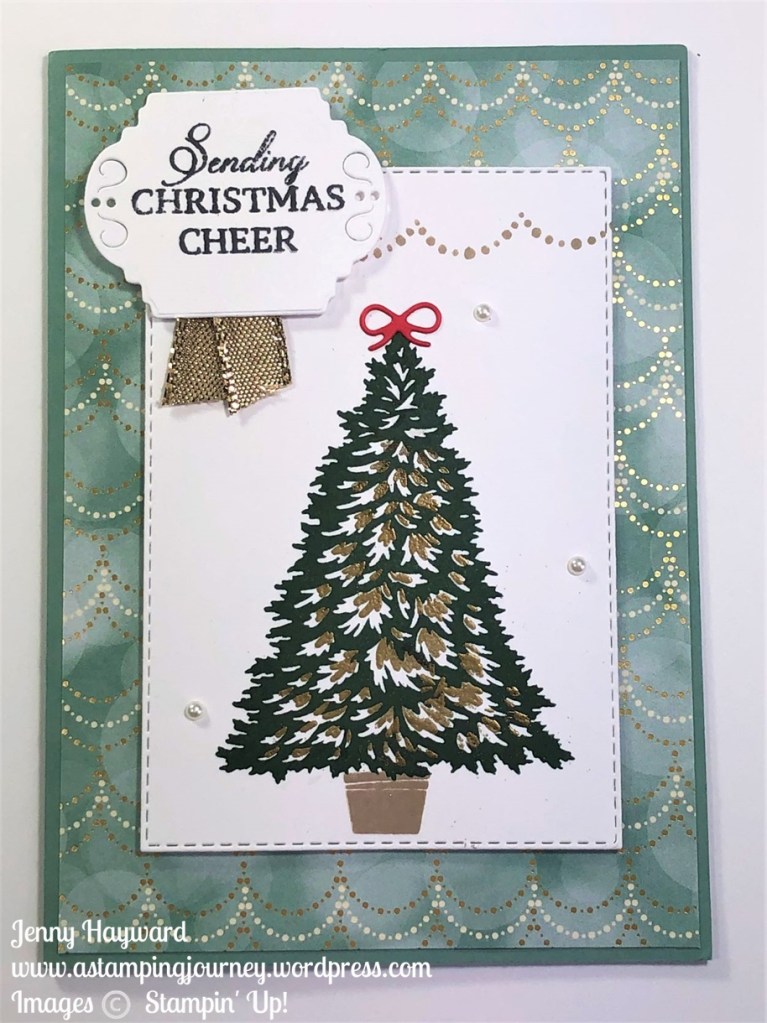
This week we have started our Christmas cards in classes. I wanted to share this one with you.
With the Lights Aglow Specialty paper and Trimming the Tree stamp set it makes for a gorgeous Christmas Card. It has just that bit of Gold to make it elegant don’t you think?
The diecut for the sentiment actually comes from the Tree Trimmings Dies. These are available for only this month as a bonus with the Perfect Partners Promotion. They have some great sentiment dies and tree dies and little ornaments. I will share more with the stamps and dies shortly.
The Trimming the Tree stamp set is one from the Annual Catalogue. It’s a great one I think.
If you want to grab the Trimming the Tree set and also grab the Tree Trimming Dies now while you can you can jump on over to my store just above. (Grab them as a bundle to save 10%).
If shopping online please use the Host Code: 6PPKEPZJ
Or you can contact me directly and I can help put the order in for you.
Exciting! Stampin’ Up! has just announced a 15% off Stamp Sale for this Thursday 15th September. YAY!
All stamp sets from the Annual Catalogue (excluding the Host Sets) are reduced.
You can start making your Wish List now. See them below.
In Australia and would like to order some of these awesome stamp sets?
Head to my store -> HERE. Please use the Host Code: 6PPKEPZJ They can be viewed on Thursday under the Specials Tab. Or you can contact me anytime for me to add your order for you.
Don’t forget Weekly Deals are still on.
Add more savings by picking up any of the reduced items on the Weekly Deals list. Check them under the Specials Tab on my store. (The items will be updated on Thursday).
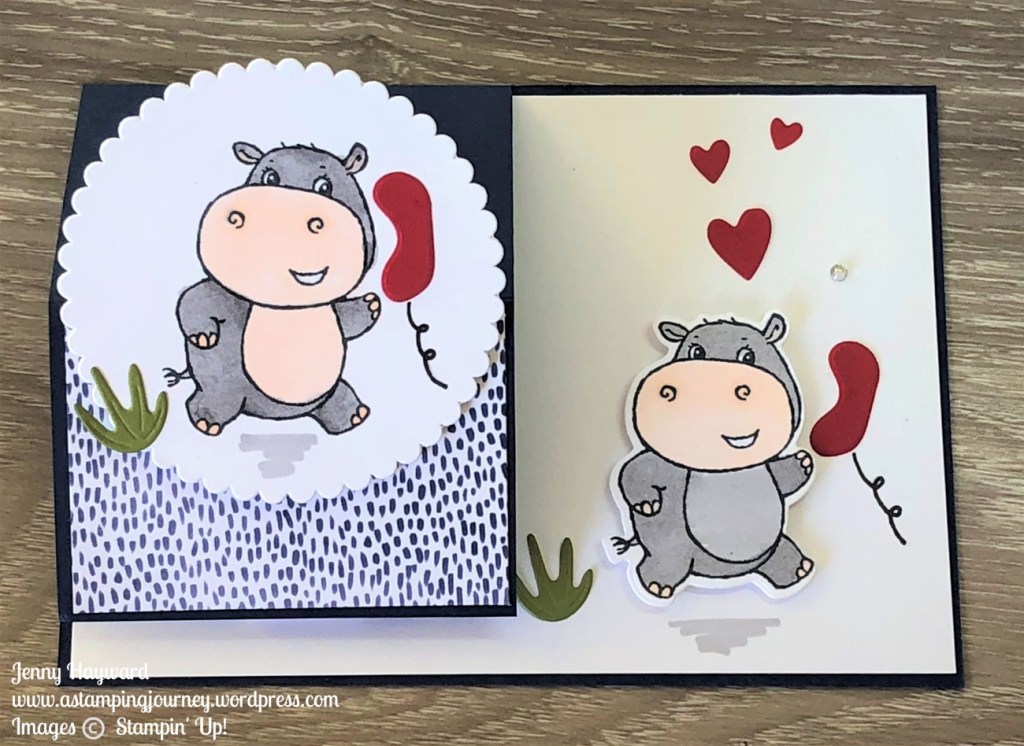
When I was playing with the Hippest Hippos stamps and dies a few weeks ago I thought the centre of the goggles looked liked the “old school” phones.
You know the ones many of us grew up with that had the cord hanging off and you couldn’t take your phone anywhere. Even having to talk to friends right in among the family …
Those were the days. Anyway I had to create these hippos with their phones.
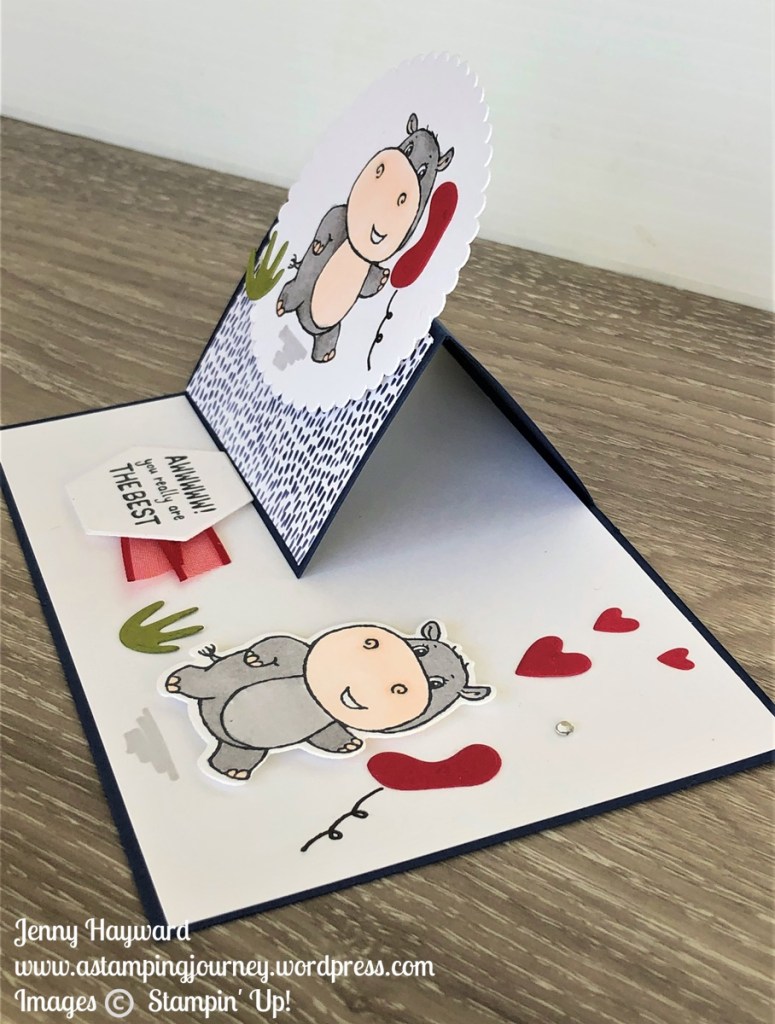
I created a Half Fold Easel card for it. I had a lot of leftover bits too to put the card together. The sentiment is cut with one of the Beautiful Shapes Dies.
And just a note they are not outside right. How can you talk outside unless you have a long cord … (For some reason I put the plants on there but hey, they can be indoor plants). 🙂
This is it front on.
Side on so you can see the Easel part.
It folds flat easily to post out.
What do you think??
A Half Fold Easel Card is quite easy. Cut the right hand section off of the front of the card base. On the left hand section score it at half way. You can decorate as you like. Just have a piece on the left hand side at the bottom to help the easel part stand up.
Less than a week to get the Hippos and the dies for Sale-A-Bration. Have you got them yet? Don’t miss out on them.
If you are in Australia and still need to grab your Sale-A-Bration bonus gifts then I would love to serve you. Head to my store to order online -> HERE. Please use the Host Code: DK3ZG2DU
This card is a great way of showing both sides of the lovely Splendid Day Specialty Designer Series Paper. It would work well with any paper. Do you find it hard to choose which side to use sometimes??
I have also used the Go To Greetings Stamp Set for the sentiment. They really are my “go-to” sentiment set at the moment. This is punched out with the Double Oval Punch. I added some diecut leaves from the Splendid Stems Dies.
Now for the measurements to make your own. You can show off both sides of paper or it’s a great way of using up scrap pieces.
STRIPS WITH DESIGNER SERIES PAPER
Card base 21cm x 14.8cm Scored at 10.5cm
8 ½” x 5 ½” Scored at 4 ¼”
Fresh Freesia card mat 9.9cm x 14.2cm 4” x 5 ¼”
White card 9.5cm x 13.8cm 3 ¾” x 4 7/8”
DSP pieces @2 4.4cm x 13.2cm Cut at 5cm
1 5/8” x 4 ½” Cut at 2”
Lay out the pieces of Designer Series Paper (DSP) on to the front of the white card. With a short piece then a long piece next to it. Then below these, a long piece with short piece next to it. It doesn’t matter which order though.
Flip the 2 small DSP pieces over to show the other side. Adhere these to the white card.
Then assemble the card on to the card mat and on to the card base. Add your sentiment or embellishments as you like.
Hope you get to make one yourself.
If you need any supplies and in Australia jump over to my store -> HERE. Please use the Host Code: DK3ZG2DU.
Or contact me directly and I can help you with your order of if you have any questions at all about your crafting.
Don’t forget too Sale-A-Bration is coming to an end very soon. Be sure to choose your bonus gift.