You have probably seen the Fitting Florets Suite around now. It is all so gorgeous. I had to play with it. And I pulled out an old fold that I haven’t done in a while – A Panel Fold Card.
Here it is for you.
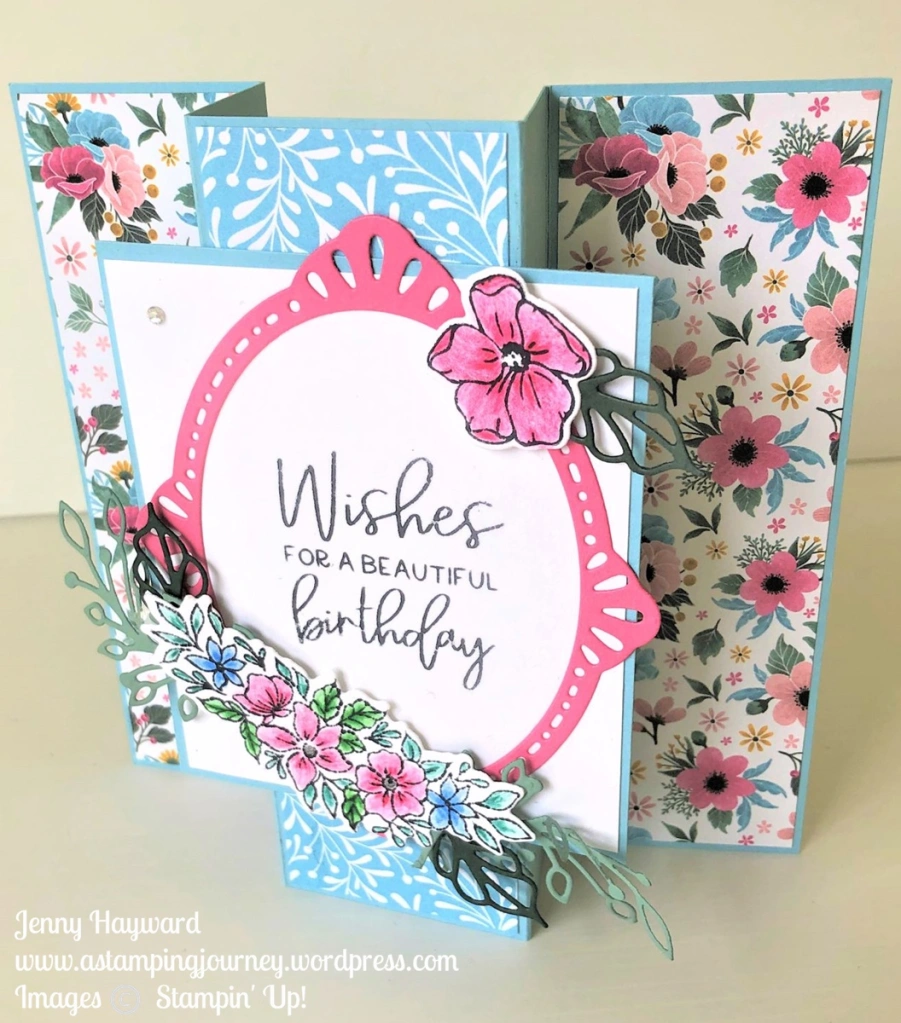
And it folds flat for you to post.

You can catch how to create one on the video below. (If you are receiving this blog update by email and the video is not showing, head to the blog post and view it there).
The Fitting Florets Suite will be available to order in November. The Framed Florets Bundle (Stamps and Dies) will be carried over in to the January-June Mini Catalogue but the gorgeous Fitting Florets paper and the Gold Swirl Gems won’t be so you will want to grab that early. I will tell you more about this soon.
But … You could get this earlier. As Demonstrators we can order it now. And if you have considered joining Stampin’ Up! what better way than joining now (also with the extra bonus you get this month) AND you can order it now. Because we can’t wait for these things right. 🙂
Here are the measurements.
MAKE YOUR OWN PANEL FOLD CARD
Card base: 21cm x 14.8cm Score on the long side at 5cm and 8cm. Turn card 180’ – Score at 5cm and 8cm on the other side.
8 ½” x 5 ½” Score on the long side at 2” and 3 1/8”. Turn card 180’ – Score at 2” and 3 1/8” on the other side.
Designer Series Paper strips:
For sides – 4.7cm x 14.4cm @ 2 pieces
1 7/8” x 5 3/8” @ 2 pieces
For centre – 4.7cm x 14.4cm @ 1 piece
1 7/8 x 5 3/8” @1 piece
Front Panel – 10.4cm x 8.8cm 3 ½” x 3 1/8”
White mat – 10cm x 8.4cm 3 3/8” x 3”
I hope you get to make one.
If you are in Australia and need supplies I would love to serve you. You can head over to my store now -> HERE.
Please use the Host Code: 3WVA7CQE Or contact me directly.

Happy Crafting,
Jenny