cards, Christmas, Stampin' Up!

A YEAR OF STAMPING!

It’s the last day of 2018.  It has been an exciting year with Stampin’ Up!.   I have loved sharing my creations with you.  Lots of new things have happened on my blog with the introduction of Wednesday’s WOW! which has been hugely popular and the start of my Youtube channel.  (Baby steps there!!).  Thank you for joining me in this ride.

Today I am going to share a few of my favourites from this past year. If you click on the heading it will take you to the original post.

Peekaboo Panda 

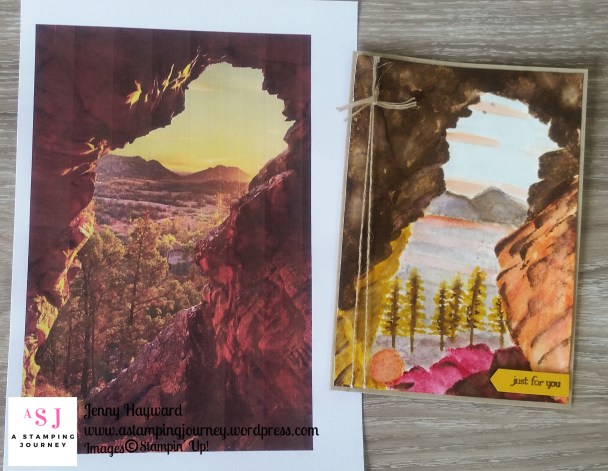
Looking through the Cave  (this was totally out of the box but has been very popular).
Baby Wipe with Petal Palette

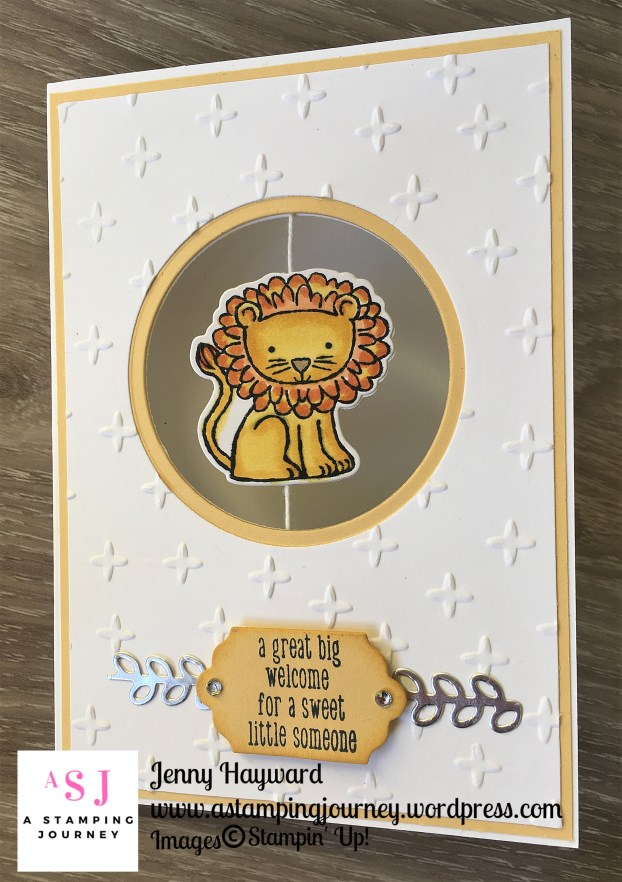
Baby Spinner Card

Delightful Gorgeous Grape

Sparkly Rainbow  (this was probably up there with one of my most favourites of the year.  I love the colour and sparkle)

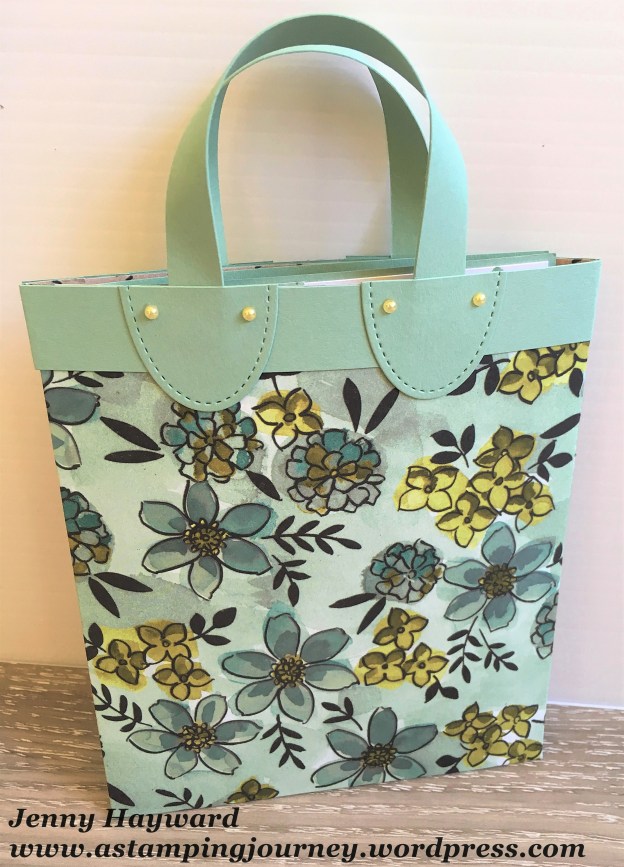
Envelope Satchel (this was a popular gift bag tutorial.
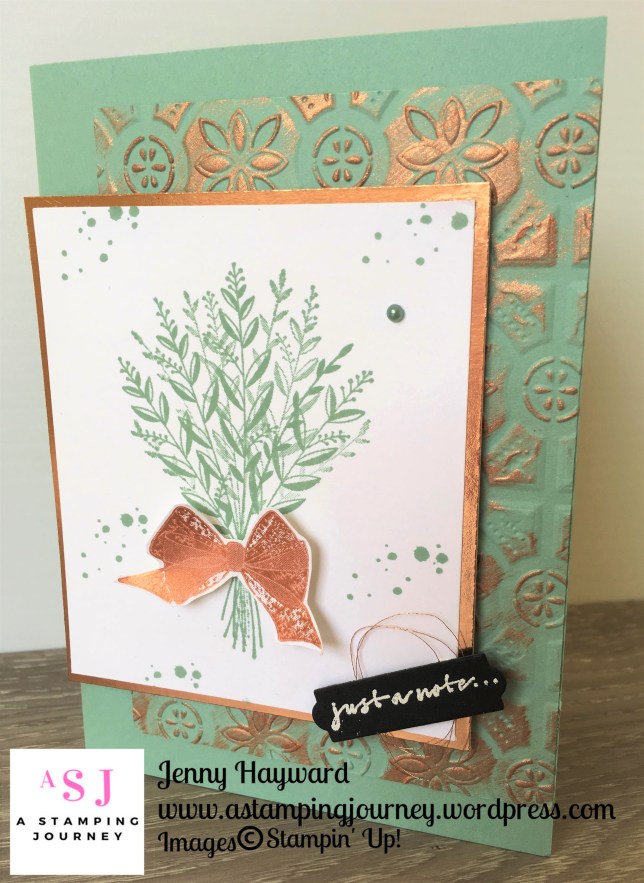
Double Emboss your card (this continues to be a very popular Pinterest post)

Copper Shimmer Paint (another popular post)
Postcard Pals (I love these guys)

Pyramid Christmas (only recent but it has been popular)

It certainly has been a busy year.  2019 already is shaping up to be a busy and exciting one with the start of Sale-A-Bration and the Occasions Catalogue starting on the 3rd January.  So watch for new projects VERY SOON.

Before I leave you today I will take a minute for a little “commercial Plug”. I am sorry for the shameless advertising. I just want you to be sure that you are up to speed in all that is happening on my blog and with Stampin’ Up! so you don’t miss out on anything.

  • Firstly, if you receive these blog updates by email then be sure to visit my blog.  It has undergone an overhaul and I have freshened the site up.  Check it out. If  you haven’t already, subscribe to my blog click on the tab in the right hand column to subscribe.
  • Have you signed up for my newsletter yet?  You can click on the tab in the right hand column.
  • Follow me on Facebook or Instagram or subscribe to my Youtube channel. Links are in the right hand column.
  • Join my Private Facebook group.  Head -> HERE to request to join.  We share our projects and I share tips and occasionally have giveaways. Lots of fun!


OK.  Thanks for the indulgence of reflecting on the past year of creating – and a little advertising. 🙂

Happy New Year to you.  Thanks for sharing with me on this journey. Onwards to a creative 2019!

Jenny

Christmas, Stampin' Up!

TEAM CHRISTMAS CARD SWAPS!

Ok, I know Christmas is done with for another year but I have one more post to share with you.  Recently I had a Team Card Swap for my JEN’s INK team.  I thought I would share them all with you because I love each and everyone of my team members and I love that they got involved.  I will say that some were very nervous to take part.  So I am proud of them.

It was a Christmas theme.  It was a small group involved for this one because this time of year gets a bit crazy.  But give them all a cheer.  They all did well.

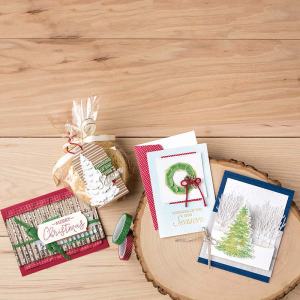
My card was the top left one with the Making Christmas Bright set.  I was inspired by a card on Pinterest. Now I can’t find who it was by.  I hadn’t Pinned it.  Oops!  I liked the idea of stamping it on Crumb Cake. I thought I had a single photos of it but I can’t find it now.  Crazy times forgetting everything. 🙂

—

Happy New Year to you all. 

I am excited to continue to create and share projects with you.  Thank you for following me along. I hope you continue this fun journey with me in to 2019.

Jenny
Catalogues, Stampin' Up!

YEAR-END CLOSEOUT SALE ENDING SOON!

Only days left of the Year-End Closeout sale.  This ends the 2nd January.

Perhaps you have a little money over from Christmas OR you were given money as a gift … Maybe you will want to get yourself some reduced and retiring products.

Check the list out in my store -> HERE.

Here are just some of the items you might see.  Now to let you  know, some Bundle items will be carried over but only as individual items.  If you grab them now you will save 10%.  So if you like them, now is the time.

Copper Shimmer reduced to $10.50.  (Grab this.  Have you seen the projects I have made with this recently? Grab 2 even!).  The Vegas Gold Shimmer is reduced to $10.50 too.

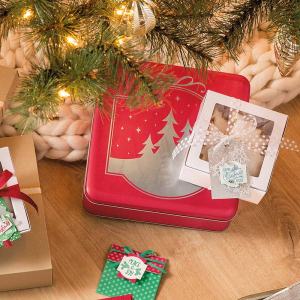
Christmas Traditions Punch Box reduced to $54.60 from $78.  I think this is THE bargain of the sale.  Stamp set, punch, clear block and 2 ink spots in a pretty fancy tin.  Grab this and put it away for next Christmas creating.

This is the stamp set you get with the pack.  The stamps are small but they layer really well for tags or cards.

Winter Woods $87.25 Clear Mount Bundle. Wood mount also available $99.75. This will be carried over but as individual items so grab them now and save 10%

This bundle can be used for other occasions not just Christmas.  Those trees are great for the “masculine” cards.

First Frost Clear Mount Bundle ($85.50).  This is a very pretty set.  It will be carried over as individual items but grab it now to save 10%. (I think I need to purchase this one). 😉

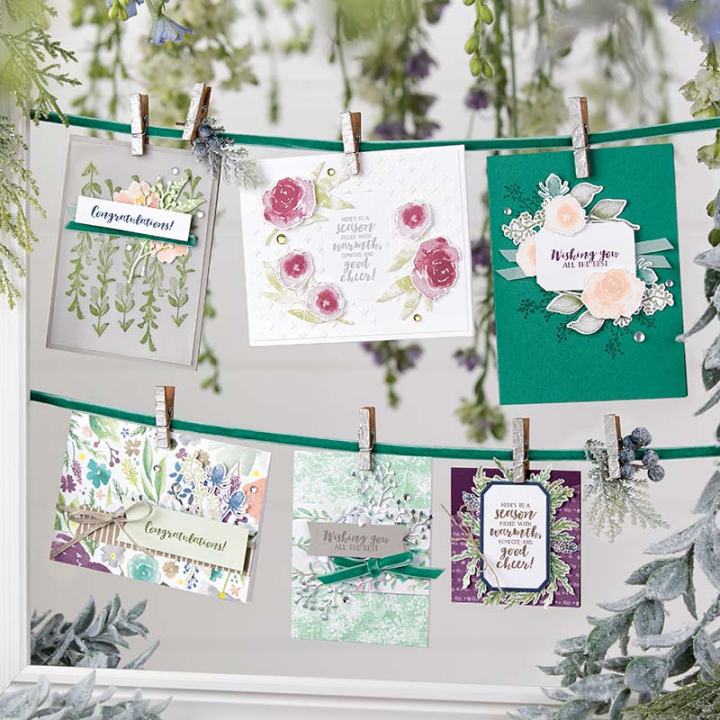
Here are some pretty Catalogue samples for you. I will show you a larger photo just so you can see all the prettiness.

So now you have seen just some of the products head over to my store and check them out.  You can order -> HERE too.  Please use the Host Code: FYQHM4CK

SIGH! So much prettiness – and there is so much more to come with the Occasions Catalogue starting January 3rd.  Which reminds me.

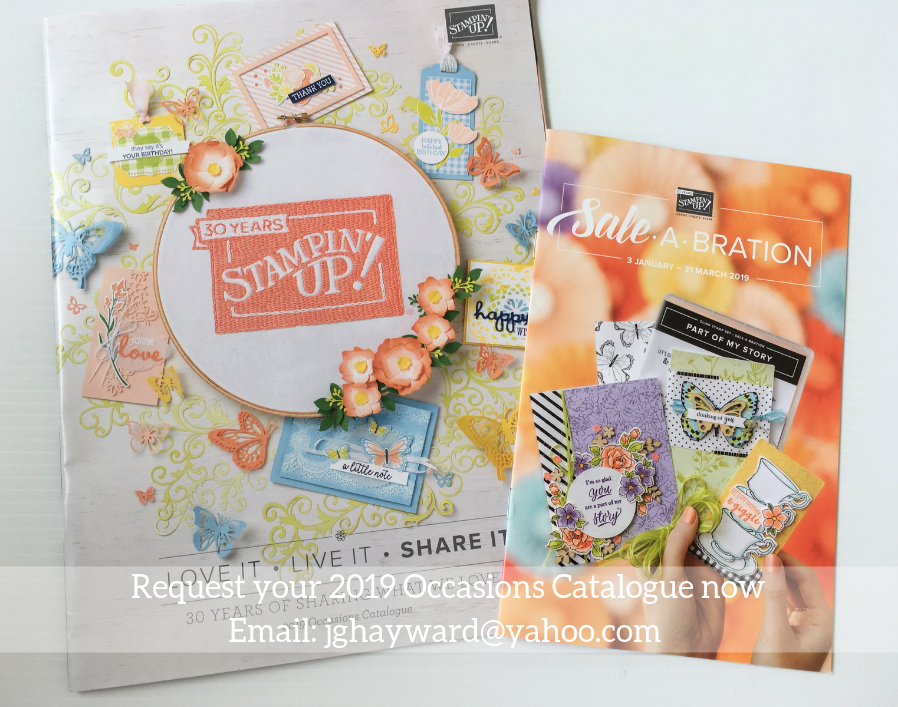
Have you requested your catalogue yet?  Pop over -> HERE and add a request.  I am mailing them out this weekend.

Thanks for visiting me.  Have a great day,

Jenny


3D projects, Christmas

SHIMMER PAINT CHRISTMAS BAUBLE!

Christmas is done for another year but I have another project to share with you.  I didn’t want to miss sharing this.

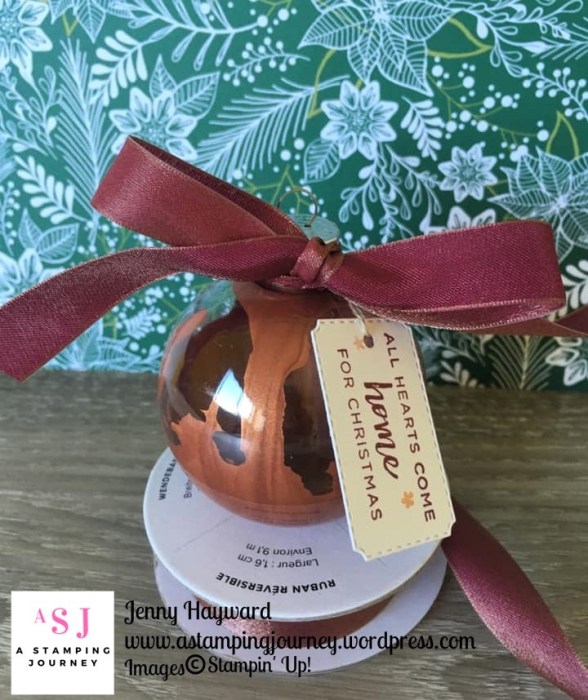
I call this my Shimmer Bauble.  This is a clear Christmas Bauble with Copper Shimmer Paint swirled inside.  I had this in mind but I wasn’t sure if it would work.  I was really pleased how it turned out.

The Bauble is one with the little cap at the top.  You can get them that open up in half but I don’t think it would work as well.  I first poured the Shimmer Paint in to the lid of the little paint pot and then very carefully (and I will say very nervously) poured it in to the bauble.  I used small amounts at first as I wasn’t sure how much it would need.  I put enough in that I could then turn the bauble and swirl the Shimmer paint around inside to coat it randomly and create “runs” with the paint too.

I needed to add a little more over a few goes for it to move over most of the sides.  I didn’t want it to completely cover it though.  I left the bauble open sitting in a bowl so the paint could dry out. I even left it tipped upside down for a few hours as there was a pool of paint in the bottom.

Once it had dried out I put in the cap, tied around some of the Copper Reversible Ribbon and added a tag.  The sentiment on the tag is from Hearts Come Home and it is cut with a small rectangle Framelit from the Farmhouse Framelits.   I added a couple of tiny “snowflakes” from the Hearts Come Home set that were stamped with the Copper Shimmer Paint.

This was such a fun project to make.  Maybe I could try the Gold Shimmer and the White … Mmm! have a to work on those.

Thanks for visiting.  See you again soon as we now move on from Christmas.

Jenny

cards, Catalogues, Christmas, Classes, Personal Ramblings, Stampin' Up!

FROM OUR HOME TO YOURS – MERRY CHRISTMAS!


Christmas is almost here!  I wanted to take a moment to wish you a Very Merry Christmas from our home to yours. 

Thank you for joining with me in this fun stamping journey.  I have loved sharing all my projects with you and I look forward to more sharing in the New Year.

However you spend the day be safe and while under the tree might be full of gifts and treasures I hope you take time to think on the greatest treasure given to us in the gift of Jesus.

Happy Christmas.

——

FARMHOUSE CHRISTMAS CARD

The card above was made for my 12 Weeks of Christmas series but, well… I ran out of weeks to share it. It’s a great opportunity to share it with you now for my Christmas wishes to you.  Made with the Farmhouse Christmas Bundle which is sadly not being carried over, I wanted to show that you can use this set without having to colour it all the time.  I stamped the house a number of times over the Crumb Cake card base.  The paper is from Under The Mistletoe DSP.  You can stamp directly on to the silver Foil but remember to use Stazon.

While this card is very simple I deliberated on it for so long in how to work the sentiment.  Maybe an hour just on that. How many different ways could I work it. Seriously why can’t I just go with it!  It worked out in the end with just a strip of Real Red Satin Ribbon to finish. Which I should have just stuck with in the beginning.  Do you have days like that?? 🙂

Thanks for visiting,

Happy Christmas.

Jenny

cards, Catalogues, Christmas, Classes

HUNG WITH CARE STOCKING CARDS – AND A WINNER!

I think this stamp set hasn’t had much airing around the blogosphere.  That’s a bit sad.  It is a cute one. Hung With Care is a Host set found in the Holiday Catalogue.  I must say I haven’t used it near enough.  Today I thought it should have it’s turn in the limelight.

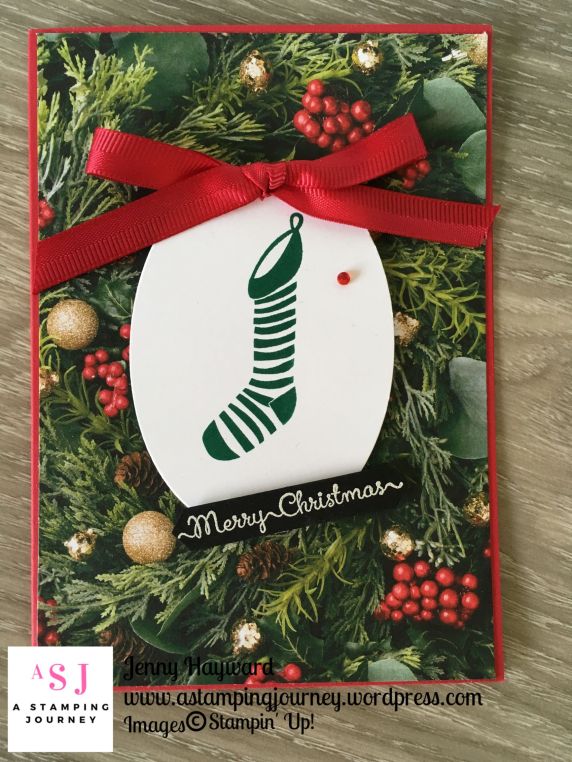
This first one uses the lovely All is Bright Designer Series Paper. You don’t need too much on the card when you use this paper.  The stocking is stamped in Garden Green.  For the sentiment I heat embossed that in white on black card and then punched it out with the Classic Label Punch.

This card was one from one of my Christmas Stamp A Stack Classes recently. The stocking was stamped in Garden Green and the white oval card was layered on to Silver Glimmer Paper. The Garden Green card mat was embossed with the Tin Tile Embossing Folder.  The Real Red Twine is retired.  I don’t usually use retired products in classes but I ran out of the thin Red Ribbon.  Adding a small strip of Under The Mistletoe DSP adds a little contrast to it.  Everyone did like making this card I think.  It’s nice when you can make up 3 of these cards in class in a hurry and they are ready to go.

BLING WINNER

A few posts ago I posted a little giveaway for reaching 50 Wednesday’s WOW!  Today I can announce the winner of the Bling Pack.

Congratulations Joy Stewart.  I will drop you an email shortly to arrange them to be sent to you.

Thanks for stopping by,

Jenny

3D projects, Christmas

12 WEEKS OF CHRISTMAS – WEEK 12 – CHRISTMAS CRATE!

Here we are.  Week 12 of our 12 Weeks of Christmas Series.  When I started this series I thought it was so far off to the end.  It has come around so quickly.  I hope you have enjoyed the projects I have shared over the last 12 weeks.  Today is a fun Christmas treat box.

It’s a Christmas crate.  Fill it with treats to give as a gift but wouldn’t it look great as a place marker on a table for Christmas.

The So Santa set works so well for our hot summer Christmas events.  No snow here in Australia. Sun, sand and seashells right? 🙂

To make the crate I used the Wood Crate Framelits.  Simply cut 2 from Real Red cardstock and assemble as normal.  Before I assembled the box I stamped over it with the Holly Strand in several places.

I measured the width of the crate to know what size width for the red cardstock.  Look what else I have used?? The Rectangle Stitched Framelits.  Brand new coming in the Occasions Catalogue on January 3rd. I am so excited for these.

The So Santa image was stamped on Thick Whisper White and coloured with the Stampin’ Blends.  And look also, a new Stampin’ Blends colour – Balmy Blue. I like to outline the images when I colour them in light Smoky Slate blend.  It helps to add depth to your images and make them POP!

I added a little dazzle with Silver Glimmer Paper punched with the Duet Banner Punch.  I cut the banner in half and adhered it under the sentiment to extend the length.  The sentiment was cut with one of the smaller Rectangle Stitched Framelits.

I hope you have enjoyed this series.  It’s been fun.  If you missed some of the projects over the last few months then click on the tag for 12 Weeks of Christmas and it will show  you all of them.  It might be a bit late for this Christmas but you could file it away (or  PIN them) for later.

Thanks for following me along,

Jenny

Catalogues, Personal Ramblings, Stampin' Up!

BLOG GIVEAWAY CLOSING TODAY!

Last post I mentioned I had a little Giveaway to celebrate #50 episode of Wednesday’s WOW!

Today at 12pm the Giveaway closes so if you want to enter you have to be quick.

Here are the details.

TO ENTER:

Add a comment here or to the previous post to say where you are from and what you like about visiting my blog. I will draw a name at random shortly. Australian residents only are eligible but if you are an international reader you can still comment and I send a handmade card your way.

I am giving away some bling. A pack of Adhesive Rhinestones and a pack of Real Red Rhinestones.

So get on it and enter.

And thanks for visiting my blog.  I do appreciate you taking the time to stop by.

Jenny

3D projects, cards, Catalogues, Christmas, Stampin' Up!, Tutorials, Videos

WEDNESDAY’S WOW! #50 – CREATING A PYRAMID CARD (AND MAYBE A GIVEAWAY!)

Here we are Wednesday’s WOW! #50.  I really didn’t even consider I would get to that number when I first started just this year.  How fun it has been sharing fun projects and videos with you.  Have you enjoyed them??  Today for #50 I have a special project that I have been sitting on for a few weeks waiting to share with you – and Today is the day! And since it is such a big milestone I thought I would have a little giveaway on my blog.  It’s been a while since I have done that so be sure to read all the details below.

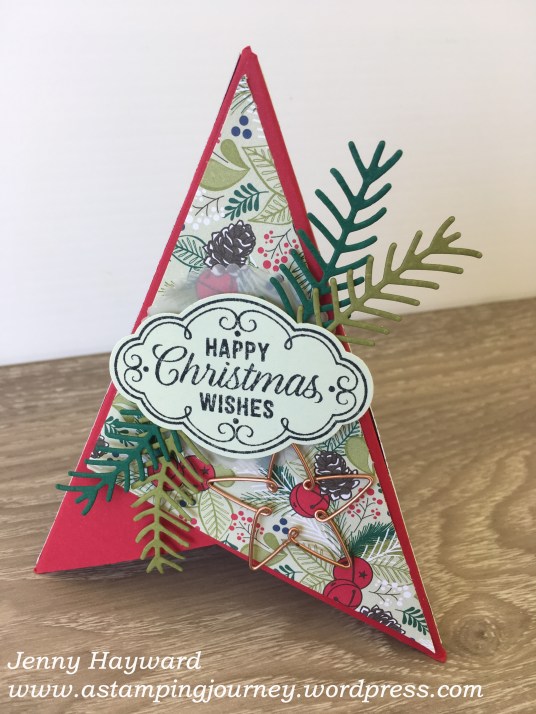
So today’s project is … A Pyramid Card.  Have you made one of these before.  I thought it would be fun to make one and share it with you.

This is the front view.

This is the back view.

I have put together a video for you and have some photos too below.

Apologies in advance for the video quality.  I am working on that. 😉

CREATE YOUR OWN PYRAMID CARD

The Pyramid card can be made to any size.  The principles to make them are the same.  Work out the approximate height you would like and the size of the card squares will be approximately three-quarters of that height.

Tutorial and measurements for the Pyramid card above.

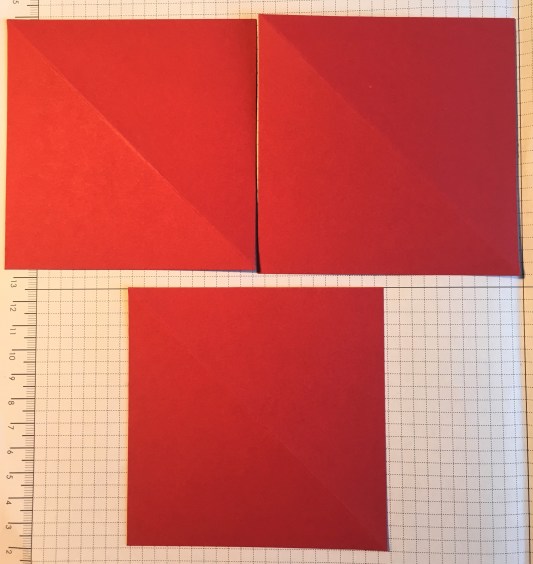
Cut 3 squares of card to 10.5 cm (Just over 4”).

Cut 2 squares of Designer Series Paper (DSP) slightly smaller than is 4mm or 1/8”.  Squares for this one would be 10.1cm or 4”).

1) Score each card piece diagonally once.  Fold on the scored line.

2) Cut both squares of DSP in half diagonally.  Flip one triangle over to use the opposite pattern.  You may choose to use a completely different piece of DSP for a different pattern choice.  You may choose to have each piece the same. Adhere the DSP triangles onto one panel of each card

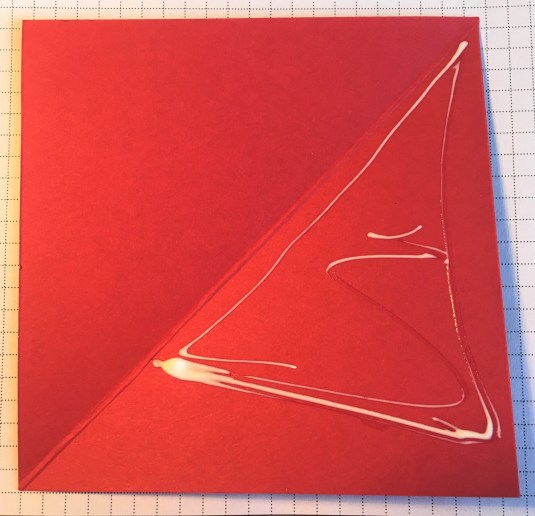
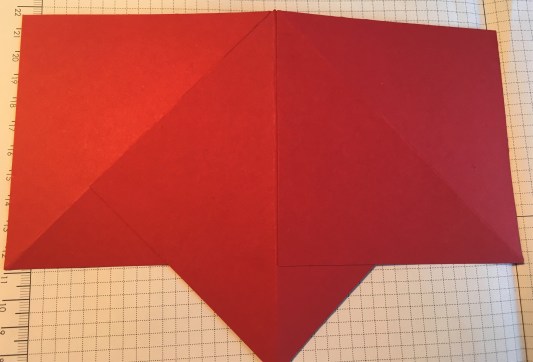
3) (NB: In these photos I didn’t adhere the Designer Series Paper before assembling). Position one of the squares behind another square underneath the other square.  Before applying adhesive, check the position so you only apply adhesive to where it is needed.  Repeat this for each card piece.

Be careful where you place the adhesive as you won’t want to place it all over your card.

4) You can choose to adhere the third square to the first square to assemble it permanently or you can add a Velcro dot to the edge piece, or add ribbon to tie it together so it can come apart to lay flat for posting.

– Decorate your Pyramid card as you like.

BLOG GIVEAWAY

OK, now for the prize.  Since it’s the 50th Wednesday’s WOW! I have a Blog Giveaway of … some BLING! We all love bling and let’s face it we can use it to cover up a multitude of mistakes.  Who does that?? 🙂

WHAT YOU NEED TO DO

I will pick a winner at random.   To enter please leave a comment on where you are from and what you love seeing when you come to visit my blog.  I will close the entries on Friday midday. AEST  The bling giveaway is only for Australian residents only sorry.  BUT if you are an international visitor please leave a comment and I will send a handmade card off to you.  I am allowed to do that. 🙂

So enter away.  And thanks for visiting me.

Jenny


Catalogues, Stampin' Up!

THE CLEARANCE RACK IS UPDATED AND DON’T FORGET TO REQUEST YOUR CATALOGUE NOW!

If you still have some gifts to buy for or you have some change left after your Christmas shopping then maybe you need to check out the Clearance Rack.  It has been updated with some items up to 60% off.  Rolls of ribbon are from $4.90. Select Ink Refills for $3.60.  Select Inkpads for $4.60.

Here are some other exciting products reduced but you do need to check out the list.

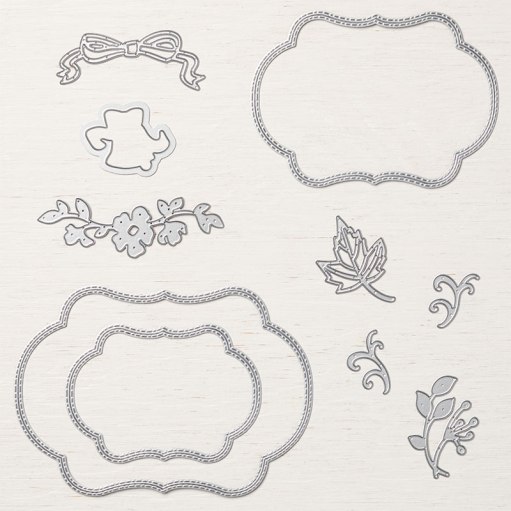
The Stitched Seasons Framelits reduced to $34.20.  If you missed these when they came out for the one month promotion then get them now.  This is a great reduction in price.  And look at those frames.  They are double stitched.

True Gentleman 12″x12″ Designer Series Paper is reduced to $7.70.  That’s a bargain and is great for those “bloke” cards.

Myths and Magic Glimmer Paper (24 sheets of 6″x6″).  This is so sparkly and is reduced to $10.40.

Check the Clearance Rack -> HERE.

The Closeout Sale is still on with some retiring and reduced items.  Have you checked them out yet?

Check the Closeout Sale -> HERE.

TO ORDER ANY PRODUCTS:  NB: Orders won’t arrive before Christmas.

Email me directly

OR

Order at the links above.  Please use the Host Code: BZ6KB7SU

———-

REQUEST THE 2019 OCCASIONS CATALOGUE

Here are some of the products that had arrived on my door step last week.  What do you like the look of??  There is so much more too. 🙂

Do you want one? 

Request the 2019 Occasions Catalogue And the Sale-A-Bration Catalogue.  (Australian residents only)

Head -> HERE to fill out the short form with your details.  They will be sent out late December to you.

OR

You can email me at jghayward@yahoo.com

———–

I hope you take time to check the Clearance Rack out because there is some bargains for you.

Thanks for stopping by,

Jenny