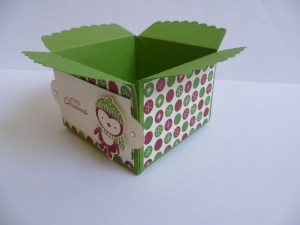
cards, Masculine

A MASCULINE 50TH!

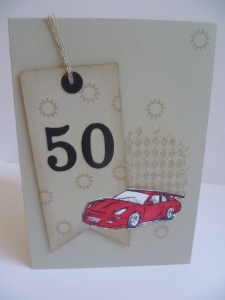
Last week I needed to create a 50th Birthday card for my Brother-in-law.  What to do???  Masculine cards are always a dilemma.  I went through my “saved card ideas”.  We all have one (or more) of those files don’t we??  The layout was inspired by this card by Debra Currier.  Of course I couldn’t use Extreme Elements now but ‘Clockworks’ was a good substitute.  A racy red sportscar is a good addition for a 50th.  Unfortunately it wasn’t a real one though! 🙂  The ’50’ was done on the Bigshot with ‘Timeless Type Alphabet’ now retired.  I punched a circle with the large circle on the Owl punch and punched a centre hole with a small hole punch.  I threaded some Linen Thread through it to create a tag.  The edge of the tag was sponged with ink.
P1070583

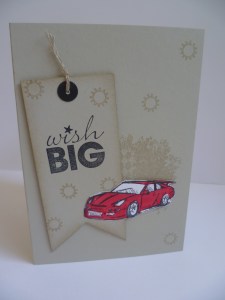
While I was on a roll I created a similar card to use for another Male Birthday.  They can always come in handy.  This time I used the “Wish Big” from ‘Word Play’.
P1070584

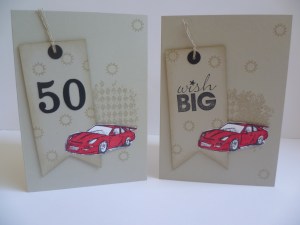
Here are the 2 together.  I did use Sahara Sand on both these cards but they do look a little different.  Possibly the lighting – or my bad photography!
P1070582

Thanks for stopping by today.  Have a good day.  I hope my Aussie friends are surviving the heat.  It has been hot and looks like it will continue all week.  Stay cool 🙂

Come and visit again soon,

Jenny x
cards, Uncategorized

“SCENTSATIONAL” BABY!

Don’t put some of those Christmas stamps away just yet! It’s great to know that you can use them for more occasions than the season they were intended.

Here is a great idea I found on Stampin’ Connection, a Demonstrator Forum I am on.  This was CASED from Mercedes Weber.  You can visit her blog here.  She is just the cleverest 🙂

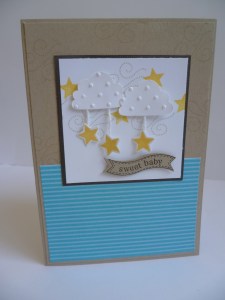
P1070587

How cute is this using the set “Scentsational Season”.  I would never have thought to use this for a baby card, but what a great idea! The clouds are punched from the Cupcake Punch and ran through the Big Shot with the Perfect Polka Dots Embossing Folder.  The DSP is Tempting Turquoise and is from the Brights Paper Stack.  The greeting is from “Itty Bitty Banners” and cut with the Bitty Banner Framelits.  There you go, a baby card using a Christmas set.  Who’d have thought Hey!!!!

Well, 2013 has dawned.  I hope this year brings you all you hope for.  Keep looking forward to achieve your goals.  Don’t dwell on the bad stuff, they just weigh you down.

Happy 2013 to you,

Jenny x

3D projects

CHOCOLATE TREE!!

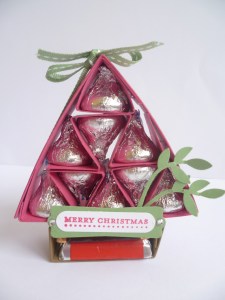
Ok, one more Christmas creation before New Year.  I just really wanted to show you this one. I found the tutorial for these recently on Brenda’s blog here.  It is really clever. Just after I saw this I found the Kisses and Mini Hershey bars at a local discount store.  I was so excited because they are really hard to come by here and YAY! now I could make them!!

Here is my Chocolate Tree.

P1070495

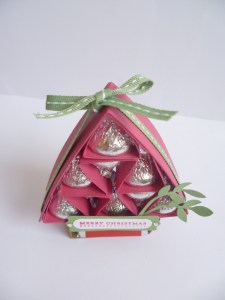
Here is a view from the top.

P1070496

Do you like it? Once you get the folding right for the triangles in the middle they are really easy.  They would make a really nice gift to give at Christmas.  A bit late for this year but maybe file the idea away for next year!!!

Wishing you a Very Happy 2013.  Stay safe as you celebrate.  I want you all to be healthy and well for another year of creating and sharing.

See you next year!

Jenny x


glitter-graphics.com

3D projects, Stampin' Up!

MERRY CHRISTMAS BANNER!

How was your Christmas?  I hope you had a lovely day.  They weather changed considerably here yesterday with rain and much cooler temperatures.  This changed our plans a bit but it all worked out.  Nothing like coziness with all the family on Christmas Day!!!

I know Christmas has now gone but I still want to show you this project.  I have been meaning to make one of these Christmas Banners for months.  I have looked around the internet but just wasn’t sure what to do.  On the weekend just gone I thought I should just ‘DO IT!!’  So I did!

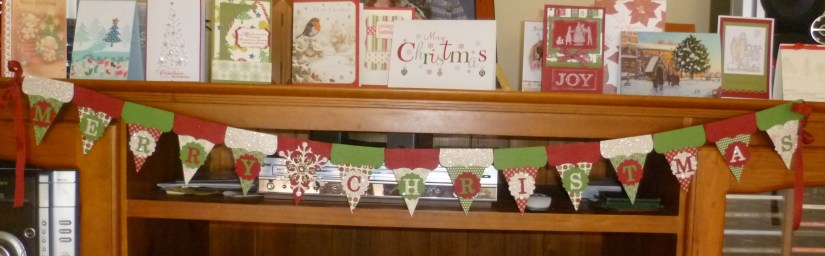
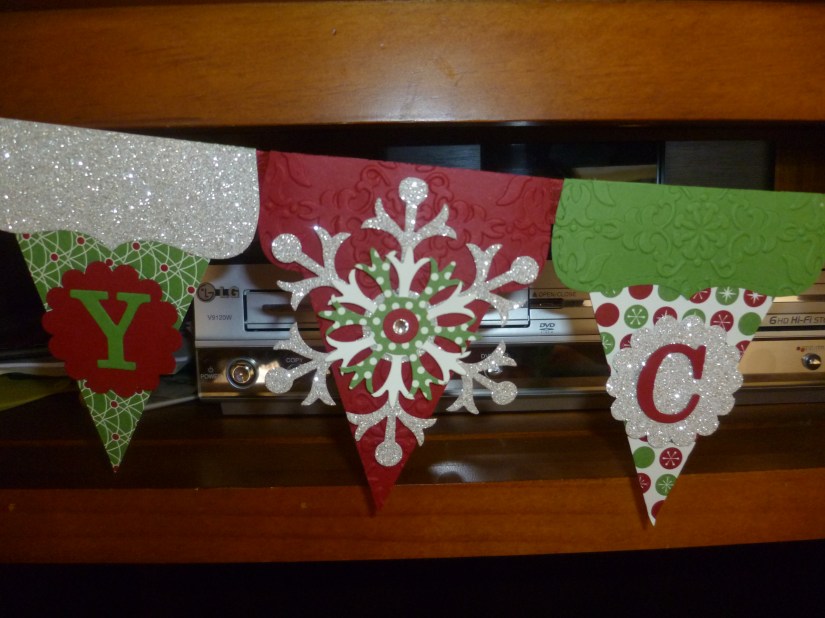
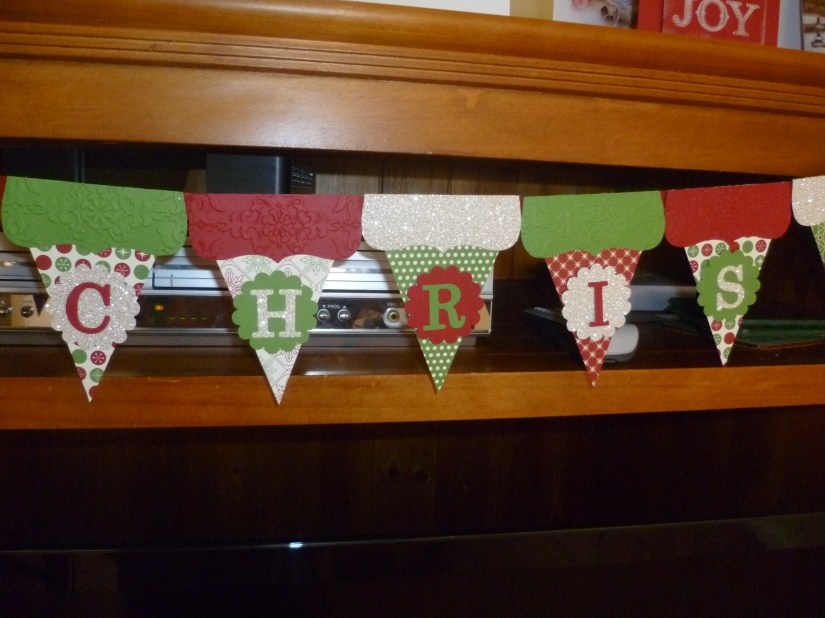
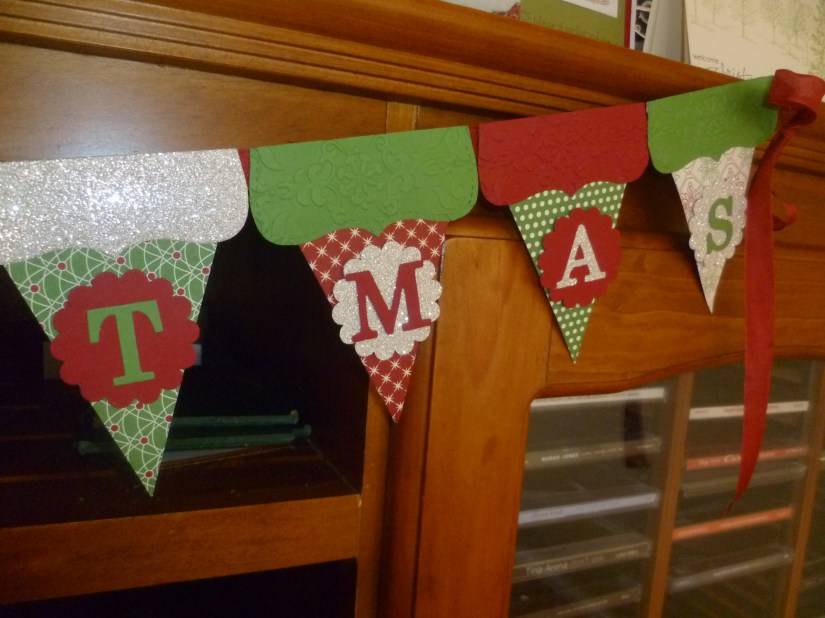
Here is my Christmas Banner.

P1070499-1

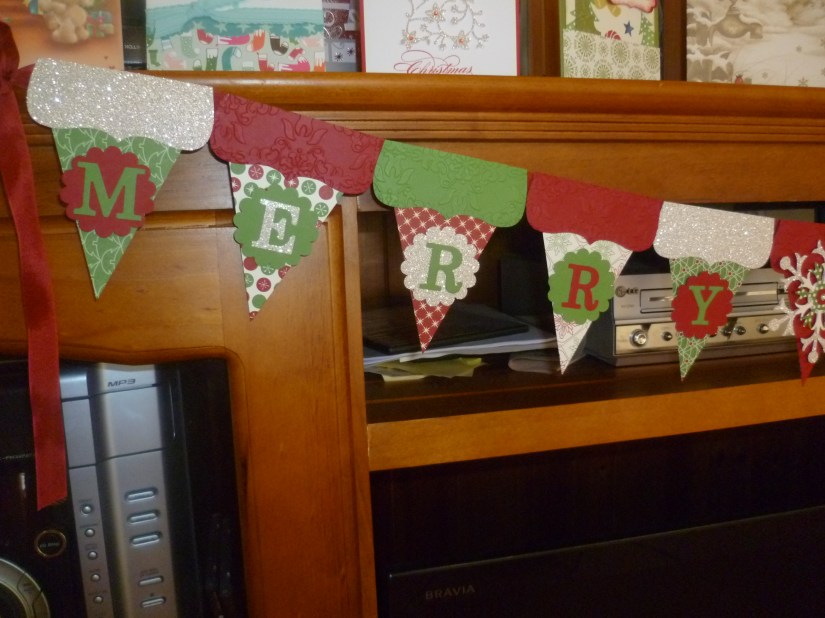
It is hard to see it all here so I will show you some close-up shots.

P1070504

P1070501

P1070503

P1070502

What I have used:

CARD: Gumball Green, Cherry Cobbler, Silver Glimmer Paper, Very Vanilla, ‘Be of Good Cheer’ DSP.

BIG SHOT: Timeless Type Alphabet (retired), Vintage Wallpaper Embossing Folder, Snow Flurry Die, Top Note Die.

OTHER: Scallop Circle Punch, 2 step Owl Punch (centre of Snowflake), Cherry Cobbler Seam Binding, Adhesive Rhinestones.

I hope you like it???? It was fun to create.

Enjoy the rest of your Christmas celebrations and I look forward to you stopping by again soon.

Jenny

cards

LAST MINUTE CHRISTMAS CARDS!

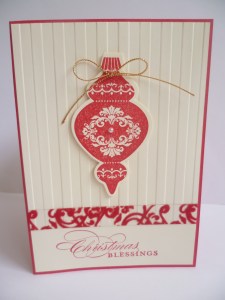
I was tidying up my craft desk the other day and found all these little bits left-over from recent Christmas Card making.  I couldn’t let these little bits go to waste so I made some quick cards with them.

For this first card, I had a strip of the Candlelight acetate.  It is so gorgeous I couldn’t throw it out.  It did take me a little fiddling to work out where to put it though!!  So much for a quick card!

P1070493

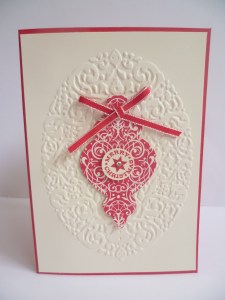
On this second card I had a piece of Very Vanilla card that I had embossed with the Holiday Frame Embossing Frame at Heartfelt in Sydney in November.  This has been sitting on my desk since then waiting for some inspiration.  I had a left-over ornament already cut from the Candlelight DSP.  This didn’t take long to put together.

P1070494

Christmas Cards are done and dusted for this year so at least I have made a start for next year!!!!

Thanks for taking time to stop by.  It is such a crazy time of year but I do appreciate you visiting my little corner of the blogosphere today and anyday.  🙂

Jenny x

3D projects

FOLDED PAPER CHRISTMAS ORNAMENT

Did you enjoy the Christmas boxes I shared with you last week?  I hope it might have inspired you.  If you missed them just head back to the previous posts.  I showed a different box each day for a week.  Today I want to show you a Christmas Ornament I recently made.

P1070261

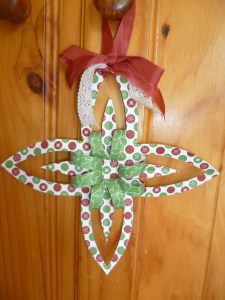
I quite like all the curls on this.  I found the idea originally on Pinterest.  The directions for making this can be found here.  (Just a note: It is in Chinese but it has photos and is fairly easy to work out).

This was made with the “Be of Good Cheer” DSP. I added some Cherry Cobbler Seam Binding and Lace to finish it off.  I have been debating whether it needs a Christmas sentiment but I didn’t want to hide the curls.  Maybe a little one down the bottom???

I hope your plans for Christmas are coming together well.  Most of the presents here are wrapped.  A couple of things I ordered On-line still haven’t arrived, so I think I will be making some ‘IOU’ tags.

Thanks for stopping by,

Jenny

3D projects, Stampin' Up!

BOX WEEK – BOX #7

We come to our last box for the week.  This box today is based on the box I showed you yesterday.  So you can get the template from the link in the last post.  This is another version.

P1070324-1

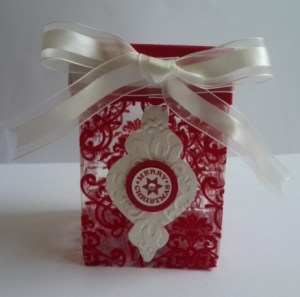
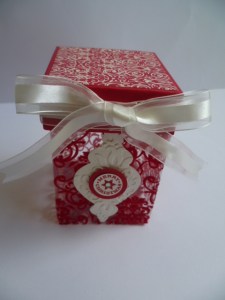
This box is created using the gorgeous acetate sheet with the flocked swirly finish.  It is so soft and velvety to touch.  You get 2 sheets of this in the Candlelight Specialty DSP found in the current Seasonal Mini Catalogue.  It makes up such an elegant box.  I have cut an ornament from the Ornamental Keepsakes set and then run it through the Big Shot with the Vintage Wallpaper Embossing Folder.  You can’t tell but I also sprayed this with Champagne Shimmer Spray so it sparkles in real life.  The centre sentiment is from “More Merry Messages”.  An adhesive Rhinestone in the centre finishes it off.

Here is the top view.

P1070326

I adhered a piece of the Candlelight Specialty DSP on top of the lid and some white Organza Ribbon around it to finish it off.

Well, that finishes off my Box Week.  I hope you liked the projects.  There is still time to get creating some before Christmas.  Why not share a photo or a link to your creations?  I would love to see them.  Have fun creating!

Jenny x

3D projects, Stampin' Up!

BOX WEEK – BOX #6

Here we are in Box Week at Box #6.  These boxes are getting bigger now!

P1070306

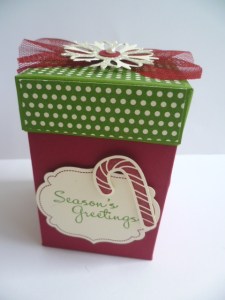
I found the template for this box on Becky’s 12 Days of Christmas 2009 edition.  You can find the details here.  This was the Bow Box in the collection.  If you scroll down the blog and look in the Right Hand column you can see the 2009 projects there.  You can purchase the Tutorial there too.

My box was created in Cherry Cobbler.  The frame on the front was stamped using “Memorable Moments” and then cut with the Labels Framelits.  The greeting is from “More Merry Messages”.  A little Candy Cane stamped from “Scentsational Season” and cut with the Holiday Framelits finishes the front.

Here is the top view.

P1070309-1

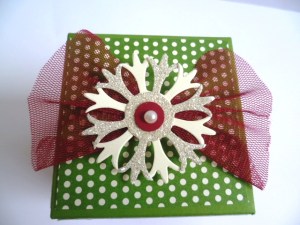
The top was cut in Gumball Green and DSP strips (from “Be of Good Cheer DSP pack”) were adhered to the edges and top.  I cut 2 snowflakes with the Snow Flurry Die in Silver Glimmer Paper and Very Vanilla.  These were layered together.  The Cherry Cobbler circle in the centre was punched out using one of the small circles on the Owl Punch.  An adhesive pearl finished off the centre.  I cut a piece of the Cherry Cobbler Tulle and gathered that together and wrapped some thread around the centre to hold it all in place.  Once all the layers were adhered together they were fixed in place on top of the box with Dimensionals.  This box stands at 10.5cm or about 4 1/4″ tall.

Thanks for looking today.  We have our last box for our Box Week tomorrow so be sure to stop by.

Jenny

3D projects, Stampin' Up!

BOX WEEK – BOX #5

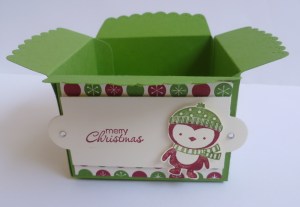
I have made a lot of these boxes over the last couple of years.  I found the idea here when I first made them.   This is made from the Scallop Envelope Die.  I added a Christmas touch to this one.

P1070284-1

P1070288

Once again I added my little mate from “No Peeking” like on yesterday’s box.  He was coloured with markers and added on the greeting panel cut from the Apothecary Framelits.  The DSP is from the “Be of Good Cheer”.  Mmm this DSP is featuring a lot on these boxes!

Another cute box to fill with some little treats.

Come and visit me again tomorrow for Day 6.  I think these boxes are getting bigger as we go through the week. 🙂