You can create a very easy Z Fold card with the Tea Boutique Cards and Envelopes. Simply score the front of the card in half. Turn the card inwards then fold the card back on itself on the fold.
Add a strip of the Tea Boutique Designer Series Paper inside the card. Then on the front add a tea cup and flowers on a diecut rectangle from the Scalloped Contours Dies.
What do you think? It’s very quick and easy to create.
The Tea Boutique is a great collection of products.
Do you have lemon in your tea? Hot Lemon and honey is great as a tea when you have a sore throat or cold. There is a lot of that going around here where I am at the moment.
With the Tea Boutique Suite you can create Lemon Tea projects.
You can create a frame from the paper. I used the Stitched Rectangles Dies. You can use other shape dies too.
The sentiment is from the Nature’s Prints Stamp Set.
See all the Tea Boutique Suite online -> HERE. You can order directly there. Please use the Host Code: 99CMHTER
In Australia and need help ordering?
Drop me an email or comment here and I can help you out.
Have a great day,
Jenny
It’s Sale-A-Bration time. Which means you can choose one of the great Sale-A-Bration items available with your orders over $90 or $180. Just take your pick when you order.
Back with Sunday Suites today with the gorgeous Splendid Day Suite from the July-December Mini Catalogue.
This is a gorgeous suite with such soft colours in the paper.
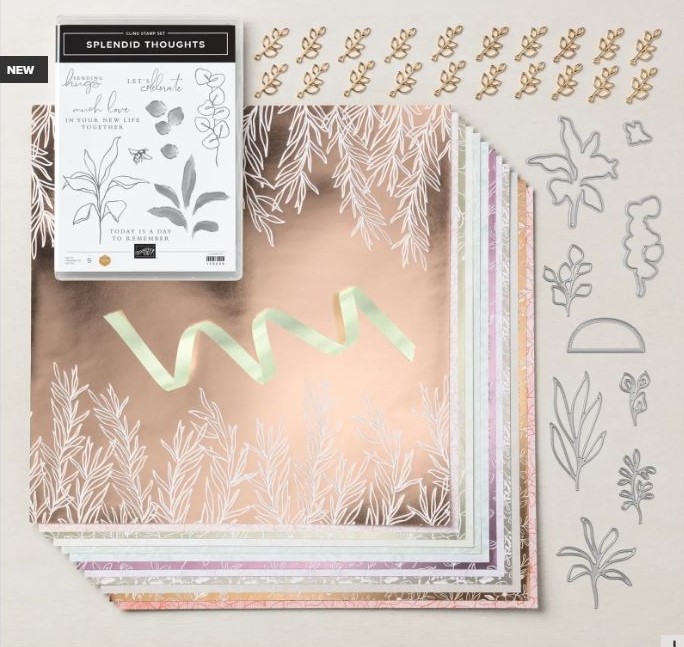
The Splendid Day Suite includes –
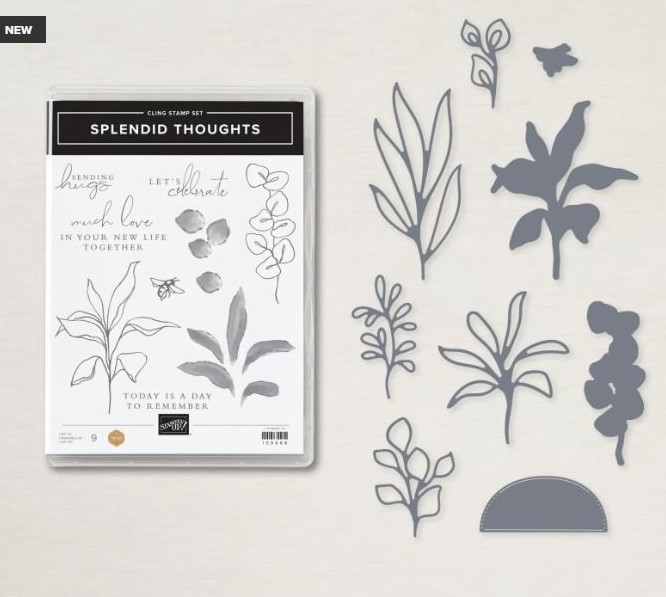
The Splendid Thoughts Stamp set
The Splendid Stems Dies. (Get the stamps and dies together as a bundle)
The Splendid Day Specialty Designer Series Paper 12″x12″
Soft Sea Foam Seam Binding Ribbon
Open Leaf Trinkets. (20 pieces)
There is the Splendid Thoughts Bundle. $90.75 AUD
The Splendid Thoughts Stamp set includes lined images which can be coloured or use the solid images to add colour. The Splendid Stems dies include 9 dies which cuts intricate leaf dies or the outlines for the stamps.
Now this Splendid Day Specialty Designer Series Paper. ($27AUD) is really gorgeous. The photos don’t do it justice. The papers are shiny in soft and subtle colours with white embossed images on the foil on one side and plain prints on the other side.
The colours in this paper are Calypso Coral, copper, Fresh Freesia, Petal Pink, Pool Party, Sahara Sand, Soft Sea Foam.
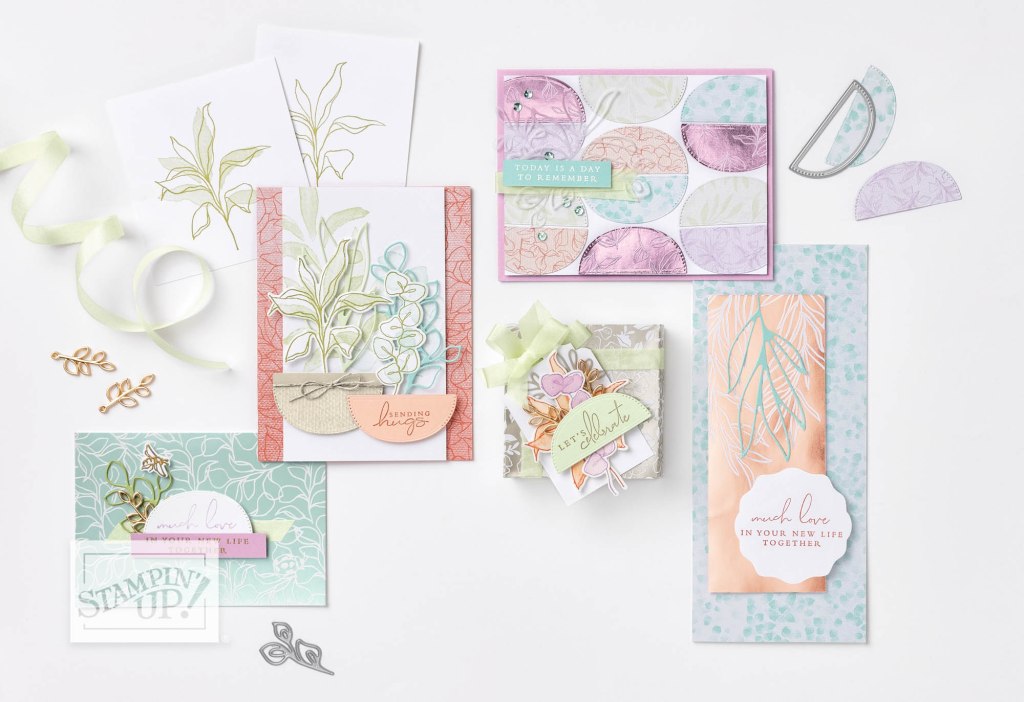
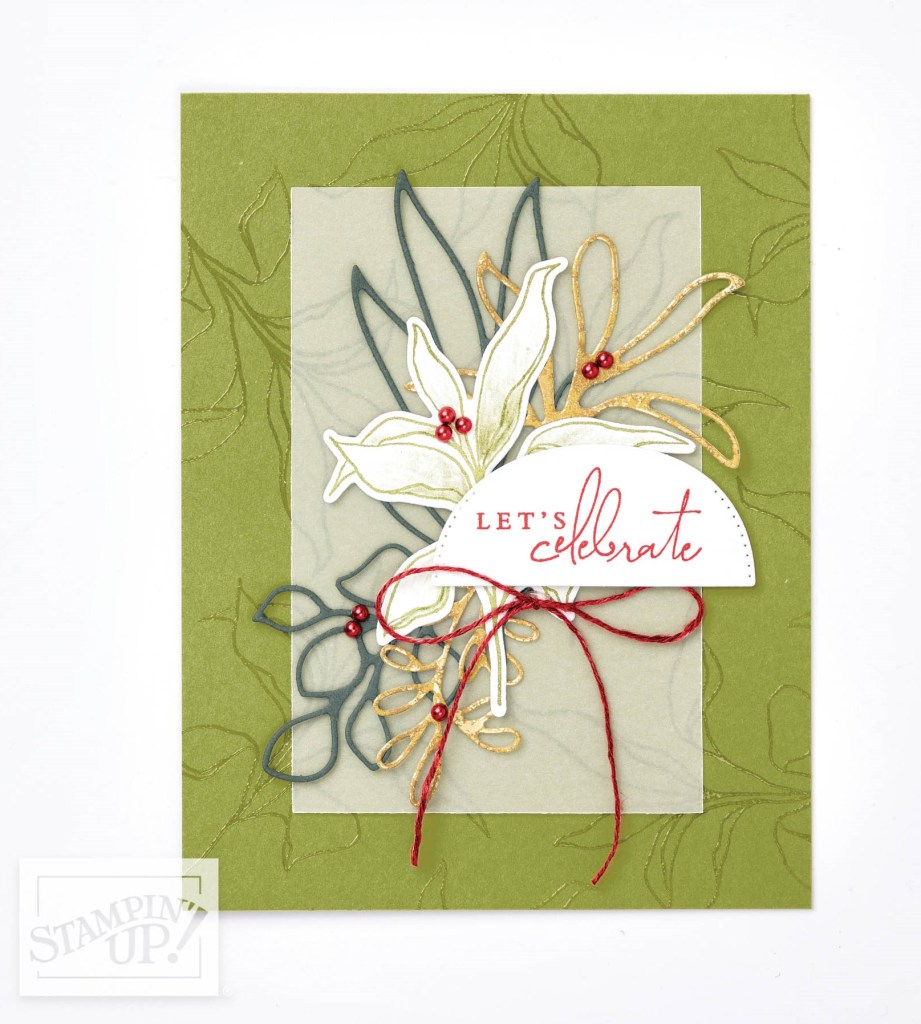
Of course see some samples with this suite. (projects created by Stampin’ Up! artists)
The Splendid Day Paper is actually featured in my Class By Mail this month along with the Go To Greetings. I will tell you more soon but here are some details. You can order them now.
Happy Creating,
Jenny
In Australia? I love to serve you.
Shop anytime in my store for your gorgeous Stampin’ Up! products -> HERE. Please use the Host Code: 99CMHTER
Following from the last post about my Winter Crafternoon, today I wanted to show you the projects that everyone got to make.
Everyone received a pack of the Tea Boutique Cards and Envelopes in their Goodie Bag that they could create the cards with. They could take the rest home to create more. I shared other projects with them of card ideas using the Cards and Envelopes as well.
These are the 2 projects.
The colours use the lovely 2022-2024 In Colors of Tahitian Tide, Sweet Sorbet and Parakeet Party.
The Tea Boutique Designer Series Paper matches so well with these colours and products too.
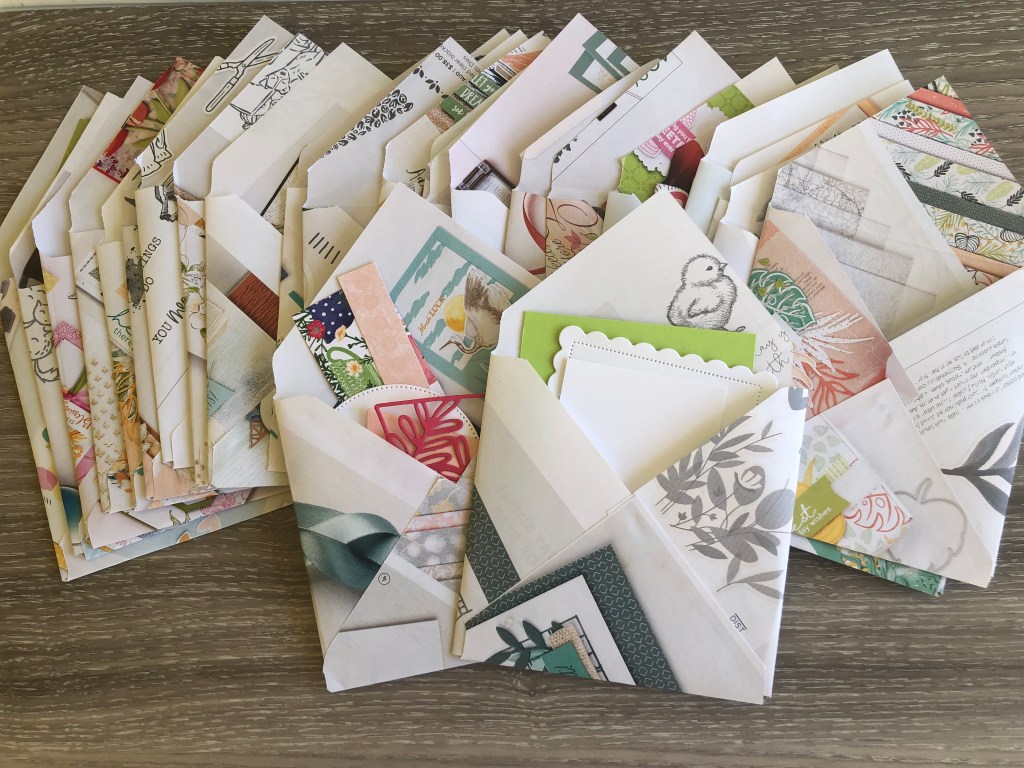
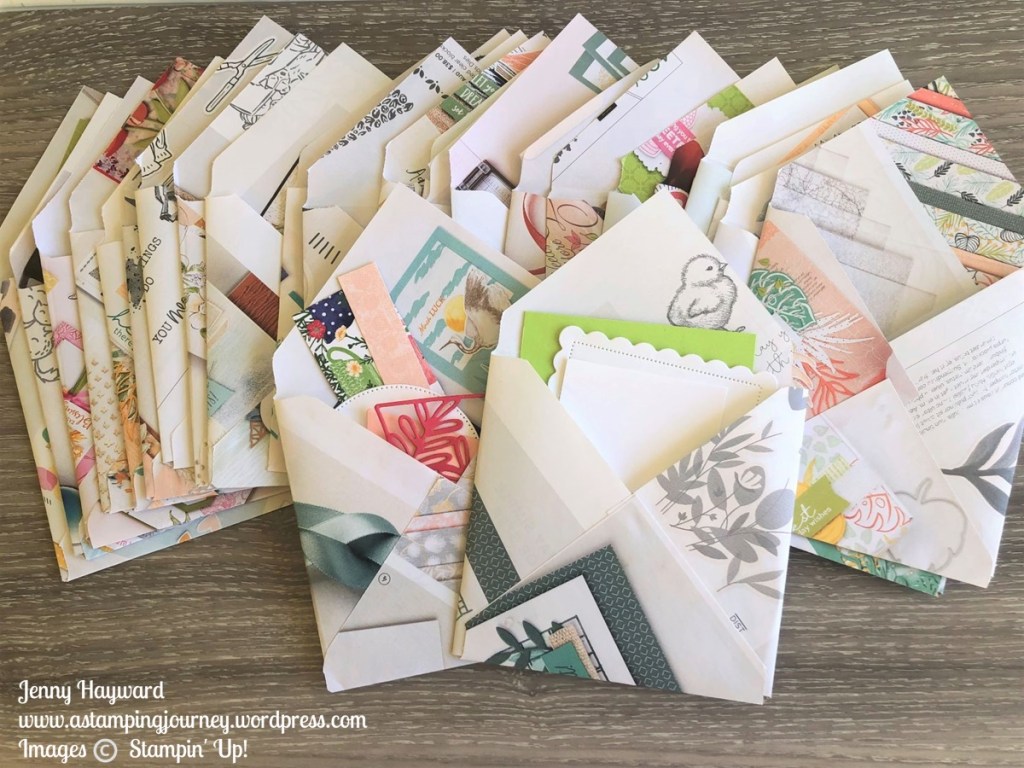
I cut all the elements for the card and everyone got to stamp and cut some of the images. Trying to be more Environmentally conscious rather than packing all the kits for the cards in Cello bags I made up little pouches using the Envelope Punch Board with pages from the retiring January to June Mini Catalogue.
The Tea Boutique Suite Collection is a lovely group of products and can make some very quick cards. See it in my store -> HERE.
Shop in store at the above Link. Please use the Host Code: 99CMHTER
Or contact me directly and I can help you with these lovely products or any others for your creative endeavours.
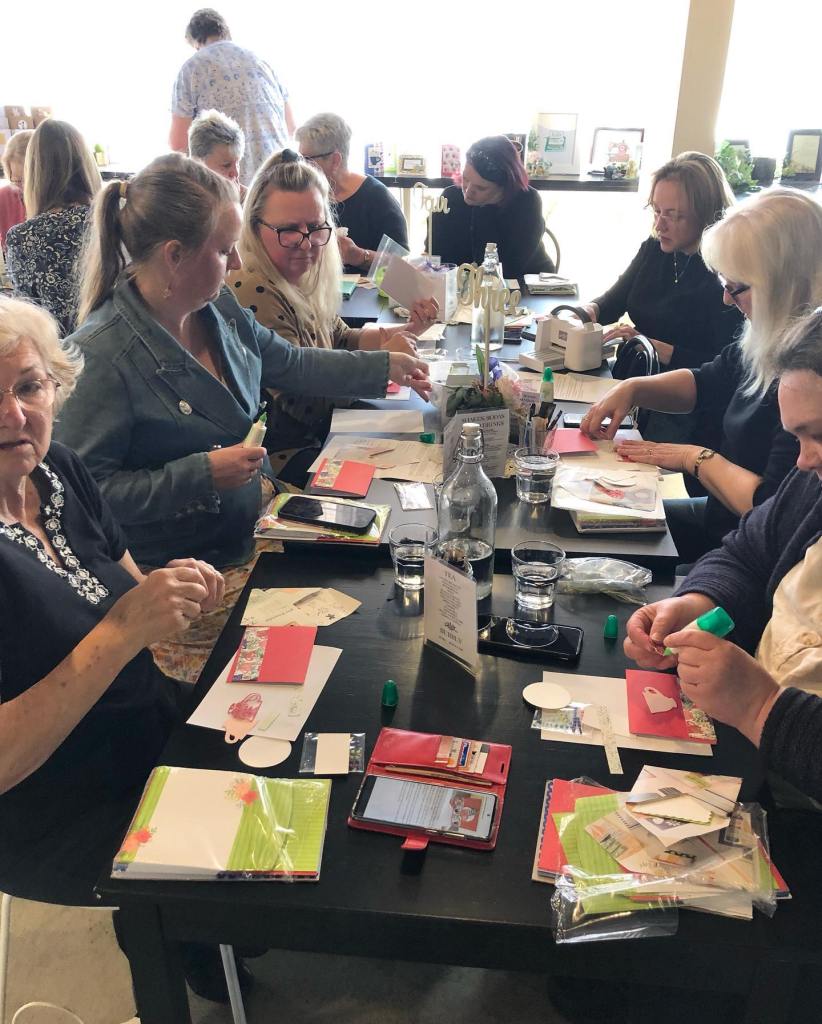
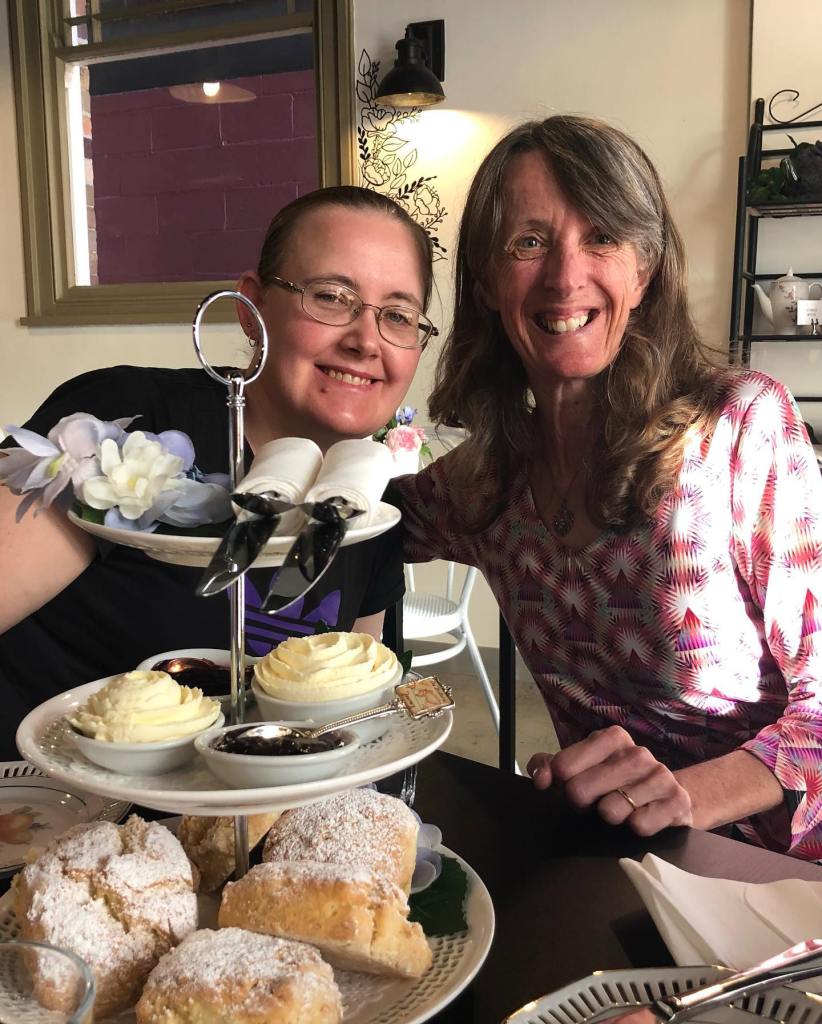
On the weekend I held my Winter Crafternoon event at a local Tea Room. It was such a lovely day. I thought I would share some of it with you.
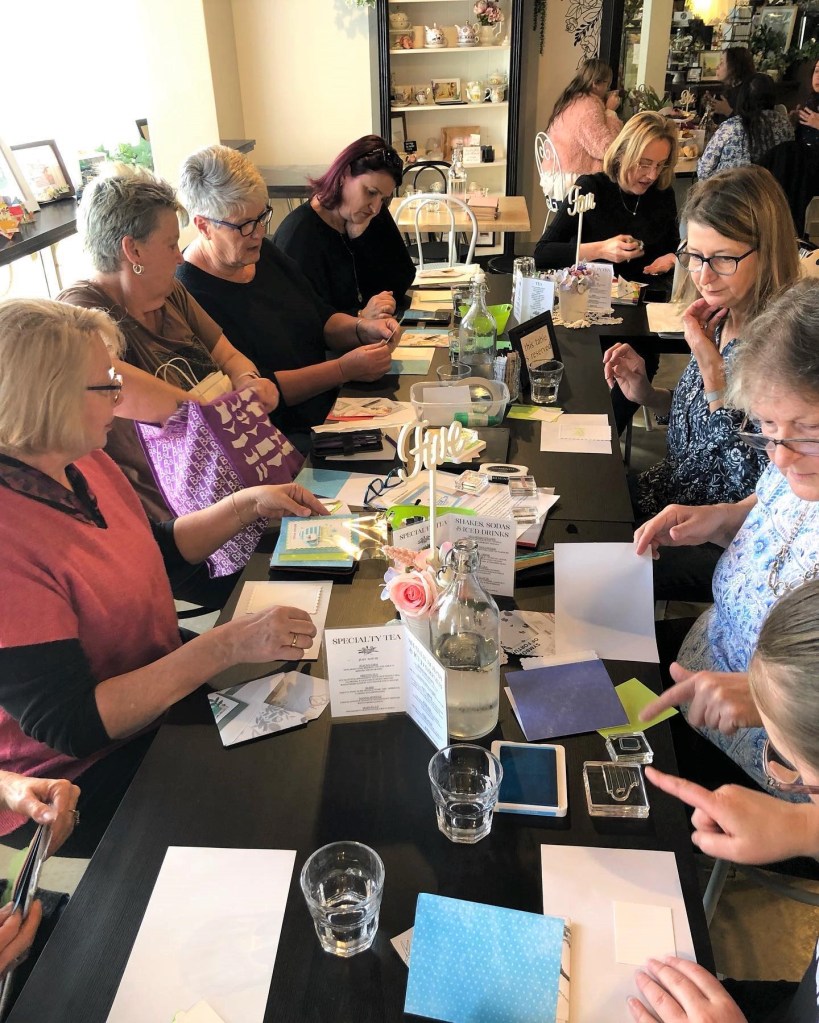
We had a large group of excited crafters. The projects were around the Tea Boutique Suite. Very apt for this venue. 🙂
Lots of creative fun.
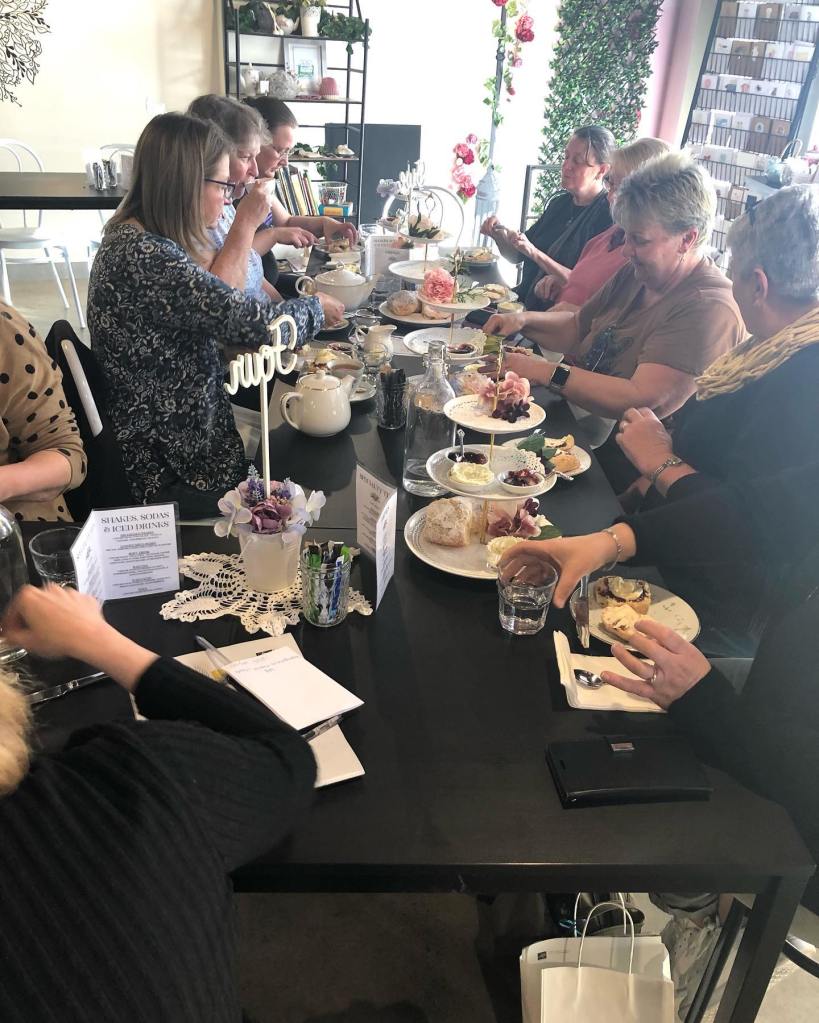
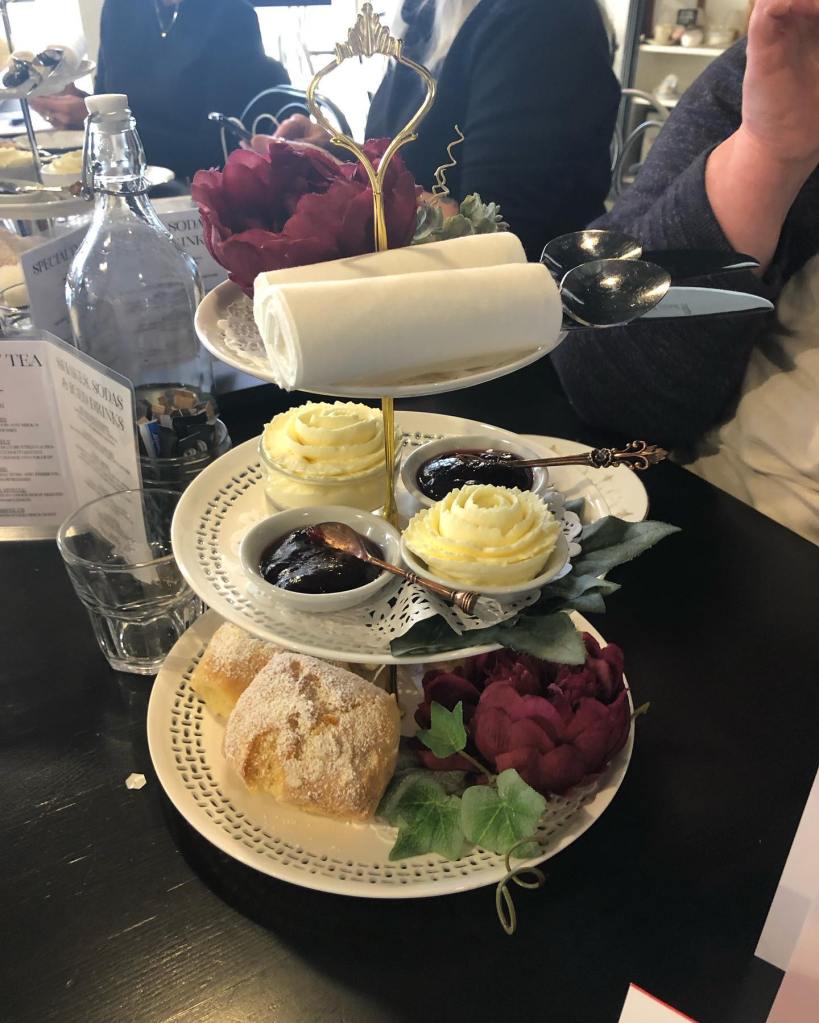
After crafting it was a relaxing time with chatting over Devonshire Tea. Everyone had an enjoyable time and talks of another Crafternoon for next year is already happening.
Crafting brings people together to chat and connect and talk and share. Isn’t it a wonderful thing. It’s not just ink and paper.
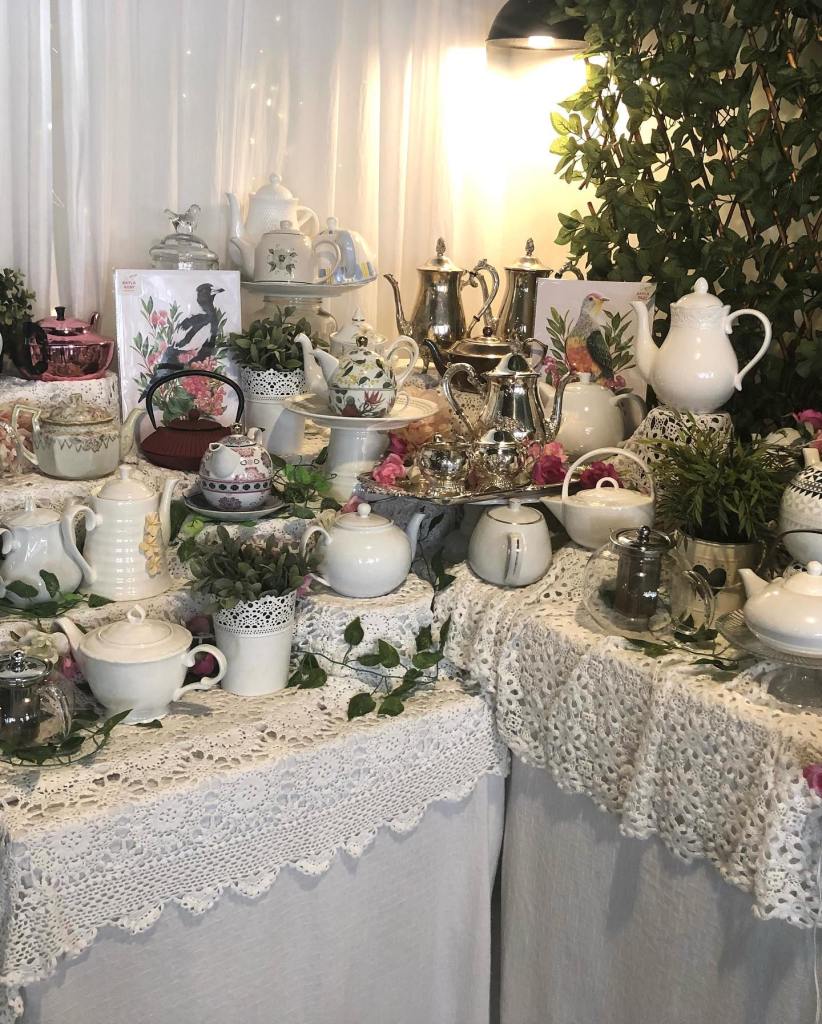
How delectable is this?? All presented so beautifully.
Such a lovely display in the Tea Room at Sugar, Butter Eggs in Woonona. Owned and operated by my lovely friend Harmony and her husband.
Rather than packing the card kits in Cello bags I made up little pouches with the Envelope Punch Board from pages of the retiring Mini Catalogue.
I made up little tags to go with a Chocolate Treat in their Goodie Bags.
I will share more of the projects everyone created in the next post so be sure to stop on by.
And if you are local be sure to head in to Sugar, Butter, Eggs in Woonona for a lovely Devonshire Tea, High Tea or any other delectable you might like. (See it HERE).
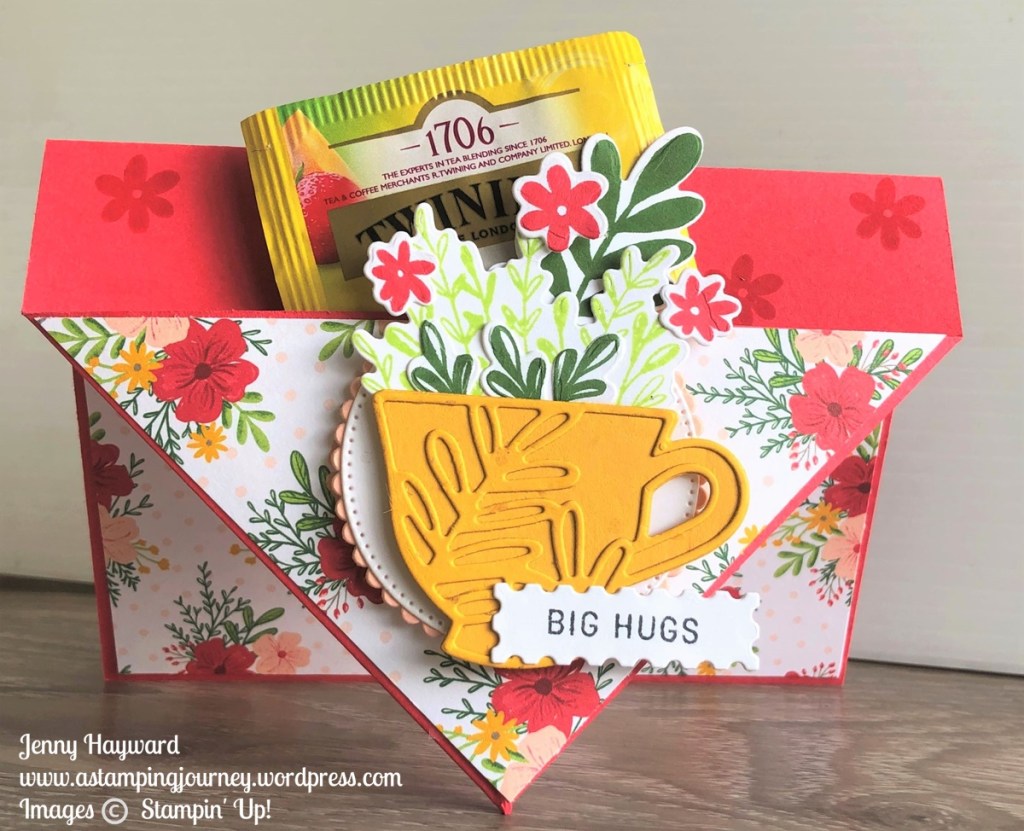
Today’s video is a fun card I think. It’s a Pocket Front card.
It’s a standard size card and with a little folding and scoring creates a pocket in the front. Just the size for a tea bag, Gift Card or even a small chocolate.
I have a video to show you how to make it but also have the measurements below for you so you can recreate your own.
Here is the card for you. We have some different angles so you get an idea of it.
I used the Tea Boutique Collection for this card. Quite an appropriate one to include a Tea Bag in the pocket.
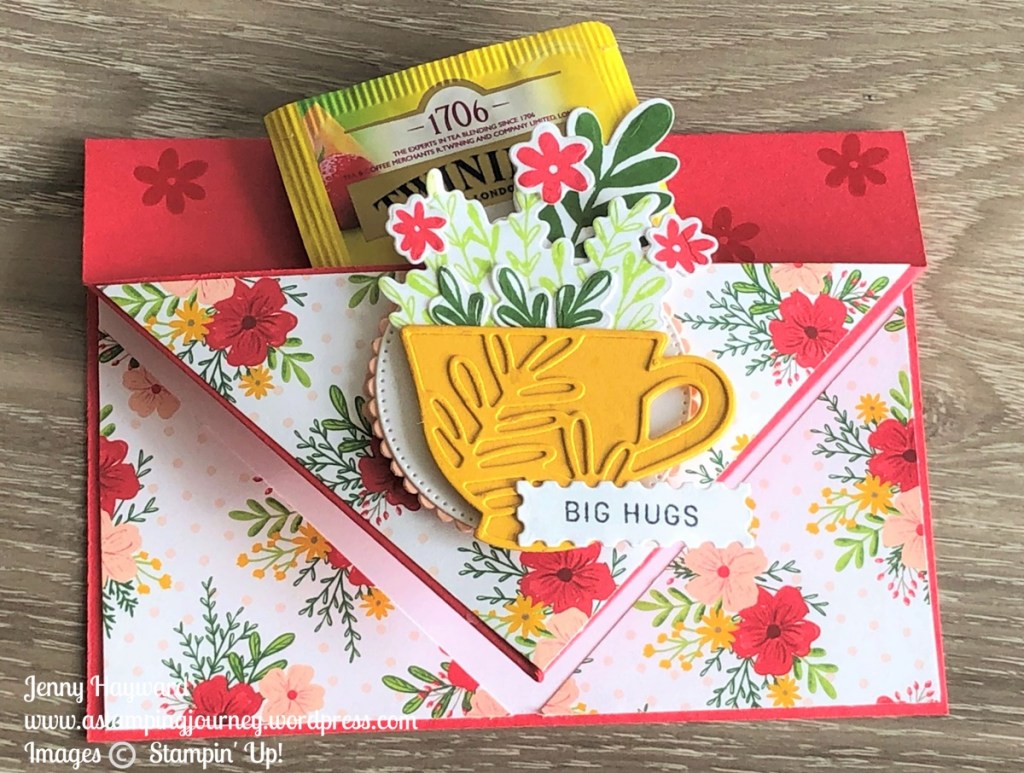
Below is the view from the front with the card standing up. It can stand well just on the point.
Lying flat.
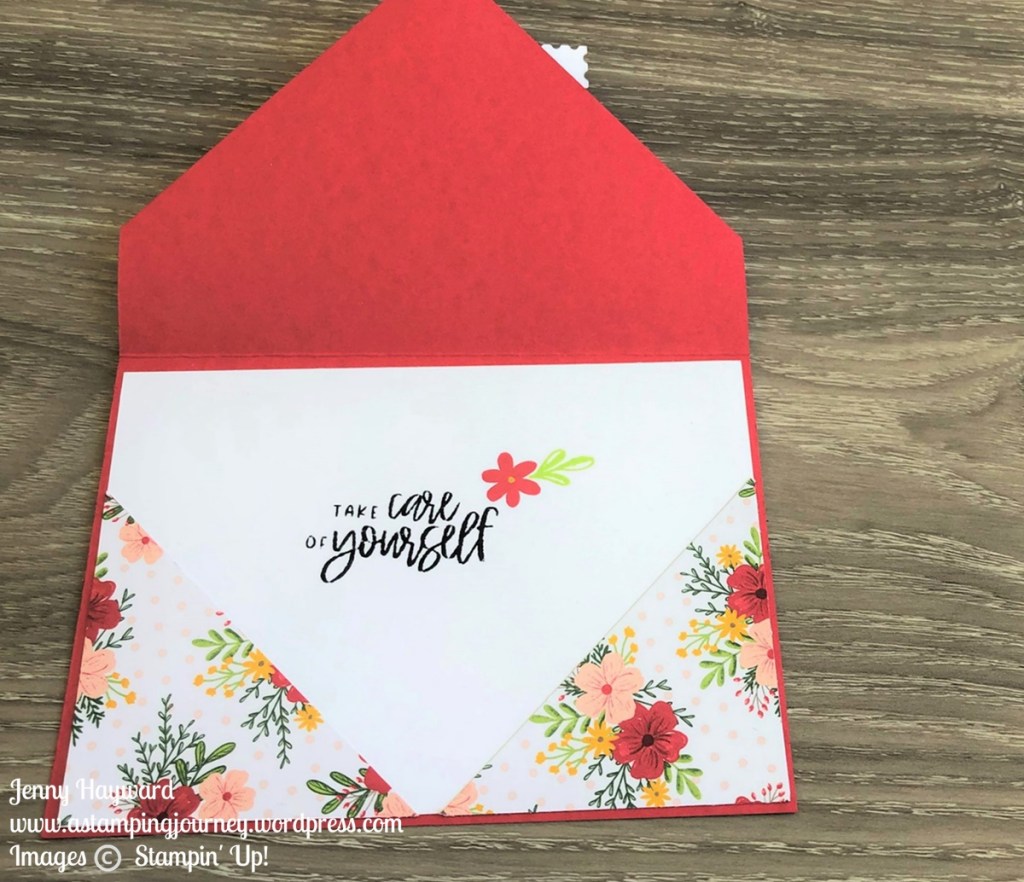
Inside. I added a piece of white card so there is room to write.
Check the video out below.
The original idea came from Splitcoaststampers website -> HERE.
CREATE YOUR OWN POCKET FRONT CARD
Follow along with the video to see the scoring and folding of the card.
Base card 14.8cm x 21cm Score on the long side at 10.5cm
5 1/2″ x 8 1/2″ Score on the long side at 4 1/4″
On the long side place the left hand edge at the 7.4cm or 2 3/4″ point on the Paper Trimmer. Mark in pencil at the little channel on the Trimmer. Alternatively use a ruler to measure in 7.4cm or 2 3/4″ from the left hand edge and mark the point.
Turn card clockwise 1/4 turn. Mark halfway on this side which will be 7.4cm or 2 3/4″.
Score an angled line from the centre mark on the short side to the mark on the long side. Repeat the angled line from the centre to the mark on the other long side.
Fold on the score lines and fold in at the angles. Adhere to 2 angled folds down with tape.
Cut Designer Series Paper to 10cm x 10cm 3 1/2″ x 3 1/2″.
Cut the piece at an angle from one corner to the other. Keep one triangle as a large piece. Cut the other triangle in 2 to have 2 half triangles.
Adhere the large piece to the front of the card.
White card for inside measures 14.4cm x 10.1cm 5 3/8″ x 4 1/8″.
Adhere the 2 smaller triangles on each of the bottom corners. Adhere the white card inside the base card.
Decorate as you wish to.
—
I hope you get to make one. Let me know how you go.
Need any supplies and you are in Australia? Head to my store HERE or contact me directly.
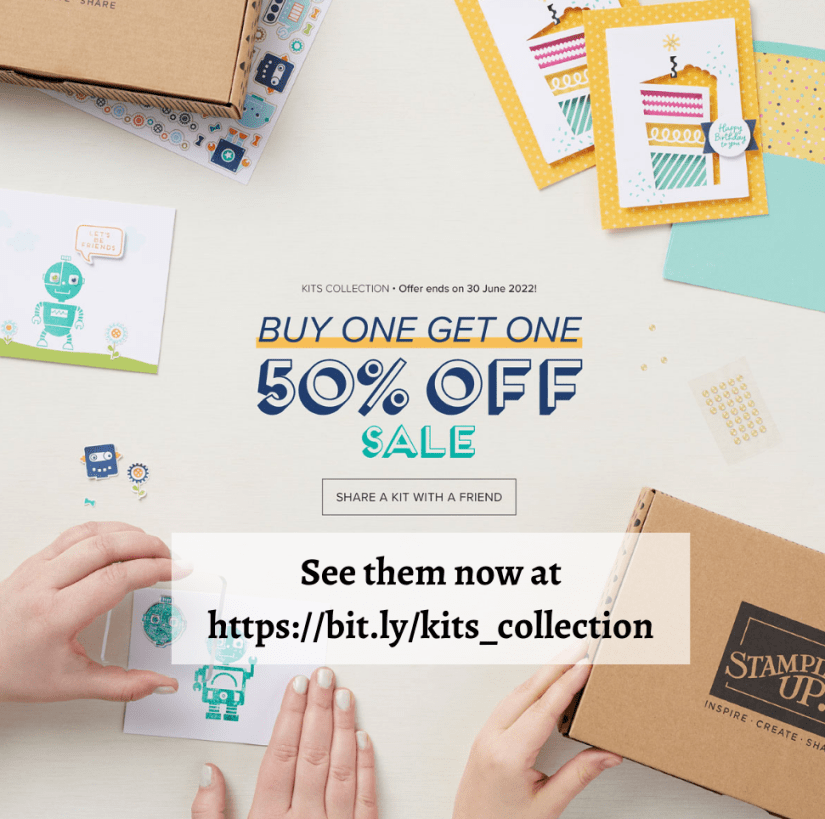
Kits make creating cards so quick and easy. Everything is contained and ready to go. And it’s great this month with BOGO. Buy One Get One Half Price.
Stampin’ Up! has so many kits available for us crafters whatever level. BUT I have to tell you about my favourite. Sentimental Rose.
The cards you create with this kit are so gorgeous.
The colours are so soft and elegant.
The floral image is so detailed.
AND even with all that my most favourite part – the Stamp Set. It is so versatile.
Here is the kit so you can check out yourself.
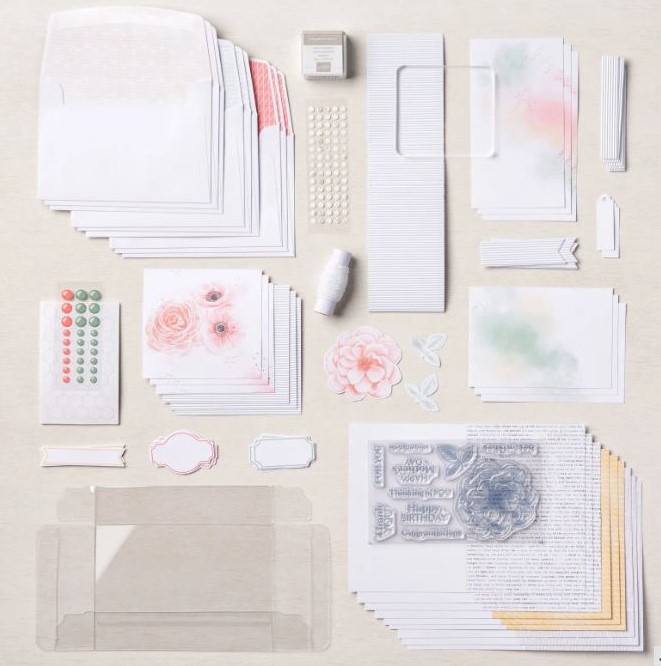
The Kit contains –
Kit includes * Sentimental Rose Photopolymer Stamp Set * Acrylic stamp block * Gray Granite Classic Stampin’ Spot * Designed projects with step-by-step instructions * Pre-cut pieces * Folded card size: 5″ x 3-1/2″ (12.7 x 8.9 cm) * 9 printed, coordinating envelopes * 1 acetate gift box: 3-3/4″ x 5-1/4″ x 1-1/8″ (9.5 x 13.3 x 2.9 cm) * 1 printed designer box for storage or crafting on the go: 9-7/8″ x 6-1/2″ x 2-3/4″ (25.1 x 16.5 x 7 cm) * Adhesive to complete projects
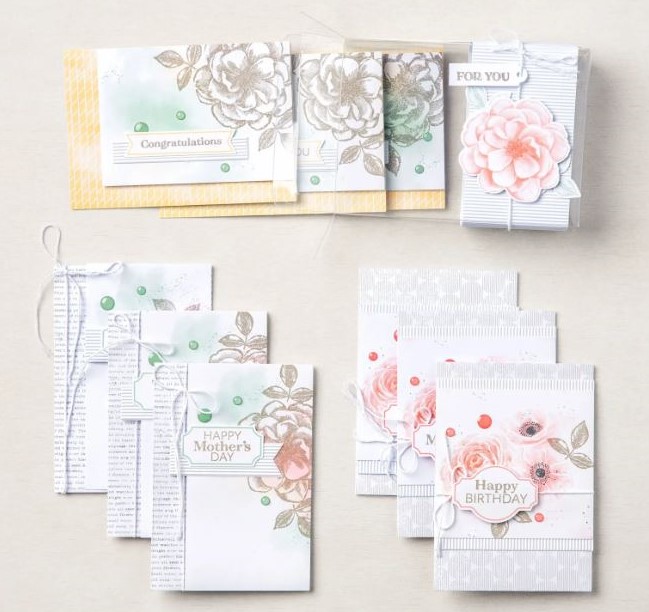
These are your finished cards. The kit makes 9 cards: 3 each of 3 designs.
See the gorgeous stamp set. You have sentiments for many occasions.
You can stamp the flower and leaf as is or colour it with your favourite medium.
With BOGO this month you can Buy One and Get One 50% off.
Maybe it’s 2 of the same. One for you and one for a friend. Or maybe 2 different ones.
There are so many different Kits.
You can see them all in my store -> HERE. Please use the Host Code: 46HJZACA
In Australia? Shop at that link above
OR contact me directly. I would love to serve you with your creative needs.
Do you have trouble creating those “manly” type cards?? I know people tell me they do often.
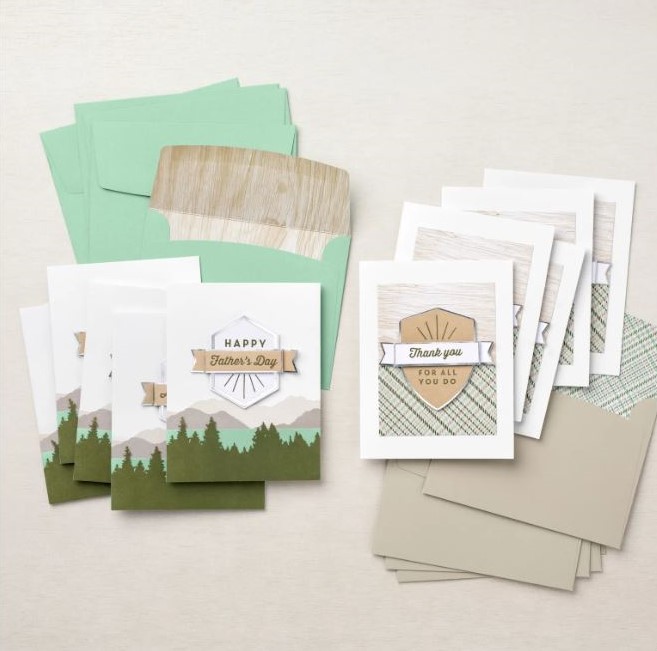
The For the Guys Kit is a great kit for those “manly” cards. Let’s check it out.
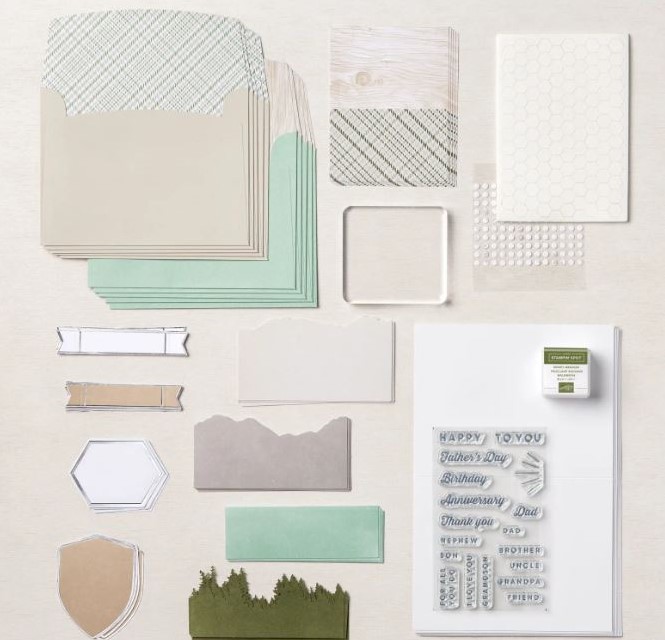
The For the Guys Kit includes –
* For the Guys Photopolymer Stamp Set * Acrylic stamp block * Mossy Meadow Classic Stampin’ Spot * Designed projects * Step-by-step instructions * Pre-cut pieces (No prep work! Get right to crafting) * Makes 10 cards: 5 each of 2 designs * Folded card size: 5-1/2″ x 4-1/4″ (14 x 10.8 cm) * 10 printed envelopes * Adhesive to complete projects
Great value at just $33 AUD.
These are the card samples. Of course you can change the sentiment for your particular occasion.
The For the Guys Stamp set is a great one to keep for so many cards later.
With BOGO kits this month you can buy 2 and get 50% off the second one OR buy one and get a different one for the second one. Either way, it’s awesome value.
You can grab the For the Guys Kit in my store -> HERE.
You can check out all the other kits there while you are at it. There are kits for the young ones, some gorgeous kits for your friends and some lovely Thinking of You ones for those thoughtful cards. Even Christmas ones to put away for later in the year.
Check them out.
If you are in Australia and would like to grab one of these head to the link just above. Please use the Host Code: 46HJZACA.
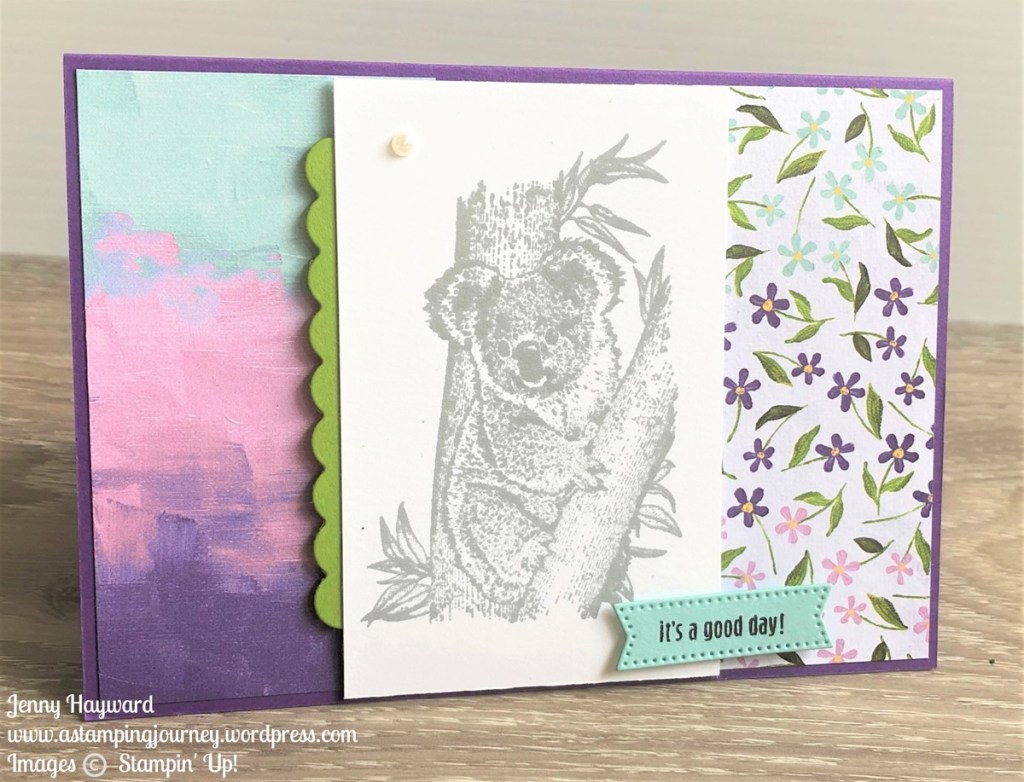
Today for Sweet Saturday I wanted to share a well… sweet card. With Wild and Sweet.
As I was playing with it recently I thought it would be cool to add some more “vegetation”. I looked through my stamps and found the Oceanfront stamp set.
This card was one I stepped up a little from a class card recently.
Here is the card.
I also used the Fern 3D Embossing Folder, Sunprints Designer Series Paper, Sending Smiles Stamp Set, Blossoming Happiness Dies and Stylish Shapes Dies. Of course, finishing off with Pebbles Enamel Shapes.
Hope you like this sweet card.
See what you can pair together from your own stamp sets.
In Australia? Any of the products are available in my store. Head -> HERE. Please use the Host Code: 46HJZACA
OR contact me directly. I’m happy to serve you so you get the best from your creating.