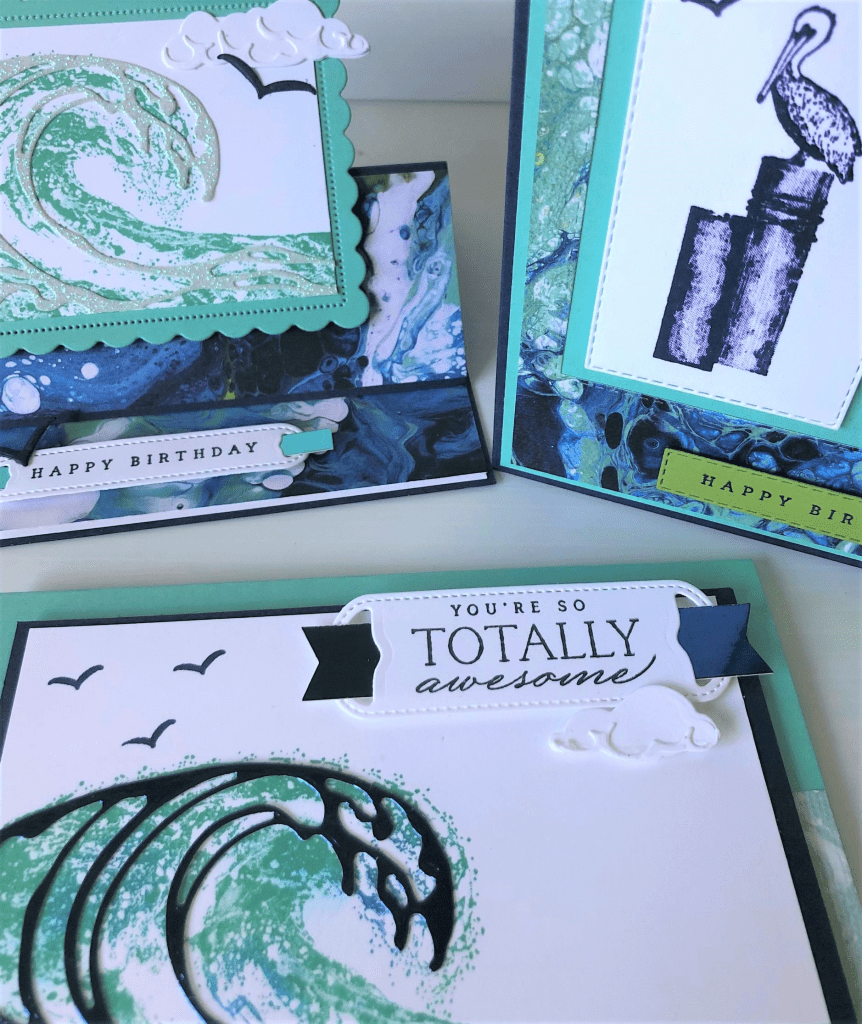
Wednesday’s WOW! #135 –Use the Negative Wave Diecut. Don’t waste the gorgeous Foil when you diecut a detailed wave from the Waves Dies. Use it for another project.
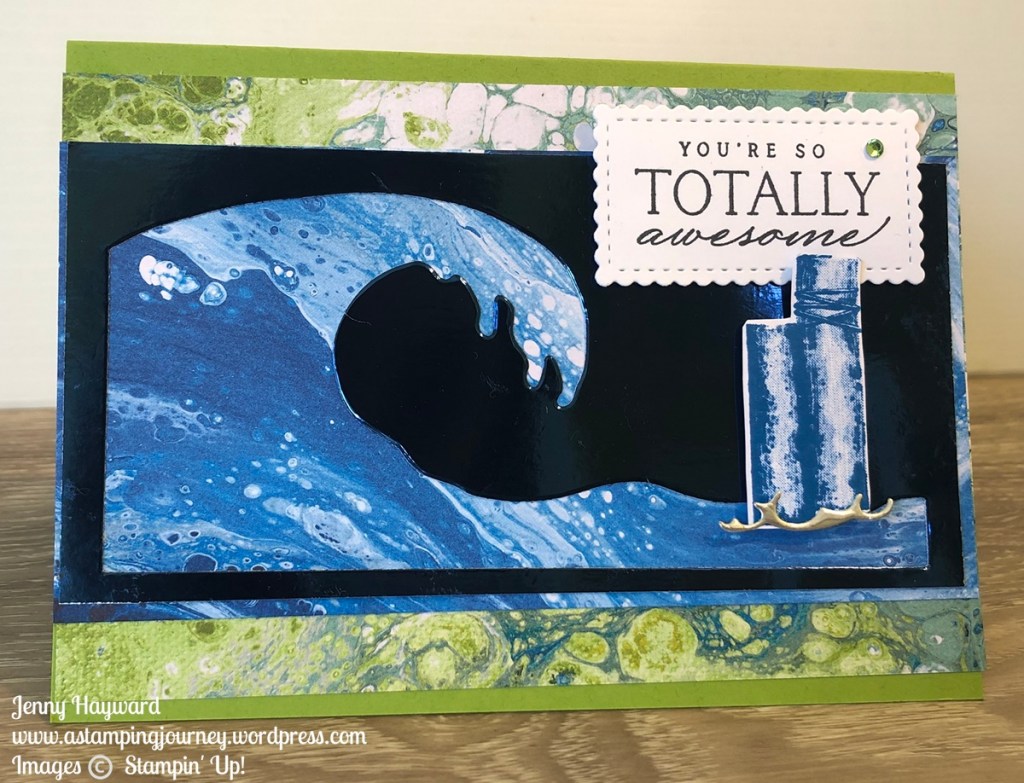
I shared a card recently with the diecut wave. When I finished I saw the negative piece on some paper. It looked cool. So I added it to a card.
And also I used some of the Silver Foil to diecut a swirly edge that you would use to line the clouds. That makes a cool wave under the post. I took off the pelican but I’m thinking I need to add it at the bottom.
The Waves of Inspiration Designer Series Paper is just gorgeous. I hope you have grabbed some of that already.
You can see all the beautiful Waves of the Ocean Collection products in my store -> HERE including the gorgeous paper and the Waves Dies.
In Australia and would like to order? I would love to serve you. Head to my store link just above. Please use the Host Code: 4SEB3FCV.
I shared this card briefly in a recent video of 5 Ways with the Waves of Inspiration. (You can check that video -> HEREif you missed it. And really there were more than 5 Ways…)
I wanted to create a separate video on this card to show how I did the background but particularly the moon effect. You will be surprised.
Here is the card.
You can check out the video below.
(If you receive this blog update by email the video may not show so head to the blog post directly to view it).
There is not much time left to grab the Waves of the Ocean Designer Series Paper so be sure you don’t miss out on it.
See the Waves of the Ocean Collection in my store -> HERE.
In Australia? You can order there directly. Please use the Host Code: 4SEB3FCV
A different card for you today with the Waves of Inspiration Stamp Set.
We didn’t have the Waves of the Ocean Designer Series Paper initially so I created some cards using other products.
For this card I used the All Together Designer Series Paper. I love the POP of the pelican in Pacific Point against the black and white.
What do you think?
While the Waves of the Ocean paper is just gorgeous (and not around for too much longer) it is great to still see this stamp set used in other ways. Hope you like it.
If you want to grab this bundle and get the paper before it goes head to my store now.
Or contact me directly.
See it in store now -> HERE. Please use the Host Code: 4SEB3FCV
With a new catalogue starting soon we say Farewell to the 2020-2022 Incolors.
I’m sad to see some of these go. I have used Misty Moonlight a lot! I have to say when they first started I didn’t really like Bumblebee that much. BUT … as it turned out I have used that colour a lot too. It’s been great for Sunflowers and flower centres and lots more.
So let’s say farewell. I have pulled out a few of my cards from the last 2 years.
Now if you love these colours and want card, ink, ink refills, embellishments you need to grab them NOW. Don’t leave it because I can tell you they will be gone very quickly.
In Australia? You can shop in my store -> HERE. Please use the Host Code – 9JUM9XCP
Today is the day! The Retirement List has been released for the 2021 Annual Catalogue and 2022 Mini Catalogue.
It’s your Last Chance to get these retiring products. Maybe there are some of these products on your Wish List you have been eyeing off.
Some products are discounted by up to 50% off!! What great savings. 🙂
These are only available While Supplies Last.
Of course there are some I am sad to see go but that’s for another day. I just wanted to let you know ASAP so you can head there to check it out and shop.
Wednesday’s WOW! #134 – How to Layer and sponge with the Masks.
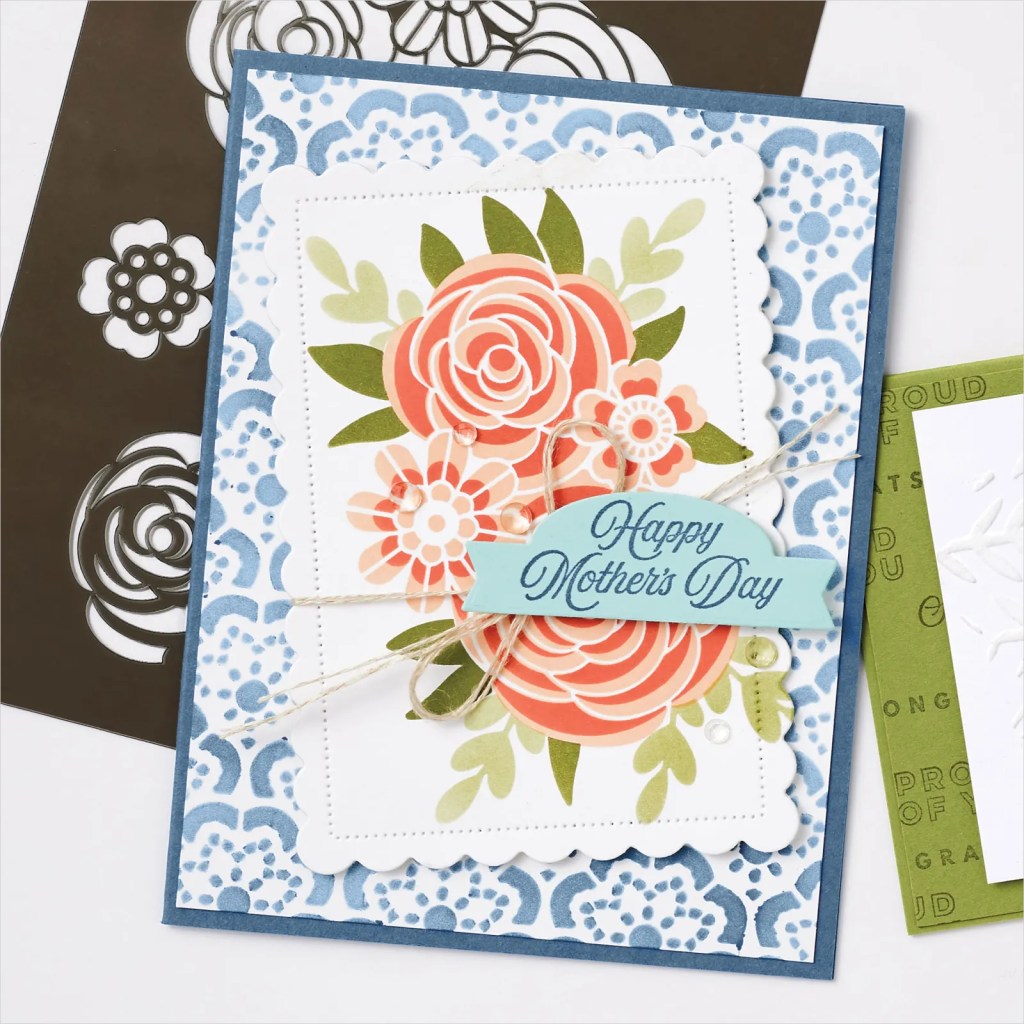
There are some great masks available especially these gorgeous Butterflies and Flowers Masks. But how do you use them to get the best results? Check the video below.
This is the finished card that was shown in the video. How pretty is it??
There are a number of different masks you could work with. See them all -> HERE.
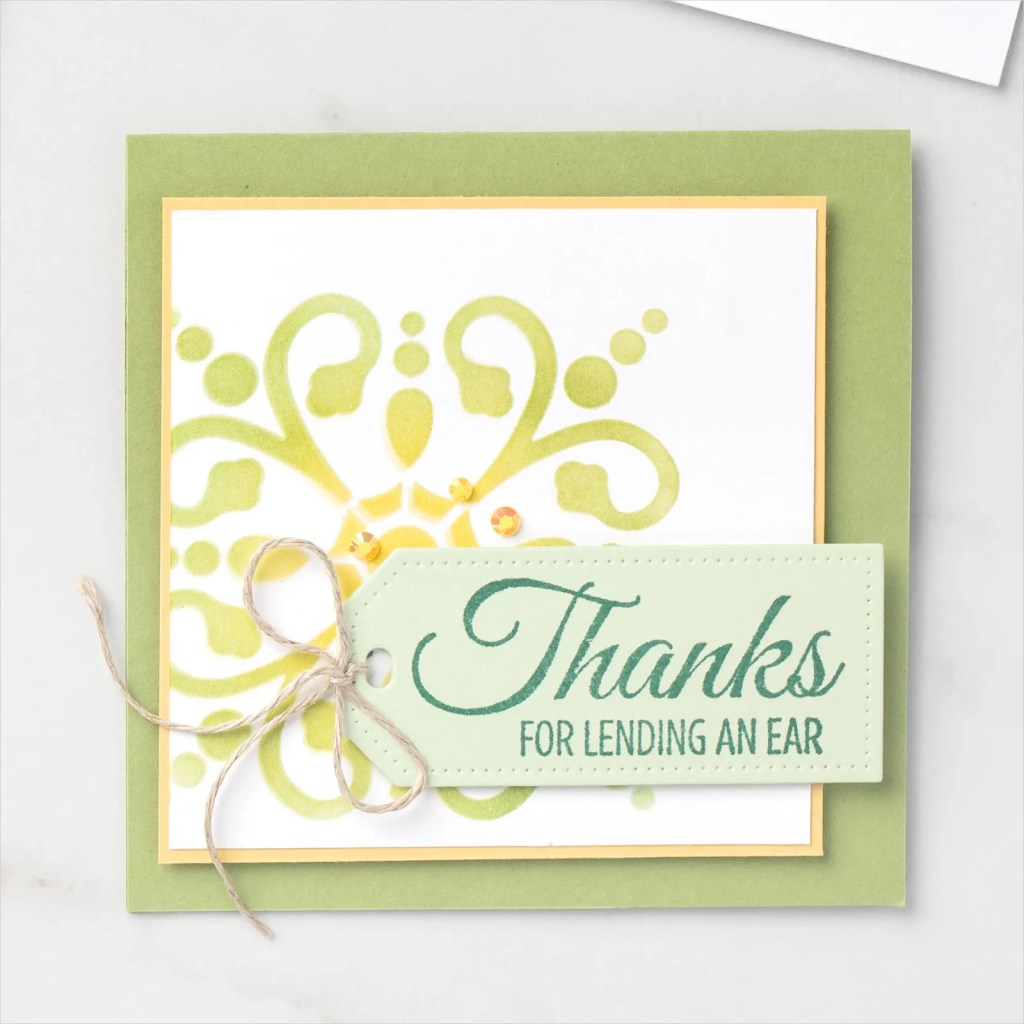
Here is another sample with the masks.
Have you tried the masks? I would love to know how you have used them.
Create with the gorgeous Waves of the Ocean products in the comfort of your own home in your own time. (Australian residents only).
Create 3 cards including one Fun Fold card.
Choose your option:
Use your own inks. Colours used are Coastal Cabana, Night of Navy and Pacific Point (Light Green, Navy and Bright Blue) as well as Black Memento Ink.
OPTION 1) Receive card kits for the 3 projects including diecut pieces. Project Tutorials. (Use your own stamps and ink). Also receive ½ Pack of the Waves of the Ocean Designer Series Paper and 1 Pack of Waves Rhinestone Basic Jewels.
COST: $25 plus additional Postage to send out of $3.30. (Pickup is available).
OPTION 2) Receive card kits for 3 projects and the Project Tutorials. Diecut your own pieces from the materials. Use your own stamps and ink. Also receive ½ Pack of the Waves of the Ocean Designer Series Paper and 1 Pack of Waves Rhinestone Basic Jewels.
In addition, receive the Waves of Inspiration Bundle of the Stamp Set and Waves Dies. (So you can create more projects later).
COST: $121 Plus additional $9.55 to mail out if not local pickup)
Please RSVP to join in the class by Sunday 27th March. Email me at jghayward@yahoo.com
I think you will love these cards so don’t miss out.
I can’t believe that Sale-A-Bration is coming to an end! It all ends this Wednesday 16th March.
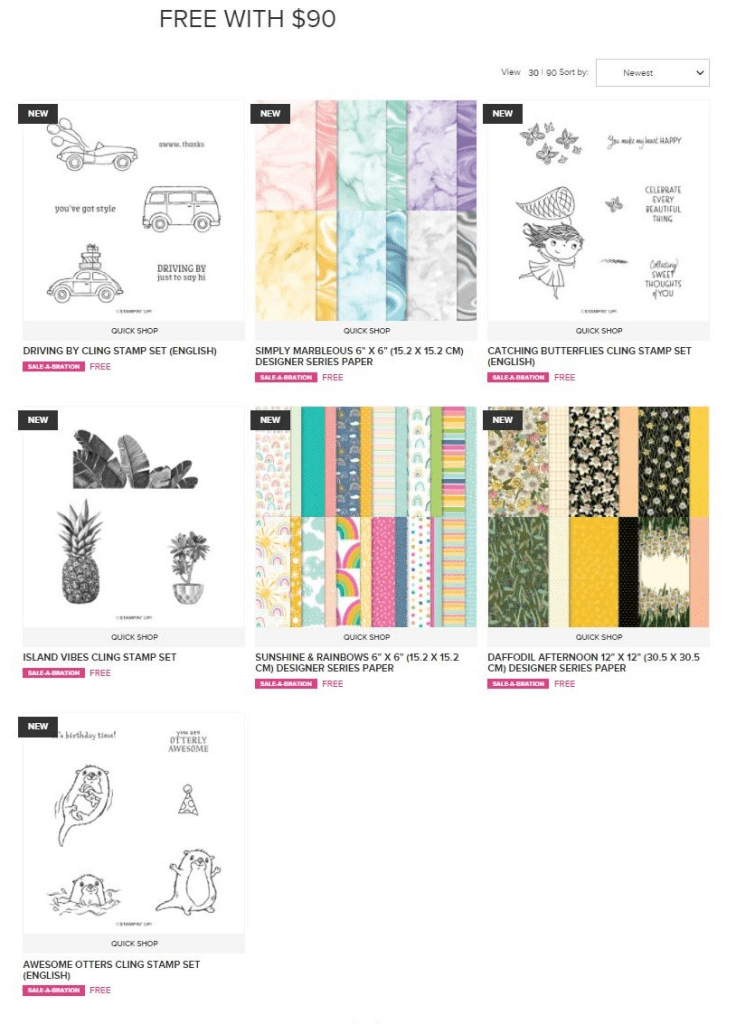
I want to be sure you have picked up your free choice with your orders. OR… If you have chosen your 2 bonus stamp sets when you join the family. Here are the details quickly.
With your qualifying orders over $90 or $180 AUD you can select one of these stamps or papers as a gift to you.
What would be your choice? There are so many great picks.
Be sure to get your order in by Wednesday night.
Shop in my store -> HERE. Please use the Host Code: 9JUM9XCP
Or Contact me directly (by 8pm Wednesday).
But wait there’s more …
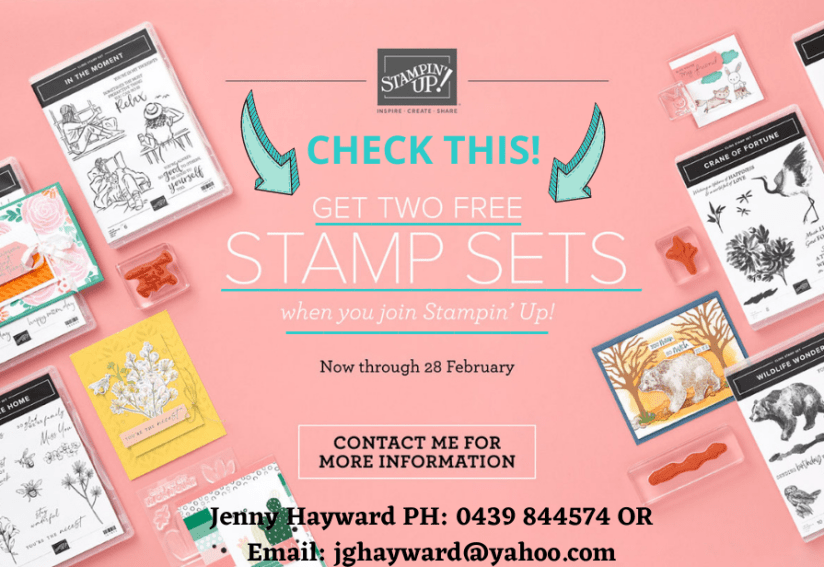
If you have more on your Wish List than $170 it would be so much better value to join the Stampin’ Up! Family.
For $169 you will get $235 of products of your choice PLUS 2 bonus stamp sets of your choice during Sale-A-Bration. This will end on Wednesday.
Not only is it great value to get a discount with your orders but you can be part of a crafty community sharing and inspiring one another. It’s so much fun and I am with you all the way. (I’m your biggest cheerleader). I look forward to welcoming you to my JEN’s INK Team. 🙂
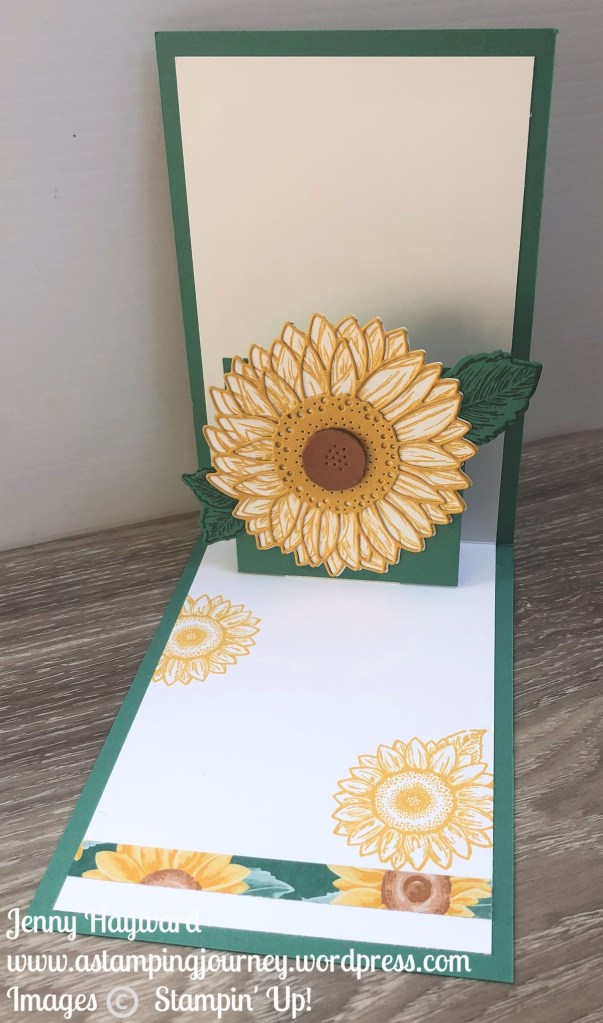
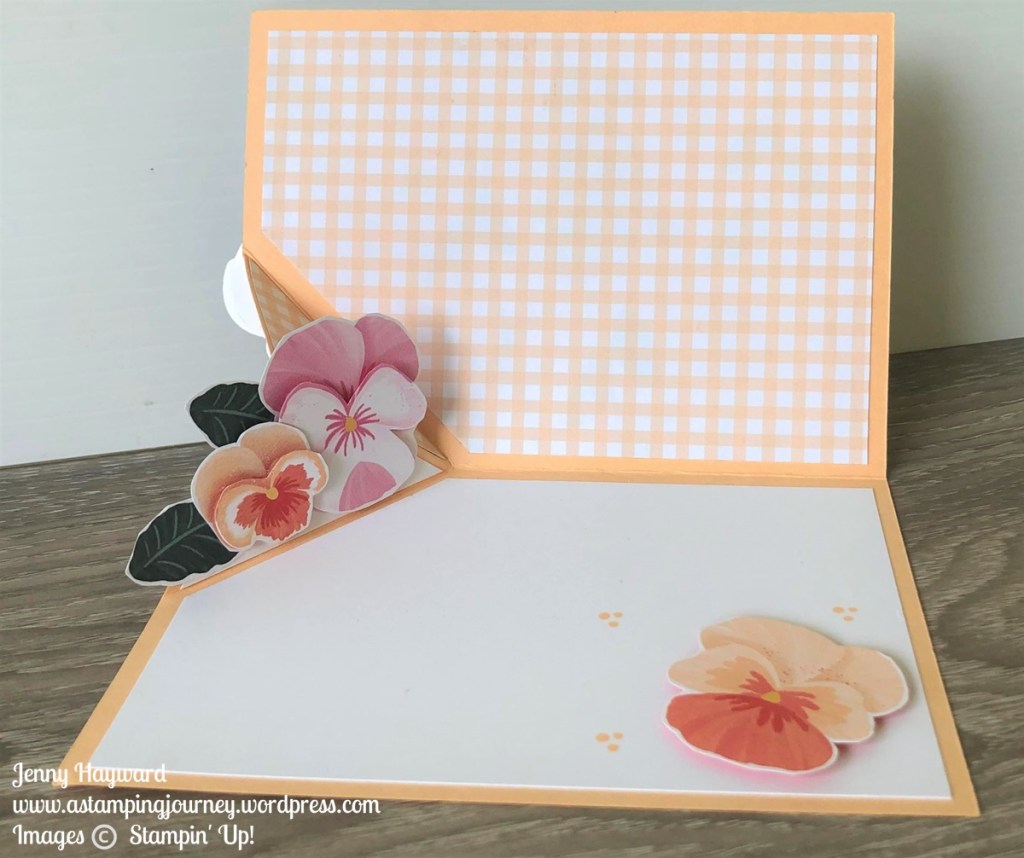
Today’s video is an Angled or Corner Pop Out Fold card. I have seen these around a bit recently and wanted to try one myself. They are a lot easier than you think.
Catch the video now. If you received these blog updates via email the video won’t show so head to the blog directly or head to Youtube now.
What do you think? Have you made one of these cards before?
Create your own Angled/Corner Pop Out Fold Card
Base card: 14.8cm x 21cm Score at 10.5cm 5 1/2″ x 8 1/2″ Score at 4 1/4″
White Card: Front – 10.1cm x 14.4cm 4 1/8″ x 5 3/8″
Inside – 9.7cm x 14cm 4″ x 5 1/4″
Designer Series Paper: Front – 9.7cm x 14cm 4″ x 5 1/4″
Inside – 9.7cm x 14cm
Follow along with the video to see how to score and fold the card. You can decorate it how you like to.
Share with me when you have created your own. I would love to see it.
Have fun!
Jenny
In Australia and need some supplies? Head on over to my store and shop now -> HERE or contact me directly.