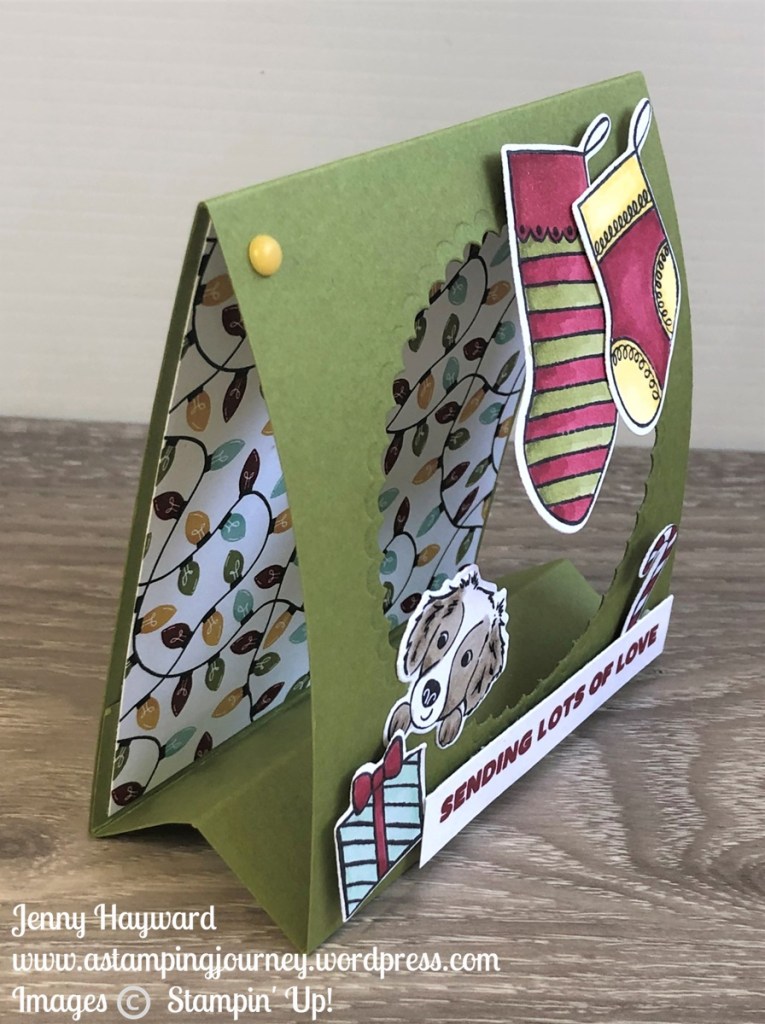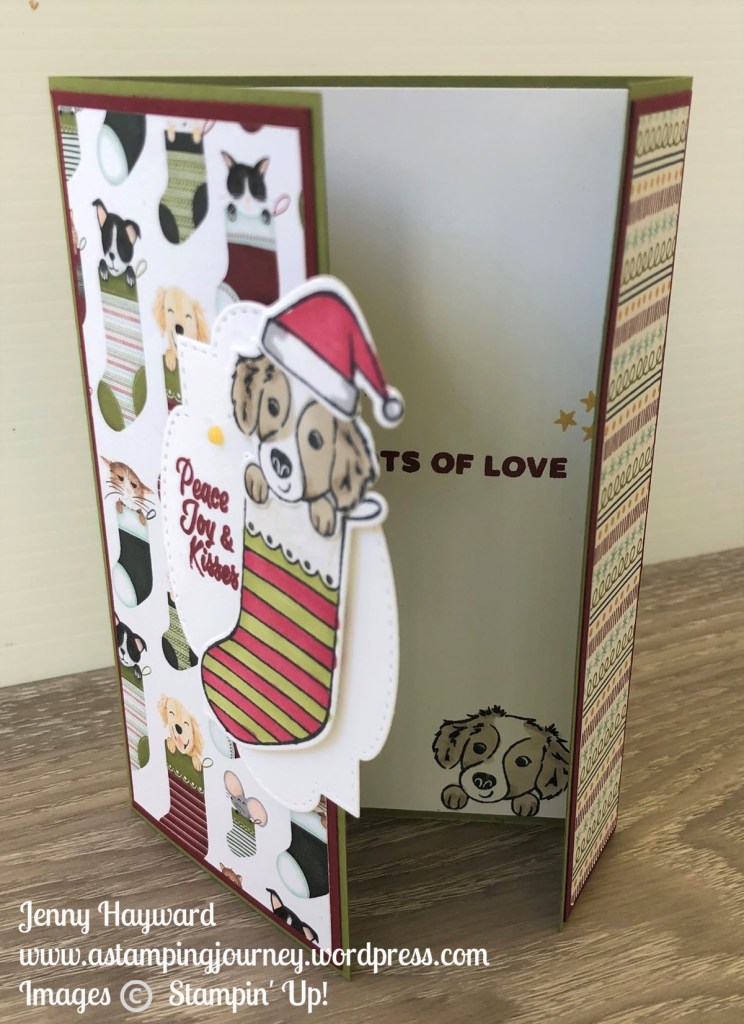
Week 6 (our last week) of A Merry Little Christmas Series. These weeks have flown! This week’s project is a Gift Card/Chocolate Treat Accordion Wallet.
If you give out Gift Cards at Christmas or even other occasions this would be great for you to make. You can add a few little Chocolate treats to go in with it.

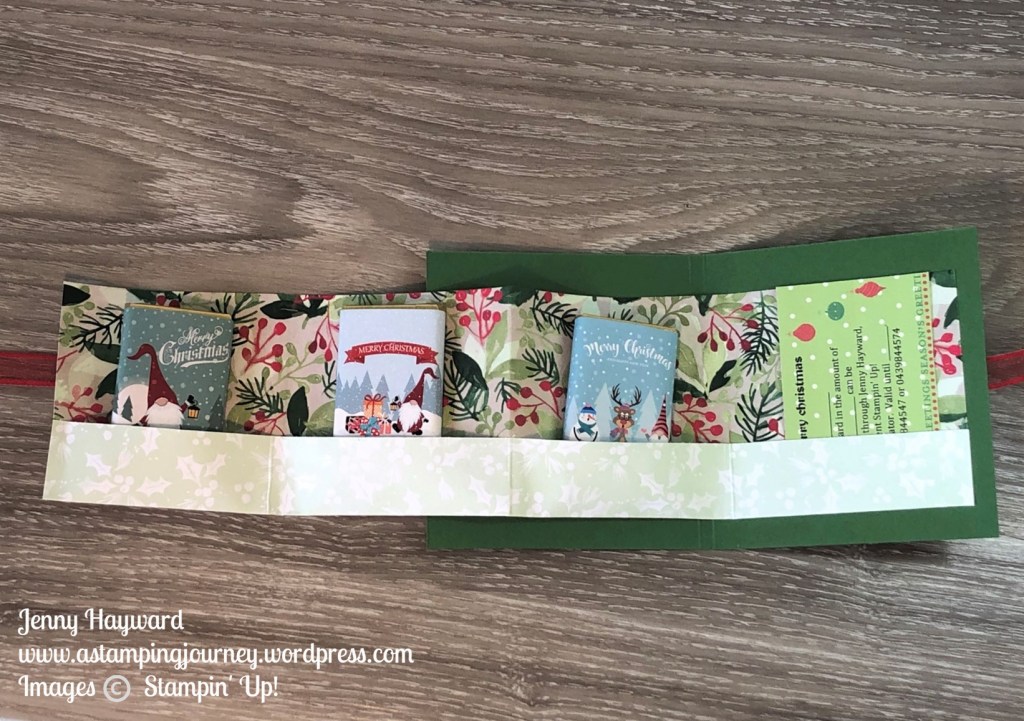
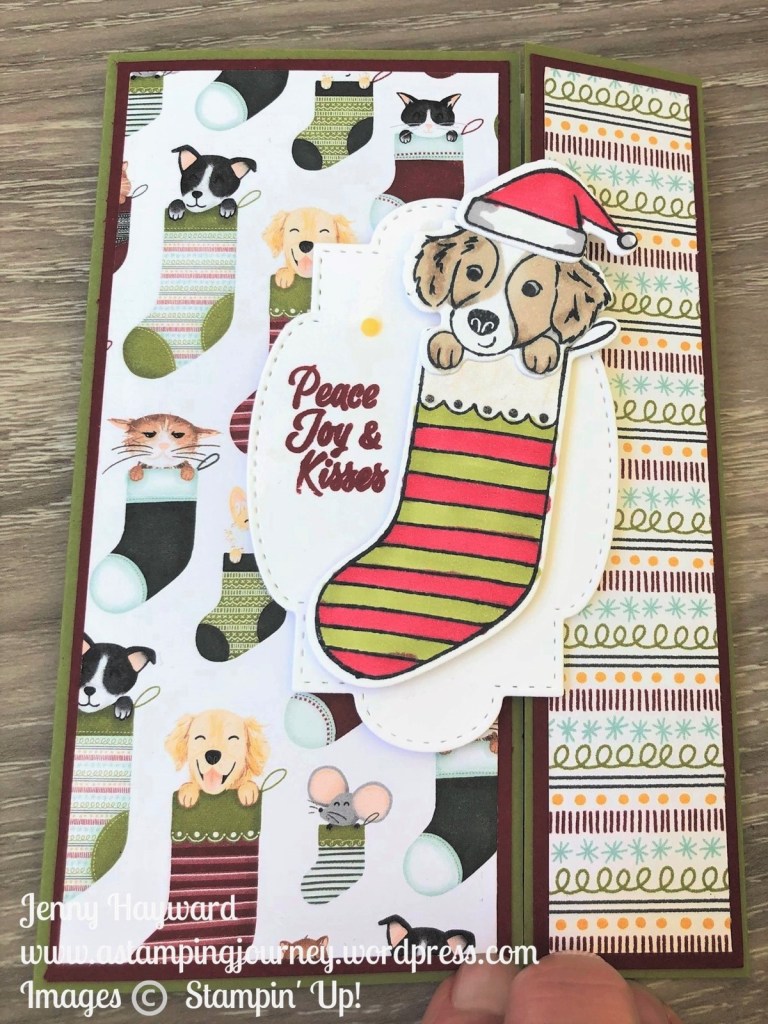
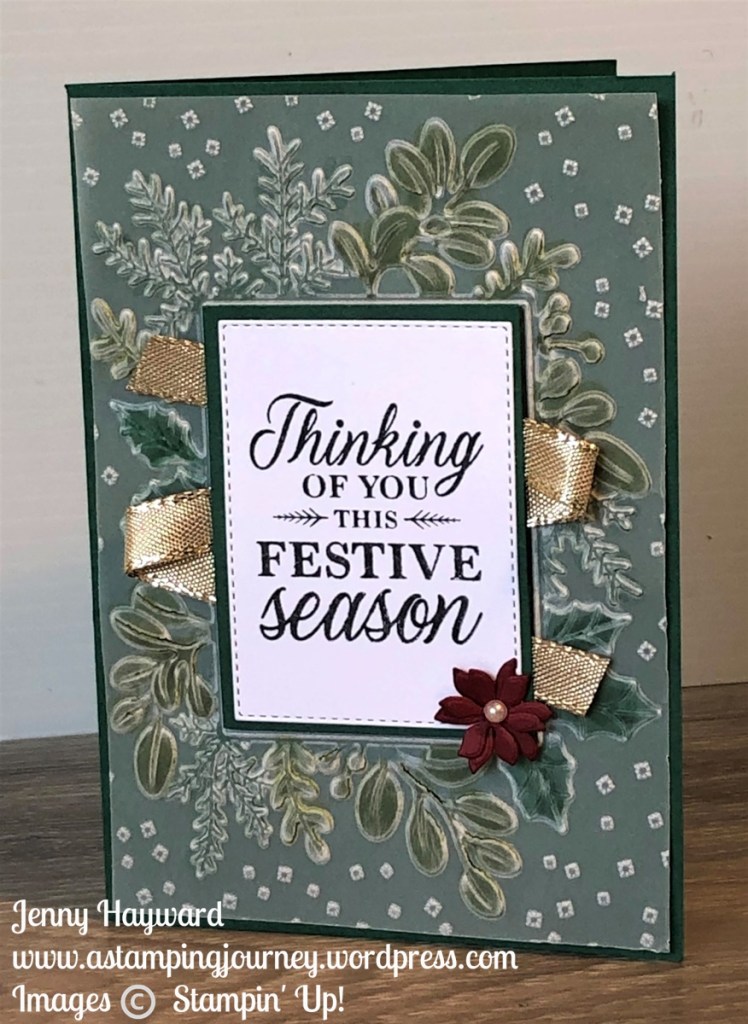
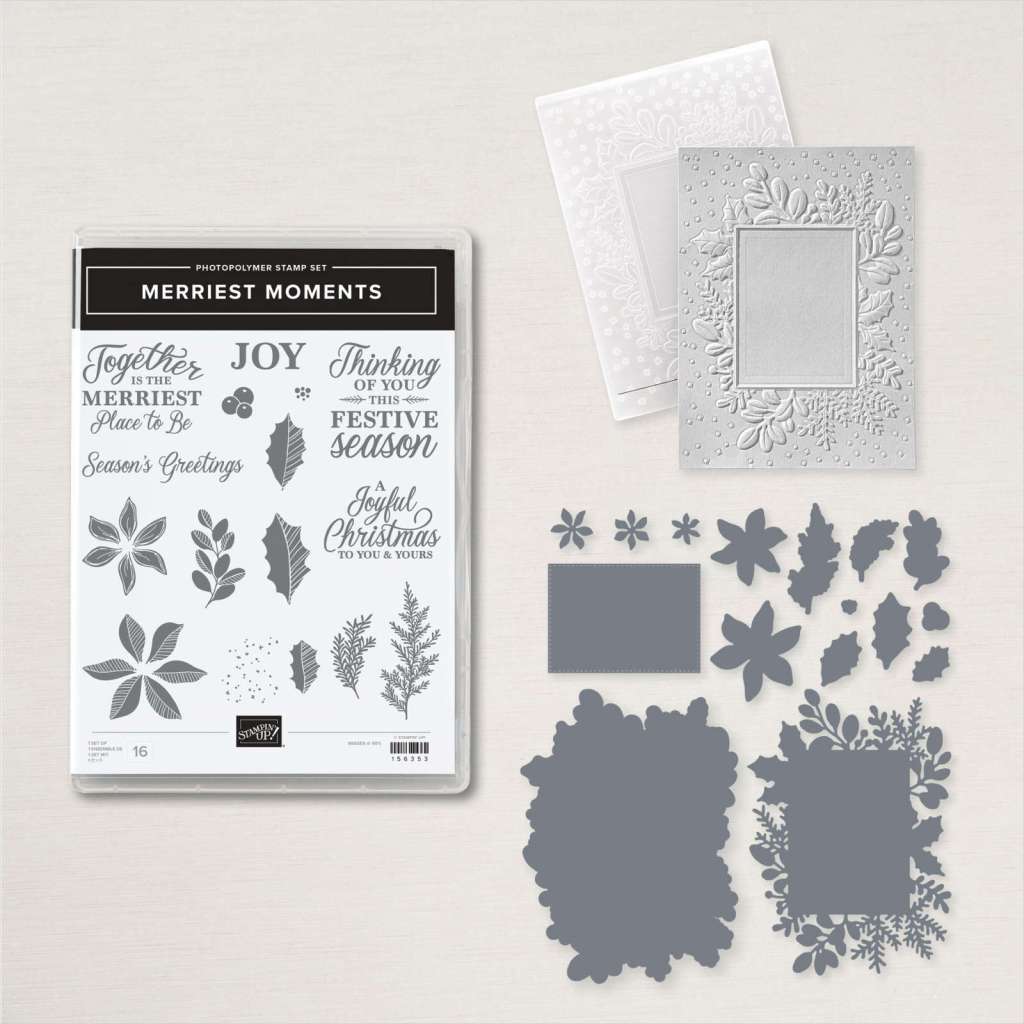
I used the Painted Christmas Designer Series Paper for this Accordion Wallet.
Watch the video how to make it below. If you receive this blog update via email the video may not show so head to the blog and catch it there.
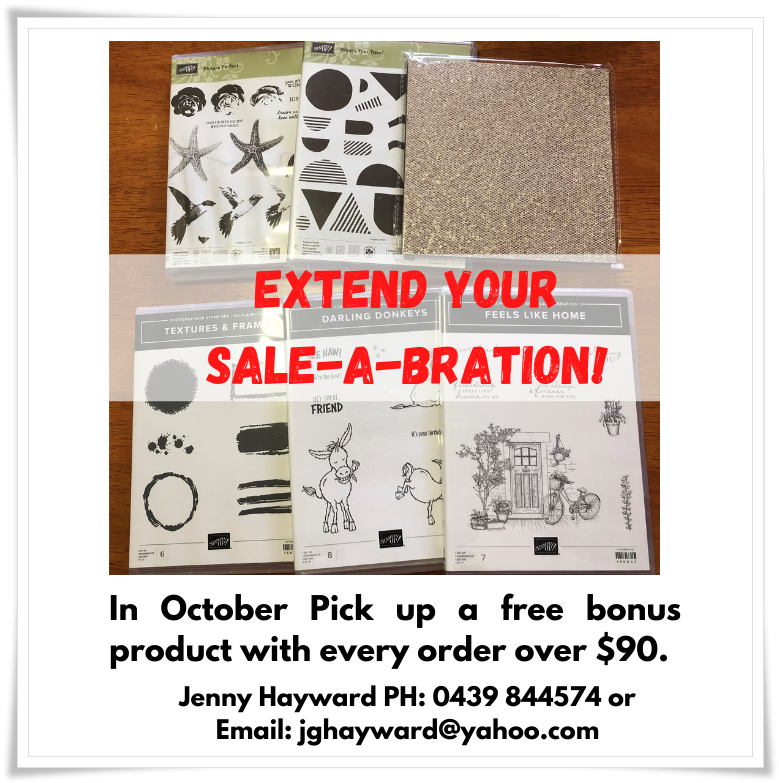
As with other weeks, place an order over $50 in the next week and receive the card kit to make this. Also go in the draw to win a Gift Card for $20 from me.
Create your own Gift Card Accordion Wallet
Accordion paper strip: 30.5cm x 10.1cm 12″ x 4″
Scored on the short side at 2.5cm or 1″
Scored on the long side at 7.6cm x 15.2cm and 22.8cm or 3″, 6″, 9″
Card Folder: 18.5cm x 10cm Scored at 9cm and 9.5cm
7 1/4″ x 4″ Scored at 3 1/2″ and 3 3/4″
Card Mat for front: 8cm x 9cm (@2 pieces – one for the back) 3 1/4″ x 3 3/4″
Paper piece: 5cm x 8.6cm 2″ x 3 1/2″
—
Have fun creating this,
Happy Creating,
Jenny