cards, Catalogues, Christmas, Stampin' Up!

WEDNESDAY’S WOW! #44 – IT’S SNOWING!

It’s Wednesday YAY! I have an exciting new product suite to share with you today.  The Snowflake Showcase begins tomorrow.  I know I am a day early BUT since it’s time for some WOW! For Wednesday’s WOW! #44 I thought it would be a good time to stop by and show you the products and see the video.  These are gorgeous products.  I know I have mentioned them already but you will love them.  (Be sure to stop by for my Snowflake Showcase week coming soon here).

What do you think? Gorgeous or what??  I wish you could feel that Velvet Paper if you haven’t seen it already.  So soft and furry!

Snow is Glistening stamp set

Happiness Surrounds stamp set

Snowfall Thinlits.

I have been creating with these a lot and I will share them with you soon but here is one of the cards Stampin’ Up! have created.

You will see lots of snow around in November with these gorgeous products.  I will share some more projects myself soon too.  You can order these from tomorrow in my store so watch for details.

Thanks for visiting,

Jenny

cards

BOO BLACK CATS!

We don’t celebrate Halloween much in Australia.  Although this year I am so surprised at the increase in costumes and decorations and sweets available.  😦  We certainly don’t give Halloween cards out so I don’t usually share Halloween projects.  This card though, we made at our Team Shoebox Swap a couple of months ago.  Since I have it I thought I would share it with you.

I can’t remember who shared it now for us to make.  Someone wonderful in our Inky Fingers Team.  I had to say I struggled with this card chopping off the heads of the punched black cats and then there was the discussion from others of what they could do with the headless cats!!!

Anyway to the card.  A Very Vanilla card mat was embossed with the Woodland Embossing Folder and adhered to a Very Vanilla Card base.  The BOO was cut with the Large Letters Framelits.  3 Black cats were punched out with the Cat Punch and 2 of them had their heads chopped off to adhere behind the letters.  Then the full cat was adhered to the front of the letters.  The eyes were drawn in with the Chalk Marker.  I messed those up a little.  So Boo to you! I hope you like it. 🙂

Have a great day,

Jenny

cards, Catalogues, Christmas, Classes

IT LOOKS LIKE SNOW IS FALLING FOR NOVEMBER!

WITH THE SNOWFLAKE SHOWCASE ANYWAY!

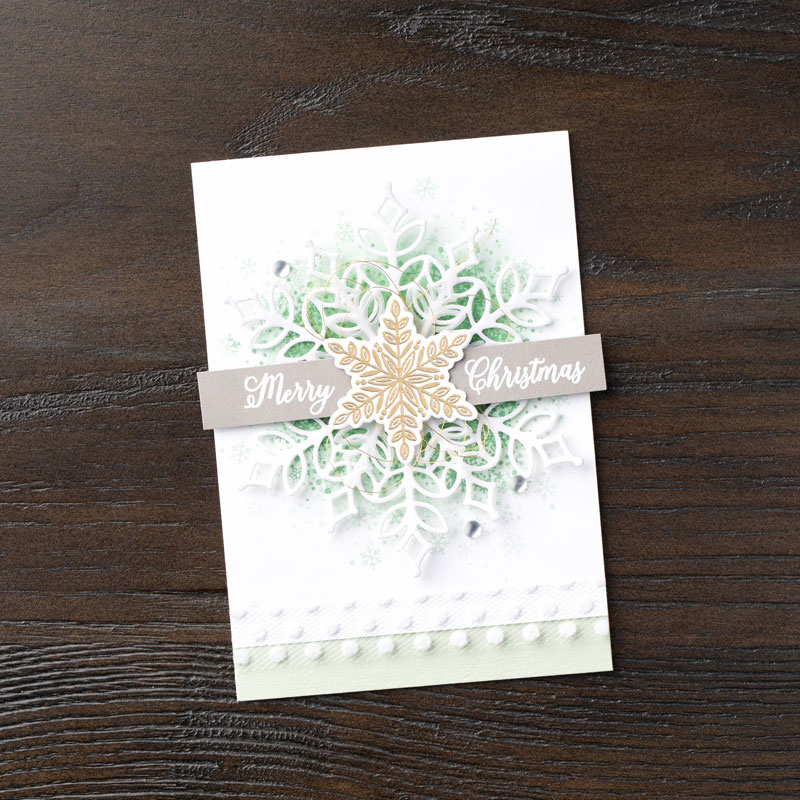
We don’t see Snowflakes in our warm Aussie Christmas.  Snowflakes are so magical though. We can have that magic on some of our Christmas cards though.  There is a special new release for November with the Snowflake Showcase. These contain gorgeous dies and beautiful stamps I think you will love. I will be focusing a lot with these on my blog and in classes during November.  This Saturday is a Special Snowflakes class so if you are local come and capture some of magic with this suite.

SNOWFLAKE SHOWCASE CLASS

If you are in the Wollongong area come along and catch a snowflake. The details are below.  If you can’t make it, check the KIT TO GO option further down.

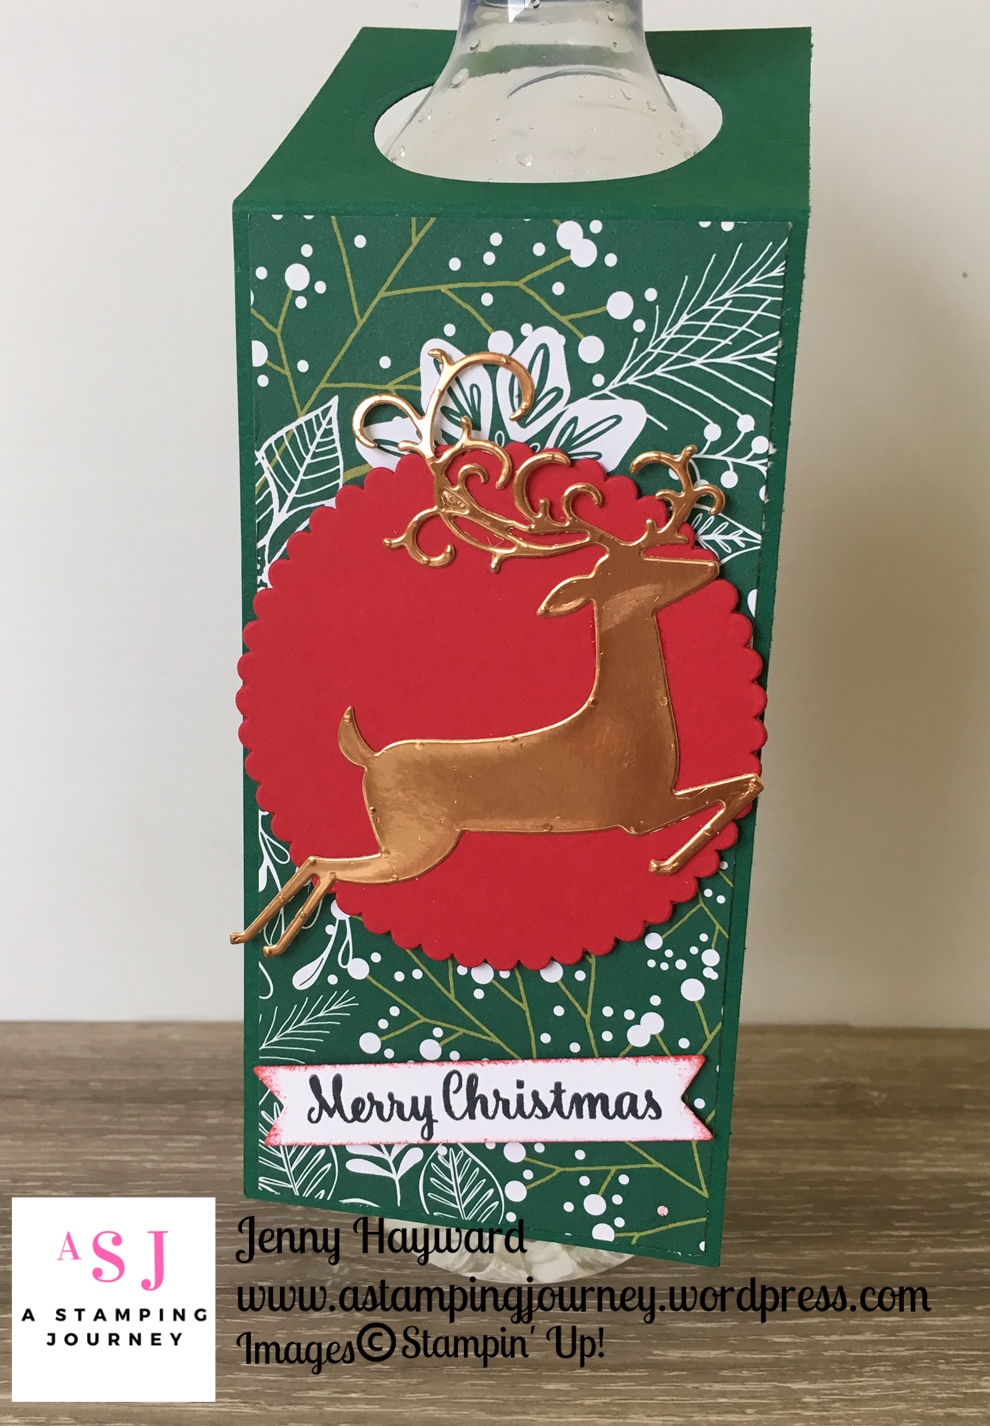
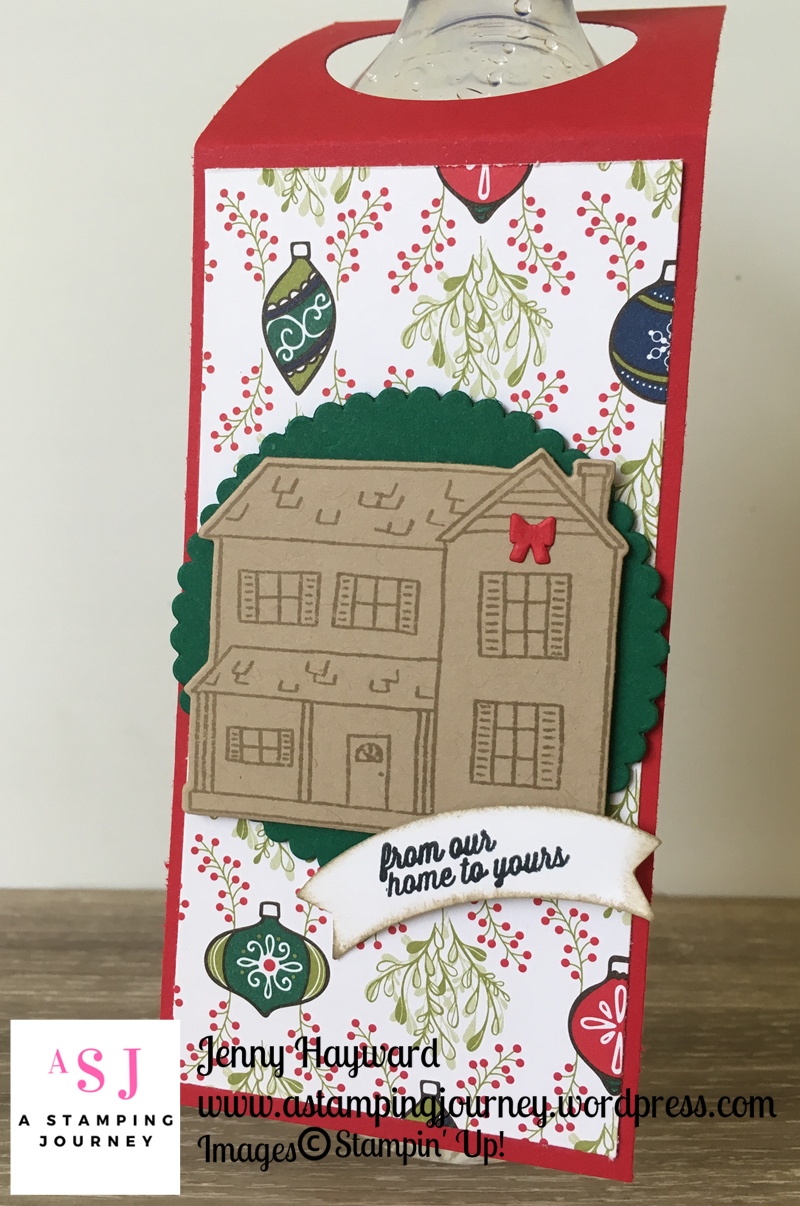
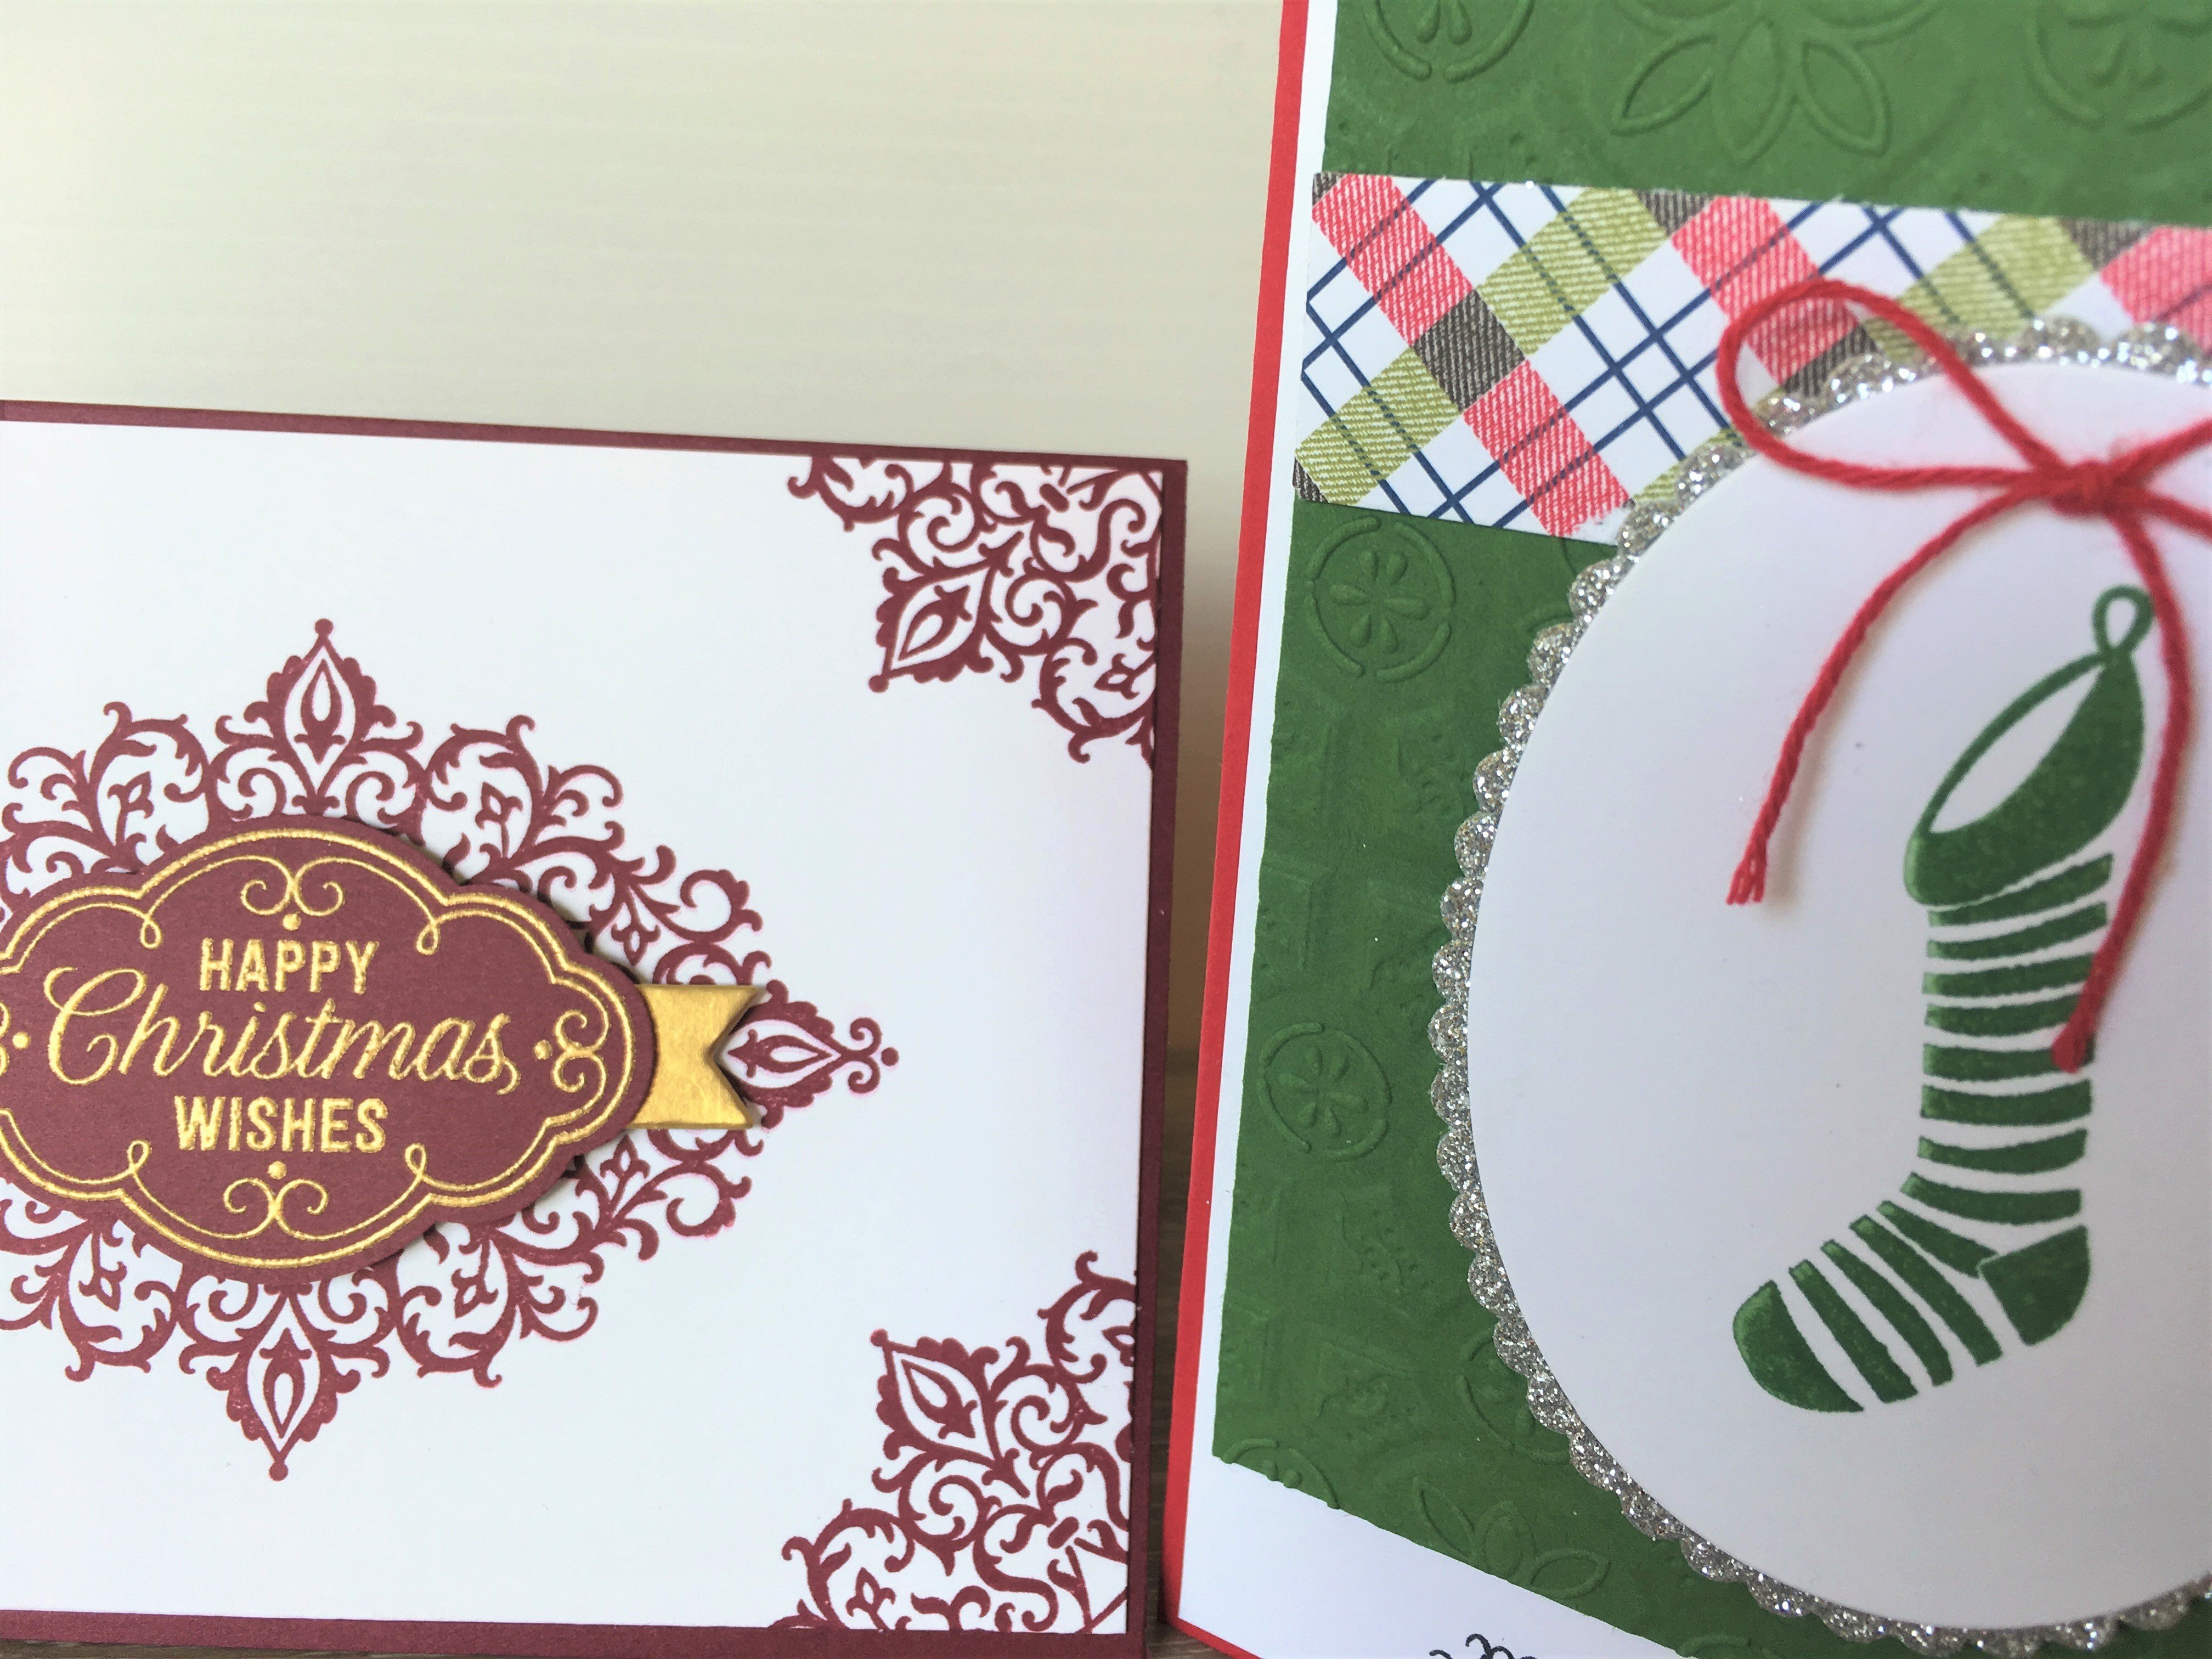
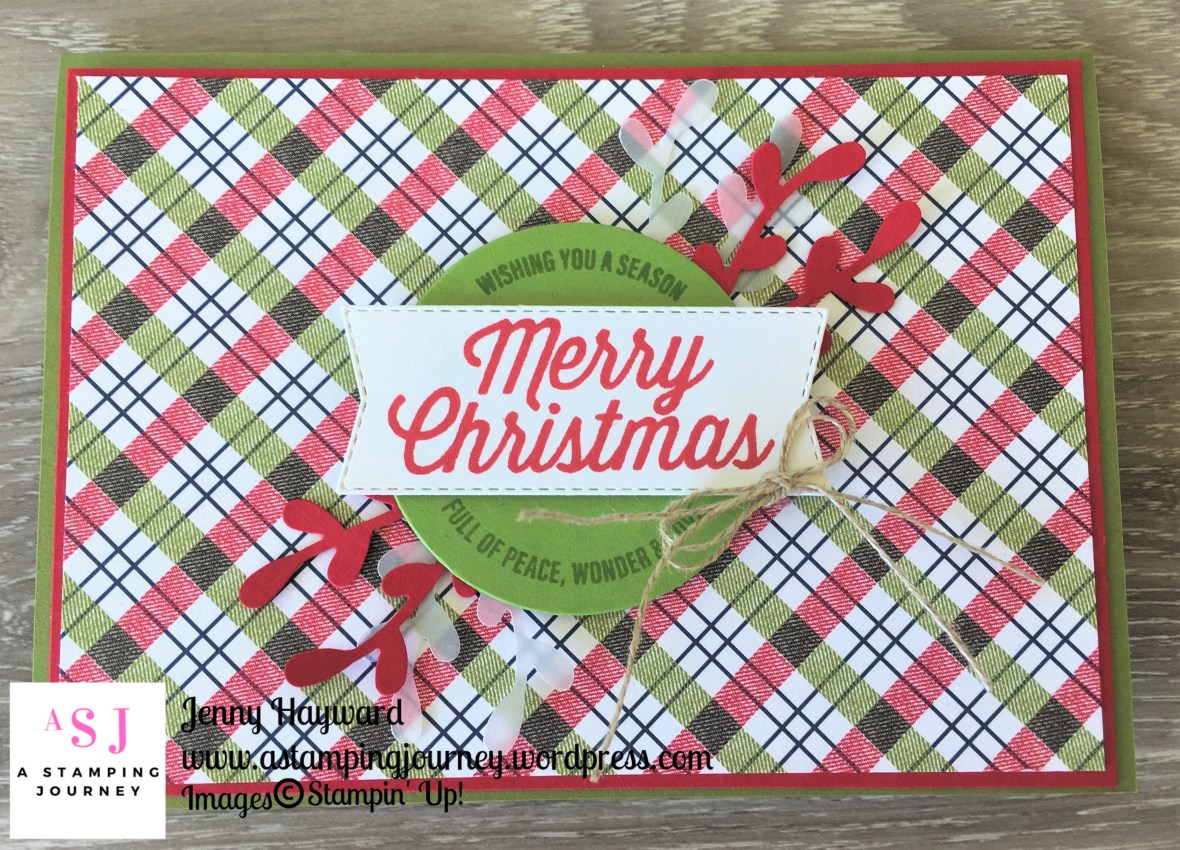
Here is a sneak of one of the cards we will be making.  There will be 3 cards all together.

WHEN: Friday 2nd 10am or Saturday 3rd 2pm   

COST: There are 2 different prices so check them closely.

Class only $25 (extra $5 to use my adhesive)

                 OR

                $110.25* 
*which includes the Snow is Falling stamp set and the Snowfall Thinlits with shipping

PLUS receive the CLASS FREE 

PLUS 1 sheet 6” x 12” White Velvet paper.

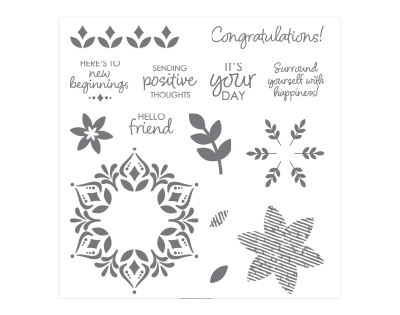
**ADD the Happiness Surrounds Stamp set for an additional $30 and receive the Snowflake Trinkets FREE (valued $12.75).

Please RSVP Thursday 1st November.   Please RSVP FOR THE CLASSES ASAP as it really helps me prepare the card kits for you AND to get in early to ensure you get a seat.

These are the products which will be available ONLY in November.  We will be using some of these gorgeous products in the class.  Watch out for lots of projects using these products over the next few weeks.

Hope to see you in class.
——-

‘KIT TO GO’ OPTION

Don’t feel you miss out if you can’t make it to the class. Grab the ‘Kit To Go’.  

Includes all card materials and instructions to make 2 cards when you order the Snow Is Falling Stamp set and the Snowfall Thinlits Plus receive 1 sheet 6″x12″ velvet paper.     

COST:       $110.25

Add the Happiness Surrounds stamp set for $30 and you will also receive the Snowflake Trinkets for free.

——-

WANT TO ORDER THIS WEEK.  (Australian residents only).

Email/Phone me directly with your orders.

OR

Order Online -> HERE.  Please use the Host Code this week: KGQKCBA4

Thank you in advance for your orders.  I do appreciate them.  Be sure to not mark your orders as anonymous online or I can’t send you out your Thank You card and gift.
Jenny
3D projects, cards, Christmas, Tutorials

12 WEEKS OF CHRISTMAS – WEEK 4 – A TAG FOR YOUR WINE!

Today for Week 4 of 12 Weeks of Christmas I have a cute tag for you.  Quite often we might give a bottle of wine to a workmate, a neighbour or to a friend when we visit for dinner.  Why not dress up the bottle and add a tag to it.  These are very quick to make and good to have on hand.  I have been making them for the Craft Fairs I do and they are very popular.

I actually have 2 tags to share with you today that I have made recently.

The first one is on Shaded Spruce card with some of the gorgeous Under The Mistletoe Designer Series Paper.  The deer from the Detailed Deer Thinlits is cut from Copper Foil.

This tag below is used the Farmhouse Christmas bundle.  I stamped the farmhouse in Crumb Cake on to Crumb Cake card and cut that out.  I kept it simple so I didn’t have to colour them in. 🙂  The paper is also from the Under The Mistletoe Designer Series Paper. 

Do you want to make them? They are very easy.  Let me tell you.

MAKE YOUR OWN WINE BOTTLE TAG

You can create these any size you like.  I will give you the measurements for these ones.

Metric: Cut your card 7cm x 21cm.  Score at 7cm.    Imperial: Cut your card   3″ x 8 1/2″. Score at 3″.

Use one of the smaller circle dies from the Layering Circle Framelits and cut a circle in the small square section at the top.

Decorate as you desire.  I cut the piece of Designer Series Paper slightly smaller than the lower length of the tag.

I made some of these tags a few years back.  If you want to see these versions then head to this post -> HERE.

Thanks for stopping by,

Jenny

cards, Catalogues, Stampin' Up!, Videos

WEDNESDAY’S WOW! #43 – ONE STAMP, ONE DIE = 16 TAGS!

How can you make 16 tags from One Stamp and One Die?? I have to say this intrigued me.  For Wednesday’s WOW! #43 this week I wanted to check out this Tags and Tidings Bundle and see how it worked.  I found the video from Stampin’ Up! to share with you.  Maybe you are intrigued by it yourself??  The stamps are very small so how can you use them on your projects? How can you line the stamps up so easily with the die so they cut?  So many questions.  So if you are the same check out the video below and don’t miss out on the end to see their cute projects.

Here are some of the Stampin’ Up! projects.  So these might be small but they are cute.  I like even how the background is stamped on the card with them.  I had considered cutting the stamps up as I thought it might be easier. (SHAME ON ME).  I think I will leave it as one stamp.  Much easier to use and great for that background.

What do you think now?  Have you got this bundle? I would love to see your projects with it.

You can see it in my store -> HERE now.  $71 for the bundle.

Thanks for checking this out with me today.  Have a wonderful Wednesday.

Jenny

cards, Christmas, Classes

STAMP A STACK OF CHRISTMAS CLASS ON THIS WEEK!

If you are in Wollongong come along and make some Christmas cards.  I would love to see you.  We are a friendly bunch and have a lot of fun so it is really not scary. Really. 🙂

Here are the details.

Friday 26th October   10am or 7pm  Christmas Stamp A Stack 

If you can’t make it – see below.

Create 6 cards.  $20 (extra $5 to use my adhesives)

Please RSVP by Thurs 25th.

Here is a sneak of what we will be making.

Can’t make it? Order the card kit to go:  Email me at jghayward@yahoo.com

$20 includes all card and embellishment but not stamped images.

Jenny

Catalogues, Stampin' Up!

IT’S A BIRTHDAY STAMP SALE!

To celebrate Stampin’ Up!’s 30th Birthday they are having a 15% off sale ONLY FOR 24 HOURS.

There are so many to mention.  You WILL want to check it out.

My favourite, OK I have a few favourites:

Vertical Greetings (I love that the sentiments on these are vertical for a different option for your cards), One For All (with the funky Happy Birthday and the whimsical girl on a bike), One Wild Ride (For the boys – you need this cool set),  Swirly Frames (add a frame to your images or your sentiments for a fun effect).  Do you get the idea – there are lots you will want. 🙂

Check the list out Here ->  FLYER_BirthdayStampSale_SP (Click on the red text on that page for the flyer)

You will be able to view the full list with images tomorrow (Tuesday) on my website.  Check in ->HERE then.

Here is a taste of some of the sets. 

TO ORDER

**(Please order by 9pm so I can finalise all the orders in time).

Email/Phone me directly with your orders.

OR

Order Online -> HERE.  Please use the Host Code this week: SGXSEFMS

Thank you in advance for your orders and I do send out a card and a little something to thank you for your orders so watch the mail. 🙂
Jenny
cards, Catalogues, Christmas

12 WEEKS OF CHRISTMAS – WEEK 3 – REINDEER TAG CARD!

Week 3 of our 12 Weeks of Christmas special.  Today’s card was inspired by some tags I made for the special treat bags my guests received at my Holiday Catalogue Launch last month.  I thought they were cute – and very easy to make.  So I thought why not add the tag to create a card.

Firstly, the base card is Real Red and a piece of Garden Green cardstock which had been embossed with the Woodland Embossing Folder was adhered to the card base. To create the tag, I cut a strip of paper from the Under The Mistletoe Designer Series Paper and flagged the end. Then cut a vellum scallop circle using the Layering Circle Framelits and cut a deer from Early Espresso card from the Detailed Deer Thinlits.  The deer was raised up with Dimensionals off the Banner shaped strip.  The sentiment is from the Star of Light stamp set and heat embossed with Gold Embossing Powder before cutting it with one of the dies from the Bunch of Banners Framelits.  If you want to make this card quicker you can simply stamp the sentiment perhaps in Early Espresso ink.

Hope you like this one.  Thanks for stopping by,

Jenny

cards, Catalogues, Christmas, Stampin' Up!

FESTIVE FARMHOUSE CHRISTMAS CARD!

A couple of weeks ago for my Week 1 of 12 Weeks of Christmas I showed how quickly your Christmas cards can be made using the lovely Designer Series Paper from Stampin’ Up!. (Head back a few posts if you missed it).

Today I have another Christmas card for you using Designer Series Paper.  This one uses the Festive Farmhouse Designer Series Paper.

The sentiment from the Farmhouse Christmas set is stamped in Old Olive on Granny Apple Green and cut with one of the Layering Circles Framelits.  It was stamped again in Real Red on white and cut with the Stitched sentiment label die in the Farmhouse Framelits dies.  Before they were raised up off the card I added a couple of leaves punched from the Sprig Punch from Real Red and vellum.  I finished the sentiment off with a double bow from Linen Thread.  The base card is Old Olive and the Real Red.  I have to say the colour in the paper is actually Cherry Cobbler but it worked with red.  I don’t know why I used that but I think because I was making the other card that I had shared at the same time and just used the same colours.  I have to say you don’t notice it though.

So there is another quick Christmas card for your collection.

Thanks for stopping by,

Jenny

cards, Catalogues, Stampin' Up!, Techniques

WEDNESDAY’S WOW! #42 – COLOURING – WHAT PAPER, WHAT INK??

Wednesday’s come around so quickly but I love sharing little tips and videos with you on Wednesday’s.  Do you like them?

Today’s Wednesday’s WOW! #42 is what I hope will be a helpful little chart.  Which Ink and which paper to use when you are colouring.  I often get asked this question in classes so maybe you are wondering too.

I think the chart is self-explanatory but it goes through different colouring mediums – the Aquapainter or Blender Pens with the Inkpads,  Watercolour Pencils and Stampin’ Blends and which ink and paper to use with these.  It really makes a difference to the finished result with what you use.  Next time you come to watercolour I hope that you find this useful to refer to.

Hope that is helpful.

Jenny