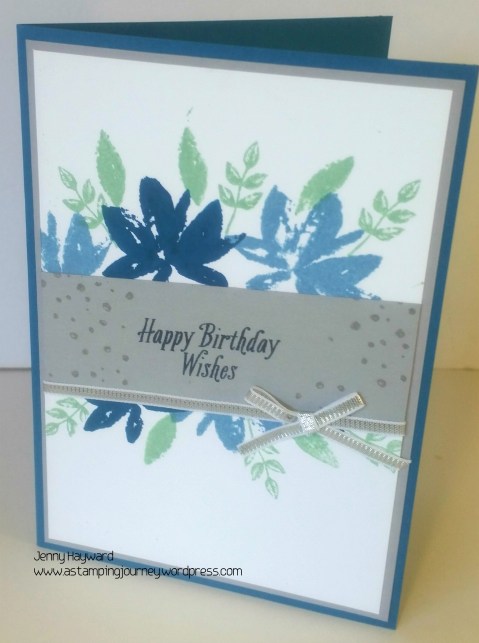
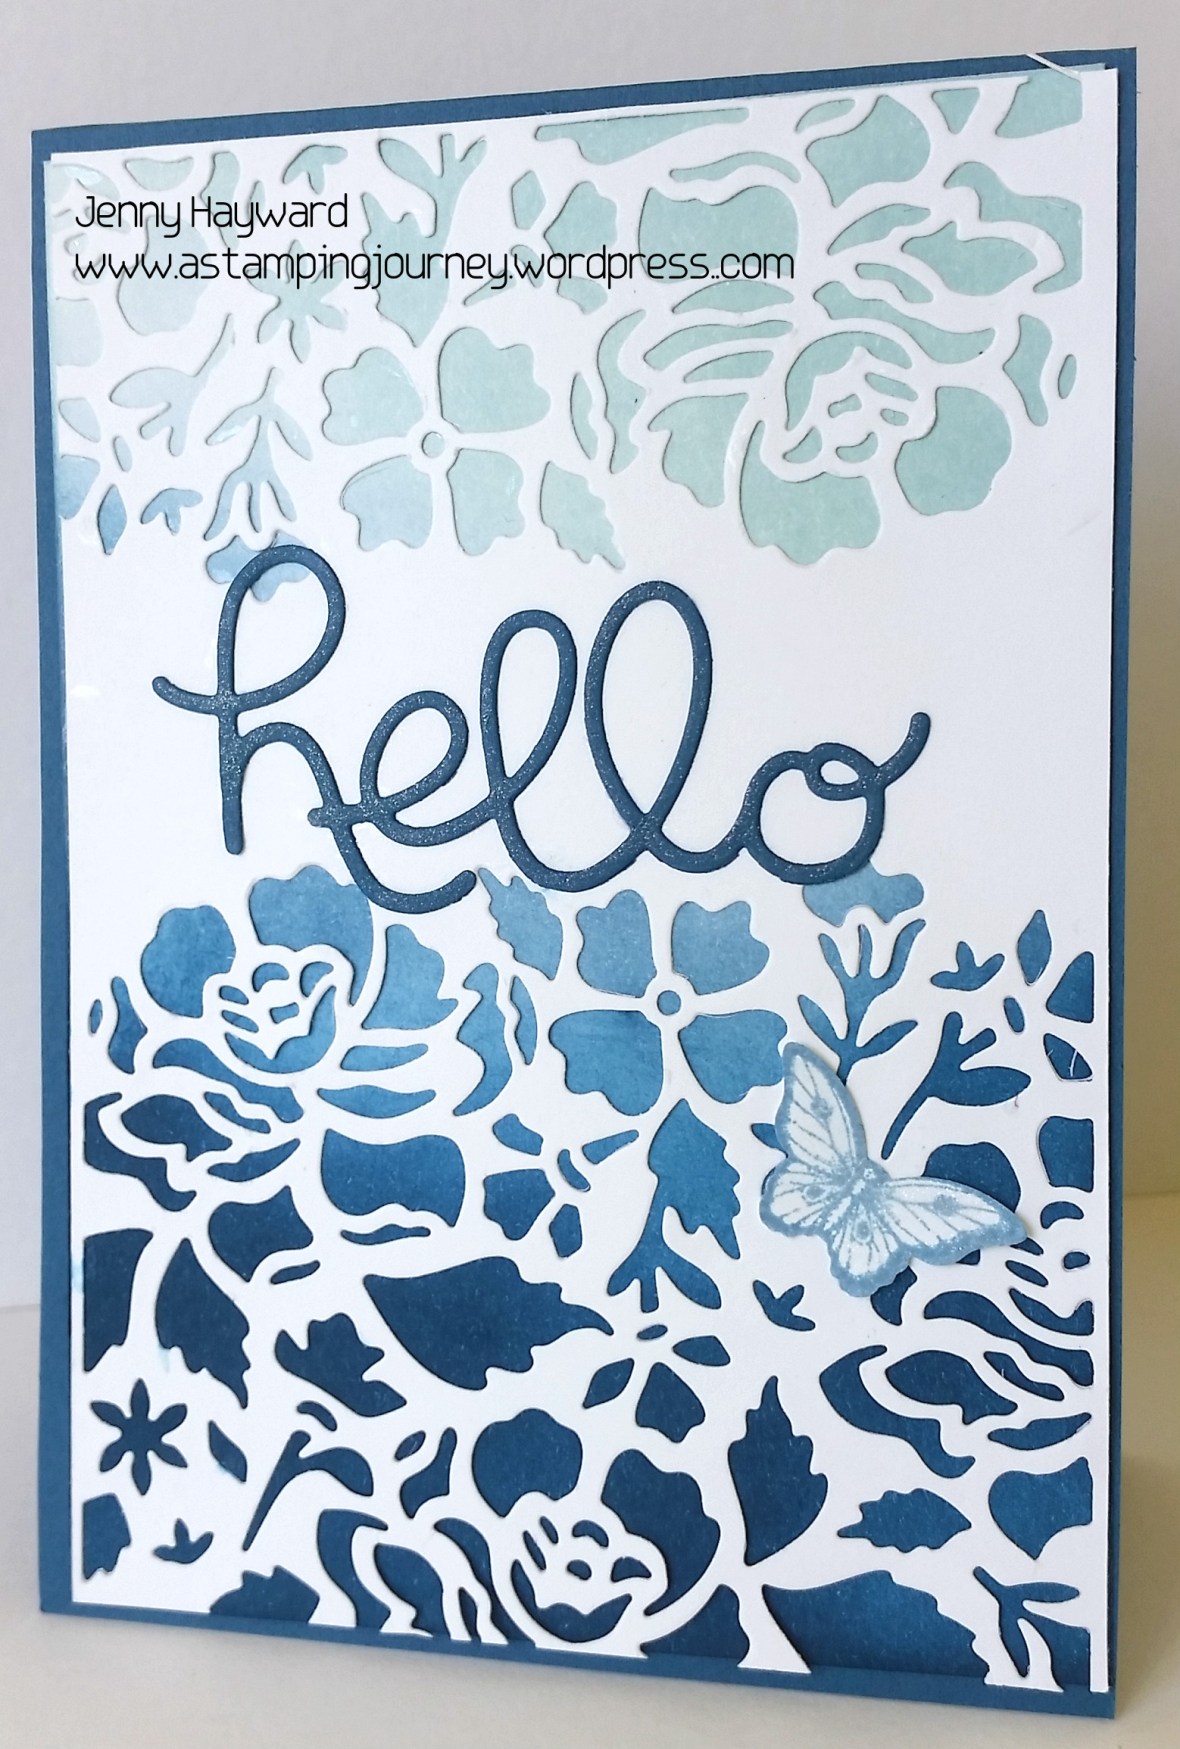
This card is one I created for a Private Card class last week using the Sale-A-Bration set Avant Garden. This card was adapted from a couple of cards I have seen around. You might have noticed a similar design on page 4 of the Sale-A-Bration catalogue??
Colours used are Dapper Denim, Marina Mist and Mint Macaron. The Smoky Slate base is at a bit more of an angle than it appears in the photo. I added some Silver Ribbon to the card.
I have to tell you a funny story. When I went to the class I forgot to take the Marina Mist inkpad. Minor panic! Never mind I got them stamping off the Dapper Denim to create a lighter effect. It turned out OK. 🙂
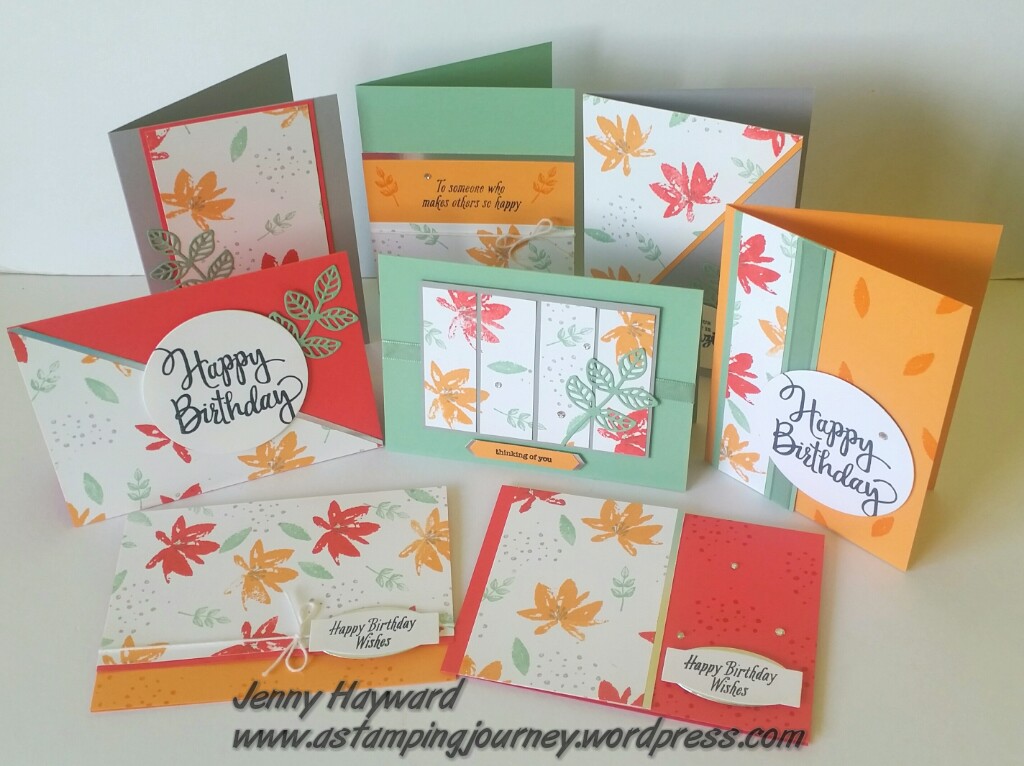
The Avant Garden is such a versatile stamp set – and it is Free!Even better! With your $90 orderyou can choose this set or any of the other choices for Sale-A-Bration.
You can head to my store HERE to order.Please use the Host Code for this week. SS7JW4QQ You can then pick up your Free setof Avant Garden or choose one of the other great choices. Check the items in store under Sale-A-Bration or look at the catalogue in the right side bar here.
If you would like to book your own Private Card Class with me to make beautiful cards like this and you are a Wollongong local then drop me a message and we can work out a date.
I had a little play today. I am trying to make a little more time for my own creating. So I played along with the Colour INKspirations challenge. This is a Facebook group that has recently started. Here is the colour palette.
Don’t these look yummy – and so cool after the hot week we have had here this week. So I made not one but 2 cards! I was on a roll.
Here is my first card.
This one uses the set ‘Day at the Beach’. I have had this set for a while now but this was the first time I have inked it up. I have used the Shimmery White card to stamp the iceblocks on. (I think in some countries you call these icelollies??) I tested other paper to stamp them on but I found the Shimmery White worked best. The Thick Whisper White just warped too much even though you can watercolor on it at times.
TO COLOUR THEM:
I inked one iceblock at a time then used the aquapainter to colour it straight away pulling some of the colour in from the image lines. I also added some more colour by picking it up off the inkpads with the aquapainter. I think a big part of watercolouring is patience. Let the images dry and THEN go back over it adding more colour with the inkpads and aquapainter and building up the depth of colour if you want to.
TO ASSEMBLE THE CARD:
The stamped piece is layered on to Sweet Sugarplum card and then to a Mint Macaron card base. The “spots” are from the ‘Timeless Textures’ set to match each iceblock. It was hot here so they melted quickly. 😉 I added a nice sparkly HAPPY from Silver Glimmer Paper with the ‘Hello You’Thinlits the birthday is from ‘Crazy About You’. It has been some time since I have pulled these out. Of course, I added some Rhinestones for the bling factor. 🙂
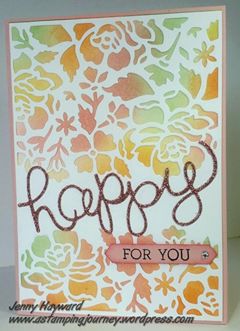
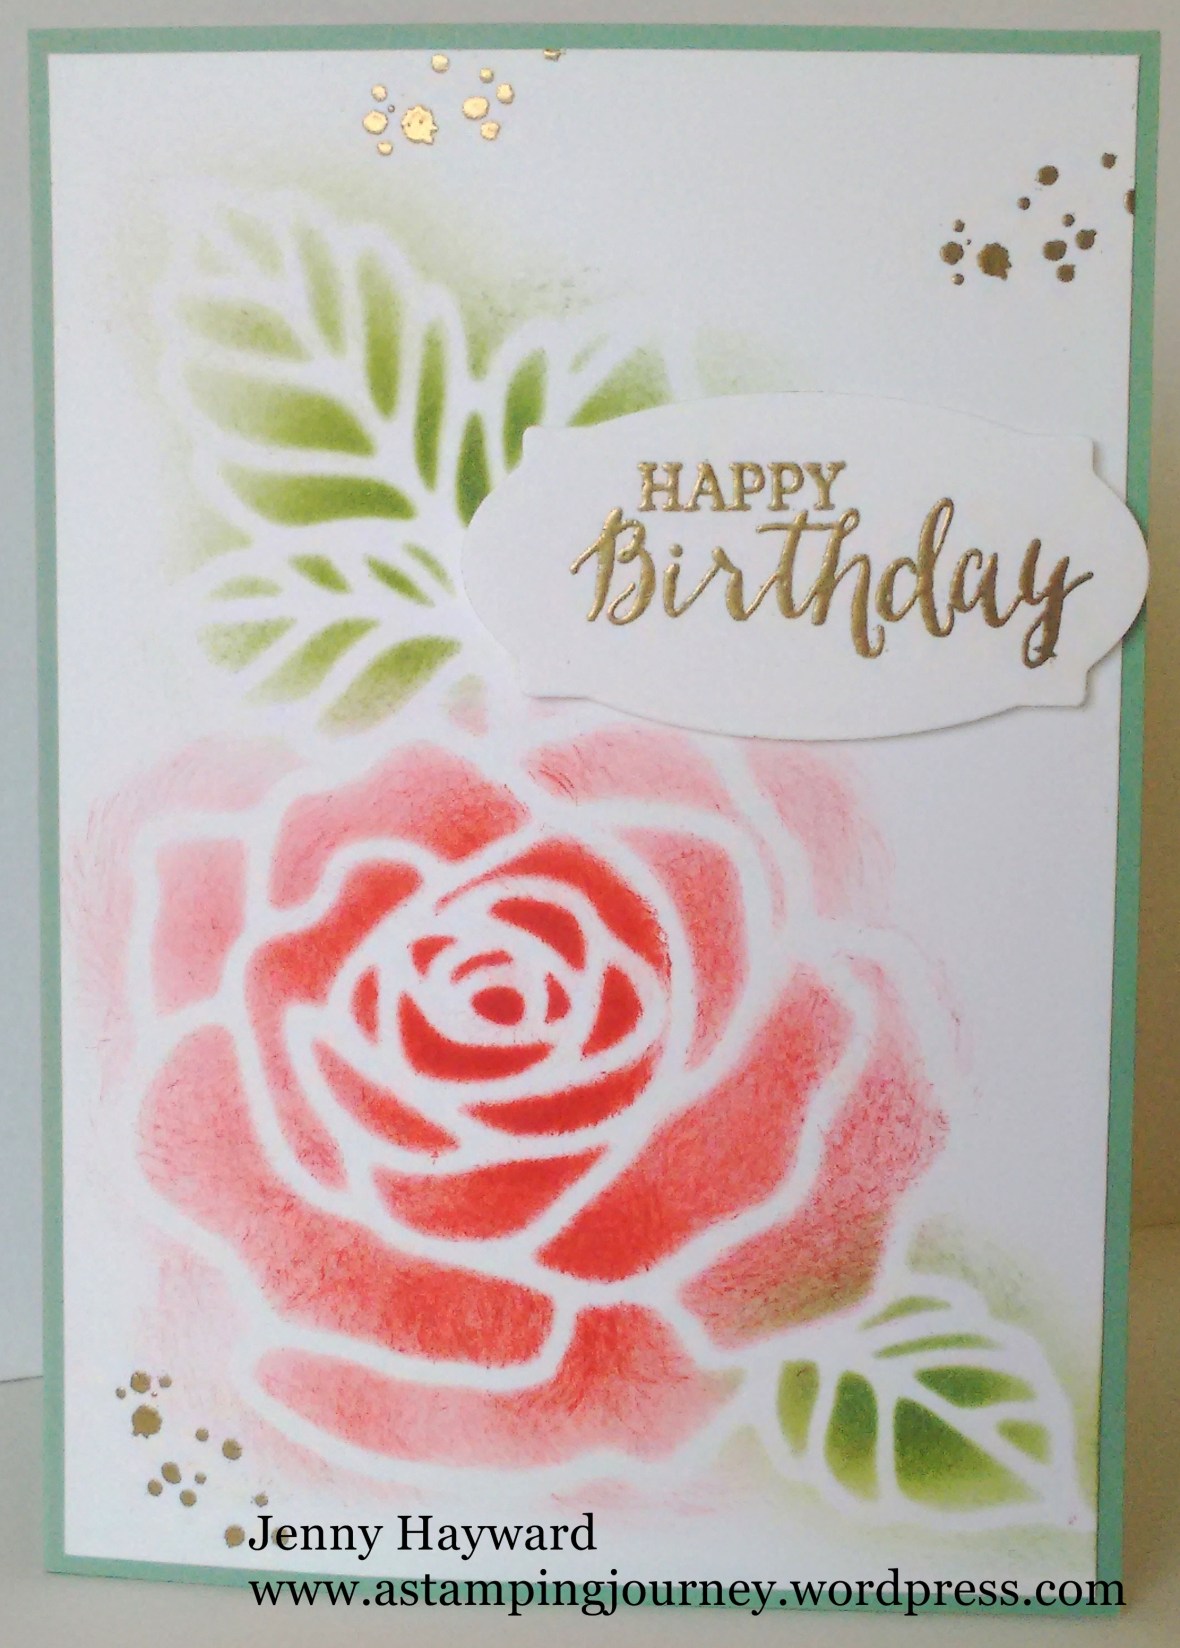
My 2nd card is using the gorgeous ‘Detailed Floral Thinlits’.
TO MAKE THE CARD:
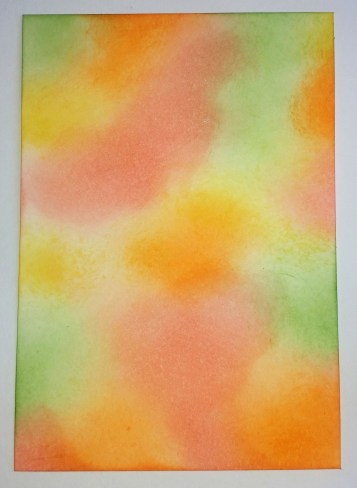
Cut 2 pieces of Whisper White to slightly smaller than your card base. On one piece of card cut the 2 Detailed Floral thinlits dies. The smaller die at the top the larger die at the bottom.On your second piece of Whisper White you will sponge your colours on. Take one colour at a time and sponge a colour in different places over the card. Then take your next colour and move on to each colour. You can go back over the card at the end to fill in patches or add more intense colour in parts.
Here is the finished panel I had when I was finished. (Maybe I should do a video on this???).
TO ASSEMBLE THE CARD:
Using your Fine Tip Glue carefully add the glue to the back of the cut panel and then adhere the 2 pieces together. TIP: I find when using this glue that it runs very quickly. You don’t need to squeeze the bottle. When I have covered the piece in glue I turn it over onto scrap paper and press very lightly just to take off some of the excess glue so it doesn’t ooze out from under the piece when you are sticking it down.
Once done I adhered this to the Blushing Bride card base. Since I had the Hello You Thinlits out I cut a Happy from the Blushing Bride Glimmer Paper. The “for you” is from the Crazy About You set again. I stamped that on to Blushing Bride card and punched it out with the Classic Label Punch. The piece was sponged around with Blushing Bride ink to add some highlights.
Two posts in one day! How about that. I hadn’t intended to post again today but this afternoon I had a little play time and made a card for 2 challenges and need to post them before it is too late. So here you go.
This card is for a Facebook colour challenge group I have just joined. This is the Colour INKspirations. The colour challenge this week is Bermuda Bay, Mint Macaron and Daffodil Delight. For this card I also played along with theFreshly Made Sketches #269 Challenge. Check the sketch challenge at Freshly Made Sketches -> HERE. I have to say once you have colours to use and the sketch it doesn’t take that long to put a card together.
This was the final result.
The card is fairly straight forward. To incorporate the Daffodil Delight I stamped the “spots” down the left hand side. I find Daffodil Delight a hard colour to work with but managed to use this here. I have used the set Dragonfly Dreams and the Detailed Dragonfly Thinlits.
To create the Dragonfly:The dragonfly was made in 2 steps so I thought I would tell you about it. Firstly, stamp the dragonfly wings stamp onto Mint Macaron card with Mint Macaron ink then cut it out with the Dragonfly outline Thinlits. Then cut a detailed dragonfly out from Bermuda Bay card. Adhere these both together by sticking just the body part together so you can raise the wings up.
To add a little sparkle I went over the Mint Macaron wings with the Wink of Stella pen and I added some Bermuda Bay sequins to finish the card off.
Here is a close up of the Dragonfly wings so you can see the sparkle.
Check out the stamp set and the Thinlits. You can buy them as a bundle (save 10%). Available for $81.25 AUS. Grab a pack of cardstock perhaps and there you have your $90 and you can go and grab a Sale-A-Bration choice for FREE! Awesome! You can head to my store HERE to check it all out.
Thanks for visiting and I don’t think I will post again today. 🙂
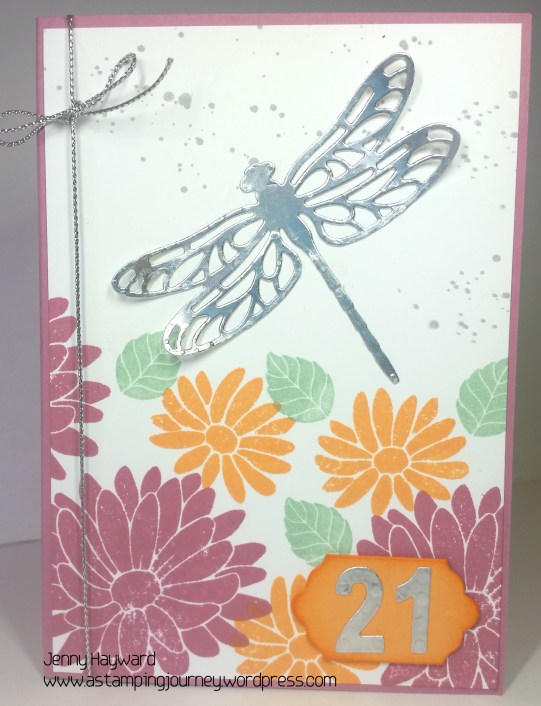
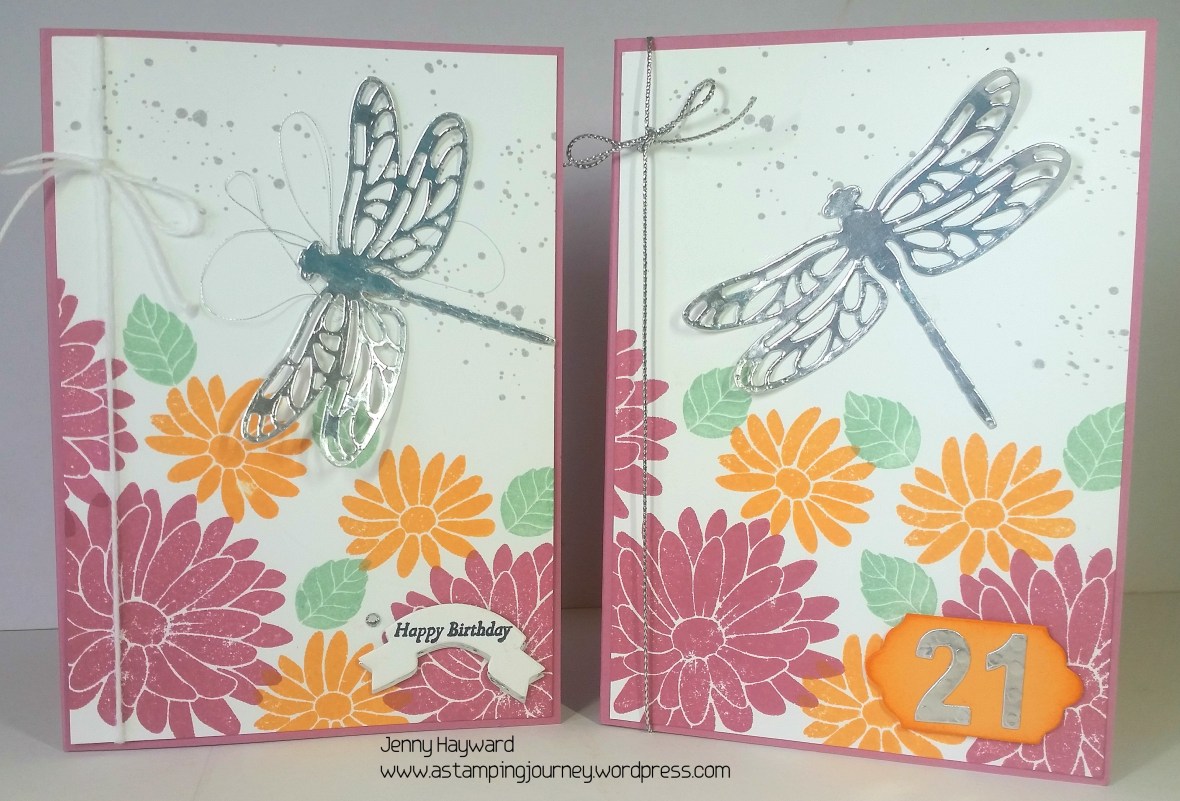
A Birthday is always a special reason for a card. 🙂 I needed to make a card for a friend of Josh’s who is turning 21. There seems to be a run of these now. I made 2 just in case!!!
I inked up the ‘Special Reason’ set for the first time. I received this set for Prize Patrol from Onstage event last November. I thought at the time “it’s another flower set!”. Being honest here. 🙂 But now I have seen some really sweet cards made with this set – and with the matching dies. (I might have even ordered the dies the other day!). Sometimes you just have to right. 😉
Anyway, to the cards. This lovely young lady loves flowers so I thought this might be a good set for a card for her. I teamed it with the Detailed Dragonfly Thinlits, just because. 🙂
The card base is Sweet Sugarplum. The flowers and leaves from the ‘Special Reason’ set are stamped on Whisper White card in Sweet Sugarplum, Peekaboo Peach and Mint Macaron and the dots are stamped in Smoky Slate. I cut a “21” in Silver Foil using the retired ‘Little Numbers’. I felt it got lost on the card so added a tag in Peekaboo Peach which was was cut from the 2nd smallest label from the ‘Lots of Labels’ Framelits. I sponged around the edge on that to make it stand out more. To assemble the card I then adhered that to the card base and tied around some Silver cord (retired), and added a gorgeous detailed dragonfly on it which was cut from the Silver Foil.
I forgot to take a photo of the inside. I just stamped a Happy Birthday greeting from the Tin of Cards set and added a small stamped flower in Peekaboo Peach.
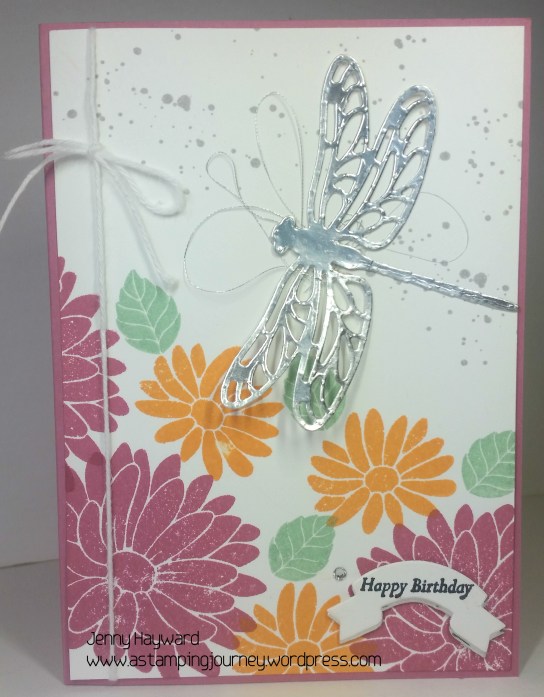
The second card I made was very similar.
For this one, I tied around Whisper White Baker’s Twine. The sentiment from the set is stamped in black and I have cut that from the small banner in the Home Sweet Home Thinlits. It’s great for those tiny sentiments. I cut one out also in Silver Foil and layered them together. I added a Rhinestone as it needed something else. Underneath the dragonfly on this one I swirled around some Silver Thread.
Before I could use this set I had to assemble it as it was a clear mount set. As I was assembling it I thought I should take a video of what I do. I know when I use clear mount stamps it can be frustrating when those pesky little stamps fall off your blocks. Do you find that?? Some time ago I came across a way to keep those stamps on your blocks. I have been doing it this way for the most part now and have had very little problems.
I have just uploaded it to Youtube but thought I would share it here.
How you can help keep those clear stamps on your blocks!!
I hope that might help you and stop some frustration. Just saying!! 😉
Thanks for visiting. I will try and get back sooner to share more with you. I have been creating a lot but just haven’t made it to the computer yesterday. It is summer holidays here and Mum’s taxi is working overtime!
Yes! I am excited. Sale-A-Bration is such an exciting event on the Stampin’ Up! Calendar. You get the FREE PRODUCTS!! Here are all the details.
For every $90 order you pick one item Free from the Sale-A-Bration Catalogue.
Have your own private stamping event or party. You receive Host rewards for the sales. Receive an extra $40 Host rewards when your event reaches $400 in addition to the Host Rewards you receive.
Book your event NOW before my diary fills up.
Do you want to save money each time you order your products? Of course you do. 🙂 It’s the way to go if you have a large wish list and just love the products.
You can order up to $235 of products But pay only $169. (pay no shipping too!) PLUS you receive an additional 2 stamp sets FREE during Sale-A-Bration. Then you receive 20% discount every time you order. Stay with Stampin’ Up! as long as you like. Ask me more about it. It doesn’t matter where you are in Australia I can help you along your way.
AND, if you are still not sure why not head to my page HERE where I list 10 reasons why you need to join Stampin’ Up! (on top of the Sale-A-Bration value). 🙂
You can now view the Catalogues Online -> HERE. If you want your own free copy sent to you then let me know.
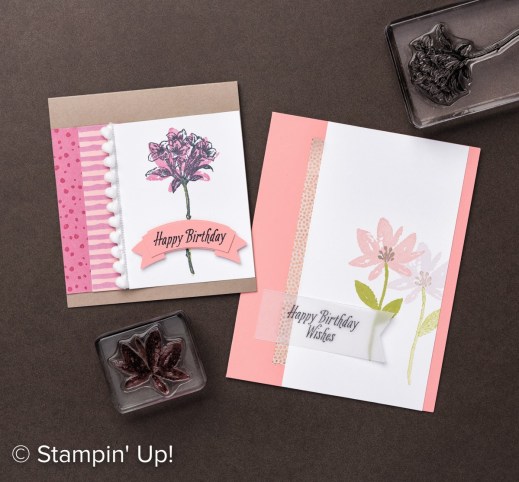
The Catalogues are filled with so much gorgeousness! Here is just some inspiration from them.
And for Sale-A-Bration what about this sweet set??
You can now order Online ->HERE.Please use theHost Code this week 6UYBUWS3
Thank you. 🙂
Now off you go, grab your coffee and start browsing – and shopping. If you have too much on your list I would suggest you join Stampin’ Up!
I can’t wait to share the Occasions Catalogue and Sale-A-Bration TOMORROW!! How exciting! But before I do I thought I would share this project that I made some months ago but realised I hadn’t shared it with you yet.
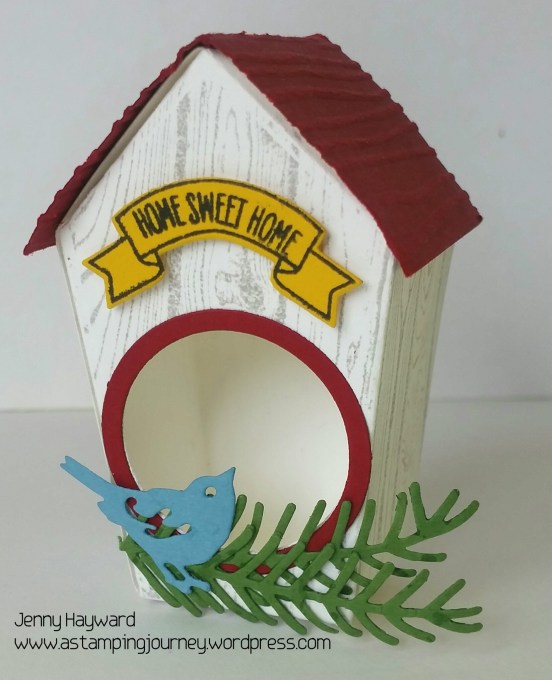
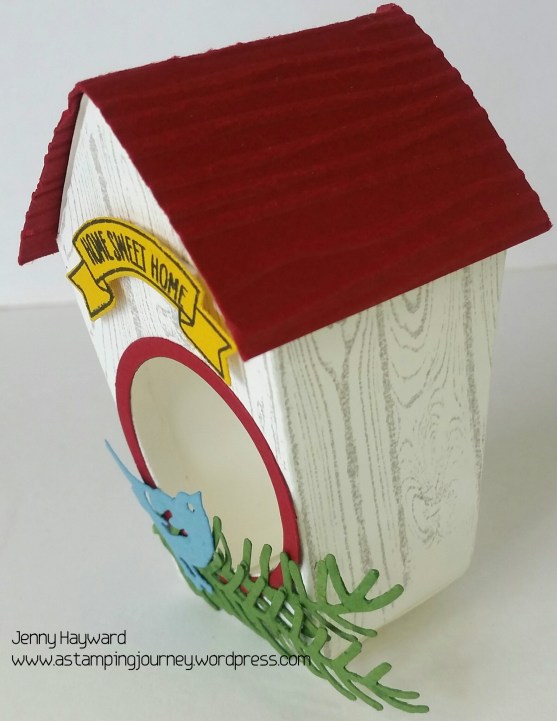
I had in my head for a while to create a cute birdhouse with the Home Sweet Home Thinlits. It is just another way to use these cute Thinlits.
To Create the Birdhouse: The house was cut from Thick Whisper White cardstock to make it sturdier. It was stamped in Smoky Slate with the Hardwood Background stamp after cutting it out. Before the house was assembled I cut a circle from the front piece to create a door. I also cut a thin circle frame from Cherry Cobbler cardstock using 2 different sized Layering Circle Framelits.
To Assemble the Birdhouse:The roof is made from a strip of Cherry Cobbler cardstock. You can make the piece any size you like but this piece measures 5.5cm x 8cm (scored at 4cm). Or 2 1/8″x 3 1/4″ (scored at 1 5/8″). It was embossed with the Woodgrain Embossing Folder. Of course a Birdhouse has to have a cute bird. This little bluebird is cut from the Birds and Blooms Thinlits and I added some greenery with the Pretty Pines Thinlits. Thesentiment is from the Sweet Home stamp set and stamped on Crushed Curry card.
Hope you like this cute house? The Home Sweet Home Thinlits, the Sweet Home stamp set and the Pretty Pines Thinlits are being carried over so you will be able to still get hold of these to make your own after today.
Get ready for the Occasions Catalogue and Sale-A-Bration to start tomorrow!!! 🙂
Time is running out to grab those retiring items from the Holiday Catalogue and get yourself some bargains in the Close-out Sale. They end tomorrow 3rd January. You might have some Christmas spending money???
Check them all out HERE on my store. You can order directly there or contact me… BUT please, don’t come to Wednesday and kick yourself for not getting them. If you want it NOW, then get it. 🙂
If you are ordering Online please use the Host Code ZTRGFCH2
Jenny
2 Days to go for the Occasions Catalogue and Sale-A-Bration to begin. Woo Hoo!!!
It’s been a big year of creating. I thought we would take a little recap of some of the favourite cards from this year. Perhaps you have missed them or would like to see them again. 🙂
If you click on the title of the card you can head directly to that post to find out more details.
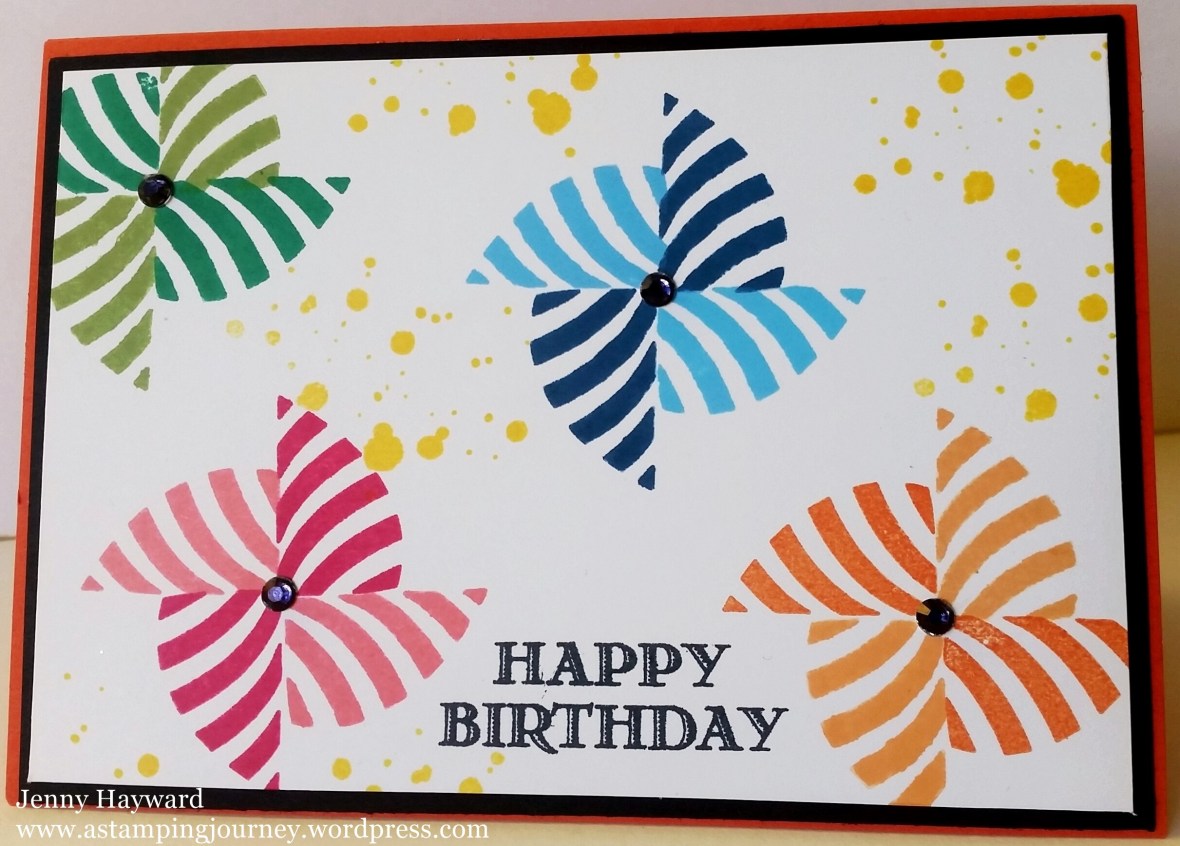
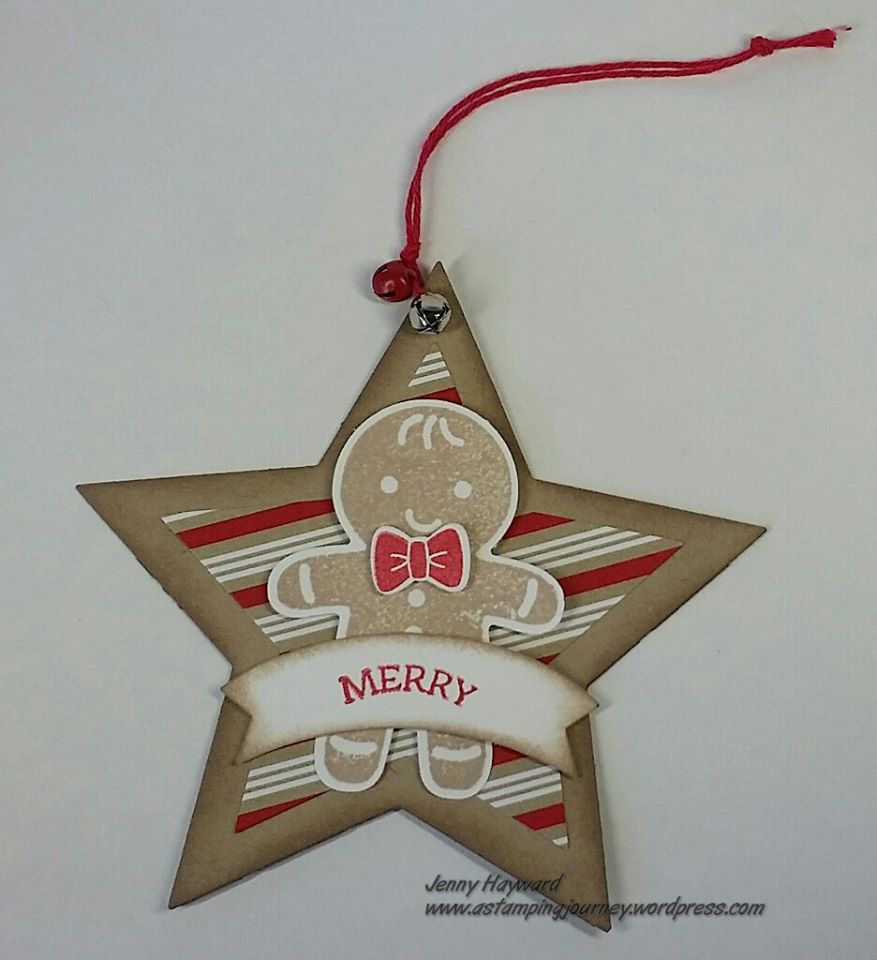
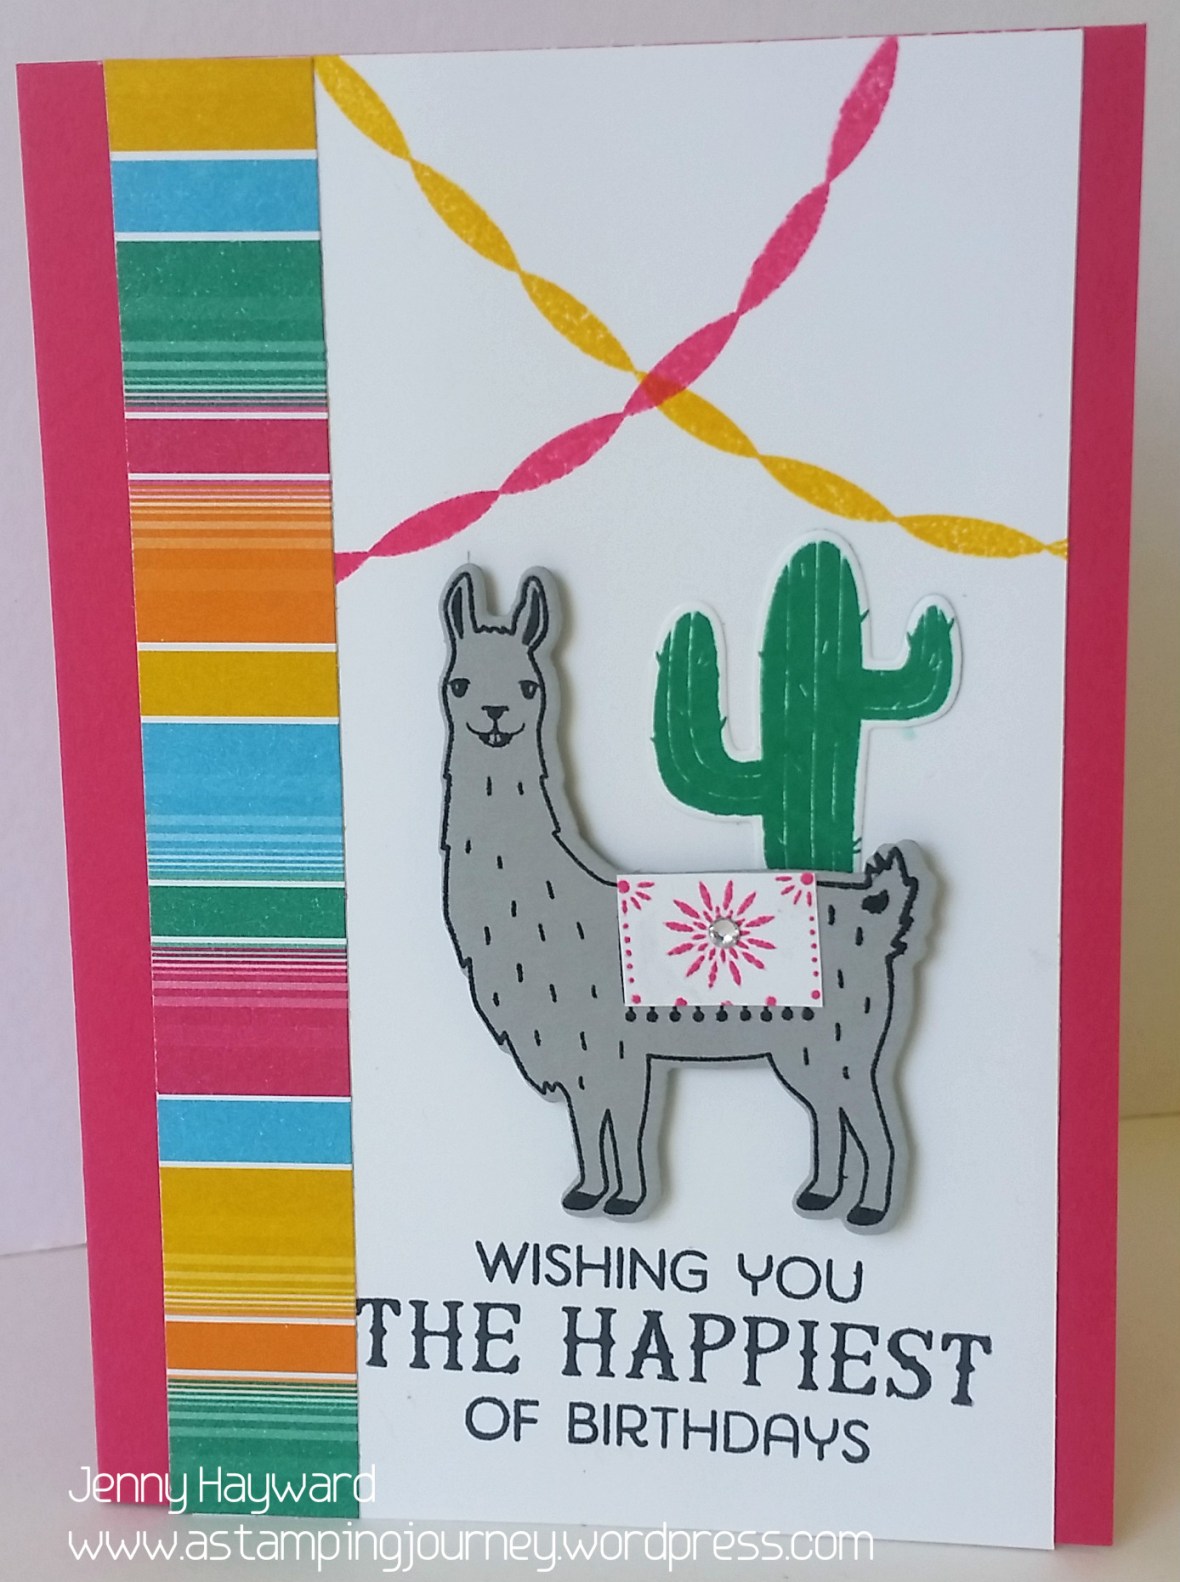
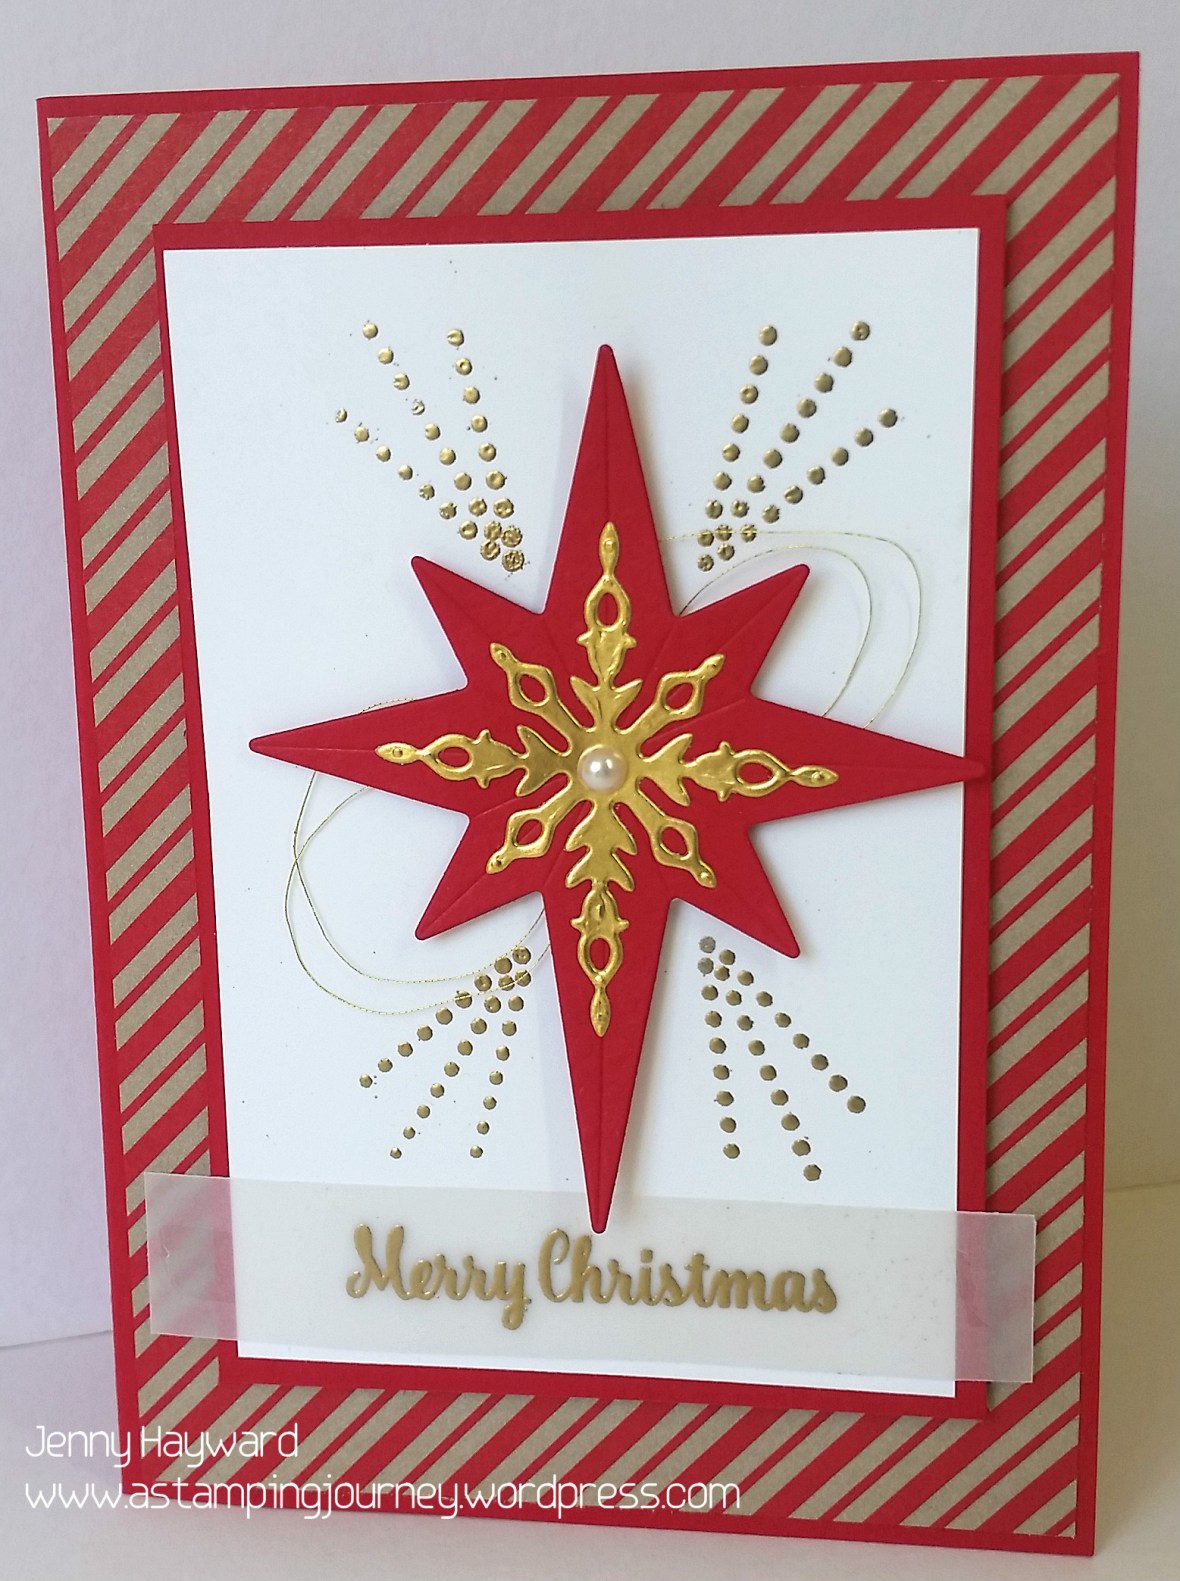
Swirly Bird Pinwheels This card amazes me. It is just a simple funky card that I was playing around with one day with the Swirly Bird set. It has had a huge reaction on Pinterest with it being repinned 5,400 times!!
I realised I had never posted this tag. I made this tag the same time I made the Z-Fold card above. It was just a simple tag and I didn’t bother sharing it. I shared it on a group I am on though and someone Pinned it to Pinterest. It has now been repinned 5,700 times! Sorry you missed out on seeing it. 🙂
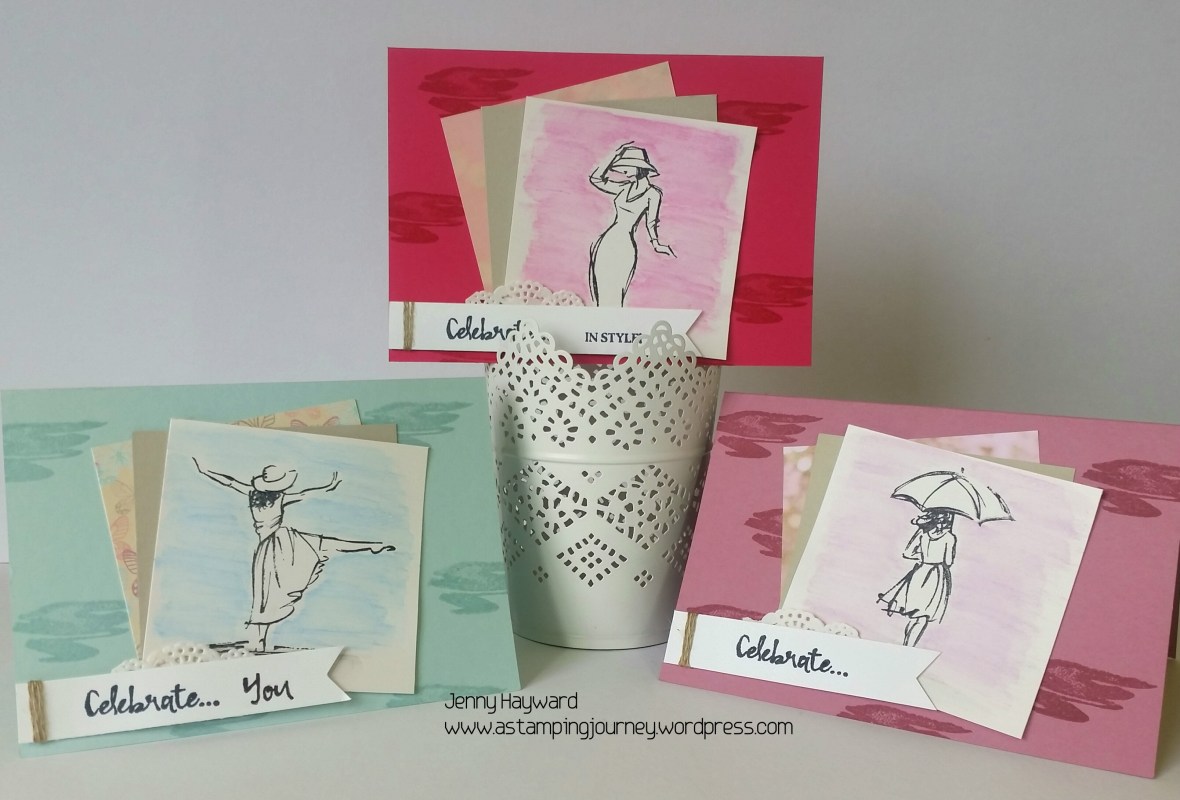
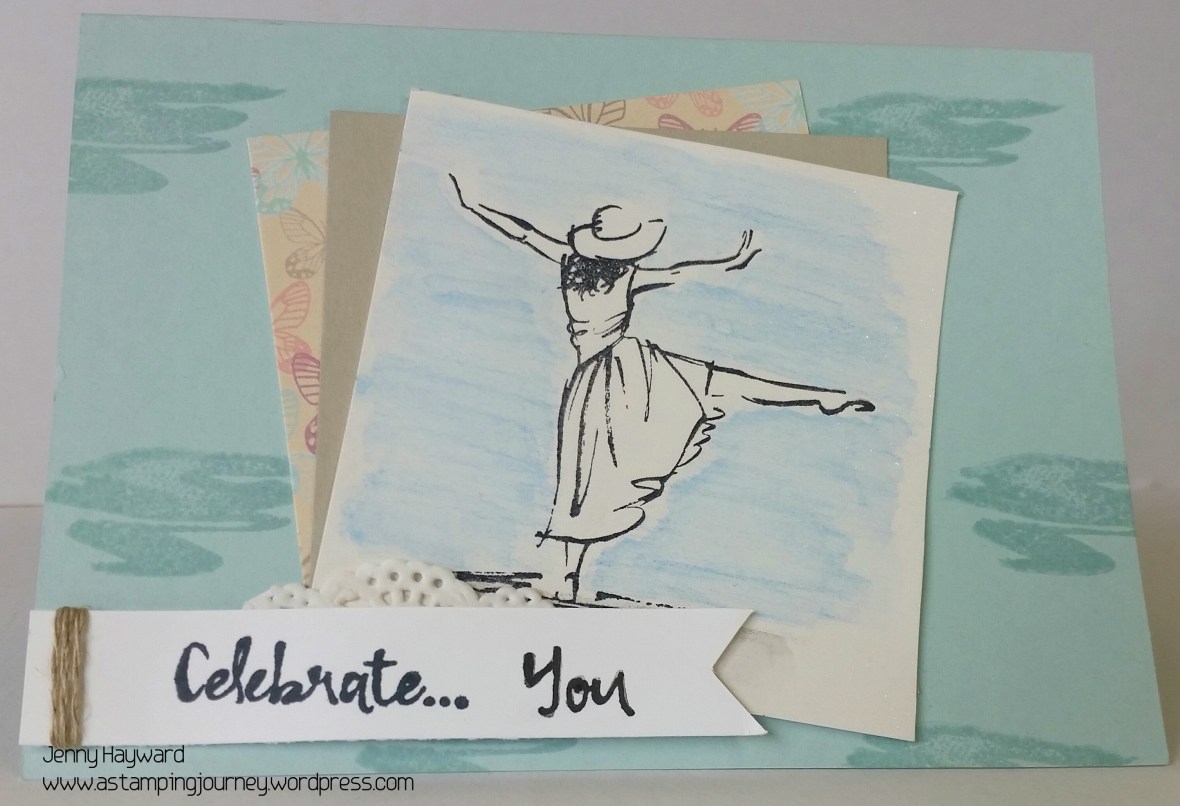
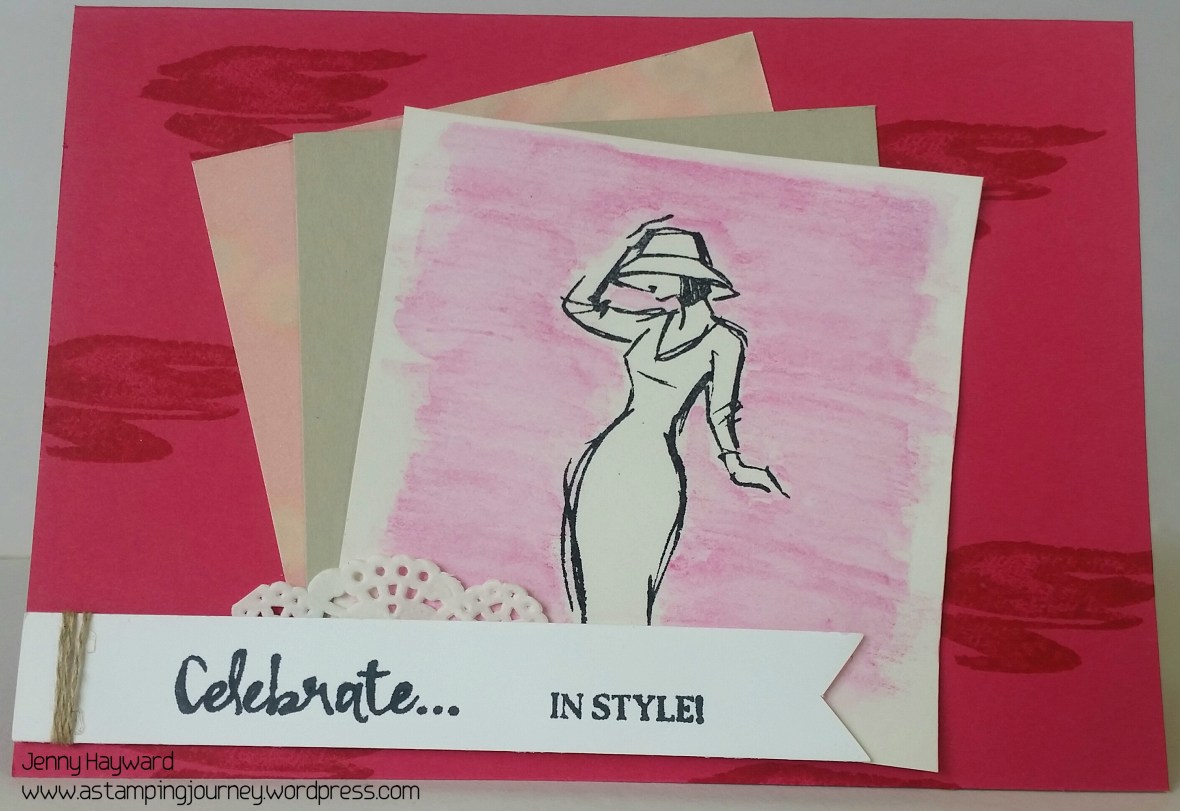
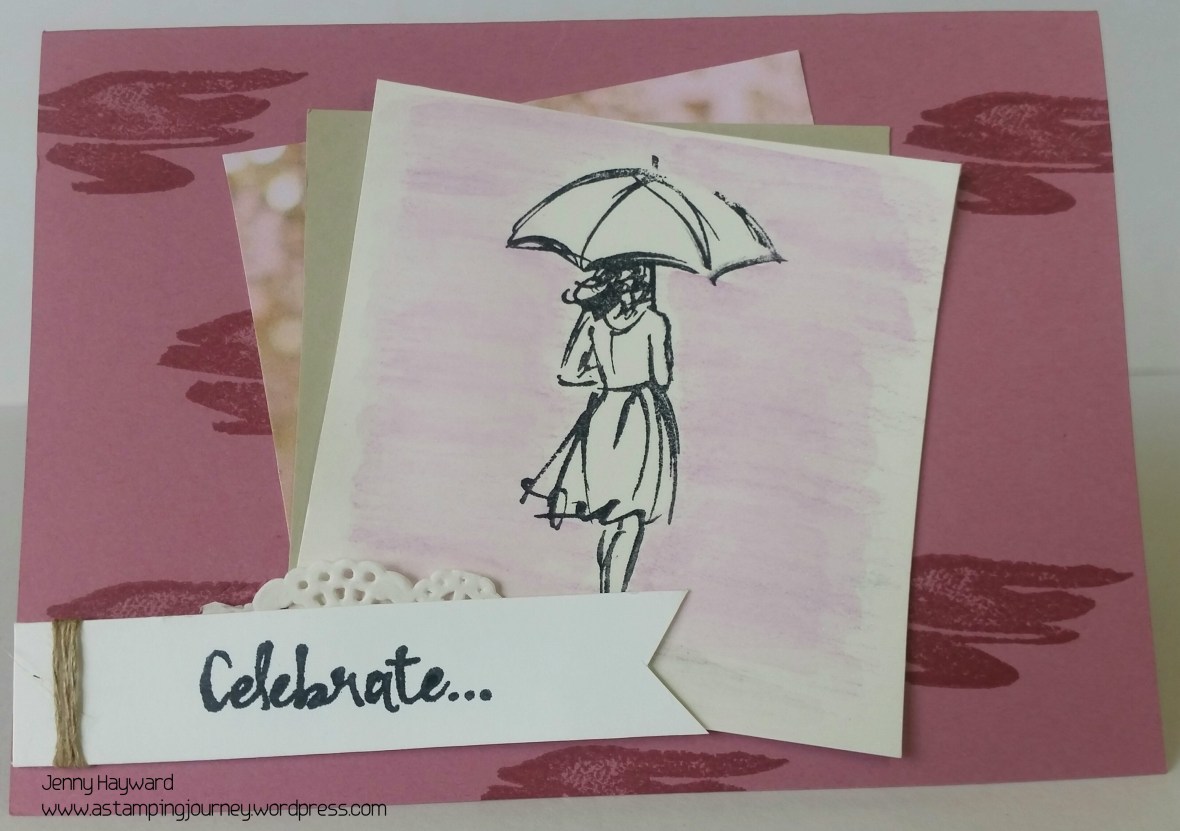
I have finally had a chance to play with some new products. I have been so busy with Christmas and all these new toys have been sitting there looking at me. The first thing I pulled out was the set ‘Beautiful You’ and the Watercolor Pencils. I was really keen to give them a try.
This is the set of cards I created with them.
I kept the layout the same with each card. I will tell you how I created them below.
The image: There are 3 beautiful line images in this set. I stamped each one on a square of Thick Whisper White using Black Stazon. It is fine to use this thicker white card to do a little watercolouring. I coloured around the images with the Watercolor Pencils. Then using the Aquapainter I gave it a wash over to blend the colours. These pencils just blend so smoothly.
The Paper squares:I wanted to keep the layout fairly simple. I layered the image onto squares of Sahara Sand and then on to squares of the ‘Falling In Love’ DSP coming in the Occasions catalogue. This is such gorgeous paper. Although I seem to have hidden most of it under the squares!! Each of the squares are the same size measuring 8cm x 8cm (4″x 4″). I fanned them out before adhering them to the base card.
Assembling the card:The “squiggly” line stamp was stamped over the base card with the co-ordinating ink colour.
The sentiment:There are some really lovely sentiments in this set. I used the “celebrate” on each one stamping them on a strip of Whisper White cardstock. One was just using that word. Then on one card I coloured the “you” on one of the sentiments with the Black Marker and stamped that with the “celebrate”. That’s the great thing with clear blocks you can line it up closely to where you want it. If you are unsure eyeing it you could use the stamp-a-ma-jig.
On the other card I inked up the “in style” sentiment and stamped it with the “celebrate”. On each one I snipped the end to flag the end and then wrapped around some Linen Thread several times before adhering small piece of Paper Doily behind the card strip. Then it was raised up on to the card using Dimensionals.
Here is a close-up of each of the cards for you to see.
Soft Sky
Melon Mambo
Sweet Sugarplum
Only a few days to go (January 4th) before the Occasions Catalogue goes live. Sale-A-Bration starts to. I can’t wait to play more with these gorgeous products. Have you got your catalogue yet? If you still need to get your hands on one and you are in Australia then drop me a comment and I will send one your way.









 A Stamping Journey