Catalogues, Stampin' Up!

IT’S WORLD CARDMAKING DAY WITH GREAT SPECIALS – AND EVEN A FREE PAPER SPECIAL!!

wcmd_shareable-1_oct0116_uk_sp

Did you even realise there was a day celebrating Cardmaking??  Why wouldn’t there be with such a wonderful hobby that brings so much joy to others.  You just have to celebrate it. Also it’s a day to remind everyone that the age-old giving of cards is not gone out the window with all the technology we have.

Yes, it is easy to drop an email or a text but isn’t it nice to say it with a card. 🙂

Are you going to make a card this weekend?? It’s a long weekend here so I am hoping to make a card – or 2 🙂

Stampin’ Up! are celebrating today with some special offers available for the next 5 days. These offers are up to 25% off.  They will certainly help with your creative projects.  Check them out.

wcmd

Great savings on that cardstock.  If you haven’t got an Envelope Punch Board yet why not grab one at 25% off.  They are great not just for envelopes but for gift boxes and treat holders.  The Tin of Cards project kit is really gorgeous and at 25% off you will love it.

This is the Tin of Cards kit.  All you need to do is provide the adhesives and the stamps and ink of your choice.

tin-of-tags-set

———————————

dsp-_-sale

Not only do we have great specials for World Cardmaking Day but there is a fantastic special on Designer Series Paper for the whole month.

Buy 3 Packs of Designer Series Paper and you can choose one FREE!!!

Awesome!

Here are the choices.

dsp-packs-_-sale

So how to order any of these delectable bargains.

You can order directly from me by emailing/phoning me or by stopping by my store HERE.  If you do Shop Online please use the HOST CODE: HTNCJWUH

 Now off you go and check out these specials.

Jenny 🙂

3D projects, Stampin' Up!

HOME SWEET HOME EXTENSION!

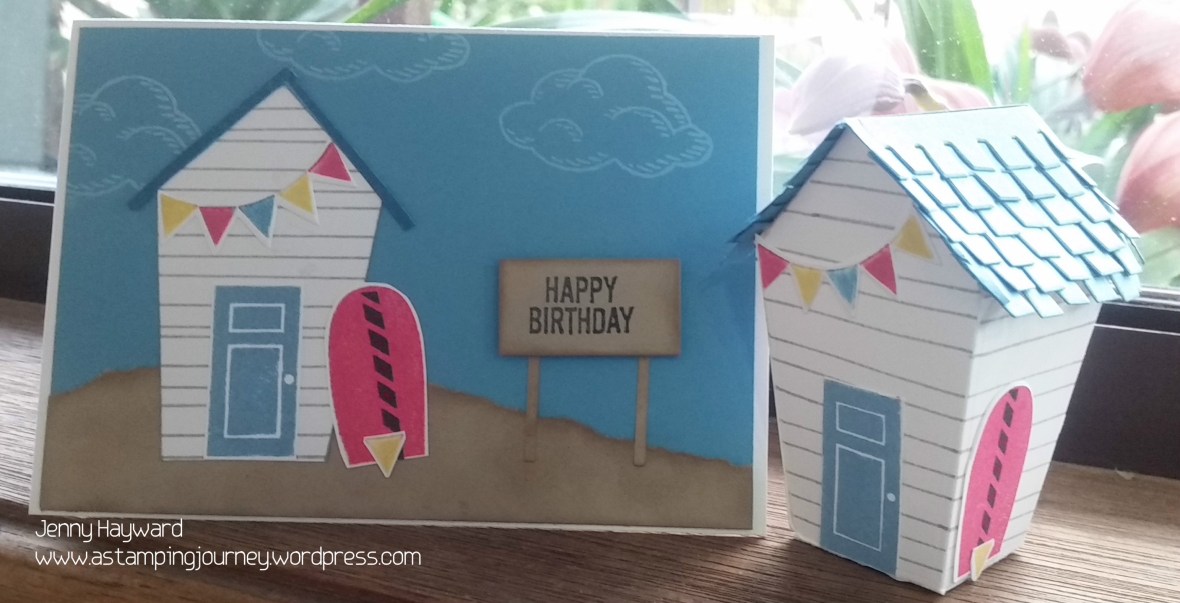
I showed you the little beach house yesterday. I have to show you this house though. When I started making these houses I thought they were cute but it would be good to be a little bigger. So the house underwent an extension.

Here is my extended version. I will explain the “how-to” below.

mint-macaron-larger-house

On this house I cut the house in Thick Whisper White and stamped the Hardwood Background stamp in Smoky Slate.  The roof is Mint Macaron and the windows and door frames are in Basic Gray.

I did cut the door out but I think next time I won’t worry about this.  It tends not to stay shut but then you could sneak one of those Hershey Kisses out! This size actually fits 24 Kisses in.

house-_-side-view

Side View

house-_-rear-view

Back View.

HOW TO EXTEND YOUR HOME SWEET HOME HOUSE:

1. Cut 2 house pieces from the Home Sweet Home Thinlits.  To save card you will only need to cut the front/back of the house section so the one with the peak leaving a small tab around each side. With the same colour card you will need 2 pieces cut at 10cm x 6cm (4″x 2 3/8″).  Score at 1cm and 7cm (Score at 3/8″ and 2 3/4″)

20160930_105359

2. Stamp or decorate your pieces as you like before assembling.  Also, cut your door and windows. TIP: Before cutting your windows, mark a line in pencil across the card piece then line up the bottom edge of your window Framelit on the pencil line to be sure that the pieces are level.

20160930_111436

3. Fold on all the score lines and assemble together. Consider where you want to be able to open your house to get the treats.  On mine although I had the door cut I had the bottom open.  I just used Glue dots to stick it together temporarily.

To assemble add your adhesive on the side tabs of the front and back of the house. I used Fast Fuse but you can use Tear and Tape or other adhesive. Adhere one side wall piece to the tab on the front of the house piece and one side wall to the other tab on the front of the house. Do this by lining up the top score line of the side of the house to the top of the tab piece if that makes sense. The bottom score line should line up with the bottom of the front tab.

Adhere the back of the house to the other wall piece.  If you wish to have the back opening then just add adhesive to only one tab.

4.  For the roof: Cut your card to 7 cm x 9cm.  Score 4.5cm. (2 3/4″x 3 1/2″ Score at 1 3/4″)

Emboss your piece with the Brick Embossing Folder checking that the “bricks” line up the right way on your card.  That is that they run across.  Line up the score line of the card with an edge of the brick wall.

Place adhesive to the top tabs of the front/back house piece and also on the top tab on the side walls.  Line up the “roof” piece with the top of the house and adhere together.

5.  Now decorate to your little hearts content.  🙂  The options are endless really.  With this size you can fit so many treats.  As I had mentioned I was able to fit 24 Hershey Kisses. Unfortunately I didn’t have any Ferrero Rochers on hand.  That would be interesting to see how many can fit.  That’s for another day. 🙂

Have you been making Tiny Houses?  I would love to see them.  Why not drop me a comment with a link for us all to check out.

Thanks for visiting.

Have a great weekend.  It’s a long weekend here so I am not sure what is in store.

Jenny


3D projects, cards, Catalogues

BEACH HOUSES!

This is the first project I made on our stamping weekend this past weekend.  I just have to share this with you.  I was so pleased with how it turned out.

beach-houses

I live right near the beach so had to make a beach house. I have used the Sweet Home Stamp set and the Home Sweet Home Thinlits.  What a great versatile bundle it is.

Once I made the house I had to make a matching card.  Here are the details.

HOUSE: The roof is in Marina Mist. The house stripes are stamped in Smoky Slate.  I coloured the banners with the markers. The surfboard is the oval door stamp and die and I added the hatched line (if that is what you call it). The fin is from one of the banners and I cut that by hand and kind of rounded the points.

CARD: I cut the house out on Whisper White and then trimmed off just the front part of the house.  Then stamped the lines in Smoky Slate to match. I stamped another board for the card.  The “sand” was a piece of Crumb Cake card that I tore the edge off then inked it with Crumb Cake ink on the edge and in patches.  I assembled it all on a piece of Marina Mist card than I stamped the clouds from Sprinkles of Life in White ink.

I debated what else to do.  It needed something else but wasn’t sure how to add a greeting. Then I had a thought.  I cut the thin door frame from the Thinlits set from Crumb Cake card.  The centre piece that is left when you cut it I trimmed off and then stamped the Sentiment which is from Balloon Builder on to that.  I sponged these pieces a little too with Crumb Cake ink. I was really pleased with how that worked.

I have plans for more homes.  When I get to it. 🙂

Thanks for visiting today.  See you again soon,

Jenny

cards, Catalogues, Stampin' Up!

WEEKEND STAMPING HAUL!

This past week I had a fun weekend with some of my stamping buddies.  These are great times just to sit and stamp and not be interrupted … and have a few laughs and eat too much!!!

I want to show you all my creative efforts for the weekend.  It still amazes me what you can put together with some ink and bits of card.  I plan to share details on the projects individually over the next couple of weeks so stay tuned for that.

group-cards

It was a mix of Christmas cards and general cards.  I think the project I loved most was the Beach House and the card.  It took some time put I was pleased with the end result.  It has shown to be popular on my Facebook page and other group pages I am on too.  I will tell you about that one soon.

The great thing when you get together with others too is sharing stamp sets that you don’t have yourself.  It’s great to make cards using those sets.

Now what will I share with you first????

See you again soon.

Jenny

cards, Catalogues, Stampin' Up!

DAPPER MERRY WISHES!

I have another card for you today with the Merriest Wishes set and the Merry Tags Framelits.

merriest-wishes-tag-in-dapper-denim

On a piece of Whisper White I embossed the card with the Holly Embossing Folder that you can find in the Annual Catalogue.  I love the detail in this folder and how delicate it is when you emboss.  Then it was a matter of Heat Embossing the sentiment in Silver Embossing Powder and cutting it with one of the Merry Tags Framelits.  The deer tag was cut in Dapper Denim and then I cut a circle from the Silver Foil Sheet and adhered that to the back to the back of the tag.

Before I adhered the white card on to the Dapper Denim card mat I wrapped over some Silver Taffeta ribbon and adhered that down. I find Snail Adhesive the best thing to adhere ribbon down to your projects. The tags were raised up with Dimensionals and  then I finished them with a Silver Taffeta Ribbon bow.  The card base is Thick Whisper White.

I think this might be good to try in other colours. Must try that.  If you make one in a different colour do share it with me.  I would love to see.

Thanks for visiting me today.

Have an awesome day.

Jenny

Christmas, Classes, Stampin' Up!

CHRISTMAS STAMP A STACK!

I know it’s September but we do need to start thinking Christmas cards.  I have a Christmas Stamp A Stack on this Friday for you to get some of those cards done for you. We will create 6 cards – 3 each of 2 different designs. I have a little sneak peek for you.  I think you will love them.

sas-on-fri

Here are the details but if you can’t make the time let’s make another time just for you.  I would love to show you how to create them.

WHEN: Friday 23rd September at 10am or 7.3opm at my place in East Corrimal.

COST: $15 or $20 if you use my adhesives.

PLEASE RSVP: Wednesday 21st September

Why not bring a friend and receive a special gift.

Hope to see you there.

Jenny

cards, Catalogues, Stampin' Up!

RED MERRIEST WISHES!

I really liked the Merry Tags Framelits when I saw them in the Holiday Catalogue.  I got to finally play with them the other week.  Now I can share the cards with you.  I wasn’t sure where this card was going when I first started it but I was happy with the end result.

merriest-wishes-in-real-red

It’s great to  have different shapes in the Merry Tags Framelits set.  You have the detailed tags and you have circles as well.  So many options to create different looks.

For this card, the card base is Real Red and the card mat is Sahara Sand.  I stamped the dots in Sahara Sand on to Whisper White.  A number of people have asked me what you would do with the dotty stamp in the Merriest Wishes set.  I stamped them a few times along the top of the White card reinking the stamp each time.  I think they make a nice background or you could stamp them on card and cut them with one of the circles. What do you reckon?

I cut one of the detailed tags in Red Glimmer Paper and stamped the “25” in Memento black and then punched it out with the 1 1/4″ Circle punch. The small ornament shape is stamped in Emerald Envy and punched with the 3/4″ Circle punch.

The ornaments were raised up on the white card with Dimensionals and then finished off with some Gold Twine and to finish I stamped the sentiment in Real Red.

If you haven’t noticed these yet then here they are for you.  You can find them on p 21 of the Holiday Catalogue.

merriest-wishes_stamp-set       merry-tags

If you buy the bundle you can save 10%.  Pay $81 Wood Mount $68  Clear Mount.

You can order these in my store HERE or by emailing me directly.  If ordering Online please use the Host Code this week:  RYWGMMKD      Thank you kindly. 🙂

Thanks for stopping by.  I hope your weekend is a stamping one.  My daughter heads off tomorrow for a 2 week school excursion through Central Australia.  I am going to miss her but maybe I will have a little extra creating time. 🙂

See you again soon,

Jenny

Stampin' Up!, Weekly Deals

SPECIAL OFFERS AND CLEARANCE RACK. EITHER WAY YOU SAVE BIG TIME!!

We have a new week for the Special Offers – and this is the last week!  Here they are for you.  Check them out.  These are 25% off.

special-offers-_-3

I have seen a lot of cute boxes with the Popcorn Box Thinlits but isn’t this one by Stampin’ Up! just gorgeous!

popcorn-box

The Clear Tiny Treat Boxes can make some sweet gifts in no time.  You could just simply wrap them in some pretty paper and tie up some ribbon.

clear-treat-boxes

Remember you can order HERE or contact me directly.  If you order Online Please use the Host Code: RYWGMMKD  

clearance-rack-3

You know I keep forgetting about the Clearance Rack.  This week I was reminded when Stampin’ Up! mentioned that a large number of products had been added.  You can save a huge amount on these items. I think it would be good to stop for a visit there yourself and see these bargains.

See them HERE.   You can order directly there too or contact me.  Don’t forget the Host Code: RYWGMMKD   if you are ordering online.

 Here is a taste of just some of the items on the Clearance Rack.

clearance-rack-_-1

clearance-rack-_-2

Please ask if you have any questions,

Jenny

3D projects, Catalogues, Christmas, Stampin' Up!

HOME SWEET HOME!

A couple of weeks ago with my order I got the new ‘Sweet Home’ stamp set and the matching Thinlits.  I finally had a play recently and made a cute little house.  I thought I would show you.

merry-house

These ‘Home Sweet Home’ Thinlits have so many special little “bits”, OK well dies to be more technical – 22 in fact.  You can create so many variations.  I will say this did take some time but I think now I have made one I can whip them up pretty quickly.  I think the most time consuming part was the roof. Also, I found it a little tricky lining up the stripes on the walls of the house. This house was CASED from Pinterest but I added the circle wreath on the door using one of the dies and then punched some small red circles from the 2-step Owl punch for the “berries”.

In the photo above it doesn’t really give you much idea of the size.  I thought I would take another photo for comparison.  Check out the size against an ink refill.

merry-house-size

Isn’t it the cutest??  I can’t wait to have some more play with these.

Have a wonderful day/night wherever you are in the world.

Jenny

3D projects, Christmas, Stampin' Up!, Tutorials

CHRISTMAS TREAT BOX!

In a post or 2 back I showed you a cute little Christmas Treat Box and I said then that I would show you how I made it.  I thought I would tell you about it today. It is so quick to make and seriously you can make up a number of these in no time.

Here is the box if you forgot – and to save you going back a couple of posts.  You can go back if you like to though. 🙂 You can see all the other fun projects I shared from my Holiday Catalogue Review too while you are there.

christmas-box

These are so Christmas-y.  These are called “SEVENS” boxes.  WHY? Well it is all in the measurements.  I have made a number of these over the years.  I like how quick they are to make and you can fit a fair amount of treats inside.

I  will tell you the measurements and then give you a link to the original creator for the assembly of the box.  On that blog post it doesn’t have Imperial measurements so I have put created one for you my lovely friends if you use Imperial Measurements. 🙂

SEVENS BOX (Metric)

Using a full sheet of A4 card, score your card.  On the short side score at 7cm and 14cm. On the long side score at 7cm, 14cm, 21cm and 28cm.

Rather than relay the cutting and assembling of the box you can refer to the original blog post which you can find HERE at Marelle’s blog.

2 AND A HALFER BOX (Imperial)

It doesn’t really have the same ring to it as a “SEVENS” box does it but it would be a bit odd to call it that!).

NB: Please try this on scrap paper first before creating it on card to see that the measurements are correct.  This will be a slightly smaller box that the “SEVENS” box but still a good size.

Cut your card to 10 3/4″ x 7 1/2″.  On the short side score at 2 1/2″ and 5″.  On the long side score at 2 1/2″, 5″, 7 1/2″ and 10″. Cut and Assemble the box as in the link in the Metric measurements above.

Once you have made one I don’t think you will stop.

Enjoy. 🙂

Jenny