3D projects, Christmas

FAIR PROJECTS UPDATE!!

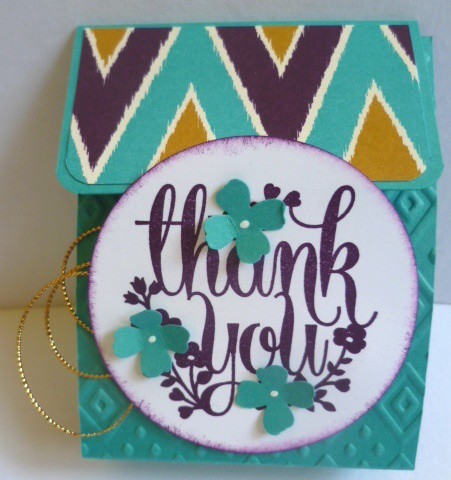
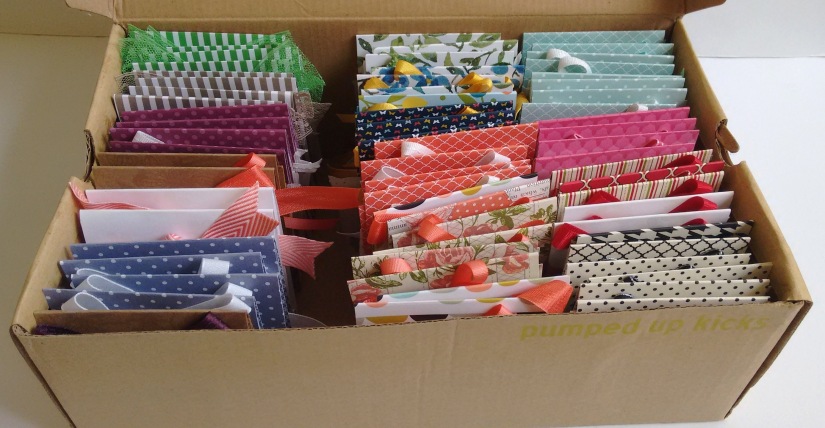
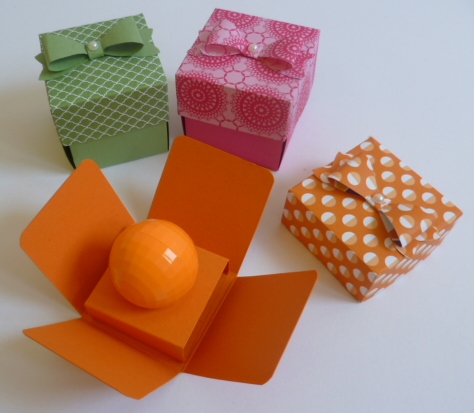
Last week was a very busy week.  I had 3 markets/fair events.  It was great seeing some familiar faces and meeting up with new people.  I thought I would share some of the projects I made for the markets.  Having 3 in the week was interesting also to see just how different things sold.  So I will let you know about that too.

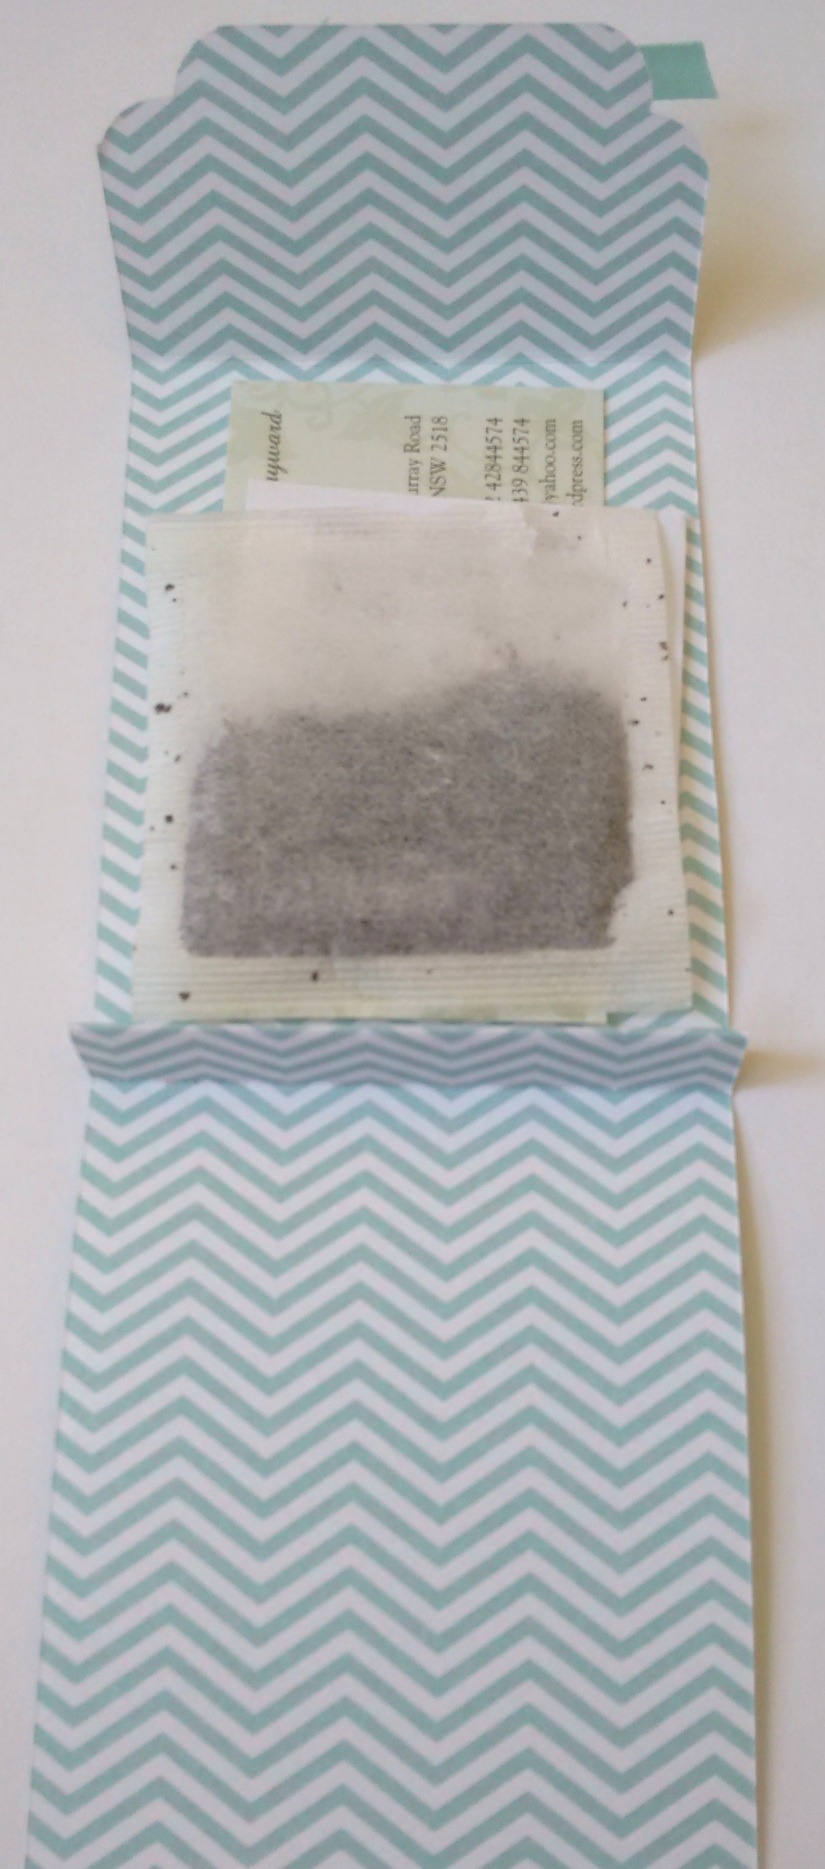
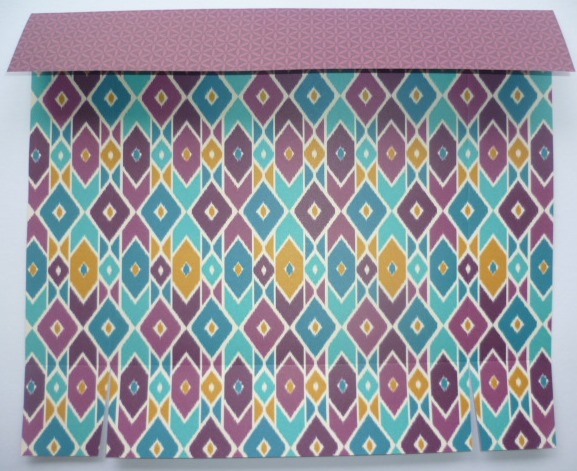
A little while ago I picked up some lip balm balls and sticks reduced at a local store so I grabbed those to make some cute holders for them.

P1170781

The tutorial to make your own Lip Balm Boxes can be found HERE.  They are so quick to make.

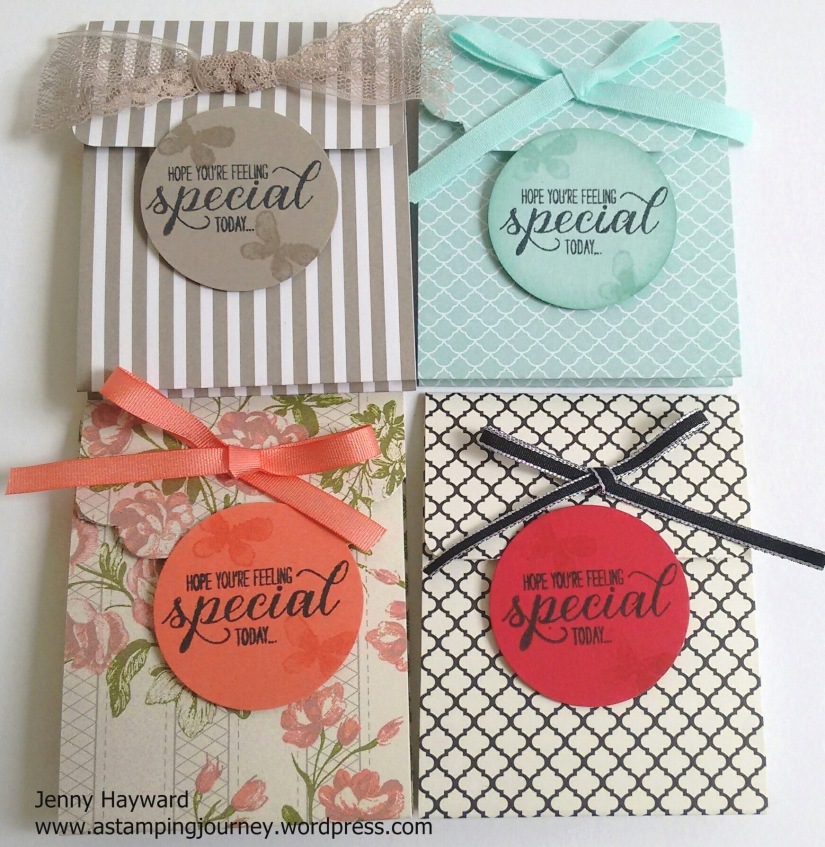
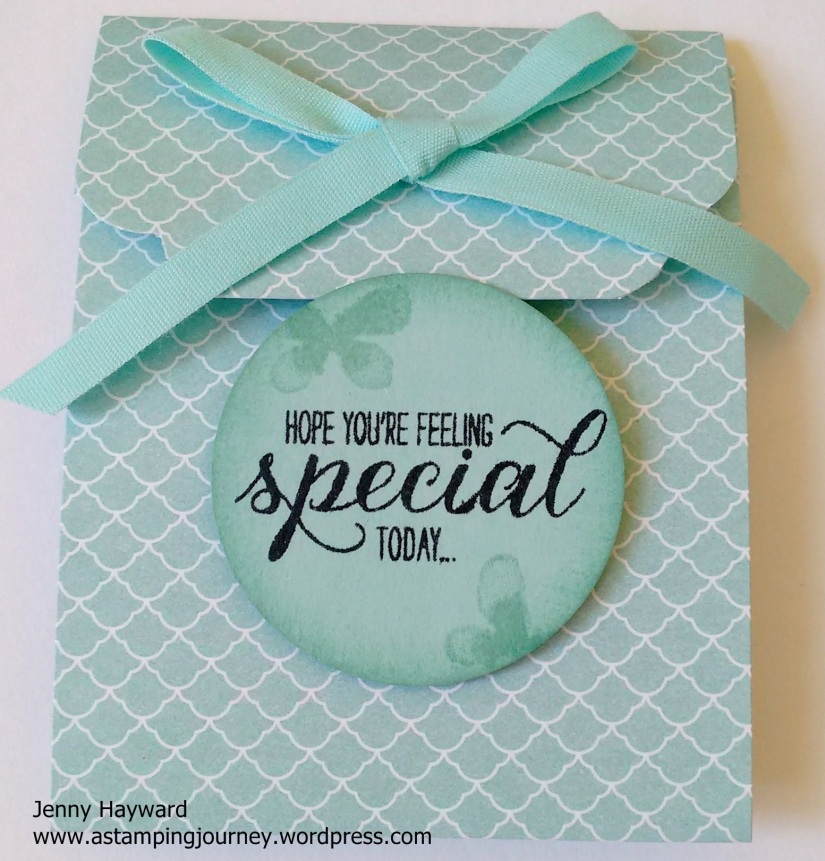
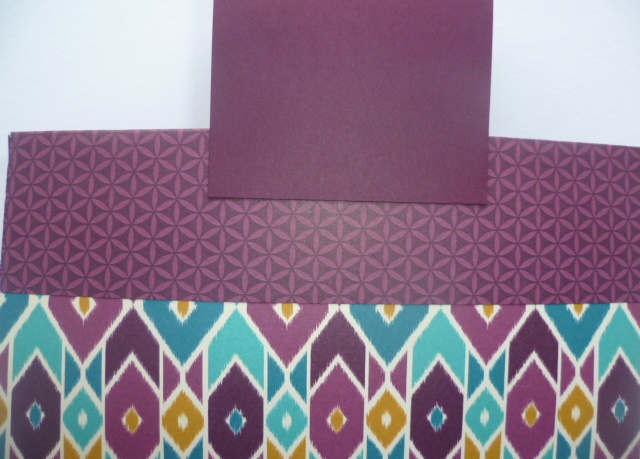
Here are some tiny Lip Balm Purses.  Both of these created some interest.

P1170785

Here is a close-up from the side. (sorry I realised I hadn’t met the tops together neatly before I took the photo!)

P1170787

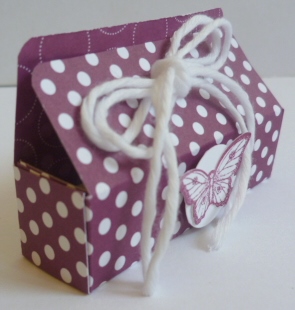
These are cute little purses. It was great to use up some retired papers too. You can make your own from the tutorial HERE. 

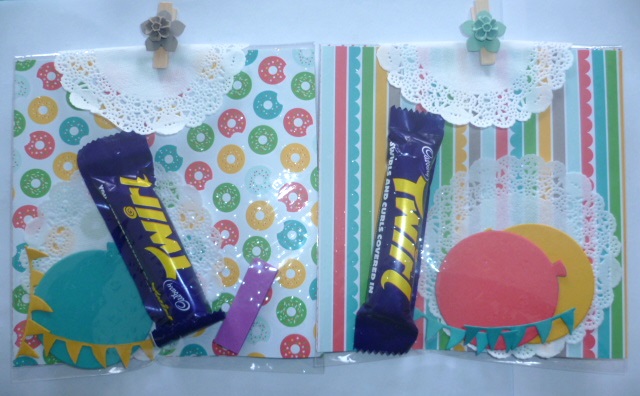
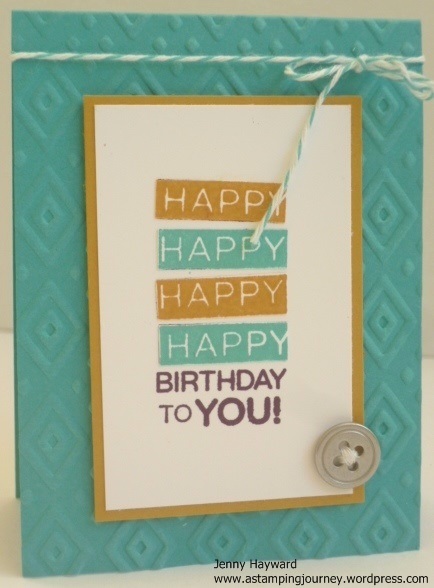
Now I made these fun little packs too.  There is a cute  poem on the back of them and I forgot to take a photo of these.  I will add them below.

P1170780

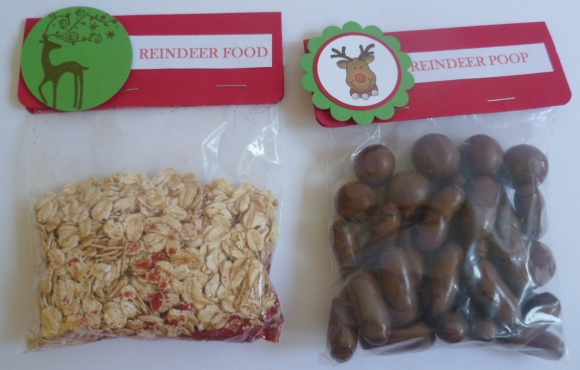
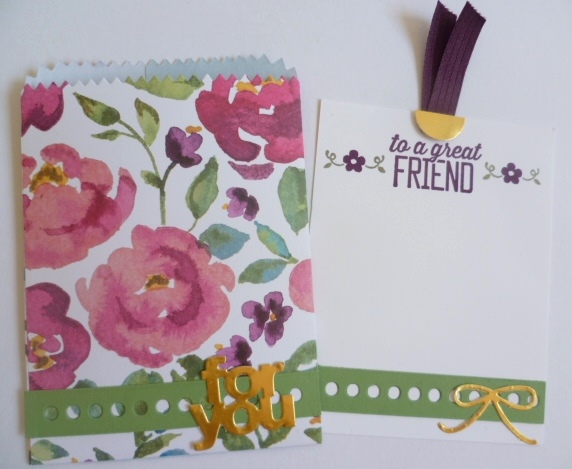
The Reindeer Poop was very popular at one event at a school.  It appealed to some boys sense of humour, or was it that there was no other chocolate sold there at the time?? 😉  I made some more bags up but then I didn’t sell one bag at that craft fair. You never know!

Here are the poems. I found these on Pinterest.

REINDEER FOOD

Just Sprinkle on the lawn at night,

The moon will make it sparkle bright.

As Santa’s reindeer fly and roam,

This treat will guide them to your home.


REINDEER POOP

I heard that you’ve been naughty,

So here’s the inside scoop,

All you get for Christmas,

Is this bag of Reindeer Poop!


I have more to show you but that is enough for one post.  Pop back again and I will show you some more in the next post.

Jenny

3D projects, Classes

REINDEER CLASS FOR THE KIDS!!

CALLING ALL LOCAL KIDS – Join us for some Reindeer craft.
(Suitable for kids aged 6-12years).

If you are local to Wollongong then bring your kids along for some fun Reindeer craft.
 
WHEN: Saturday 28th November 2.30pm – 4pm.

Cost: $15. 
PLEASE RSVP by THURS. 26th by commenting or emailing me. Places are limited so book your spot early.
 
Tell your friends and family. Spread the word. It will be lots of fun! Here is what we will be making. Aren’t they cute!!
reindeer
——————————

OK for the big people you won’t miss out either.

Join me for the last Christmas Stamp A Stack for the year.
 
Friday 27th November – 10am or 7.30pm. Christmas Stamp A Stack.
 
BYO: Scissors and adhesives. Cost $15
  
Please RSVP by Wednesday 25th November by commenting or emailing me.

This is one of the cards we will be making.

 
P1170777
Do join us. Classes are a lot of fun!!!  🙂
Jenny
3D projects, Stampin' Up!, Tutorials

THANK YOU TREAT HOLDERS!

A few posts back I showed you some cute tea bag holders I made.  You can see that post HERE. Based on these holders I made up some little Thank You Treat Holders for some special people this week.  Here is one of them to show you.

P1170515

I have used the ‘Bohemian Designer Series Paper’ on the front flap.  I embossed the front panel with the ‘Boho Chic’ Embossing Folder. The greeting is from the Hostess set ‘You’re A Whole Lot of Lovely’.  This was punched out with the 2 1/2″ (6.4cm) Circle Punch.  The flap can be tucked in behind the circle to enclose it.  Some I added a little glue dot underneath the flap to hold it down as some kept popping up.  I added some little flowers punched from the ‘Itty Bitty Accents’ Pack and added little dots for the centres with white gel pen.  I added some loops of Gold Cord behind the circle before I adhered the circle down with dimensionals.

This Treat Holder was the perfect size for a little chocolate treat.  I added a glue dot to the back of the Chocolate to keep it in place.

P1170513

To make them I used the same directions for the Tea Bag Treat Holder that you will find in the above post link except I only scored the card (7 cm x 25cm) at 9cm, 11.5cm and 21cm.  ** If you would like the imperial measurements for these, then check at the above link for the tea bag Holders. Just don’t add the 4″ score line).

These were well received today I think 🙂

Thanks for stopping by,

Jenny

3D projects, Tutorials

TEA BAG HOLDERS FOR A CAUSE!!

I can finally share this project I have been working on the last 2 weeks.  They are all now sent off and reached their destination.  On a Facebook group I am on the call went out for help for a Fundraiser.  I offered to make some little gifts for the goodie bags they would have.  Then the realisation hit – What was I going to do?? I needed 65!!!  After a little pondering I decided to make some little Tea Bag Holders.  I had an abundance of teabags – and lots of retired paper. 🙂

Here is just a sample of some of them.

four

I used the set ‘Garden in Bloom’ for the little labels on the front.  I thought it was very appropriate for such an event.

Here is just one of them. I will share the ‘how to’ further below.

closed

Opened out I could fit a tea bag, a cute tea verse (see below) and my business card.

IMG_20150928_100753384

Here is the verse I put inside.  I found this on Pinterest.

“When  your  day  seems  topsy  turvy,

And as stormy  as  can  be.

There  is  nothing  quite as  tranquil,

As a nice hot  cup  of tea.”

**

So here they are all 65 of them packed and ready to go.

box

So here are the details if you would like to make your own.  There are a few different versions around the internet but these were inspired by a Convention swap I received some years ago.  I adjusted the size so I could fit my business card in and just made them a little differently.  I could get 4 to a 12″x 12″ sheet of Designer Series Paper.

TEA BAG HOLDER

Cut your paper to 7.5 cm x 25 cm     (3″ x 9 7/8″)

Score your paper at 9 cm, 10.2 cm, 11.5 cm and 21 cm.    (3 1/2″, 4″, 4 1/2″ and 8 1/4″).

Fold on your score lines creating a “W” shape. (I hope that makes sense??).  The end with the narrowest scored piece is the front flap. Corner punch the corners on this flap.  I used the new Curvy Corner Trio Punch for most of them or else I used the regular Corner punch.  Add a bow to the front flap.

Stamp your greeting and punch out with the 1 3/4″ Circle Punch.  Add Dimensionals on the back just on the lower section.  Add to the front of your holder.  You can tuck the flap under the top of the punched circle to hold it together.

I hope you like these.  They are very quick to make once you get going.

Thanks for stopping by,

Jenny

cards, swaps

CUTE TEAM SWAPS!!

I have been meaning to share these all week with you.  I received these last week at our Team Meeting.  These are the swaps I received.  Now I will be honest,  I went with no swaps. Life has been a little crazy and it is an optional thing. So that’s OK! Also, I turned up late as we had a last minute drama at home and I nearly didn’t make it at all, but a few people had swaps left over for me so I just have to share them with you.

There are some fantastic cards and 3D here.  Check them out!! I hope you can see them clearly enough.

P1170264

Some Christmas inspiration there too!!!!

I am glad that I can share them with you and I am so thankful for these generous and clever ladies to share them with me.

Have a great day.

Jenny 🙂

4 days until the launch of the Holiday Catalogue!! You are so going to love all the Christmas goodies in this.  If you want a copy sent to you then please let me know.

3D projects, Stampin' Up!

‘AWESOMELY ARTISTIC GIFT BAG’

When I was at the South Pacific Convention back in late April (yes that long ago!!), I had a play with the Gift Bag Punch Board.  This is a new punch board in the catalogue.  I am sure by now you have seen lots of fun bags and boxes using this new tool.  I haven’t got one but I recently assembled the bag I made. I wasn’t sure how I was going to finish it off I guess that is why it took so long. 🙂 I thought I would show you the finished result.

I used my favourite set ‘Awesomely Artistic’.  Check it out!

P1160882

I stamped the blossoms and the “dotty” strip in Soft Sky on to the Soft Sky Bag base.  The sentiment frame was stamped in Smoky Slate on Smoky Slate card with the greeting stamped in Tangerine Tango.  This was cut with the Project Life Framelits.  The dragonfly was stamped in Tangerine Tango and fussy cut.  I had to add some Silver Metallic Thread loops.  I only just received that thread THAT DAY! Whoop!  I tied off the bag with the White Cotton Ribbon.

Check out a close-up of the thread loops.

P1160885

Hope you like it?  If you do a quick search for the Gift Bag Punch Board you can find lots of different ways of using this board.  If you check out on Pinterest there will be LOTS more ideas. 🙂  Check out the Stampin’ Up! Youtube video below to see how easy it is to use.  (If you receive this blog post by email you might need to go directly to my blog post to view the video.  Sorry.  Sometimes the video links get missed)

Thanks for checking out my ‘Awesomely Artistic’ bag.

Have a great day,

Jenny

Classes, Stampin' Up!, Uncategorized

CATALOGUE LAUNCH REVIEW!

I thought I would share some of the things from my launch on the weekend.  It was such a fun time and I am sorry if you couldn’t make it. 🙂

Firstly, I have to show you my butterfly wall.  It is a bit hard to photograph.  The lighting is not the best.  It is a bit overcast today when I took these photos.

P1160845

I will show you some close-ups. I have used the Butterflies Thinlets and the cute new Incolor Blossom Accents.

P1160830

P1160832

P1160848

These are some of the treat bags I made for my lovely guests.  Sorry I didn’t take photos of all the flower colours.  These were last minute things as my order didn’t arrive until the 11th hour. The glue was still drying when the first guests arrived 🙂

I used the large Cello bags. I added some of the sheets from the ‘Cherry on Top’ DSP stacks and added a doily.  I cut some Balloons and banners with the Balloon Framelits and added a chocolate treat and some post-it notes.

P1160822

It is hard to tell in the photo but I ran the bag through the Big Shot with the Boho Chic Embossing Folder.

P1160866

Here is a close-up of the pegs for the bags.  I punched out a flower with the Petite Petals Punch and adhered a flower onto it with the Multipurpose Liquid Glue.  This was then adhered to a little peg.  It was a simple, cute idea.  I got the idea from a lovely friend of mine 🙂

P1160877

I thought I would share the Colour Comparison chart for the new Incolors.  It’s a good way to see how they fit in with other current colours.  (Once again sorry about the lighting!  I really have to do something about this). 🙂

P1160833

Next post I will show you the Make and Takes we did.  I think that is enough photos for one day. 🙂

Jenny x

3D projects, Stampin' Up!

BOHEMIAN TOTE!!

I have been playing around with the new Bohemian Designer Series Paper (DSP).  I really like the colours and the funky patterns.  Totes are all the go at the moment and I wanted to create a new Tote.  It is not a particularly new design using 2 sheets of the DSP but I thought I would change it up a bit.  Plus I added a little tab to hang your gift card off. I hope you like this one 🙂

P1160789       P1160791


P1160795

Would you like to make one?  Here are the instructions in metric and imperial.

BOHEMIAN TOTE

2 Sheets of 12×12 Designer Series Paper (DSP) I have used the Bohemian DSP

Handles: 2 pieces of 20.5cm x 8cm (8” x 3 1/8”) co-ordinating cardstock

1 piece of 28cm x 8cm (11” x 3 1/8”) co-ordinating cardstock

Card Tab on Handle:   2cm x 10cm (¾” x 4”) co-ordinating cardstock

Inside Base:   4.8cm x 20.2cm (1 7/8” x 8”) co-ordinating cardstock

  1. On each piece of DSP score your sheets at 5cm (2”) on each side. Fold on each of the score lines.
  2. Cut up on the small score lines at the bottom of each piece of DSP.

P1160761


  1. Add adhesive to the 2 small bottom tabs on one sheet of the DSP on the outside. Adhere this to the inside of the long bottom tab.
  2. Place this assembled piece on to the second piece of DSP which has the right side facing down.

P1160763


  1. Add adhesive to the bottom small tabs on the second DSP sheet and assemble on to the bottom of the first piece. Add adhesive to the long side tabs on the inside of the second sheet of DSP. Adhere this to the first piece.  Add adhesive to the long bottom tab of the second sheet of DSP and fold up on to the first piece.  So it is like wrapping the second sheet onto the first sheet. (The piece at the bottom would be the front of the bag so just check to see what print you want showing).
  2. On the 28cm x 8cm (11”x 3 1/8”) piece for the handle, place adhesive at each end of the handle ON THE UNDERSIDE. Adhere on the outside of the bag near the top.
  3. Take one end of this handle piece and adhere to the top of the bag on the outside of the bag. Adhere the other end to the other side of the bag on the outside of the bag.

P1160765

  1. Take one piece of your 20.5cmx8cm (8”x 3 1/8”) cardstock and place adhesive on the back of this piece. Line up the top edge of the piece with the top edge of your bag positioning it over the handle piece. And adhere on to the front of the bag.  Repeat with the other piece adhering this to the back of your back.  NOTE: If you wish to add brads to your bag for decoration ADD THESE FIRST.  (Just so you don’t see the back of them inside the bag).

P1160766

  1. Fold on the score lines of the small card tab and unfold.  Add adhesive to the ends (on the side facing up). Fold over the piece again and adhere this piece to the front of your bag.

P1160796


  1. Add your piece of cardstock base to the inside of the card. This provides some extra strength.

Decorate the bag as you like.

——————-

Card to hang on the front measures 20cm x 7.5cm. Score at 10cm.

7 ½” x 3”. Score at 3 ¾”

P1160798

For my card I used the Boho Chic Embossing Folder on the front of the Bermuda bag card.  The Happy Birthday is from ‘Amazing Birthday’. I stamped it first onto Whisper White Cardstock in Blackberry Bliss and then again twice on scrap card with Bermuda Bay and Delightful Dijon.  I cut 2 of the “HAPPY’s” out of each colour and adhered them over the top of the Blackberry Bliss greeting. The Whisper White piece was matted on to Delightful Dijon and the whole piece was raised up with dimensionals.  I wrapped around some Bermuda Bay Baker’s Twine and added a silver button that I had sewed with white sewing thread.  This complemented the silver buttons on the bag.


I hope you like this version of the Tote Bag.  It’s a good size for those larger gifts.  Enjoy making them.

Have a happy weekend.  I hope it’s a crafty one for you.  It’s a long weekend here so I hope there is some time to create this weekend.

Jenny


3D projects, Tutorials

LARGE TOTE BAGS ARE ALL THE RAGE!!!

You  might have seen lots of little Tote Bags around the internet???  They are great little gift bags to give those special gifts to others.  A few years ago now I created a larger Tote Bag as many of them were great for card sizes or small gifts but if you have a larger gift THEN a larger Tote is needed right???  The Totes I shared way back then continue to be a huge hit on my blog and they have a large number of repins on Pinterest every week.  SO, if you have missed it, I thought I would show you these again. I have another type of bag in the process at the moment and when I finally get to create them I will share that too.

So here is my Tote bags for you that you can make to give that special larger gift.  (maybe a top or scarf or LOTS of chocolates!!!). 😉

new tote                  P1030185

You can find the tutorial to make these in this post HERE.

A little while after making these I decided it was time for an update.

P1110769

You can find this Tote in this post HERE.  I followed the original tutorial with a few modifications.

I would love to see your versions so send me a photo. If you make one then don’t forget to give credit.  🙂

Have a great weekend,

Jenny

3D projects, Stampin' Up!

PAINTED BLOOMS MINI TREAT BAG!

I am sure you have seen the little treat bags around the internet made with the Mini Treat Bag Thinlets.  Now I will be honest, I wasn’t going to get this framelite set.  I can make up little bags myself- can’t I??? But I saw lots of cute versions and realised you get so many cute little “bits”.  How cool! So OK, I had to get it 🙂

Here is my cute little bag I made a couple of weeks ago.  I made a cute envelope using the bag die from the gorgeous Painted Blooms DSP.  This is such BEAUTIFUL paper.  Have you got it yet? I made a tag to fit inside it. The sentiment used here is from the Sale-A-Bration set ‘Simply Wonderful’.  I coloured the flower from the set using the Markers.  Wouldn’t this be lovely to give to someone special! I love that Blackberry Bliss colour.

P1150937

Now this die set is not just limited to little gift bags.  You can enlarge it and make larger bags or make gift boxes.  I have played around a little doing this so I will have to show you soon.

Here is the Thinlet set for you to see all the “bits”.

mini treat bag

Mini Treat Bag Thinlets (137547) $67.95.

If you want to find out more about this fun little die set you can check out the Stampin’ Up! video here.

Thanks for looking.  Stop by and visit me again soon.

Jenny