The last few days I have been busy getting ready for my Occasions and Sale-A-Bration Review this weekend. Lots of creating happening – even in the heat! I will get to share some of them shortly but I really wanted to share this one first. I was happy with the result.
I have used the Delicate Details stamp set. A free choice for Sale-A-Bration this year when you order over $90! This was my first pick for Sale-A-Bration but I have only just managed to ink it up.
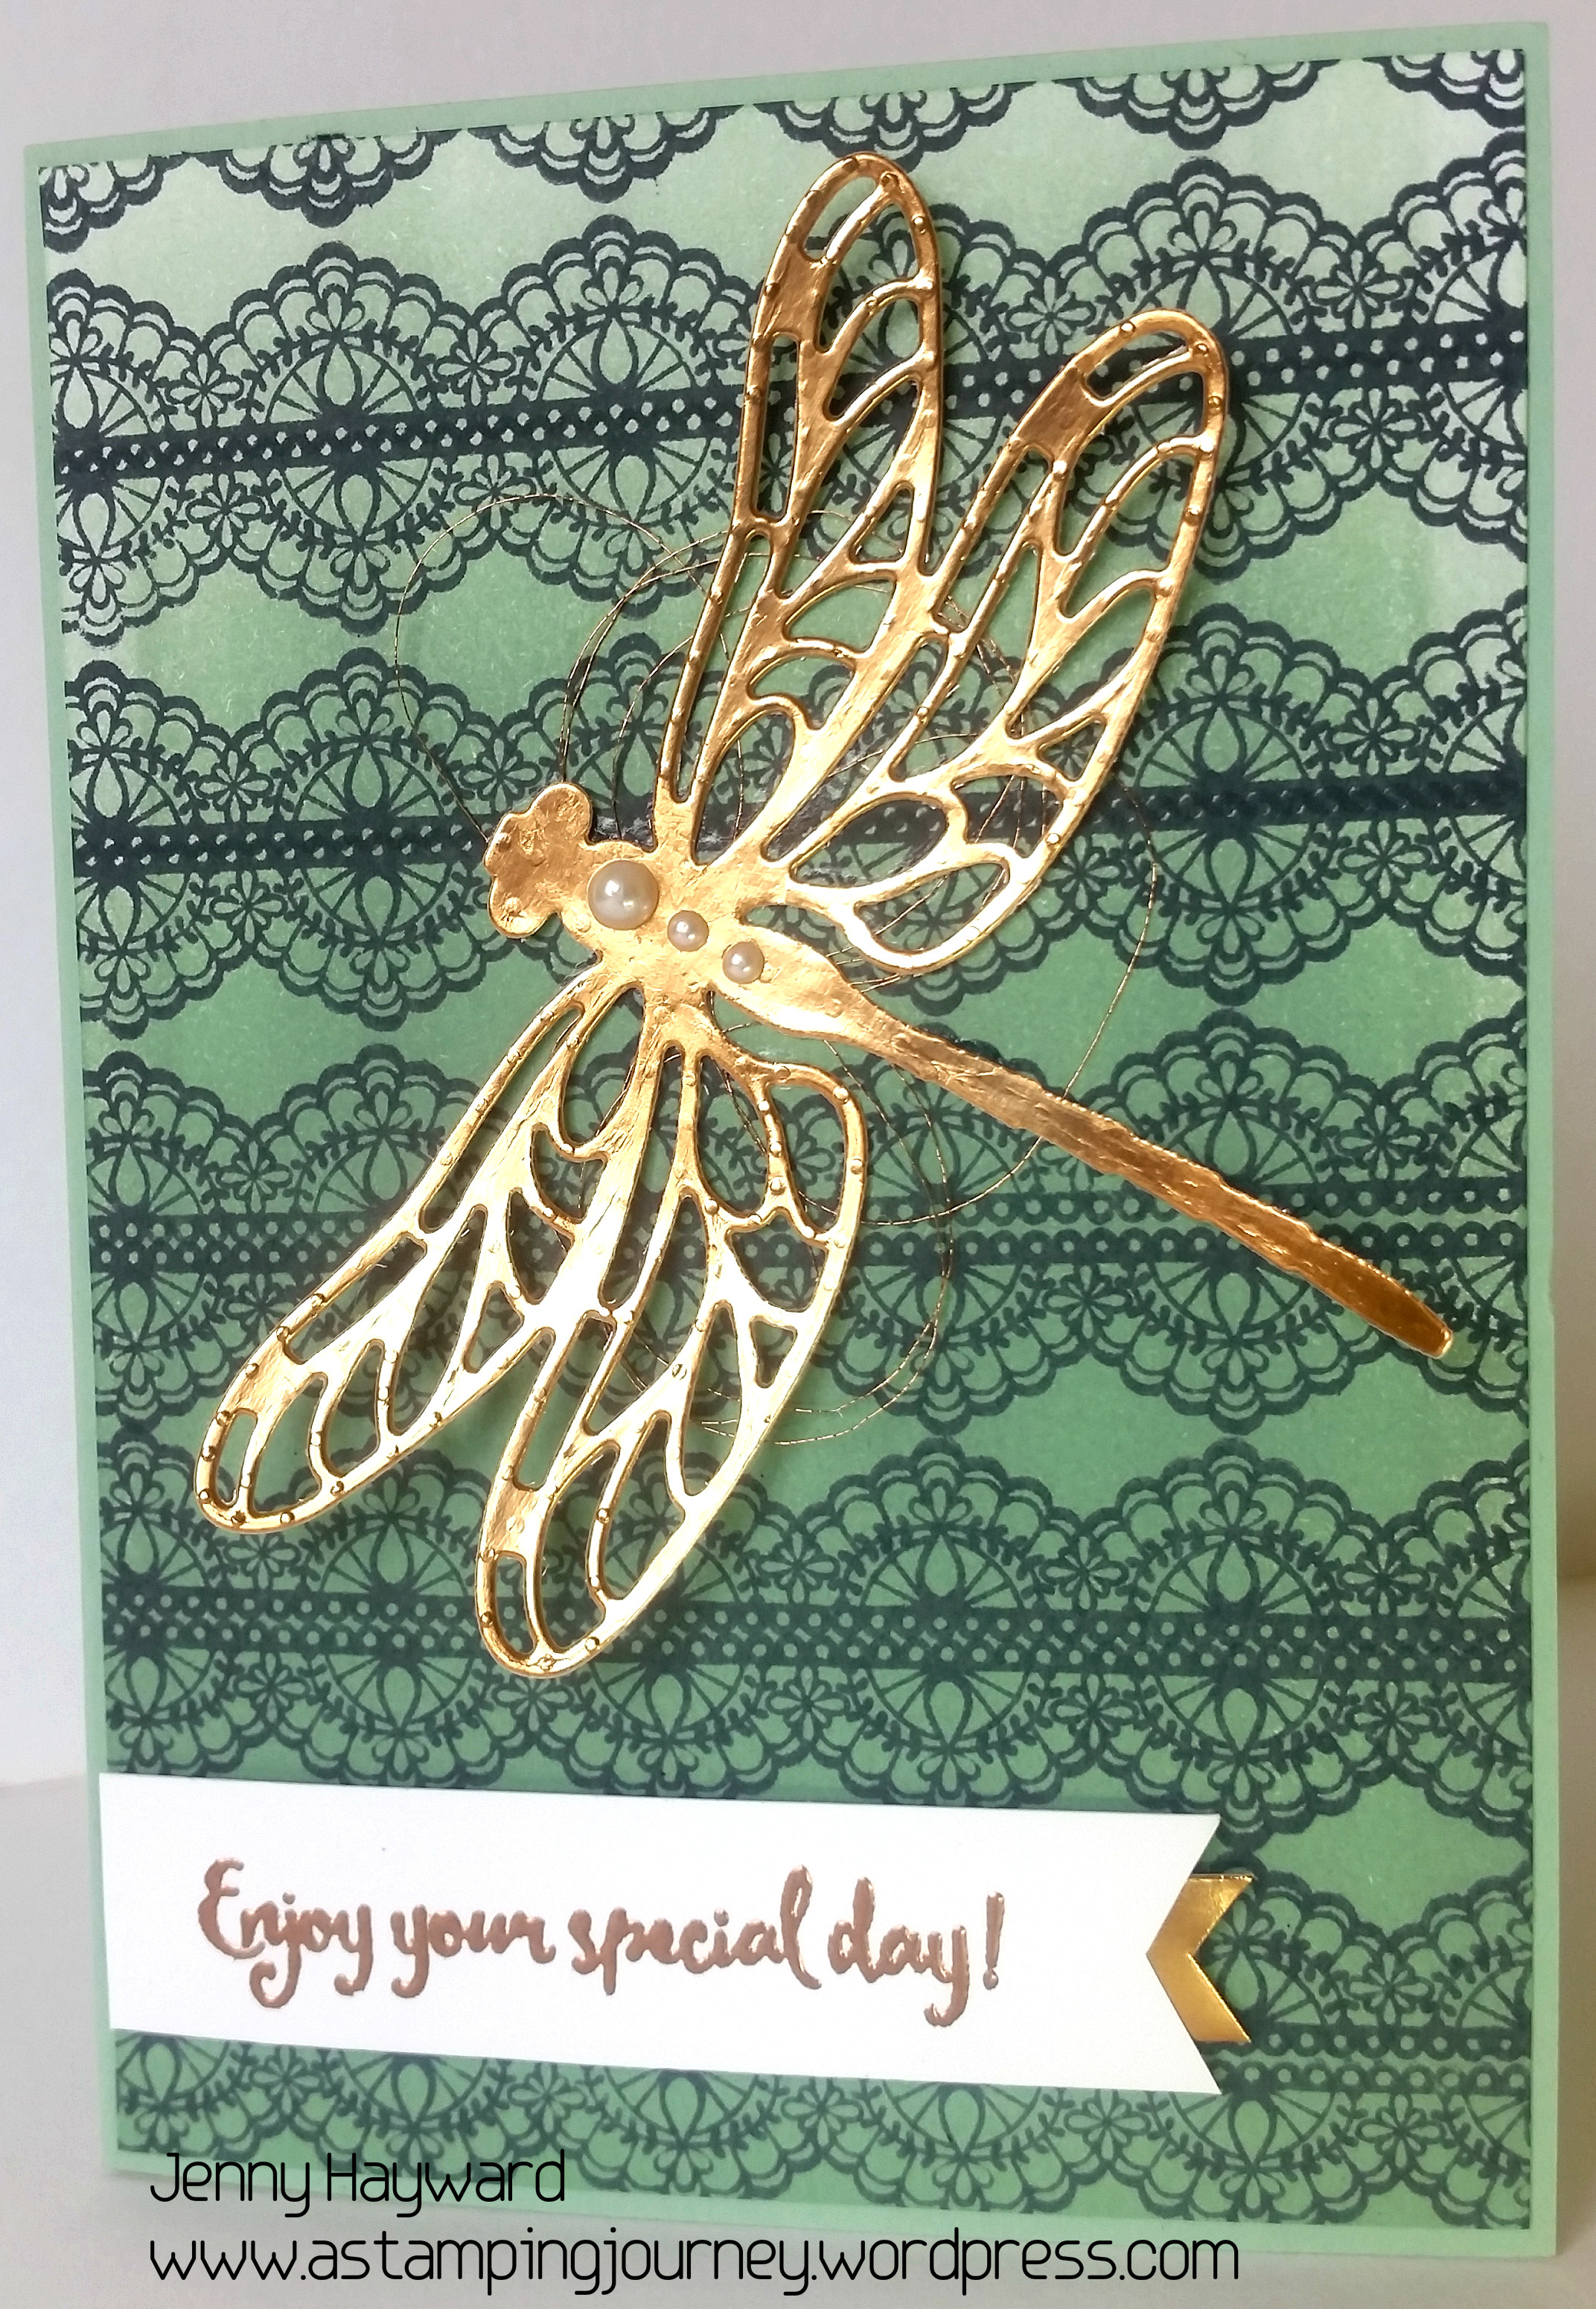
I used one of the stamps to create a lacy effect by stamping in Memento ink onto Whisper White card. I lined each one up by eye. I have to say that was a little nerve racking! You could use a Stamp-A-Ma-Jig (SAMJ) or similar tool. I always forget to pull my Stamp-A-Ma-Jig out. (or lazy!).
Once I stamped them – and breathed a sigh of relief – I then inked up the card. I haven’t got the sponge rollers yet so I used the brayer which is now retired. Funny that, my brayer is in the same box as my SAMJ. 🙂 I used Mint Macaron ink to add the colour gradually going from dark to light.
TO ASSEMBLE THE CARD:
A dragonfly was cut from the Copper Foil Sheet. It looks a bit more gold in the photo. The sentiment was stamped and heat embossed with Copper Embossing Powder on to a strip of Whisper White. I cut a banner end with scissors. It needed a little something underneath so I cut a thinner strip from the Copper Foil and cut the end of that too.
The inked piece was added to a Mint Macaron card base. Before I added the Dragonfly I twirled around some Copper Thread and added some Pearls to finish. The sentiment was raised up with Dimensionals.
You can check out the Dragonfly Dreams Bundle HERE at my store. It is $81.25 AUS. Maybe grab an inkpad or some cardstock to take you over $90 and you can grab the gorgeous Delicate Details set from Sale-A-Bration FREE (or grab one of the other great Free products). Check out the Sale-A-Bration catalogue by clicking on the link in the right hand side bar.
Have a lovely day/night. It is a little cooler here today and rainy which is nice so I am off to my stamp room again. 🙂
Jenny