3D projects, cards, Christmas, Classes, Stampin' Up!

NIGHT IN BETHLEHEM CANDLE CLASS THIS WEEK!

I have a special class for you this week if you are a Wollongong local.  We are making a lovely Tent Card and a stamped candle using the Night in Bethlehem Bundle.  I am sure this would look lovely sitting on your shelf over the festive season.  This would be a special gift to give someone too.

Here are the details.

NIGHT IN BETHLEHEM CLASS

WHEN: This Friday 22nd 10am or Saturday 23rd 2pm.
Can’t make this time?? Let’s make another time to get together (or invite your friends along too).

COST: $20.  Please bring your own scissors and adhesives.

RSVP:  Wednesday 20th.
It’s important to RSVP early to be sure there is enough candles.

I hope you can make it.

Jenny


cards, Catalogues, Personal Ramblings

HAPPY BIRTHDAY GORGEOUS WREATH!

It’s been a little crazy this week with so much stuff going on outside stamping.  My daughter’s assessments, her birthday and then getting her licence today in addition to spending half the day chasing up a phone cable and then getting ready for the Craft Show this weekend.  It has all been happening here.  BUT it’s Thursday and time for a card to share with you. You don’t need to know all my personal dramas. 🙂

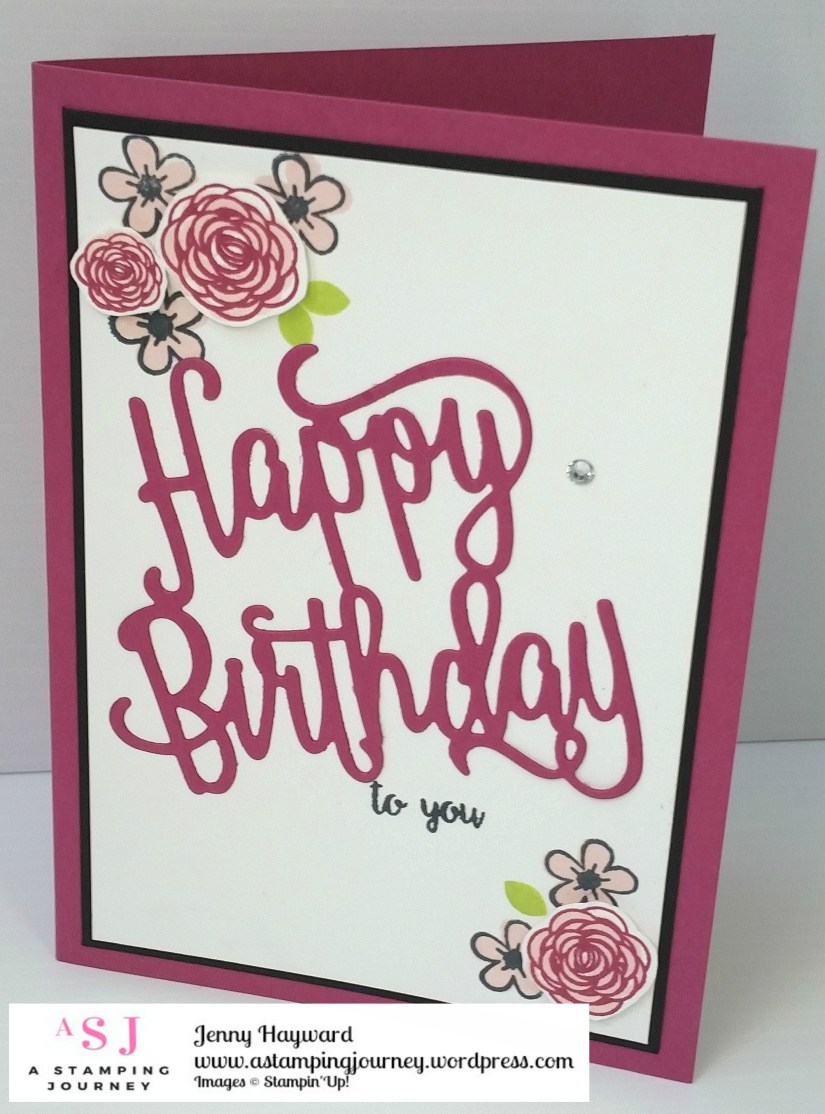
I made this card a couple of months ago with the lovely Happy Birthday Gorgeous set and of course Berry Burst.  I thought you  might like to see it.  This was inspired by a card on Pinterest.

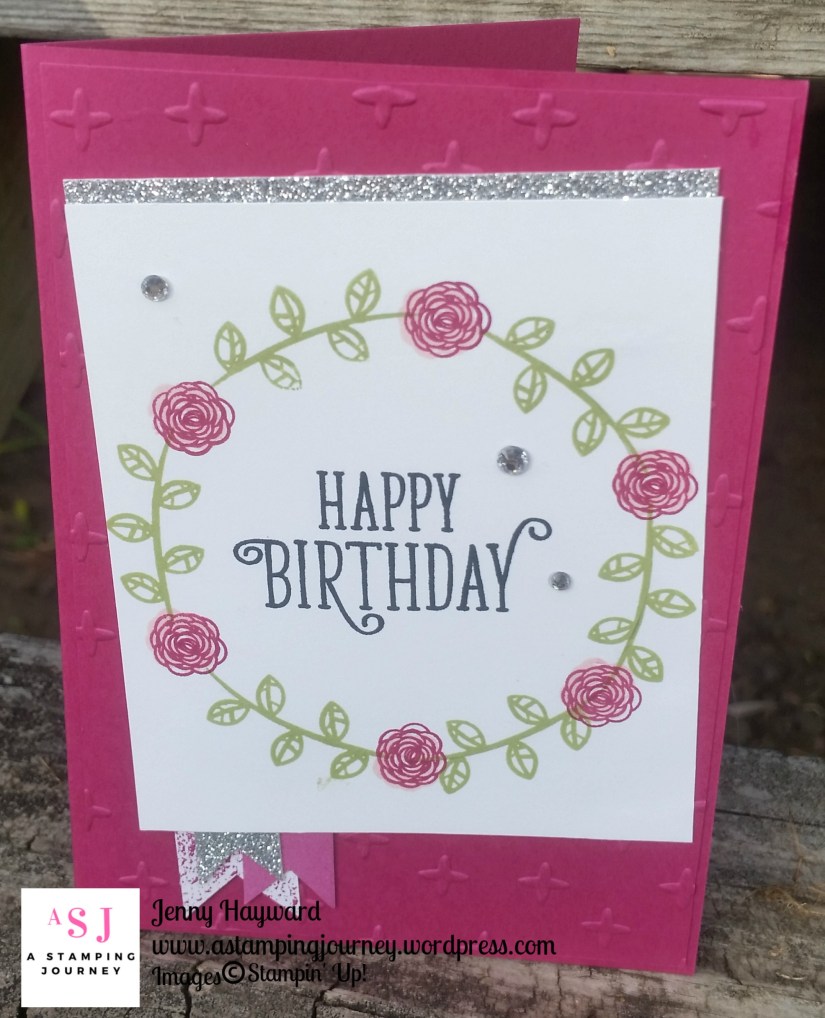
The Berry Burst card mat was embossed with the Sparkle Embossing folder and then adhered to the Berry Burst card base.

To create the wreath, trace around one of your Circle Framelits with a pencil on your card and use that as a guide to stamp  your leaves.  Being clear stamps it makes it so easy to see. I have used Pear Pizzazz on this one.  Then I filled it in with some Berry Burst flowers and filled them in with the Powder Pink solid shape.  I think I could add a few more individual flowers raised up on the wreath.  I will try that later.  Stamp your sentiment in the centre of your circle.

I added a strip of Silver Glimmer paper behind the white card at the top and added some banners at the bottom.  One was from Silver Glimmer Paper and the other 2 are from the Color Theory Paper Stack. This is a great way of using those little scraps.

One must add a few Rhinestones to finish. 🙂

Thanks for visiting.  I think next week will be a little quieter.  I am keen to play with some new Christmas stamps.  I haven’t even had a chance to do that.  Stay tuned.

Jenny


cards, Classes, Stampin' Up!

CAROLS OF CHRISTMAS CLASS!

Card Class is on this Friday 18th August 10am and 7pm.

Come join in if you are a Wollongong local.  I have 3 great projects to share with you using the Carols of Christmas bundle.  This is one of the cards we will be making which was featured last week on my blog.

Here are the details.

COST:  $20 class only 
                      OR 

$85 which includes the Carols of Christmas bundle (in clear mount) and class greatly reduced in price at $7!!

BYO: Scissors and adhesives.

PLEASE RSVP by Wednesday 16th.

cards, Catalogues, Classes, Stampin' Up!

A BERRY HAPPY BIRTHDAY!

I thought I would show you one of the cards we made at Card Class last week.  I have been playing with the Happy Birthday Thinlits and Happy Birthday Gorgeous.

This card was CASED from Mary’s blog HERE.  I just didn’t add the DSP layer and kept it a little simpler.

I am loving the new Incolors.  I have used Berry Burst, Powder Pink and Lemon Lime Twist.

Thanks for visiting,

Jenny

cards, Classes, Stampin' Up!

RETIRING STAMP A STACK THIS FRIDAY!

For this week’s Stamp A Stack class we will be using some of the retiring products.  Come and join in the fun if you are in the Wollongong area.

This Friday 28th April at 10am or 7pm.

COST: $15 ($5 extra to use my adhesives).

BYO: scissors and Adhesives.

PLEASE RSVP: Wednesday 26th.

Can’t make it?  Get the kit by mail.  Includes all materials. Does not include stamped images.  You can substitute with your own stamps.  $15 plus postage.

Hope to see you.  Let’s give these products one last Hurrah! 🙂

3D projects, Classes, Stampin' Up!

EASTER GIFT CLASS THIS FRIDAY!

Easter is less than 2 weeks.   Yikes! Better get some gift packaging ready.

Class this Friday will help you get some sorted.  Come along if you are in the Wollongong area.

We will be making a gift box ready to fill, a treat holder which includes a mini Lindt bunny and also 2 tags that you can add to your own store-bought Easter treats.

Here are the details.

Come and join us.
When:
Friday 7th April 10am or 7pm
Cost: $20.  Includes all materials and mini Lindt Bunny.
Please RSVP: Thursday 6th April.

Let me know ASAP to reserve your seat.

Jenny

cards, Catalogues, Classes, Masculine, Stampin' Up!

NAILED IT WITH URBAN UNDERGROUND!

I have a class on this weekend with the Nailed It Bundle.  They make some great masculine cards.  I thought I would show you one of the cards that we will be making.

The base card is Delightful Dijon.  Funny, this colour has been around for nearly 2 years and all of a sudden I have been using so much of it.  There is only a couple of months left with this colour.

On a white card mat I added 2 different strips from the Urban Underground Specialty Designer Series Paper.  The sentiment is from the set Confetti Celebration.

I stamped the 3 tools from the Nailed It set on to Thick Whisper White using the Black StazOn.  They were then coloured with the inkpads and Aquapainter.  These were raised up off the card with Dimensionals.  Finish the card off with the Urban Underground Embellishments. (Bling for Blokes!!). 🙂

I will show you some other cards with this bundle over the next couple of days.

Jenny

cards, Cards by Mail, Catalogues, Classes, Masculine, Stampin' Up!, Tutorials

NAILED IT CLASS OR BY MAIL!

I think the Nailed It Bundle in the Occasions Catalogue has been very popular for those hard to make Male cards. This Saturday in Card Class we will be focusing on this Bundle to make some cool manly cards.  If you can’t make it you can take the Class by Mail option.

NAILED IT CLASS.

Here are the details for you.

WHEN: This Saturday 18th March at 2pm

COST:    $20 (extra $5 to use my adhesives).

Please RSVP by Thursday 16th March.  Book early to reserve your seat.

Can’t make it?

Get the Class by Mail. 

Includes card, paper and embellishments Plus step by step instructions.

Stamp set not included.  You can order the Nailed It Bundle separately or substitute with a different set.

COST: $20

Order the Nailed It Bundle separately. 
$85.75 for Wood Mount            or               $73.25 Clear Mount

You can order the set from me or directly at my store -> HERE.  Please use the HOST CODE for this week: FUCQ2STG

I hope if you are in the Wollongong area you can come along.  If not, consider getting the Class By Mail option.
 
Jenny


cards, Catalogues, Classes, Stampin' Up!

BEAUTIFUL YOU IN THE MOONLIGHT!

Last Saturday I held a ‘Beautiful You’ class showing lots of techniques that could be used with the very versatile set.  It was very well received I think.  I was busy last week playing a lot with this set to create some samples.  I thought I would share some of the projects this week.

I was inspired by a card I saw on Pinterest stamping it on black card so I really wanted to give it a go.  Here is the card.

beautiful-you-moonlight

It is stamped with the White Craft Ink Pad.  I thought I might have had to heat emboss it in White but I think it turned out crisp enough.  For the moon, I punched out a circle from a Post It Note with the 2″ circle punch and laid the negative on the card in position and sponged ink over the punched circle. I then added a few highlights with the Blender Pen and ink.

The black card was adhered to Sweet Sugarplum and then to a Black card base.  I added some Rhinestones to finish it off.  I thought I would just keep it simple.

I will be back with some more cards with this great set later in the week.

Jenny x

cards, Catalogues, Classes, Stampin' Up!

A DIFFERENT WAY WITH FALLING PETALS!

Another project from my Catalogue Review last week.  I thought this needed it’s own post. 🙂

At my classes I show the cards and give everyone the same materials but I am happy for them to use their own creativity.  I always learn so much when they do too.  I thought I would share this idea with you.  It’s pretty clever – and a pretty card too.

This was made by my lovely friend Harmony who is very creative.  I love watching her work.  This is what she created with some of the card she was given – and she used the Falling Petals Embossing in a totally different way.  Check it out.

2017-02-09-08-01-40_wm

Harmony embossed the white card with the Embossing Folder.  Then with the fine tip end of the Black Marker she drew lines down from some of the petals.  I think they look like hearts a lot of them.  This created little heart petals.  Then with the Aquapainter (I didn’t have the blender pen available at the time) she very lightly coloured some of the petals with the Blushing Bride ink.  It is regular Whisper White card so you don’t want to press too heavily with the colouring using the Aquapainter.  Then she sponged the edge of the card and distressed it slightly. The sentiment is from Dragonfly Dreams.

Isn’t this so pretty?  What a great idea!  I have to try this myself sometime.  I forgot to take a photo of the other card she made.  Completely different again!

Thanks for visiting.  If you want to give her some comment love I will be sure to pass it on. 🙂

Jenny