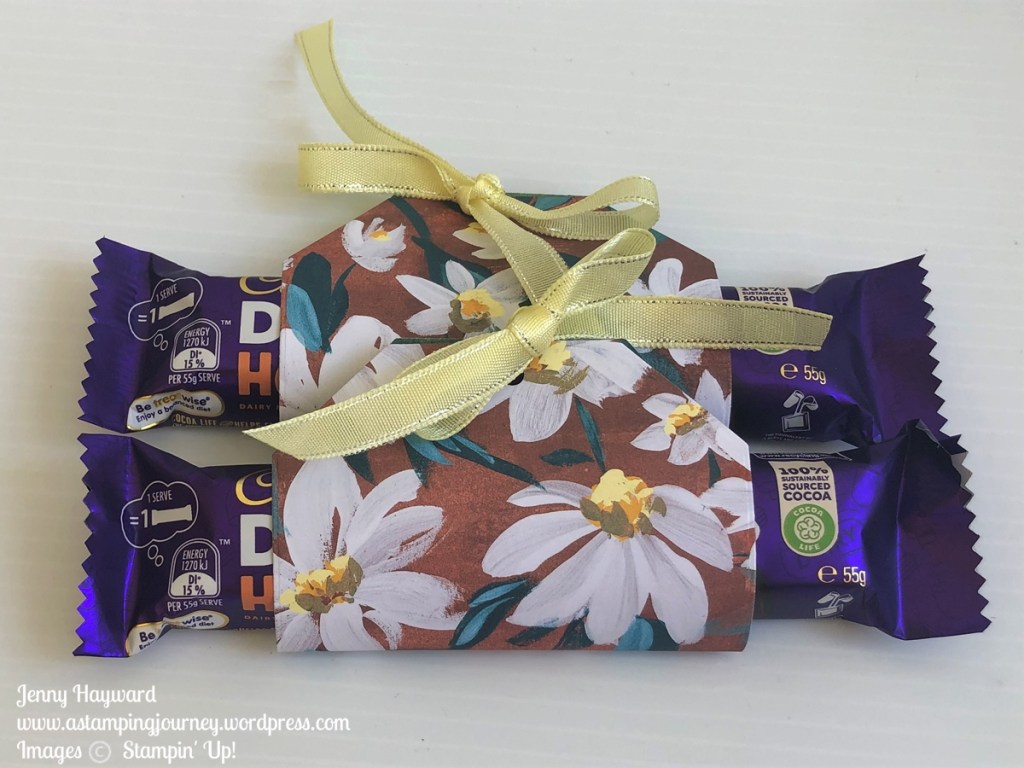
I made up some really quick and simple Treat Holders for all those who came along to my Catalogue Launch recently.
I didn’t have a lot of time but they were just the right size for a small chocolate treat.
Here it is a little closer.
I used a mix of the Countryside Inn Designer Series Paper and the Fresh as a Daisy Designer Series Paper. Then diecut the piece with the largest size die from the Countryside Corners Dies. Punch a hole in the top and add some ribbon.
Sweet, simple and fast. That’s all you need though right.
Of course, it would have been good to have a cute tag BUT, time ran out.
Maybe you can create your own to give a little treat to someone.
Happy Crafting,
Jenny
In Australia and need some crafting supplies? I would love to serve you. You can head to my store -> HERE and shop. Please use the Host Code: 4RY72TBP Or contact me directly.
AND – are you a VIS (Very Important Stamper) Loyalty Club Member? Every $50 earns a Point. Collect 10 and receive $25 of products of your choice. Happy Shopping.
Our Day 5 project for the Cheerful Daisies Week is a Boho Blue one.
This was one of the cards we created at my Catalogue Launch last weekend. This card was CASED from the lovely Cheryl Hamilton -> HERE.
The white card mat is embossed with one of the Basics Embossing Folder and then adding some strips of the Fresh as a Daisy Designer Series Paper.
The daisy was stamped in Wild Wheat for the flower outline and the Lemon Lolly for the inside. The sentiment was stamped in Wild Wheat too. Aren’t these a lovely colour combination together?
This was a popular card at my launch too. Thank You Cheryl. 🙂
So are you loving the daisies now and just NEED them?? Of course you do.
Do you need some Daisies in your life. Or other Stampin’ Up! supplies and you are in Australia?
You can order in my store -> HERE. Please use the Host Code: 4RY72TBP.
Or contact me directly.
Every $50 order receives 1 token in my VIS Loyalty Program. Collect 10 and receive $25 of products of your choice.
Happy Daisy Week. Be sure to be back tomorrow. I have a bonus for you. 🙂
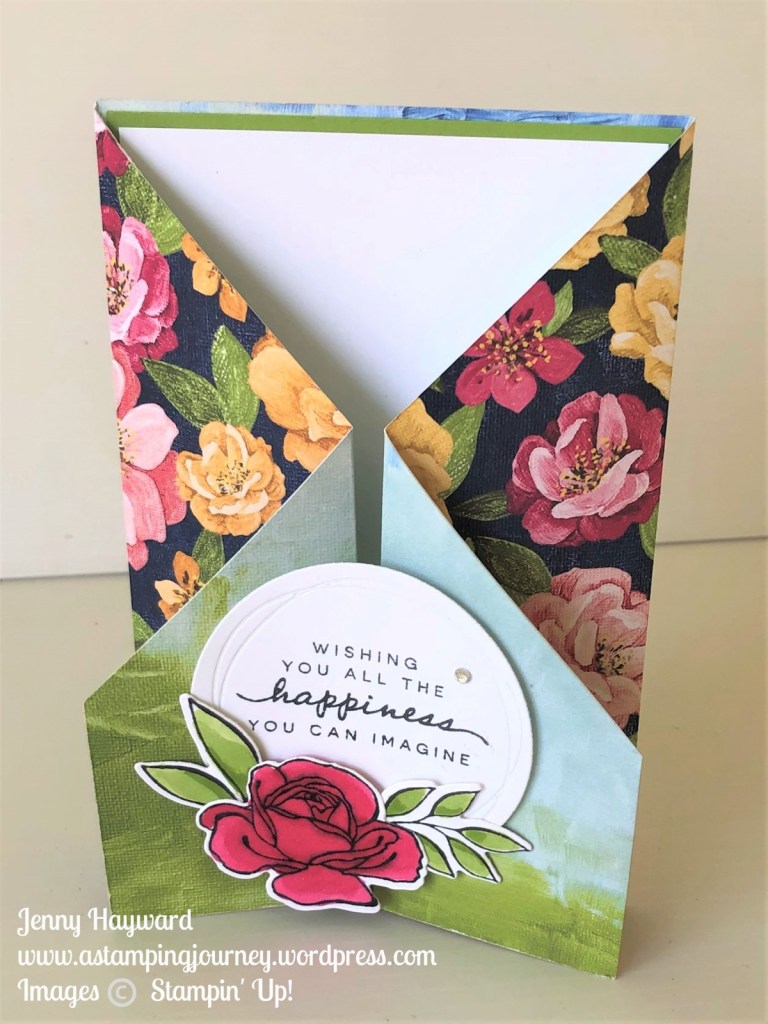
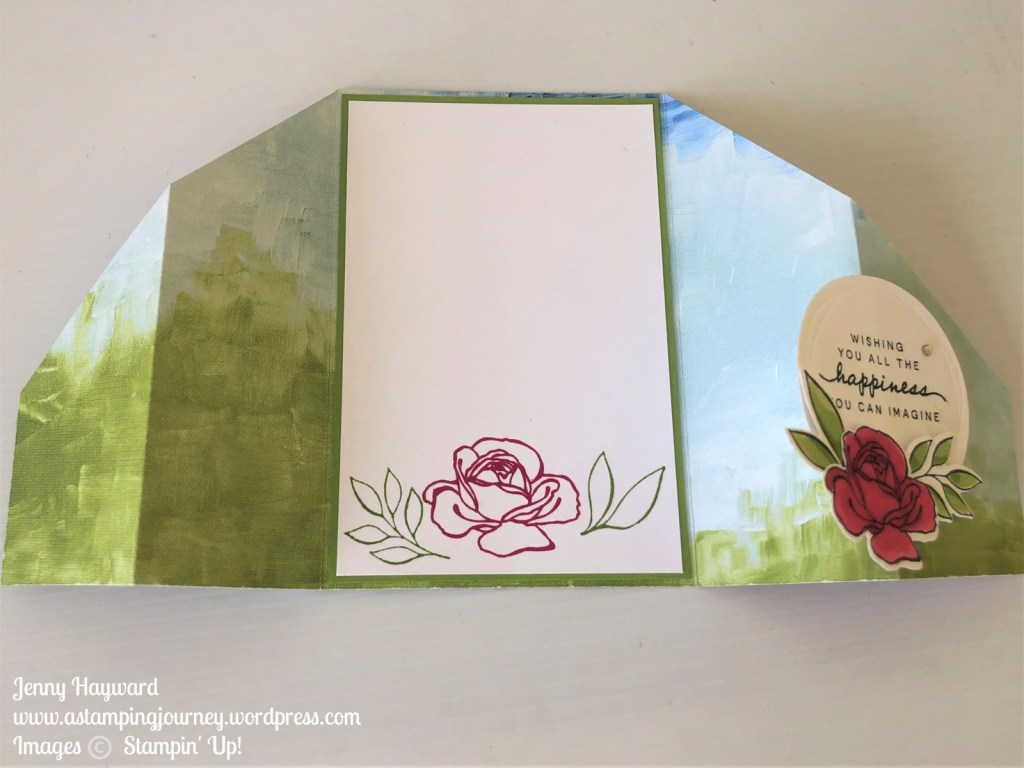
Have you made a Zig Zag Fold Card before? They are so easy and fun. The great thing I love about this fold too is that you get to see both sides of the gorgeous paper. Who really wants to hide one side away!
Here is the card.
Don’t forget the inside when you make one.
I have used the Hues of Happiness Paper. So pretty! And with the Happiness Abounds Bundle.
You can catch the video now below to make your own.
Follow along with the video for the measurements or they will be sent out in next week’s Newsletter. Have you subscribed yet? I send out a different Tutorial each week. Some projects I haven’t shared before on Facebook or on my blog. Click on the link in the Right Hand Column on my Blog.
Hope you get to make one very soon,
Happy Crafting,
Jenny
If you need supplies to create this project or any others and you are in Australia then jump on over to my store -> HERE and pick them out. Please use the Host Code: B47Q7JP2
Or Contact me Directly. I would love to help you out. Thank You.
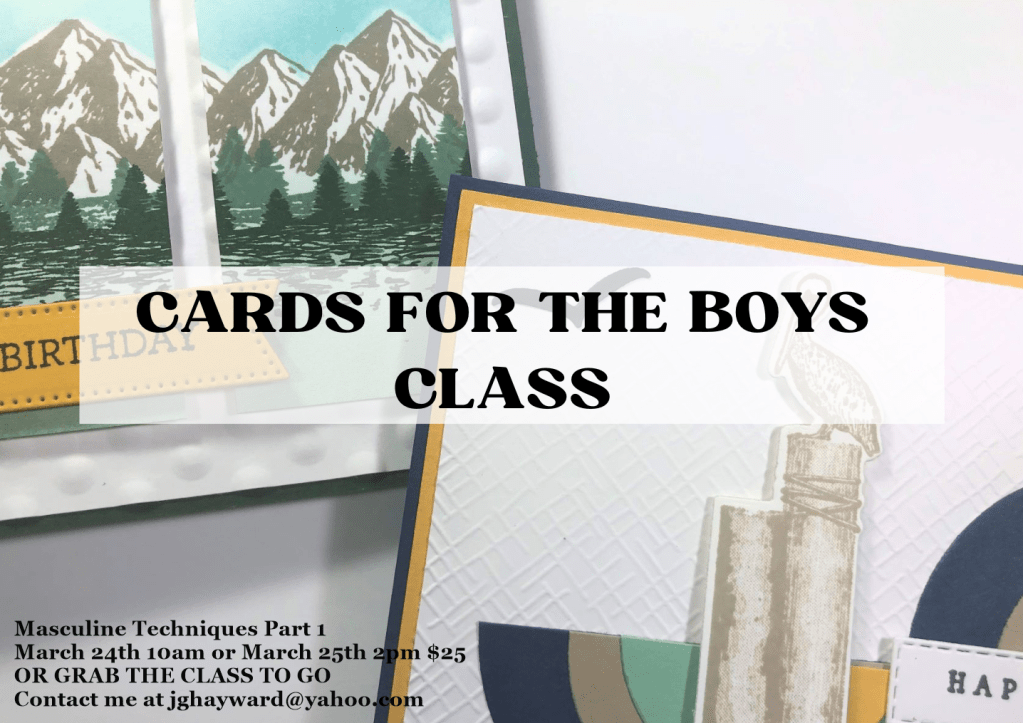
In this class discover some fun techniques you can use on those hard to make Cards for the boys. This is Part 1 of some fun techniques we will be trying out. Later parts will happen in the coming months in my Technique Series.
This class will look at 2 different techniques. Create a sampler to test it out and then create a card with each technique.
The sampler and instructions you can keep and build up in a notebook or folder to refer back to regularly.
Class includes card kits and basic instructions.
Can’t make it? Grab the Class to Go. (See below).
WHEN: Friday 24th March 10am or Saturday 25th March 2pm in the studio
COST: $25.
BYO: Scissors and adhesives and Paper Trimmer if you have one.
RSVP: Wednesday 22nd
CLASS TO GO
Can’t make the class or at a distance? No problem. Grab the Class to Go.
Includes card kits for the cards and samplers and Basic instructions.
Stamped images are not included but you can substitute with what you have for the images. The important part is the techniques to try.
COST: $25 includes postage
RSVP: Friday 24th March.
Payment can be made by Cash (in class) or Paypal or Bank Transfer.
On my Private Facebook Group I set a little sketch challenge this weekend to help inspire the members in their creating.
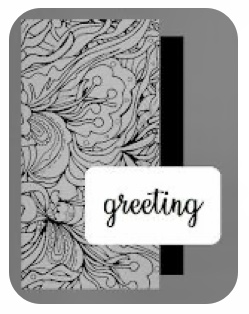
This is the Sketch. (This was from Julie Davison).
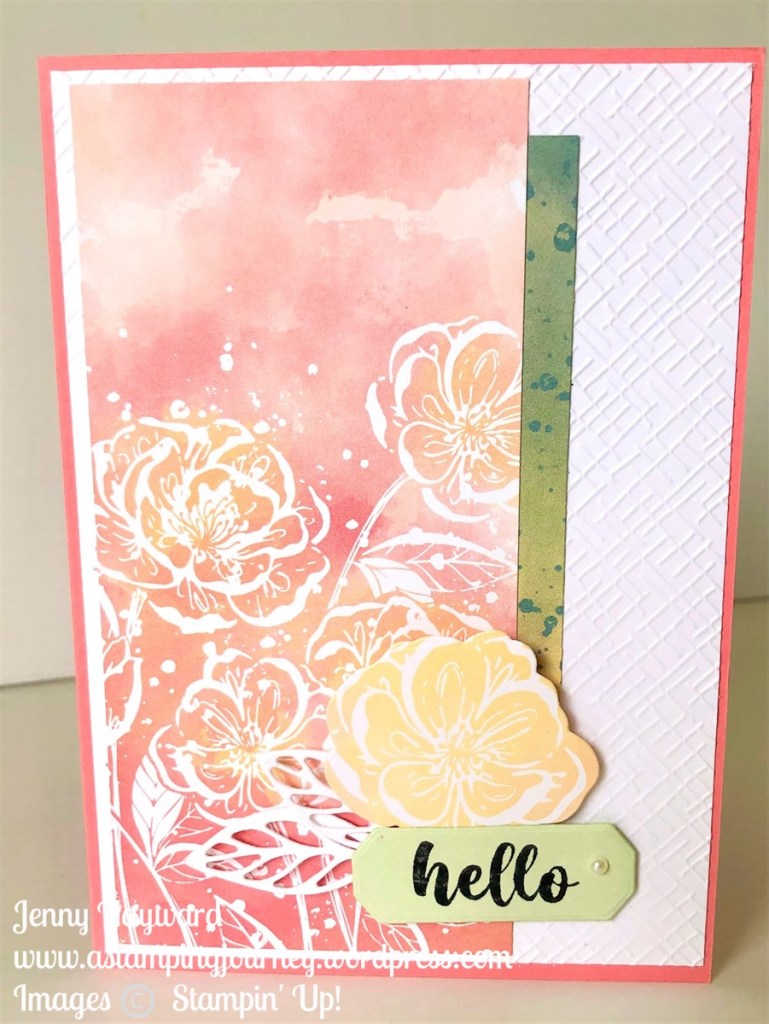
I had a little play myself today. This is the card I created.
This card was very quick to put together. There was very little stamping. The Hello, Irresistible Paper was the star.
The white background was embossed with one of the folders in the Basics 3D Embossing Folders set. I have to say there are 3 Embossing Folders in this set and they are all great designs.
The sentiment piece was diecut with a die from the Harvest Dies.
So, why not have a go at the sketch yourself. Share it with me. Send it to me at jghayward@yahoo.com
OR why not join the Facebook group and share it with us there. Head -> HERE.
Happy Crafting,
Jenny
In Australia and need some fun Stampin’ Up! supplies? I would love to serve you.
Head to my Online store -> HERE. Please use the Host Code: B47Q7JP2
We will start off with 2 of the cards for our Weekend Summer Craftastic Event.
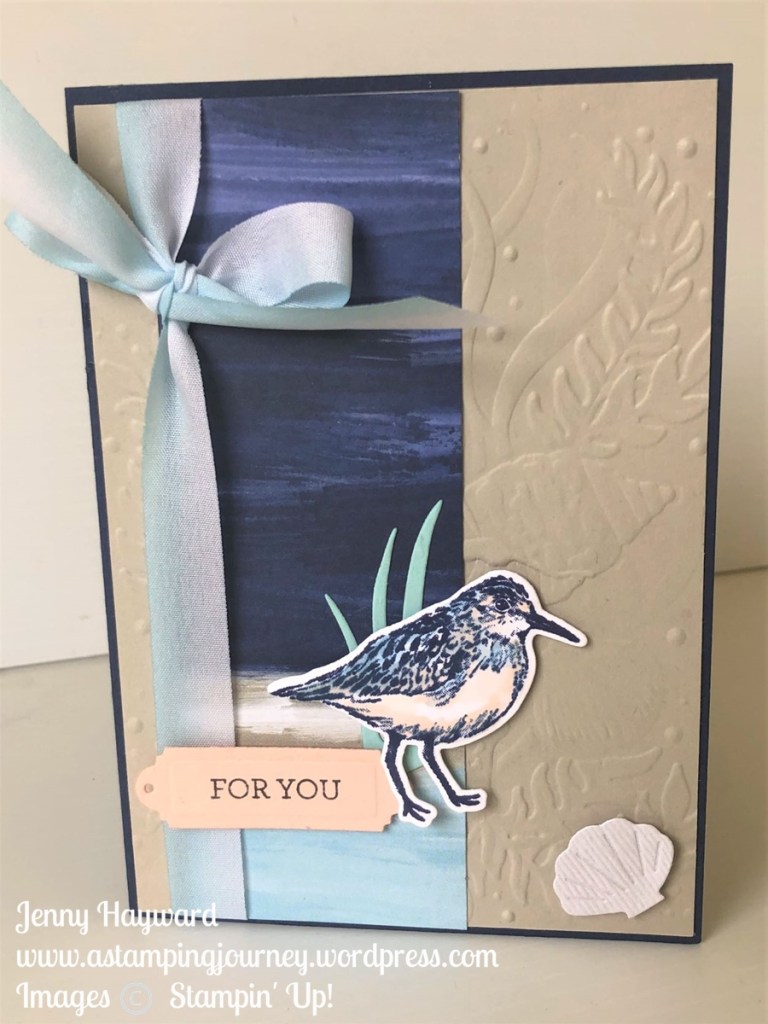
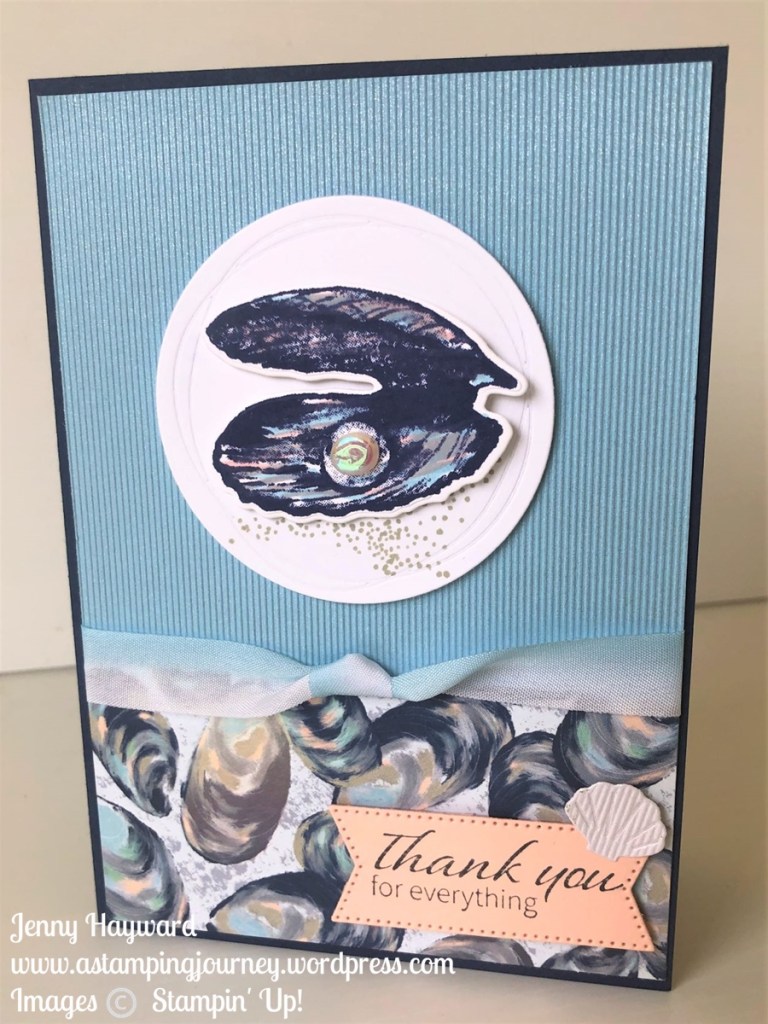
These ones were using the By The Bay Suite. These were very popular and it was great seeing people’s versions of them. You don’t have to make the cards exactly as they are.
The shell was diecut with the Shimmery Textured Paper. It adds a little sparkle and the texture adds an extra dimension. The By The Bay Specialty Paper is great with the colour variations. You can make a beachy scene without colouring it.
The blue on this card is using the Shimmery Textured Paper. Did I mention the lovely Shimmer and texture you get. 🙂
It’s hard to see in this but the By The Bay paper has a little shine on it.
The Clam shell was stamped in Night of Navy and then using the markers I gently swiped over with Petal Pink and Balmy Blue to add some colour.
It was such a great event.
I will be back in next post to share the other 2 cards.
We had our Summer Craftastic Event this past weekend. I will share some of the creating fun with you over the next few posts. Of course I did forget to take a photo of the groups on each day. Too busy creating and chatting. But I will share the projects.
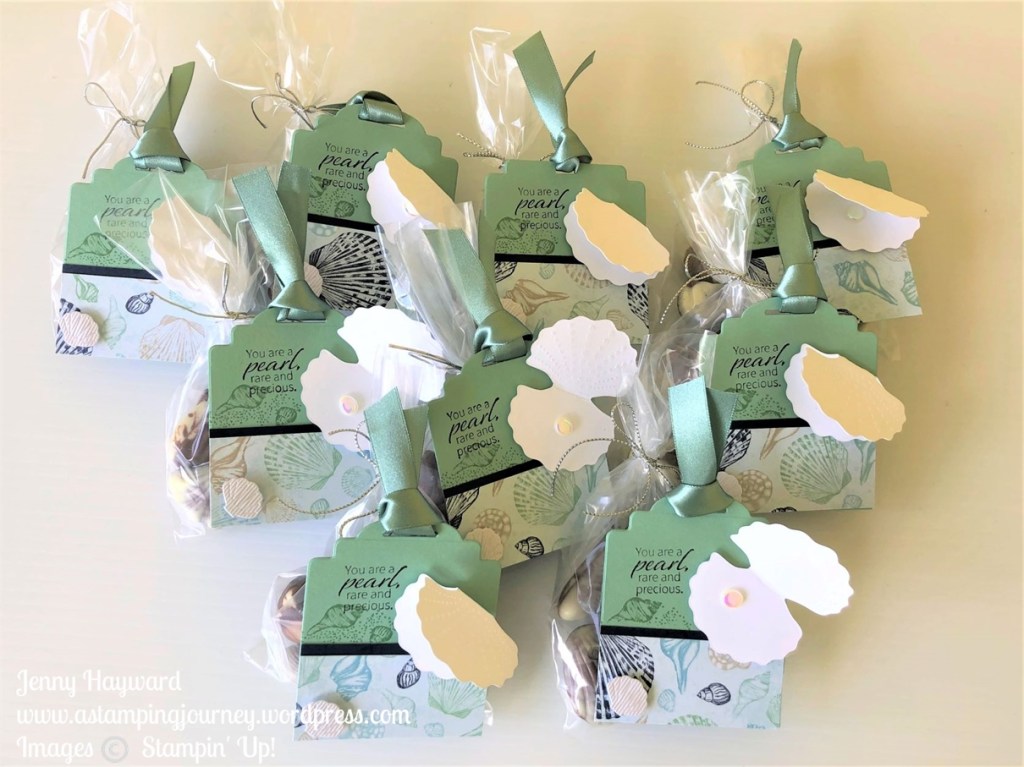
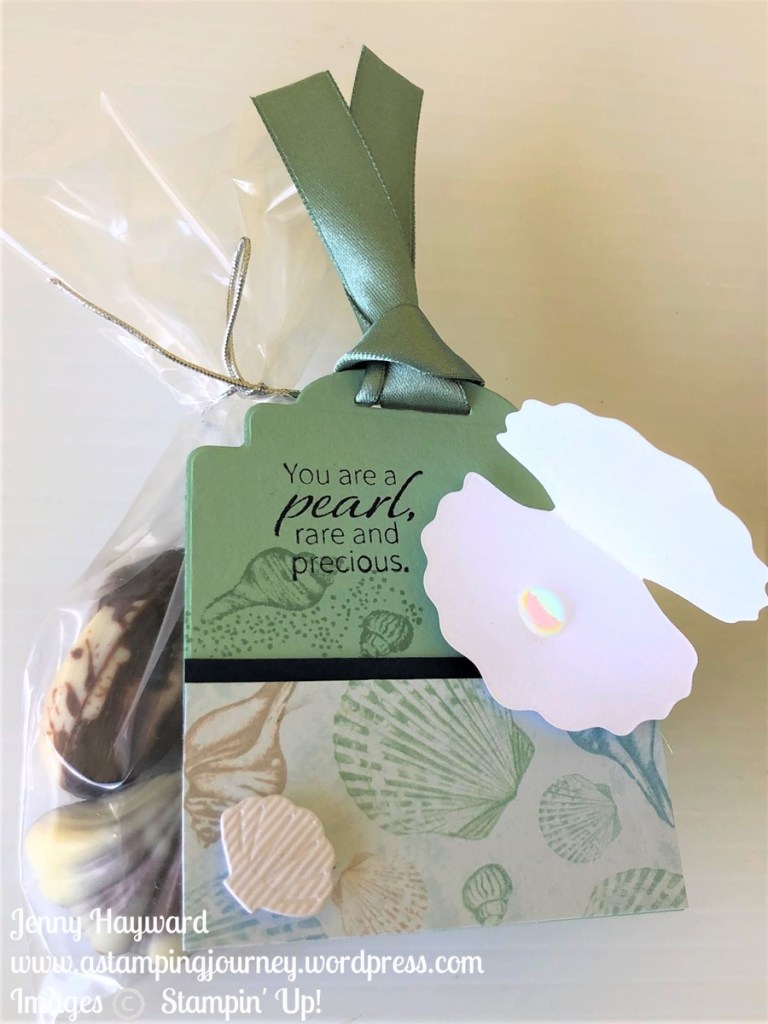
Firstly, I want to share the little Chocolate Treat Bags I created for each guest.
The tag was cut with the Designer Tags Dies. I trimmed off the bottom edge and added a strip of the By The Bay Specialty Designer Series Paper. It’s lovely paper with the shiny images on one side and prints on the other side.
Being “seaside” paper the Shell Chocolates suited well for these little treat bags.
And of course the lovely sentiment for each person with a clam and a Flat Adhesive Pearl. The diecut shell added was diecut with the Shimmery Textured Paper.
Be sure to check back to see the projects shortly. Some I have used the By The Bay Suite.
Happy Crafting,
Jenny
Need to order and in Australia? I would love to serve you.
You can stop on by my store -> HERE. Please use the Host Code: 73TFR9BD