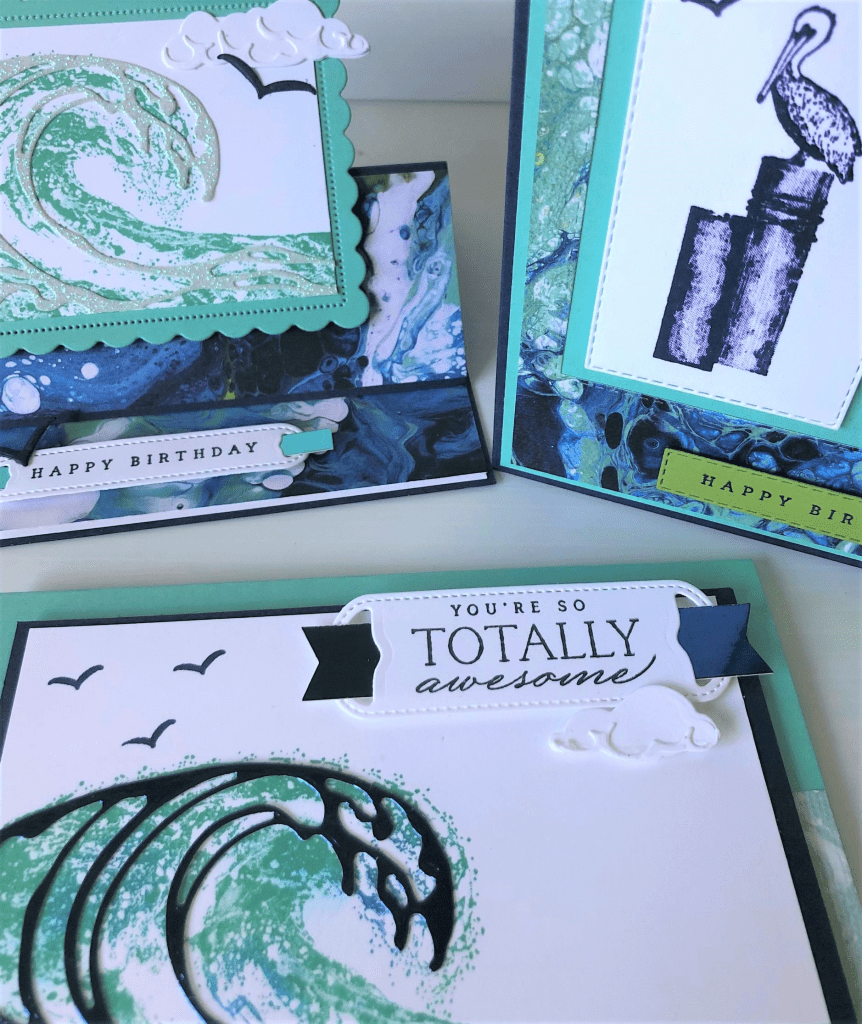
A different card for you today with the Waves of Inspiration Stamp Set.
We didn’t have the Waves of the Ocean Designer Series Paper initially so I created some cards using other products.
For this card I used the All Together Designer Series Paper. I love the POP of the pelican in Pacific Point against the black and white.
What do you think?
While the Waves of the Ocean paper is just gorgeous (and not around for too much longer) it is great to still see this stamp set used in other ways. Hope you like it.
If you want to grab this bundle and get the paper before it goes head to my store now.
Or contact me directly.
See it in store now -> HERE. Please use the Host Code: 4SEB3FCV
Today is the day! The Retirement List has been released for the 2021 Annual Catalogue and 2022 Mini Catalogue.
It’s your Last Chance to get these retiring products. Maybe there are some of these products on your Wish List you have been eyeing off.
Some products are discounted by up to 50% off!! What great savings. 🙂
These are only available While Supplies Last.
Of course there are some I am sad to see go but that’s for another day. I just wanted to let you know ASAP so you can head there to check it out and shop.
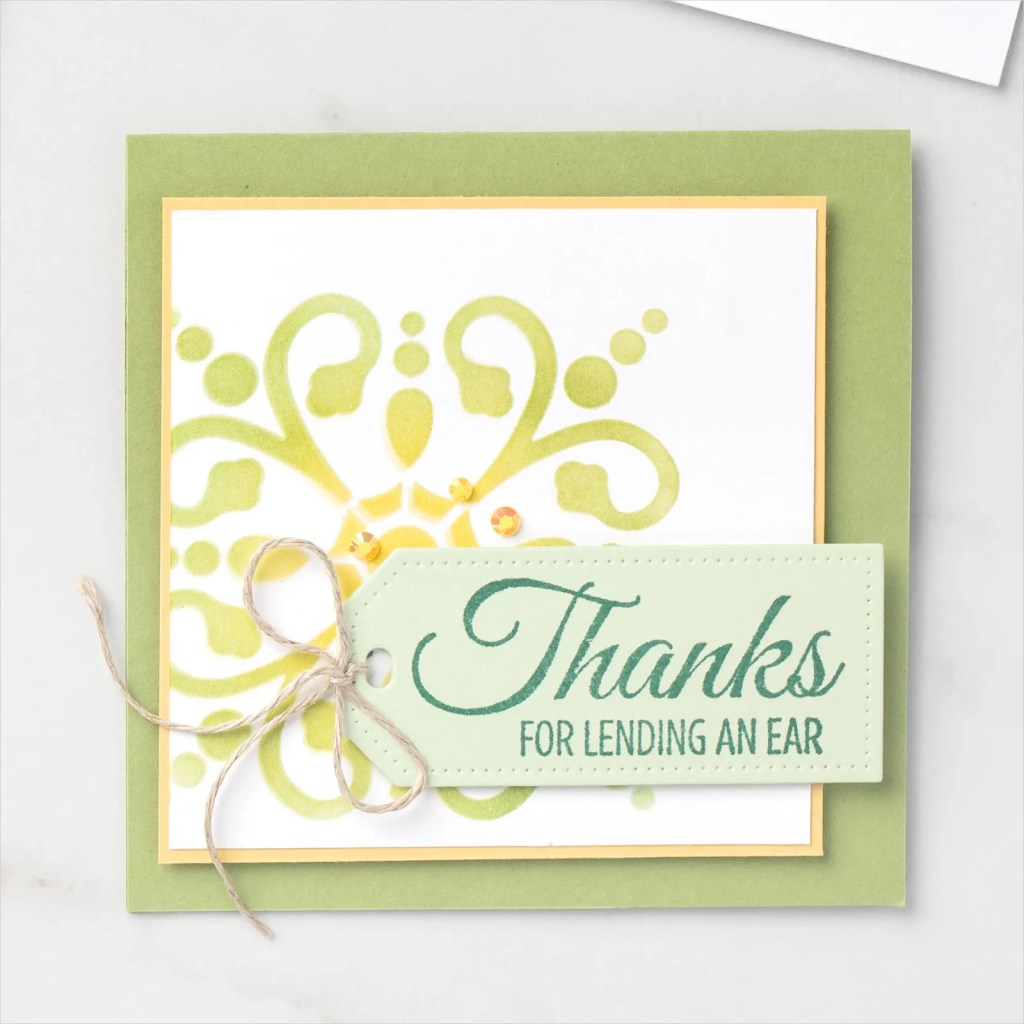
Wednesday’s WOW! #134 – How to Layer and sponge with the Masks.
There are some great masks available especially these gorgeous Butterflies and Flowers Masks. But how do you use them to get the best results? Check the video below.
This is the finished card that was shown in the video. How pretty is it??
There are a number of different masks you could work with. See them all -> HERE.
Here is another sample with the masks.
Have you tried the masks? I would love to know how you have used them.
Create with the gorgeous Waves of the Ocean products in the comfort of your own home in your own time. (Australian residents only).
Create 3 cards including one Fun Fold card.
Choose your option:
Use your own inks. Colours used are Coastal Cabana, Night of Navy and Pacific Point (Light Green, Navy and Bright Blue) as well as Black Memento Ink.
OPTION 1) Receive card kits for the 3 projects including diecut pieces. Project Tutorials. (Use your own stamps and ink). Also receive ½ Pack of the Waves of the Ocean Designer Series Paper and 1 Pack of Waves Rhinestone Basic Jewels.
COST: $25 plus additional Postage to send out of $3.30. (Pickup is available).
OPTION 2) Receive card kits for 3 projects and the Project Tutorials. Diecut your own pieces from the materials. Use your own stamps and ink. Also receive ½ Pack of the Waves of the Ocean Designer Series Paper and 1 Pack of Waves Rhinestone Basic Jewels.
In addition, receive the Waves of Inspiration Bundle of the Stamp Set and Waves Dies. (So you can create more projects later).
COST: $121 Plus additional $9.55 to mail out if not local pickup)
Please RSVP to join in the class by Sunday 27th March. Email me at jghayward@yahoo.com
I think you will love these cards so don’t miss out.
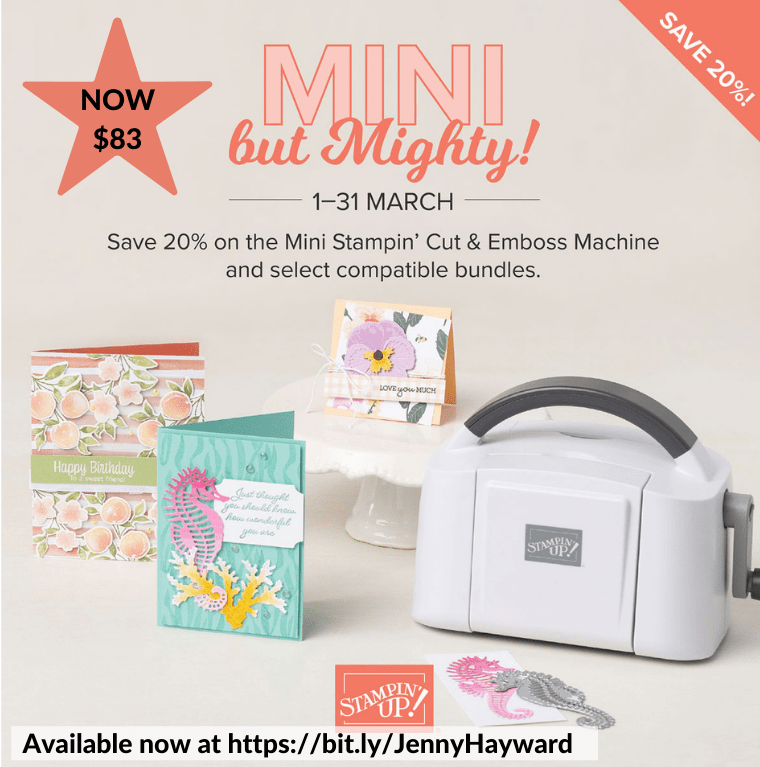
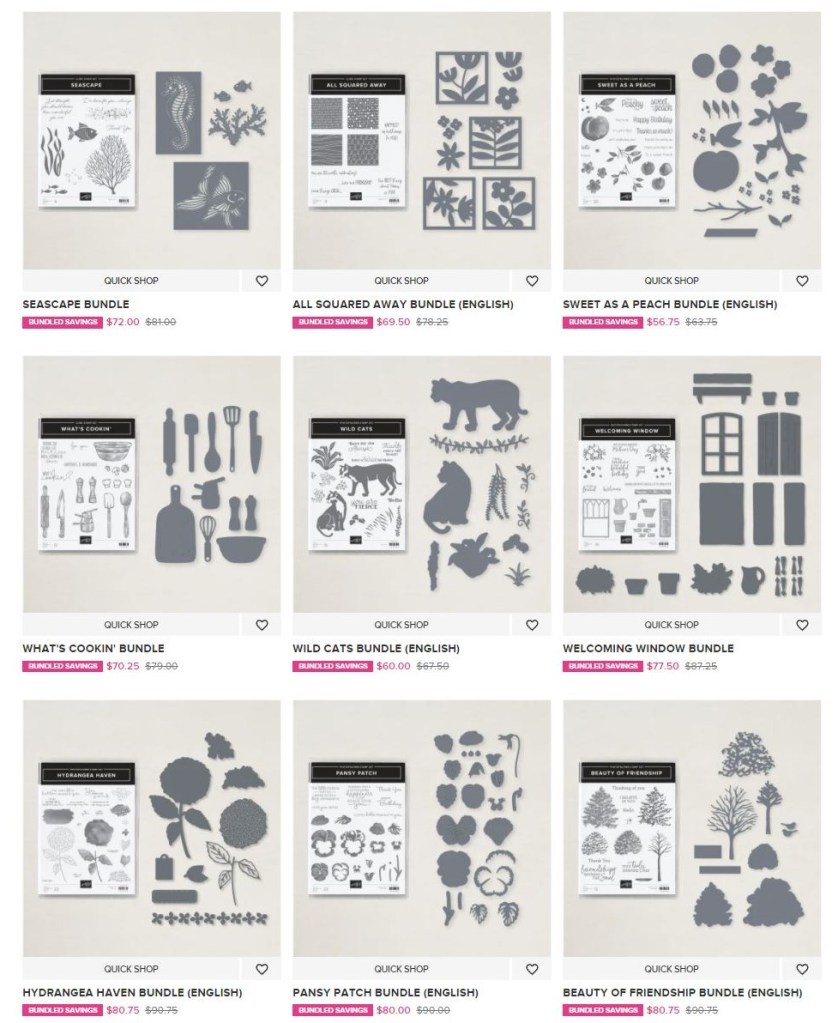
Exciting for March! You can save with 20% off on –
1) the Mini Stampin’ Cut and Emboss Machine and
2) Select bundles.
So, so great. Have you been eyeing off the little Mini?? This is a great time to pick one up.
The Mini Diecut and Emboss Machine is so cute BUT of course is so easy to pick up and take it with you on your travels, is a great companion on your work desk and so affordable.
Check it all below and see what Bundles are 20% off.
I’m sure there is one or 2 bundles that you have been eyeing off?? AND as we are still in Sale-A-Bration mode if you spend over $90 AUD you can pick up a Sale-A-Bration choice before March 16th.
In Australia? I would love to serve you with your crafting supplies.
Contact me directly or you can head over to my store now -> HERE and shop away. Please use the Host Code: 9JUM9XCP
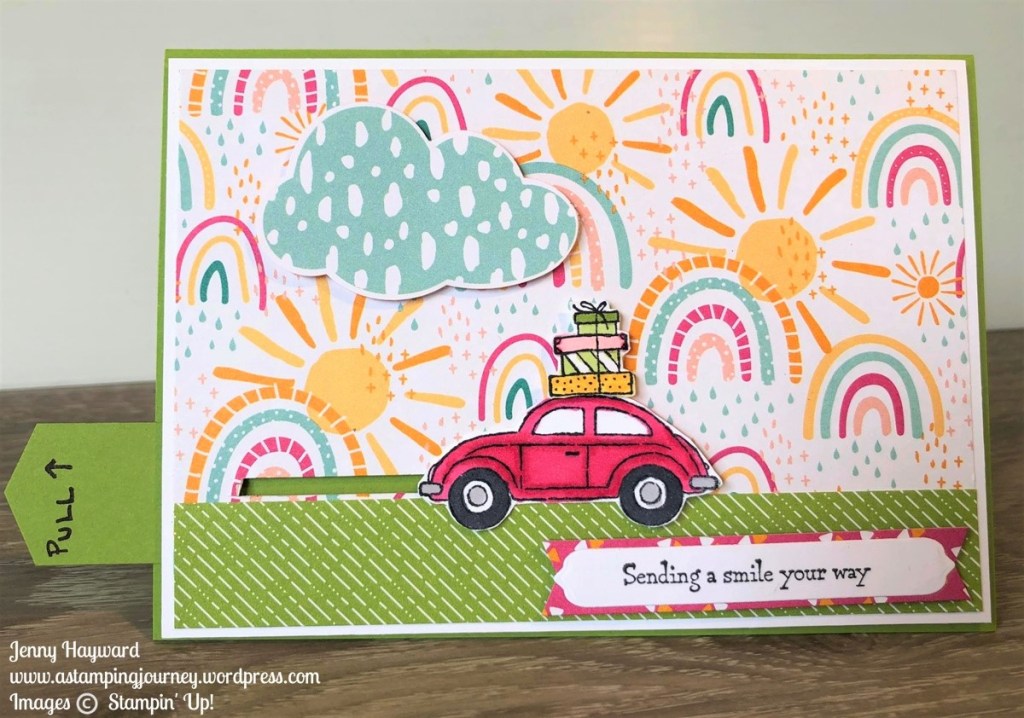
A fun card for our video today. See how you can make a very easy Slider Card.
I have used the Driving By Stamp Set that is available as a Free choice for Sale-A-Bration. You could grab this or see what you have. Try cute animals or cars??
Check the video out below. (If you receive this blog update via email the Video won’t show in the email. Head to the Blog Directly to view it or you can head to Youtube to catch it).
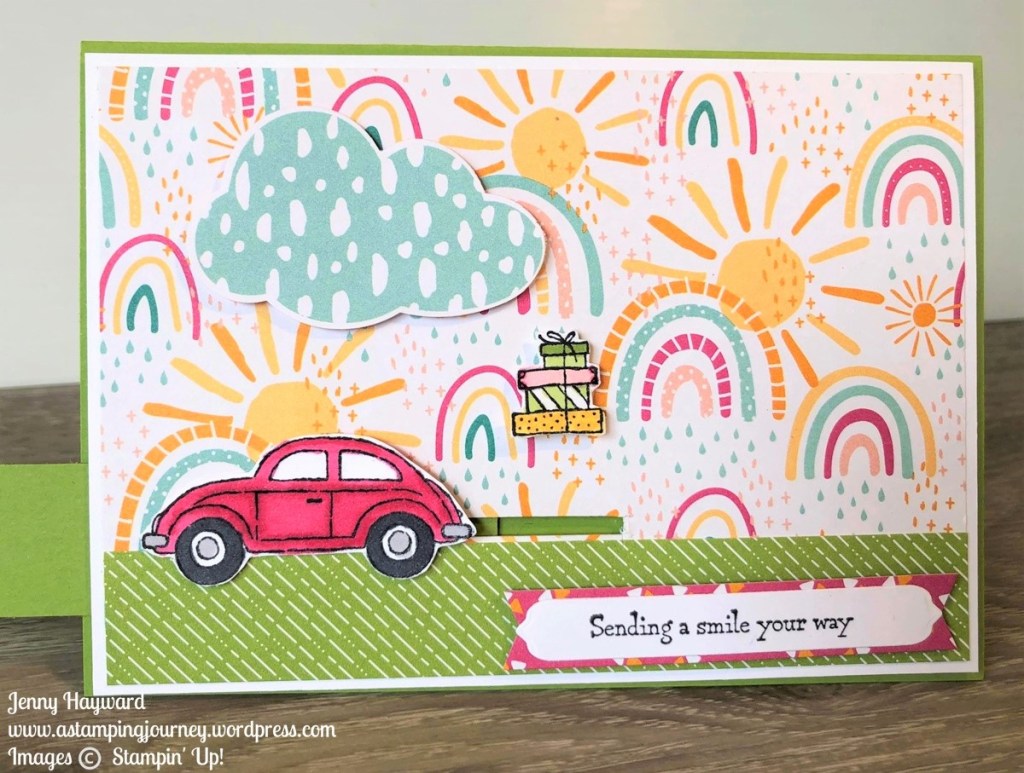
Here is the card for you showing the Slider. I also used the Sunshine and Rainbows Designer Series Paper that is a Sale-A-Bration choice.
What do you think? Give one a try yourself.
Don’t miss out on these items or any other Sale-A-Bration choice. There is not a lot of time left. Both of these are available with your orders over $90 AUD.
See them -> HERE. You can also order there too or contact me directly.
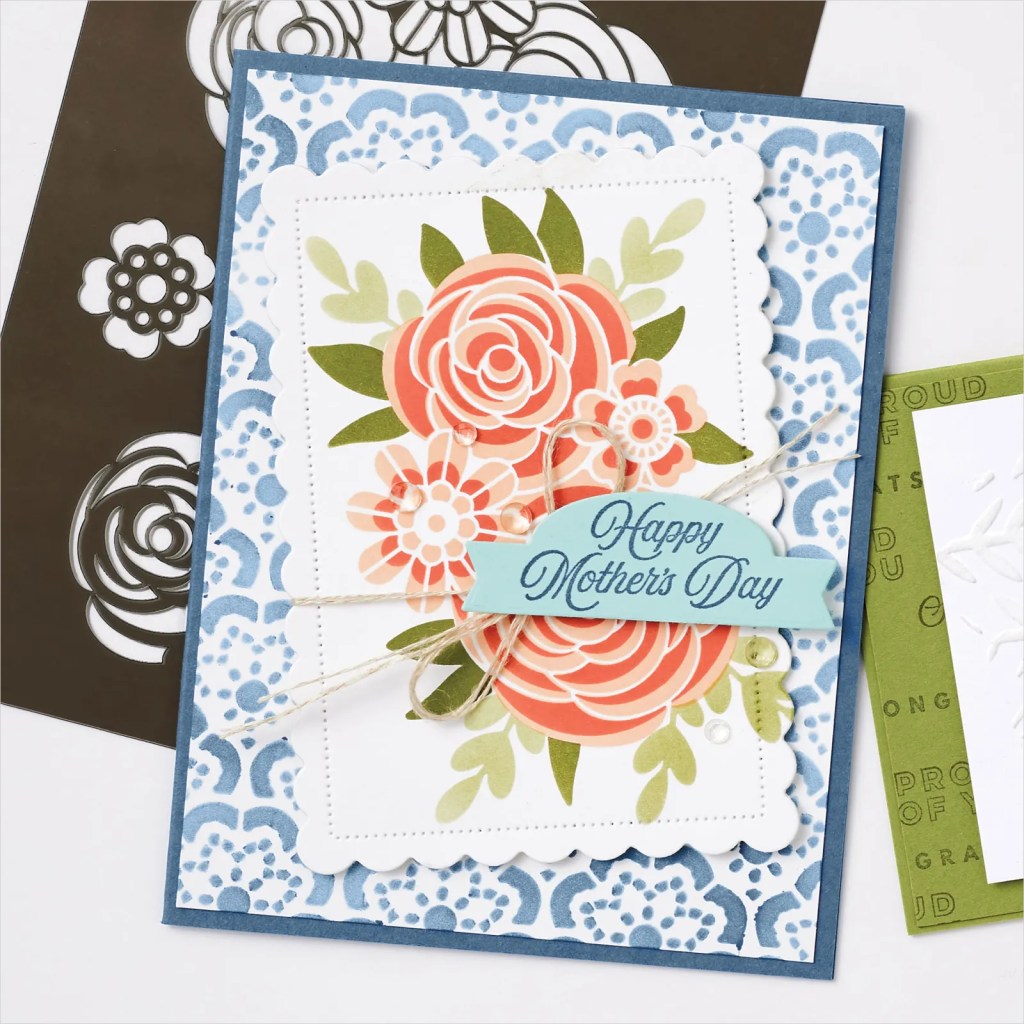
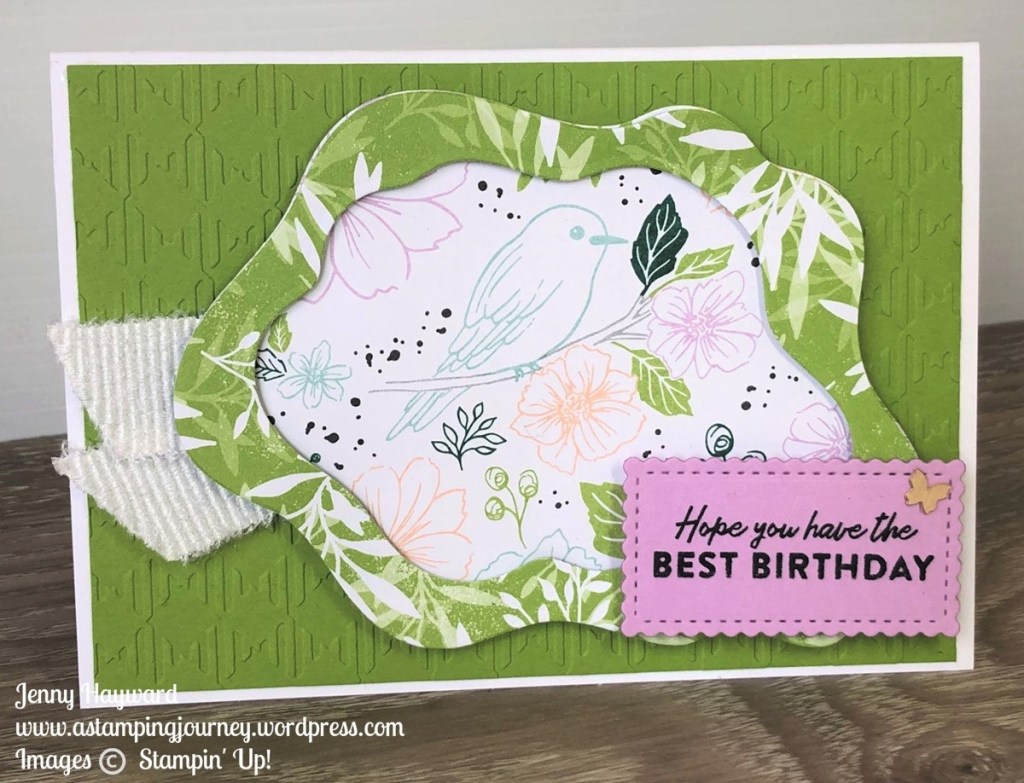
Sharing this card with you today. I had this idea in my head. It didn’t quite turn out the way I had intended. I’m still not sure about it.
The idea was to create a window with the Layering Diorama Dies and using the gorgeous Friendly Hello Designer Series Paper.
With the Layering Diorama Dies cut a piece from the Paper. Move the die around until you are happy with the image inside the frame. The great thing with this is there is no stamping but lots of colour. I wonder if I should have added more colour in the images though??
With that same size die and one smaller cut a frame with the Granny Apple Green print in the pack. Then adhere these 2 pieces together. I actually added Dimensionals under the Green frame to add some extra depth.
On a piece of Granny Apple Green card emboss this with the Gingham Embossing Folder and add this to your white card base. Before adhering your Diorama Frame add some ribbon underneath. Then add your sentiment. And I also used one of little Brushed Brass Butterflies.
Have you got your Friendly Stamp Set and Paper bundle yet? It is one of the Free choices for Sale-A-Bration with your orders over $180 AUD. It is very gorgeous. You can see the paper -> HERE.
There are some great options for Sale-A-Bration with orders over $90 too. Don’t miss these before Sale-A-Bration ends.
If you are in Australia I would love to help you with your orders. Thank You in advance.
Contact me directly or Head to my store -> HERE.Please use the Host Code: AFHWZJKK
Have a great week. I hope there is some creating time for you.
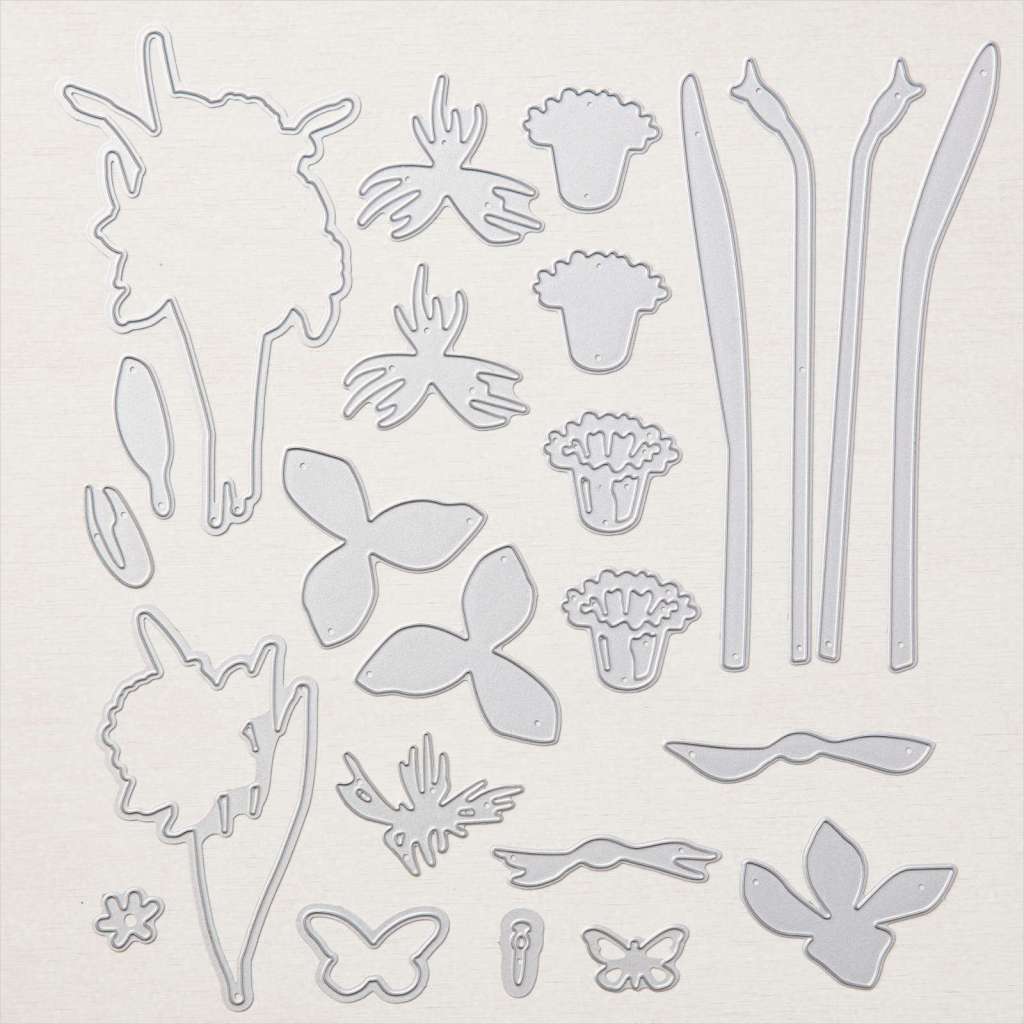
Wednesday’s WOW! #133 – How to Layer the Daffodil Dies.
You might have seen the Daffodil Dies in the Mini Catalogue. Now I will admit when I see dies like this I get overwhelmed of how to put them together. I came across these layering ideas shared from Stampin’ Up! I thought it might help you.
That makes it so much easier to see them visually like this. I hope that helps you like it did me.
These are the Daffodil Dies.
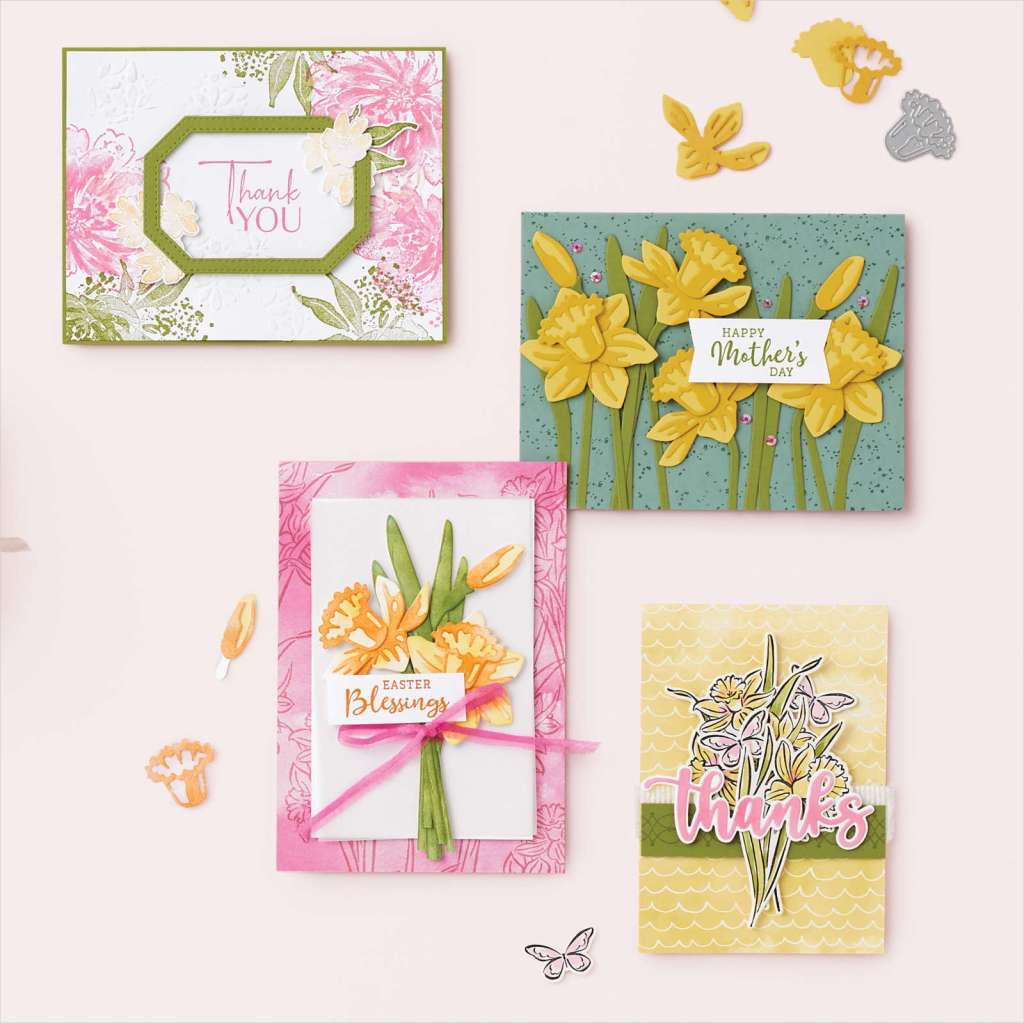
You can see the Daffodil Daydream bundle with the Daffodil Dies in my store -> HERE.
Here are some examples so you can see them in action.
If you are in Australia and need supplies please stop by my store now -> HERE and you can order. Please use the Host Code: AFHWZJKK
If you need some help with ordering please don’t hesitate to contact me.
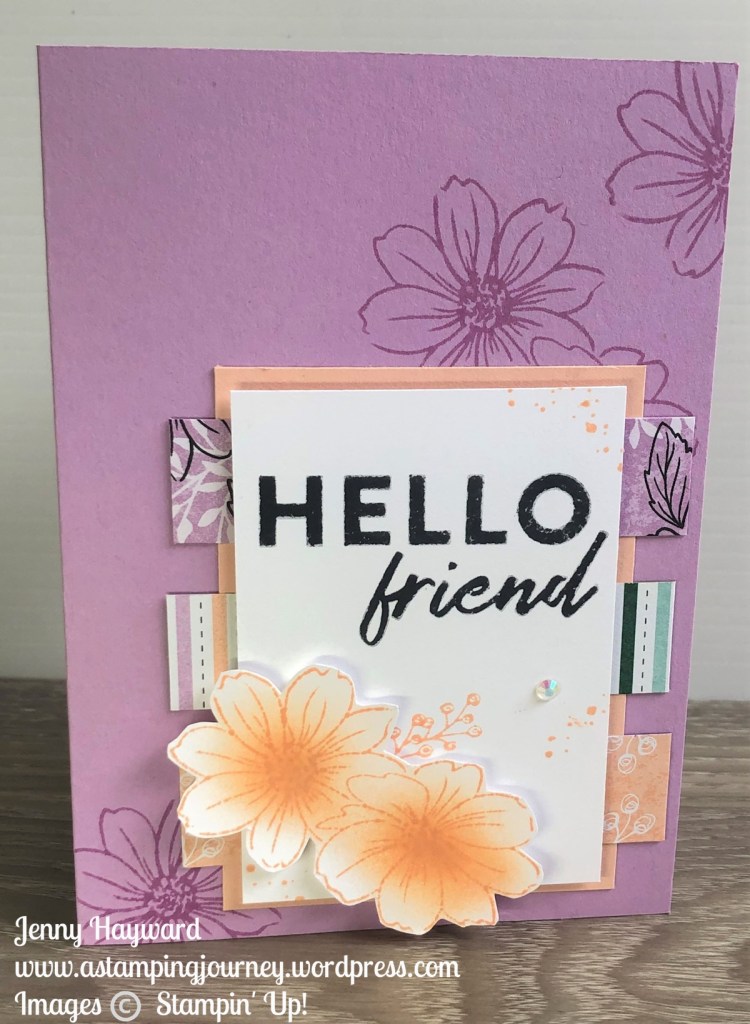
Another card with the Friendly Hello Stamps and Paper. This card I CASED myself. Well, a card I made back in 2020 as the Make and Take we made at Onstage with the Dragonfly Garden Bundle. You can see that card -> HERE.
Here is the Friendly Hello card.
To colour the flowers on this one I used the Blending Brushes and circled inked in the centre lightening the colour moving out to the edges.
The Friendly Hello Bundle (stamps and paper) are available as a Free choice for Sale-A-Bration with qualifying orders over $180 AUD.
Check out my store to make your list and you can shop there or Contact me directly.
Head to my store -> HERE. If ordering online please use the Host Code: NR7MK2VR