Another project for your on Day 3 of Cheerful Daisies Week. I hope they are cheering your week up?
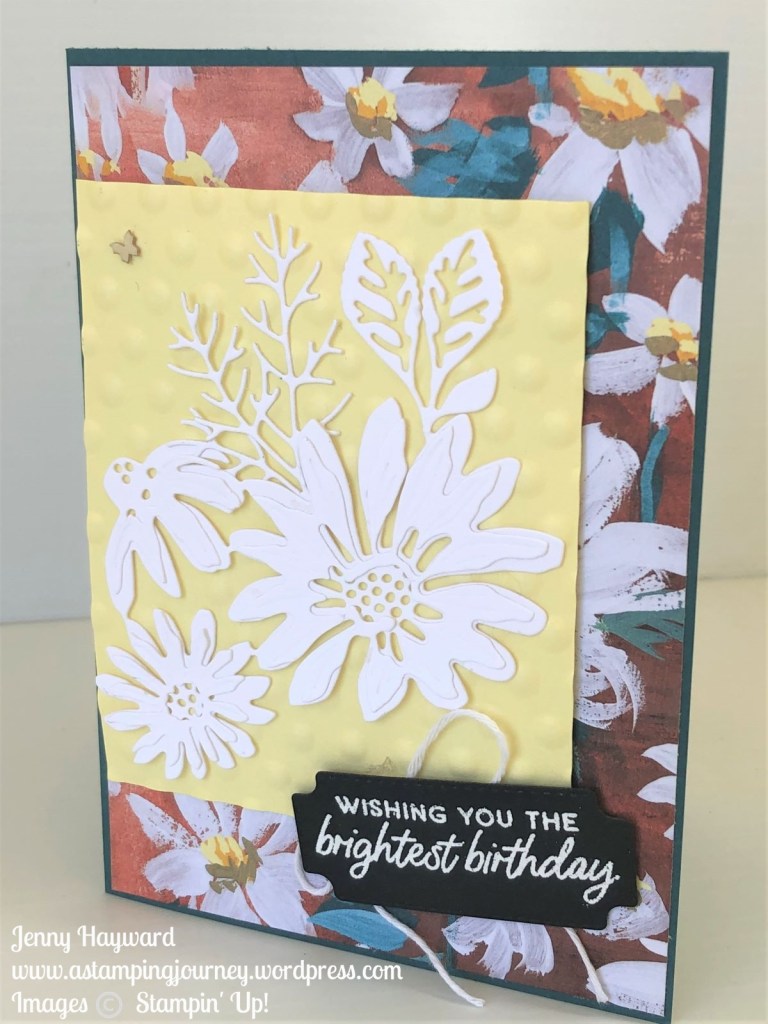
Today’s project is a simple card with layering the daisy diecuts. This card was shown in my Instagram Reel earlier today. Did you catch it? Head to my Instagram -> HERE.
I like how these dies layer together. It gives the daisies added dimension. I think the black embossed card for the sentiment gives it a POP too don’t you think?
You can see more of the gorgeous Cheerful Daisies Bundle -> HERE.
Don’t miss the Fresh as a Daisy Designer Series Paper too -> HERE.
Do you need some Daisies in your life. Or other Stampin’ Up! supplies and you are in Australia? You can order in my store -> HERE. Please use the Host Code: 4RY72TBP.
Or contact me directly.
Every $50 order receives 1 token in my VIS Loyalty Program. Collect 10 and receive $25 of products of your choice.
Day 2 for Cheerful Daisies Week. Just to brighten your week.
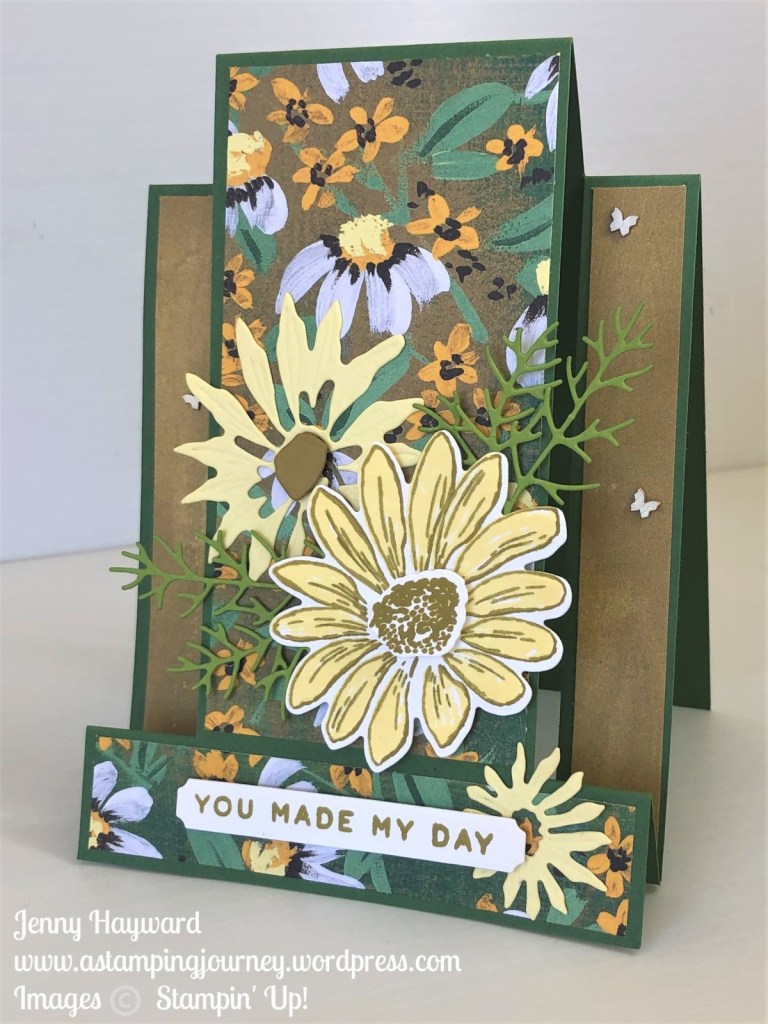
It’s a Side Stepper Fold Card. These are really easy. Once you get used to the cutting. I actually had the base for this one already cut from a previous class using this fold and it just happened that the Garden Green worked well with the Fresh as a Daisy Designer Series Paper.
The Daisy was stamped in Wild Wheat for the outline and then Lemon Lolly for the inside. I have to say I really liked how these colours worked together. I may just be warming up to Wild Wheat. 🙂
Do you want to make a Side Stepper Card?
Head over to this post ->HERE. for the metric measurements. Note this was made some years ago. (oh! How I have changed!). It gives you an idea though.
For the measurements in inches head -> HERE to Kelly’s blog post.
Do you need some Daisies in your life. Or other Stampin’ Up! supplies and you are in Australia?
You can order in my store -> HERE. Please use the Host Code: 4RY72TBP.
Or contact me directly.
Every $50 order receives 1 token in my VIS Loyalty Program. Collect 10 and receive $25 of products of your choice.
Back tomorrow for another Daisy card to brighten your week.
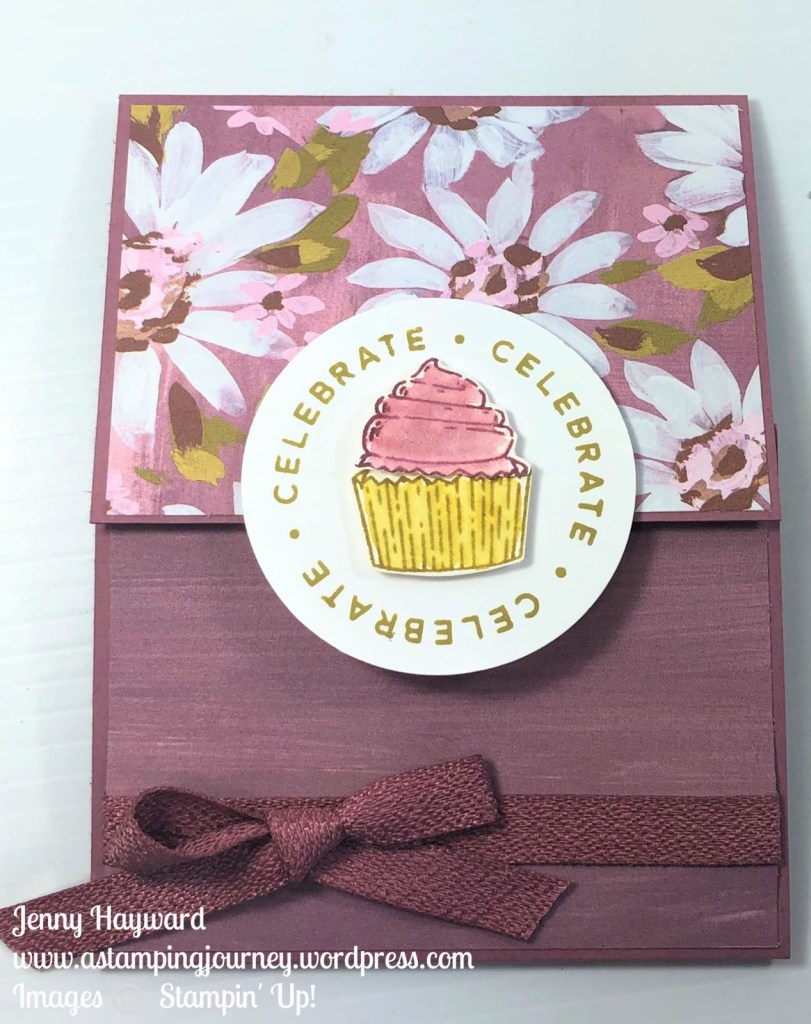
I have used the Circle Sayings Bundle (Stamps and Punch) to make a Top Fold Flap Card. Say that lots of times quickly!
This is the front of the card. I have used the Fresh as a Daisy Designer Series Paper with it.
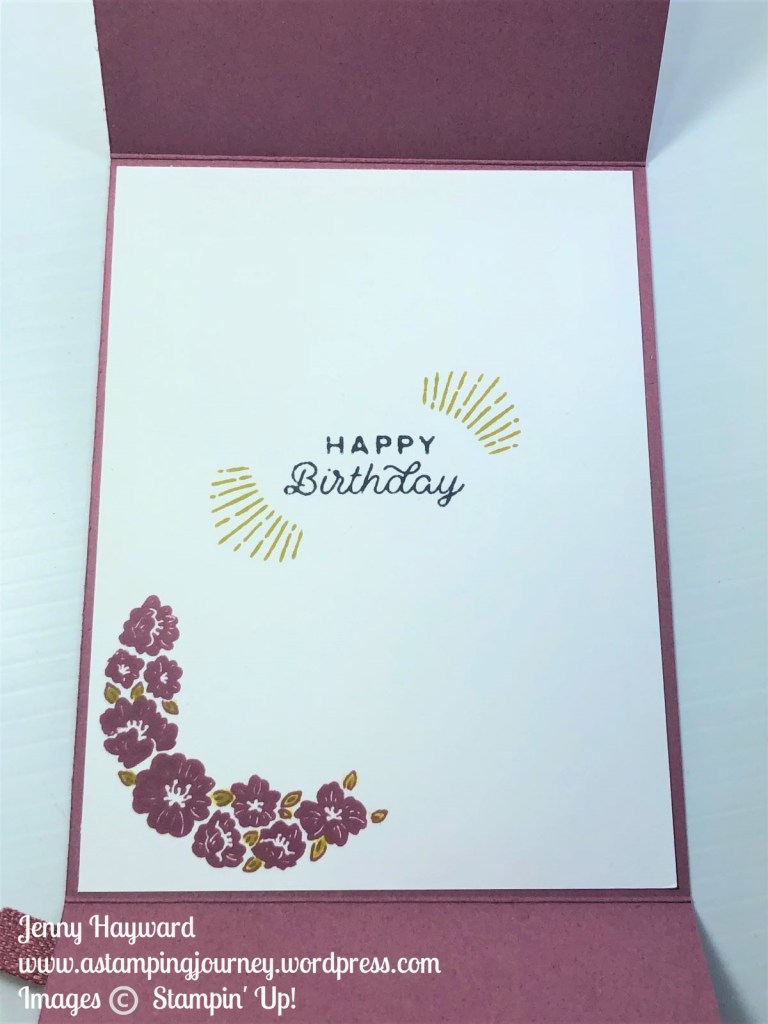
See the inside.
It’s a very easy Fun Fold. I have the video below you can follow along.
The measurements can be seen in the video. I will be sending a tutorial out with this card to my newsletter subscribers next week.
Are you one of my Newsletter subscribers yet? I send out a Project tutorial every week to help inspire your creating.
You can head -> HERE to subscribe straight away. I send out a tutorial when you first subscribe too.
Now for the video. This project was created for the Crafty Collaborations Global Catalogue Launch. A number of demonstrators from around the world joined together to create some great projects using all those lovely new products. I will add the link below for the rest of the projects.
If you can’t see the video then you can head to Youtube Directly and watch it. Click -> HERE.
Have you seen the Circle Sayings Bundle yet?
I love the sentiments and the font of this stamp set. It is so versatile too. And you can just grab the punch and punch it out.
You can join in on the Crafty Collaborations Global Catalogue Launch. There are a number of projects and even some games to join in on.
On the platform that you will see the projects you will first need to create an account. The videos and activities are free but it just registers you so in case you win a prize …
This card I shared creating it as an Instagram Reel last week. Did you catch it?
I thought I would share the card with you here.
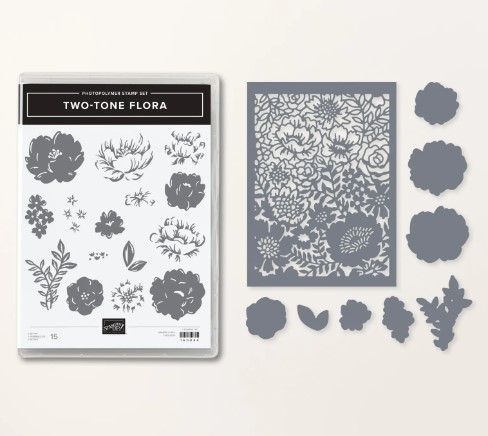
I have used the Two-Tone Flora Bundle but what about those new Elegant Borders Dies? They are so detailed and gorgeous. The Two-Tone Flora Bundle works so well with them.
The Fancy Flora Designer Series Paper is so pretty too.
These are the Elegant Borders Dies. They are so lovely aren’t they with all the delicate details on them.
This is the Two-Tone Flora Bundle. It’s a 2-Step Stamp set which I love. So easy to work with and includes different flower sizes with the solid image and more detail. There are different leaves too.
I think you will love to get these beautiful dies in your crafting stash. They are part of the Online Exclusives release so they are only around for a limited time.
Are you in Australia and need to order?
Head to my store -> HERE. Please use the Host code: B47Q7JP2
Or contact me directly and I can help you out with them.
On my Private Facebook Group I set a little sketch challenge this weekend to help inspire the members in their creating.
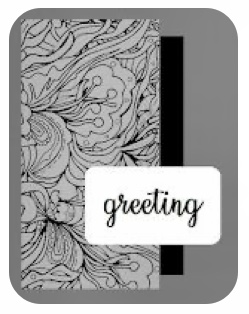
This is the Sketch. (This was from Julie Davison).
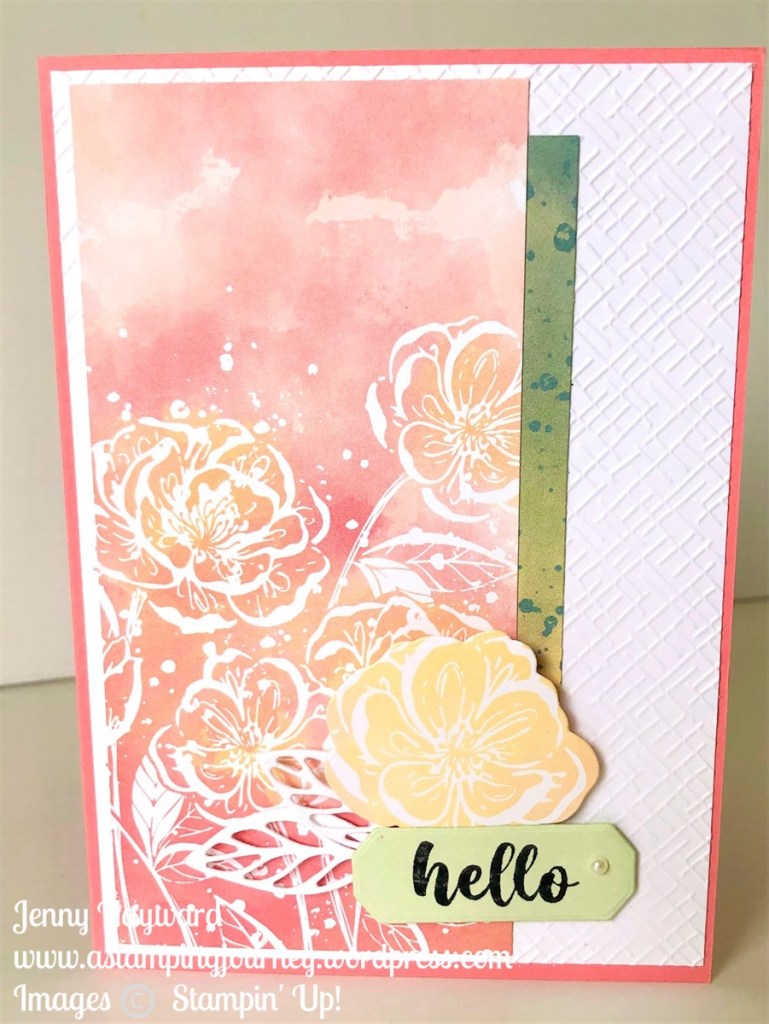
I had a little play myself today. This is the card I created.
This card was very quick to put together. There was very little stamping. The Hello, Irresistible Paper was the star.
The white background was embossed with one of the folders in the Basics 3D Embossing Folders set. I have to say there are 3 Embossing Folders in this set and they are all great designs.
The sentiment piece was diecut with a die from the Harvest Dies.
So, why not have a go at the sketch yourself. Share it with me. Send it to me at jghayward@yahoo.com
OR why not join the Facebook group and share it with us there. Head -> HERE.
Happy Crafting,
Jenny
In Australia and need some fun Stampin’ Up! supplies? I would love to serve you.
Head to my Online store -> HERE. Please use the Host Code: B47Q7JP2
We will start off with 2 of the cards for our Weekend Summer Craftastic Event.
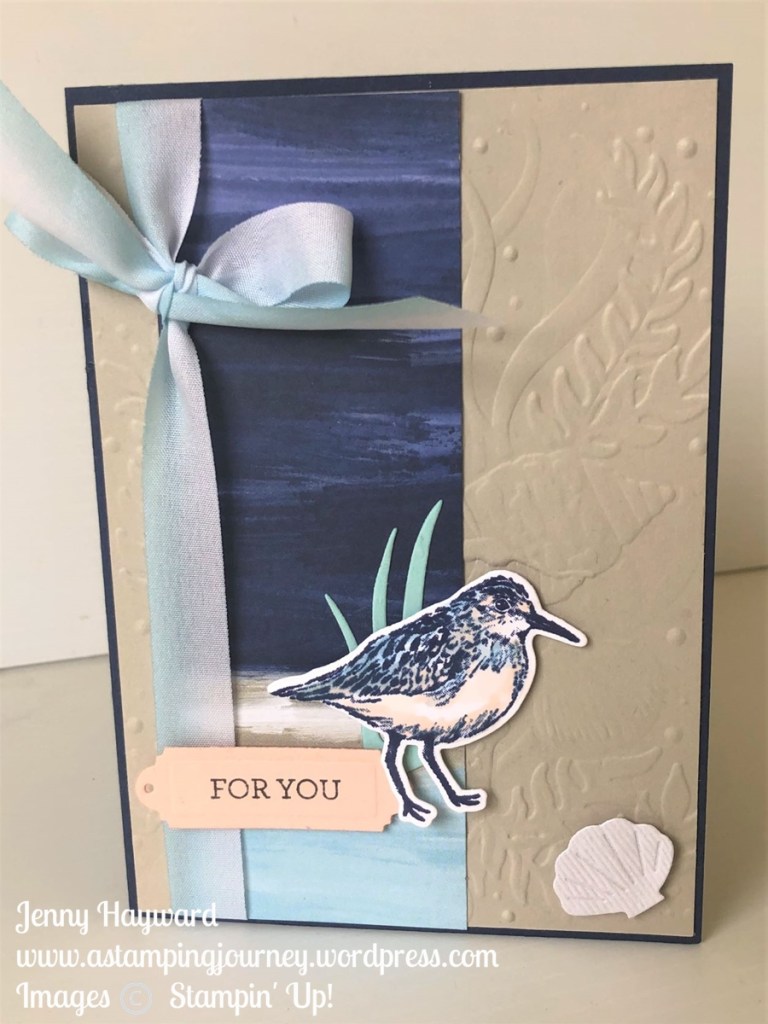
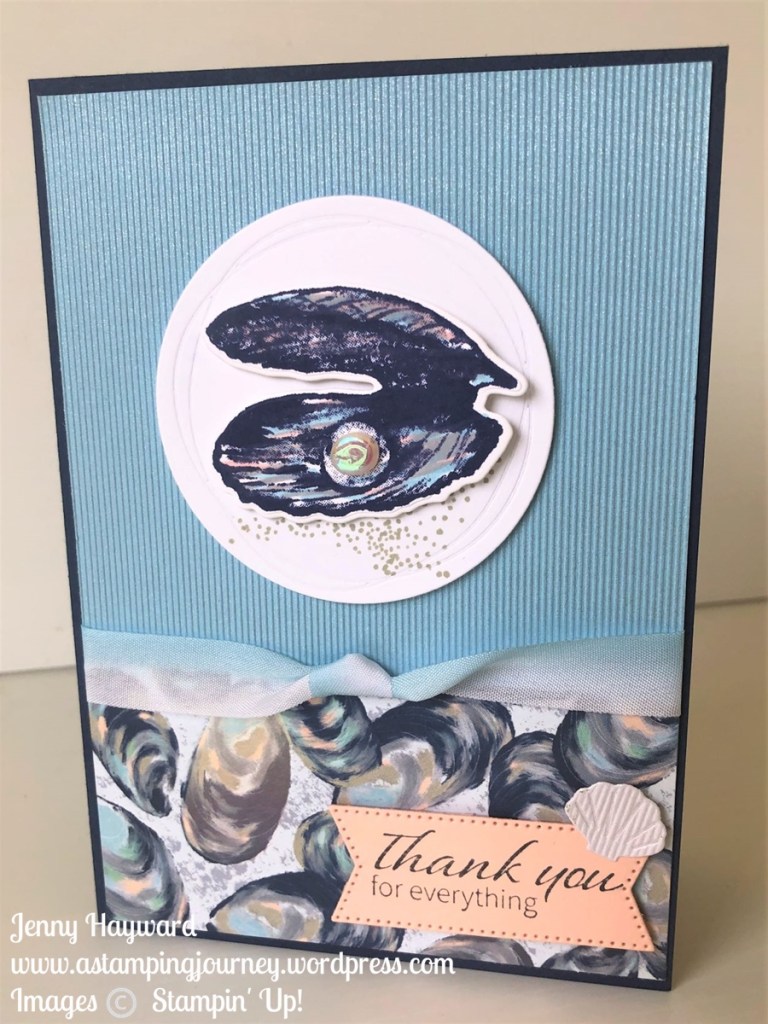
These ones were using the By The Bay Suite. These were very popular and it was great seeing people’s versions of them. You don’t have to make the cards exactly as they are.
The shell was diecut with the Shimmery Textured Paper. It adds a little sparkle and the texture adds an extra dimension. The By The Bay Specialty Paper is great with the colour variations. You can make a beachy scene without colouring it.
The blue on this card is using the Shimmery Textured Paper. Did I mention the lovely Shimmer and texture you get. 🙂
It’s hard to see in this but the By The Bay paper has a little shine on it.
The Clam shell was stamped in Night of Navy and then using the markers I gently swiped over with Petal Pink and Balmy Blue to add some colour.
It was such a great event.
I will be back in next post to share the other 2 cards.
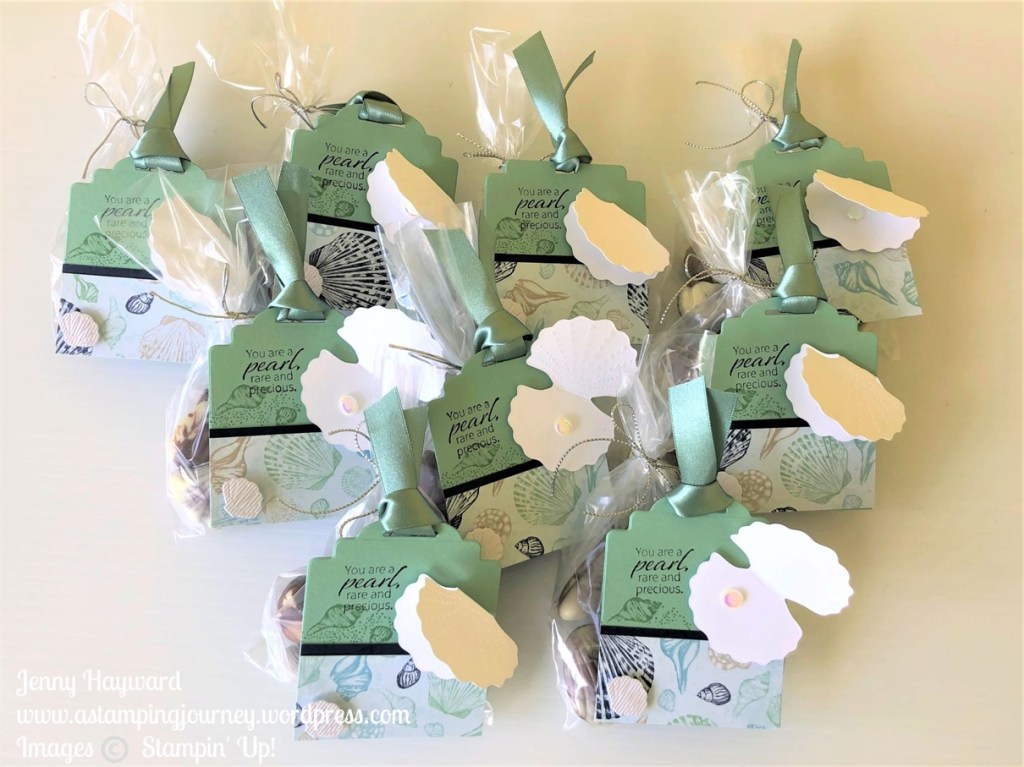
We had our Summer Craftastic Event this past weekend. I will share some of the creating fun with you over the next few posts. Of course I did forget to take a photo of the groups on each day. Too busy creating and chatting. But I will share the projects.
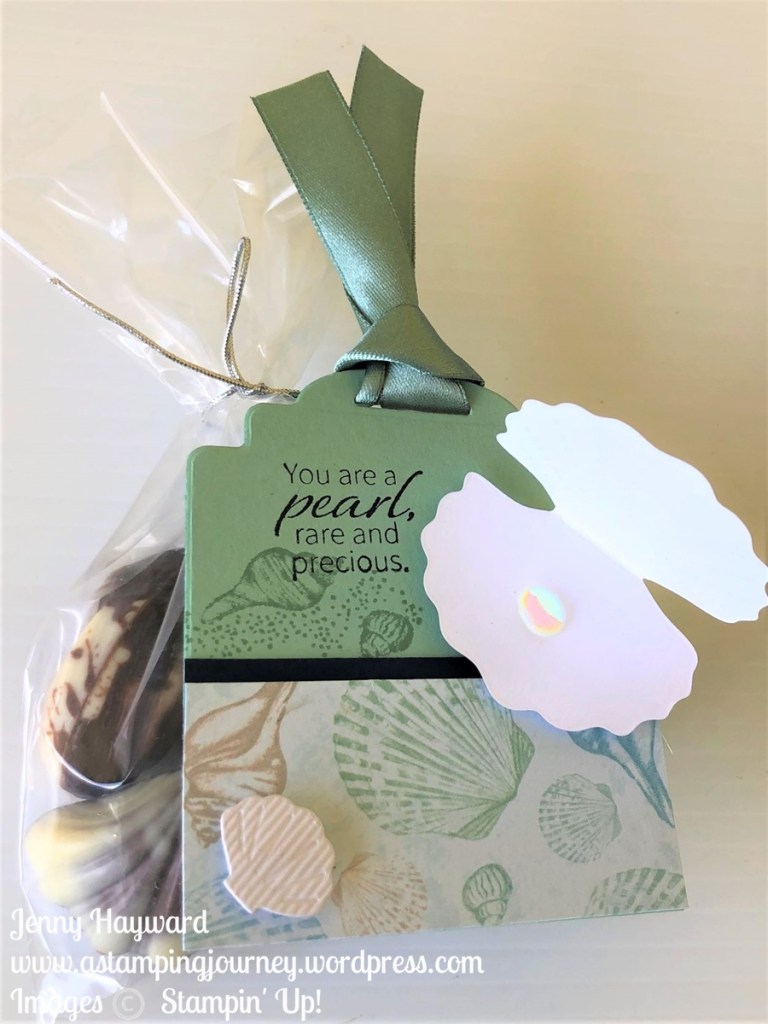
Firstly, I want to share the little Chocolate Treat Bags I created for each guest.
The tag was cut with the Designer Tags Dies. I trimmed off the bottom edge and added a strip of the By The Bay Specialty Designer Series Paper. It’s lovely paper with the shiny images on one side and prints on the other side.
Being “seaside” paper the Shell Chocolates suited well for these little treat bags.
And of course the lovely sentiment for each person with a clam and a Flat Adhesive Pearl. The diecut shell added was diecut with the Shimmery Textured Paper.
Be sure to check back to see the projects shortly. Some I have used the By The Bay Suite.
Happy Crafting,
Jenny
Need to order and in Australia? I would love to serve you.
You can stop on by my store -> HERE. Please use the Host Code: 73TFR9BD
Another card with the Beautifully Happy Stamp Set.
Have I told you how much I love this set?? I love the sentiments and I love that it is a 2-step set which is great. What I don’t love is that it is only available for less than 2 weeks with Sale-A-Bration coming to an end. 😦
As a 2-step stamp set you can stamp the outline in the Memento Black and then use the “fill-in” images to stamp inside the outline. Of course you can colour it with the Stampin’ Blends or Pencils if you like to.
On this card when I stamped the Balmy Blue little ball flowers I didn’t like how it also coloured the leaf tips on some of the upper flowers so I coloured over them with the old Olive Marker and coloured the stem too. I coloured the centre of the flower with the Daffodil Delight Marker.
The sentiment is diecut with one from the Beautiful Shapes Dies. The background was diecut with the beautiful detailed background die from the Two Tone Flora Dies. They give such a soft, delicate touch.
Are you needing some supplies and you are in Australia?
I would love to serve you. Stop on by my store -> HERE Please use the Host Code: 73TFR9BD Or contact me directly.
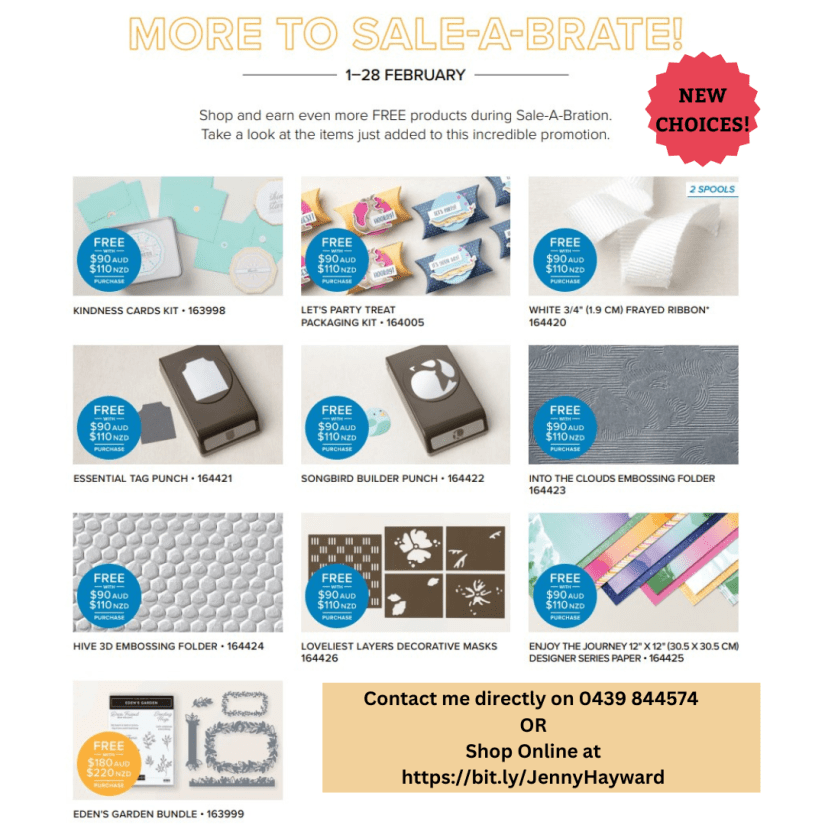
Don’t miss out on your Sale-A-Bration picks too. There is less than 2 weeks. Below is the Catalogue choices you can now select along with the Sale-A-Bration items listed in the catalogue. You can see them in my store also.