cards, Catalogues, Techniques

LINING UP THE ELEGANT BORDERS DIES!

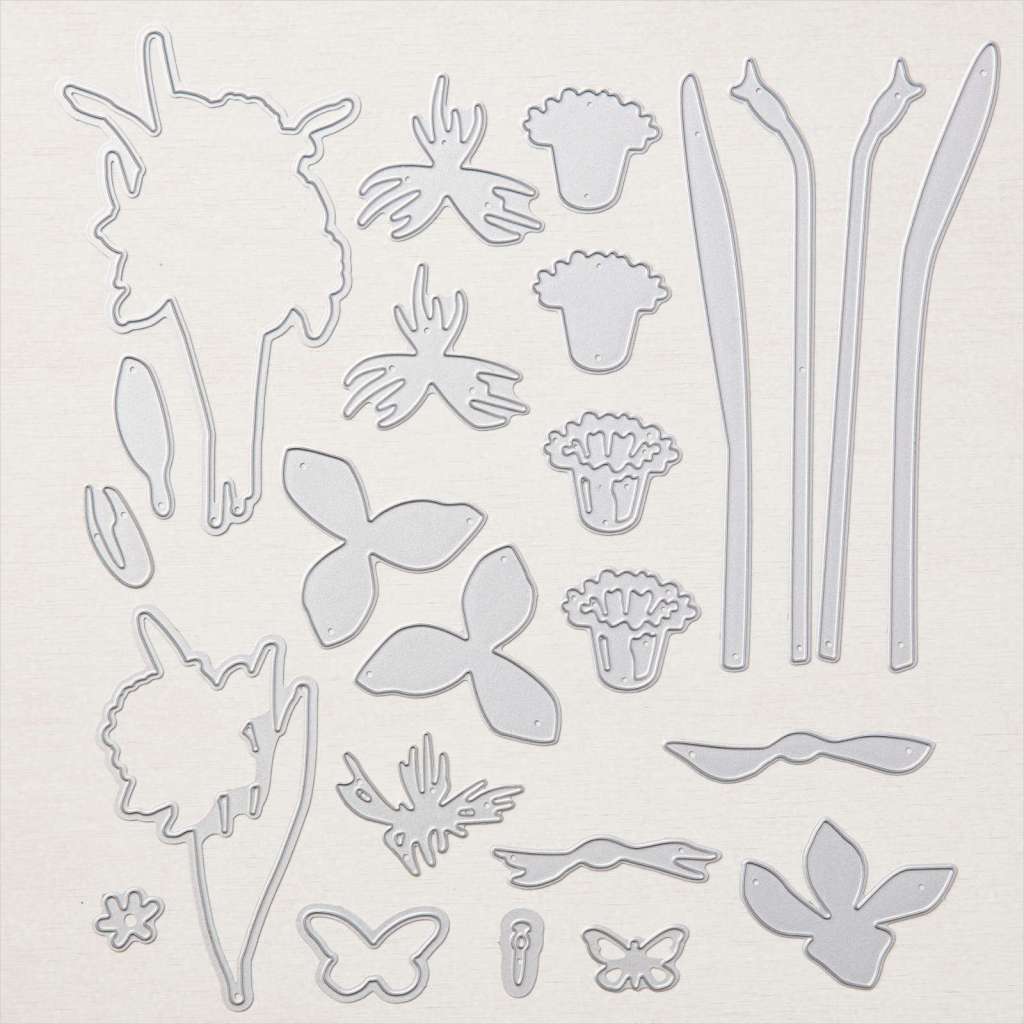
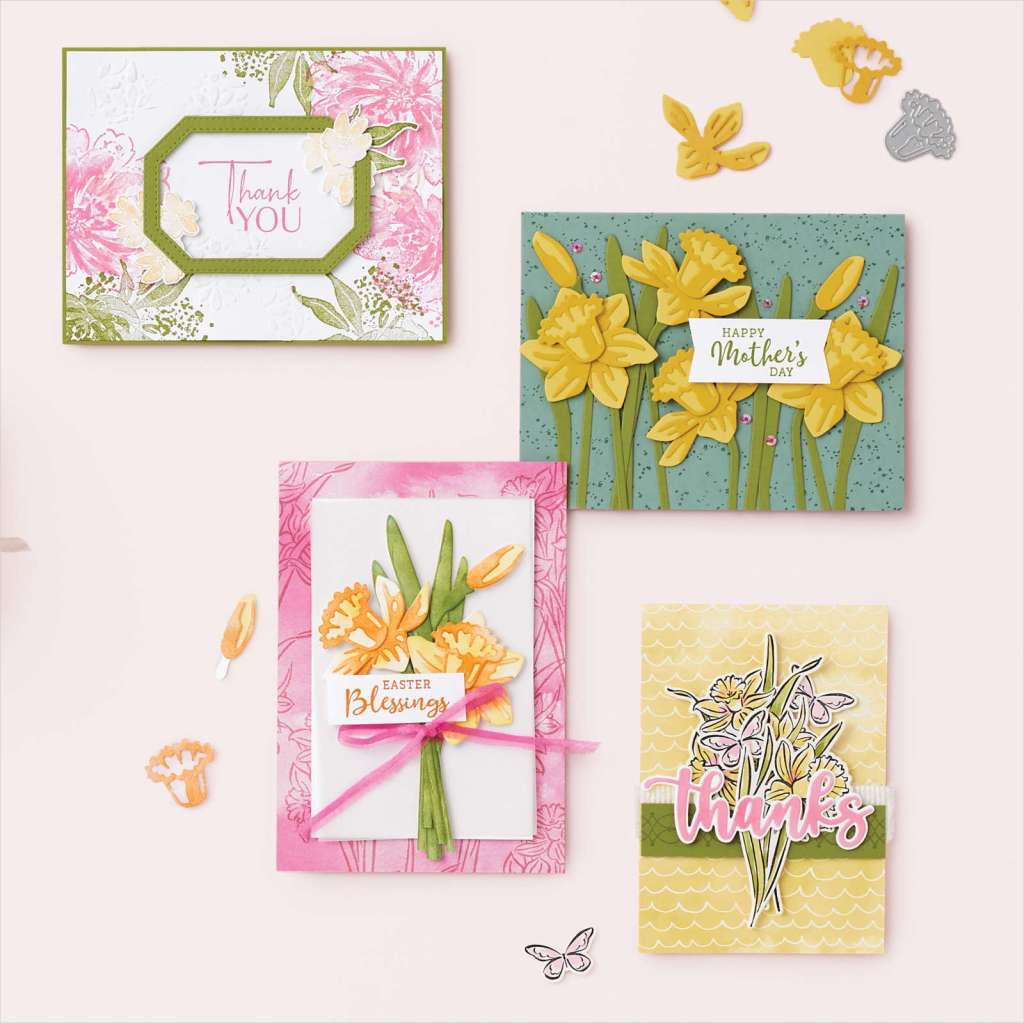
You might have seen the gorgeous Elegant Borders Dies. They have such delicate edging to add to your cards.

You can add one edging BUT if you were to add 2 how do you line them up? Let me give you a little tip.

If the images aren’t loading I will add the descriptions below.

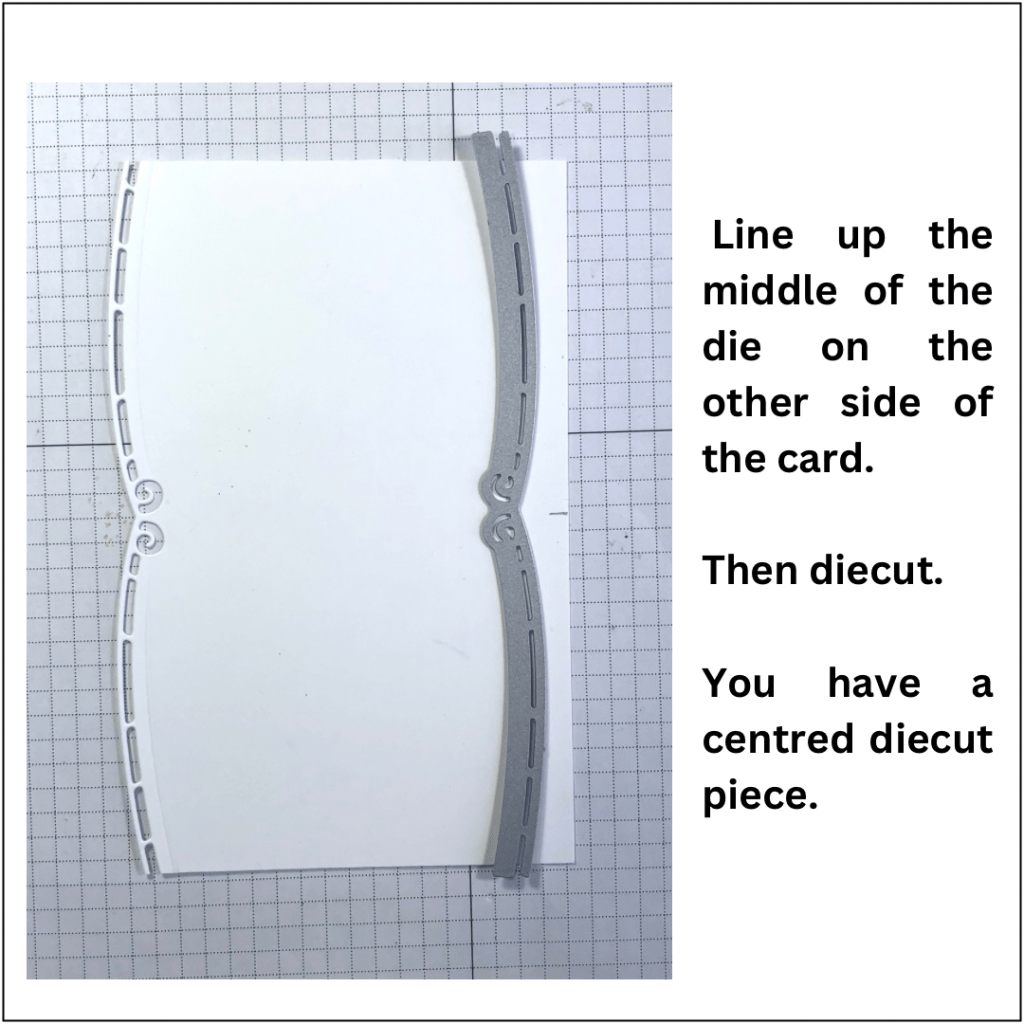
1. Make a mark in pencil at half way on each side of the card.

2. Line up the middle of the die with the mark.
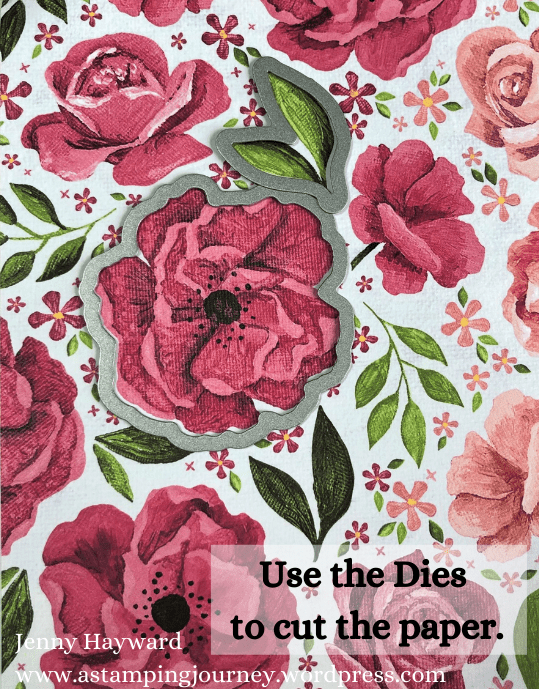
3. Then diecut.

Hope this helps.

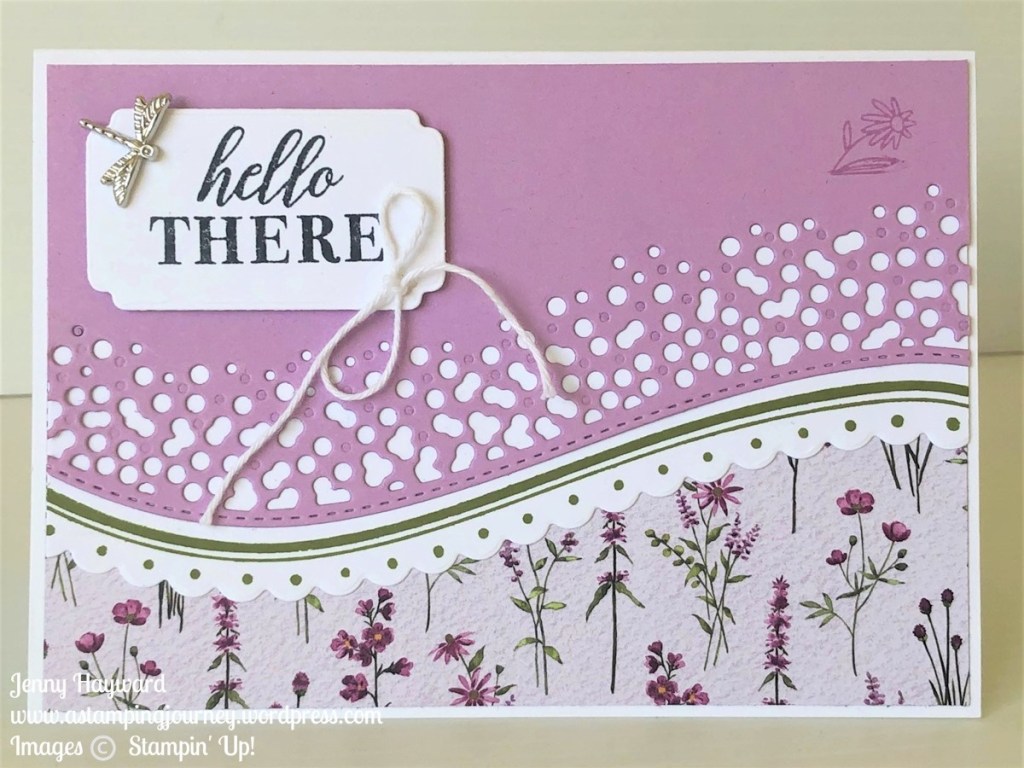
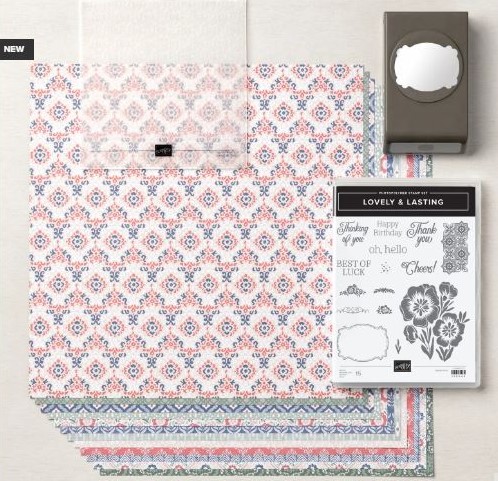
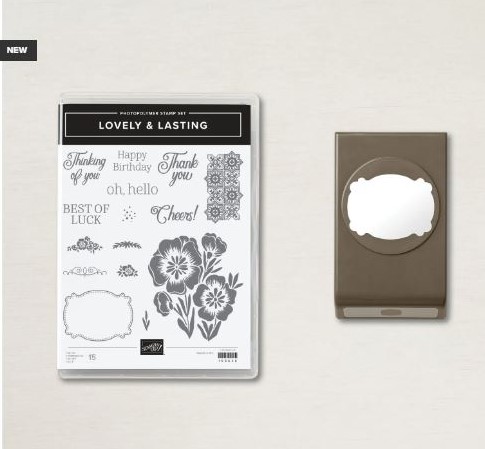
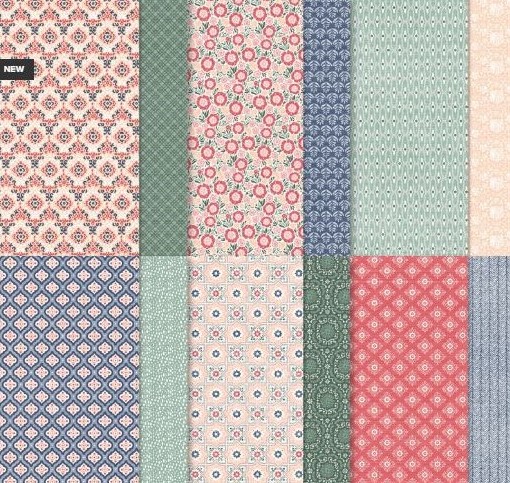
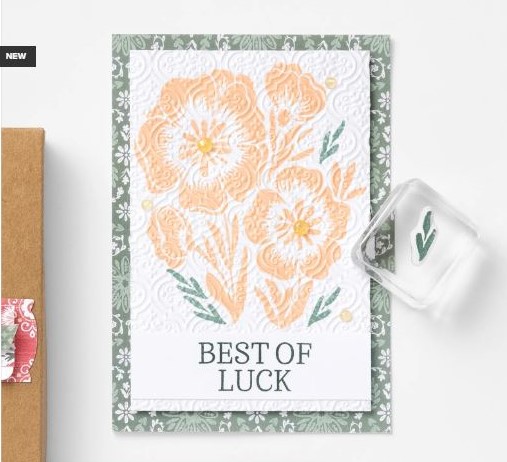
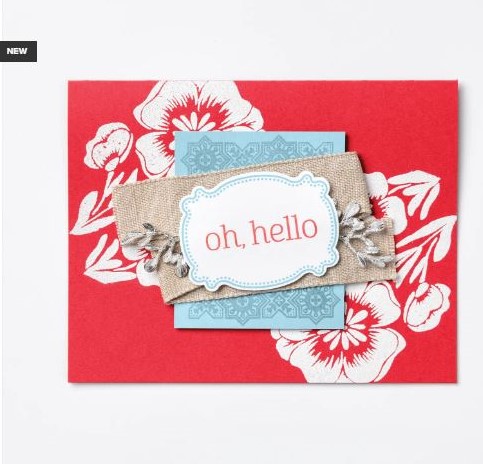
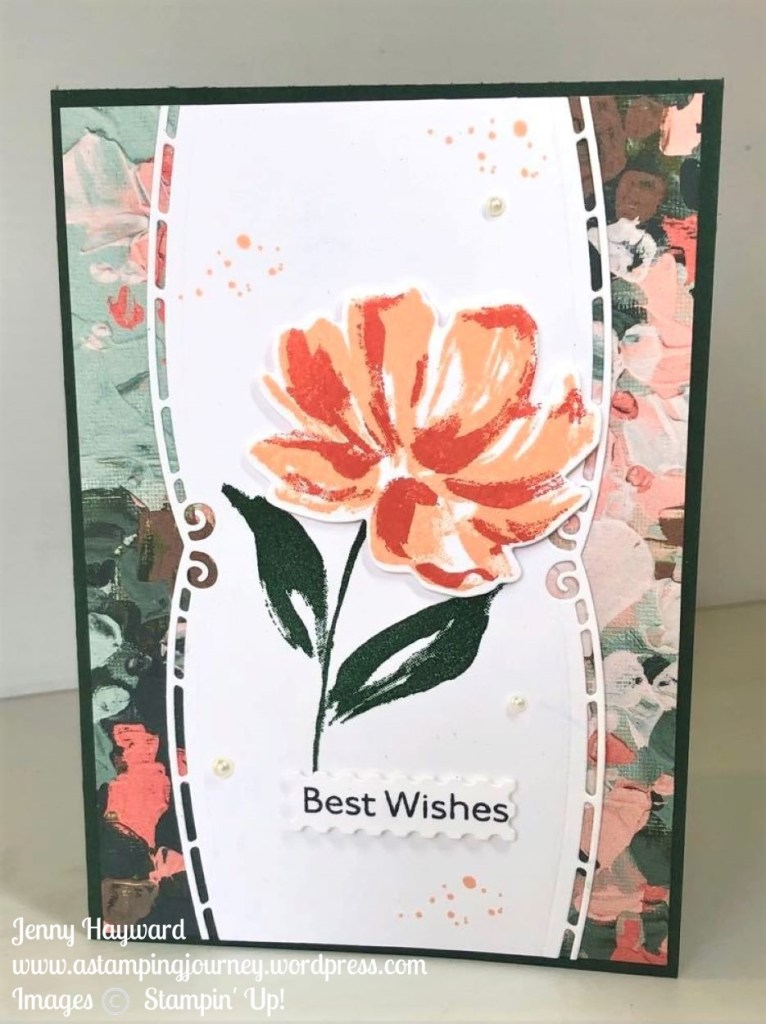
Here is the finished card. I used the retiring Art Gallery Stamp set. The retiring Two Tone Flora Designer Series Paper and the Elegant Borders Dies (part of the Online Exclusives).

I would love to help you grab any of these Stampin’ Up! products. See how you can order below.

Happy Stamping,

Jenny

This month with your orders over $90 AUD receive a Tutorial Bundle in addition to your VIS Loyalty Points. The Bundle contains 52 projects that you can use for inspiration for your next project. There are some gorgeous projects for you.

In Australia? Head to my store now -> HERE. Please use the Host Code: RXX6ZW4V

Or contact me directly and I can help you with your order. Don’t forget the Last Chance List and grab your favourites before they go.

cards, Catalogues, Stampin' Up!

IRRESISTIBLE BLOOMS WITH SCORING!

I have a card to share with you that I shared creating on an Instagram Reel just recently. I thought I would share it with you here today.

This card uses the Irresistible Blooms Stamps and Dies and the Hello Irresistible Designer Series Paper. I have shared lots already with it. It is so gorgeous.

You can get a look of blending in the background of the circle using one of the prints in the Hello Irresistible Paper. You don’t have the mess with it.

What I particularly wanted to point out to you is the Scored lines. See them better in this image below top and bottom of the words.

To create the scored lines:

  • Stamp the sentiment. Measure the distance below the sentiment and above giving a little space either side.
  • Flip the card over. Using the Paper Trimmer and the Scoring Blade score a line near the bottom which would be below the sentiment.
  • Score higher up which should be just above the sentiment. Score another line just above that.

You can try a scored line vertically. Try a frame around the card. There are so many options. I hope you get to try one yourself.

The Irresistible Blooms Bundle and the Hello Irresistible Paper are part of the Online Exclusives available now.

There are so many lovely exclusive products.

The Online Exclusives can be viewed Online but can be ordered through my store or directly through me as with any of the other lovely products.

View the Online Exclusives -> HERE.

In Australia and need to order?

Head to my store now -> HERE. If shopping there please use the Host Code:B47Q7JP2

Or contact me directly.

Happy Crafting,

Jenny

cards, Catalogues, Sale-A-Bration, Videos

AROUND THE BEND WITH DAINTY FLOWERS + VIDEO!

I have had more fun playing with the Around the Bend Bundle. I’m loving these stamps and dies.

Today’s project comes with a video with 9+ Tips in using this bundle when putting together this card.

The paper is the gorgeous Dainty Flowers Designer Series Paper available for Sale-A-Bration. I love the pretty prints in this paper and I think it works so well.

Here is the card.

You can watch the video below especially look out for the 9+ Tips in using the dies and lining them up with the Stamps. I think you will find that helpful in putting the card together.

You can find the Around the Bend Bundle in my store -> HERE. And when you purchase them you could choose the Dainty Flowers Paper as your Sale-A-Bration pick. Or check the other choices out. There are some great ones and now there is some Catalogue products listed.

In Australia and need crafting supplies? Head to my store at the link above and shop. Please use the Host Code: 73TFR9BD

Or contact me directly.

Happy Shopping,

Jenny

Catalogues, Techniques, Weekly Deals

WEDNESDAY’S WOW! #140 – MAKE YOUR OWN PEARLIZED DOTS AND STRIPES!

Wednesday’s WOW! #140 – Pearlized Dots.

This is so cool. You can create your own shiny, pearly dots or lines with the Pearlized Enamel Effects Basics.

See them below.

The Pearlized Enamel Effects Basics come in 3 little bottles (1oz or 29.5g each), in Red, Black and White lacquer.

With them you can create some really special elements for your projects.

  • Outline your stamped images to add some extra depth.
  • Add extra details like dots or lines.
  • Add detail to part of a stamped image or other embellishment piece.
  • Write words to give a “raised” effect.
  • Draw shapes like stars or hearts.

Here are some ideas how to use them.

Add little dots around the wreath to create little “berries”.

Add the white to the end of the Textural Elements or similar to make a shiny surface.

How would you use it?

A bonus this week is the Pearlized Enamel Effects is on the Weekly Deals. So you can get it at a discounted price of $24.30 for the 3 bottles. This price is only until Thursday though.

Need to grab some and in Australia?

Head to my store -> HERE. Please use the Host Code: 6PPKEPZJ

Or Contact me directly and I can add it for you.

Now off to grab some so you can add some “Pearly” effects.

Have a great day,

Jenny

cards, Stampin' Up!, Sunday Suites

SUNDAY SUITES – LOVELY IN LINEN!

Sunday Suites today looking at the Lovely in Linen Suite Collection available in the Annual Catalogue.

This suite with the stamps and punch, Paper and Embossing Folder will create projects with a rustic style to a more elegant style. It’s a very versatile one.

The Lovely in Linen Suite Collection ($101.50 AUD) includes:

  • The lovely and Lasting Stamps and the Lasting Label Punch. Grab these individually but save 10% to get them together.
  • Lovely in Linen 12″x12″ Designer Series Paper.
  • Quatrefoil Tile Embossing Paper.

The sentiments in the Lovely and Lasting stamp set would be useful for many different occasions. The Lasting Label Punch has a very unique shape but is a good size that would work with many of your other sentiments.

The Lovely in Linen Designer Series Paper has intricate designs you can use for many of your projects. Colours in the paper are – Evening Evergreen, Night of Navy, Pale Papaya, Soft Succulent, Sweet Sorbet.

I think the star though is the Quatrefoil Tile Embossing Folder. Don’t you love the intricate detail.

Check this idea out. Stamp your image and then run the card through your Emboss Machine with the embossing folder. It adds so much texture to your projects.

Now for some other samples.

This Lovely in Linen Suite and any other Stampin’ Up! products are available in my store.

If you are in Australia then pop on by -> HERE. When shopping please use the Host Code 99CMHTER.

OR Contact me directly and I can help you out.

Have a great Sunday,

Jenny

cards, Catalogues, Techniques

WEDNESDAY’S WOW! #135 – DIES THAT CUT THE PAPER!

Wednesday’s WOW! #135 – Diecut those paper images!

Stampin’ Up! are clever. A big appeal with Stampin’ Up! is the co-ordination and it is not just with the colours. The tools work with the other products too.

Have you noticed? Many dies available in a suite can be used to diecut the images on the Designer Series Paper. No snipping with scissors for many of these.

I discovered this with the Blossoming Happiness Dies on the flowers of the Hues Of Happiness Paper. And it is not just the larger flower. It is also with the smaller flowers and the leaves.

Check it out below.

I had started cutting these with scissors and then discovered this little gem so just had to share with you.

Have a happy Wednesday,

Jenny

Need some of these gorgeous products and you are in Australia?

You can shop in my store now -> HERE. Please use the Host Code: CMDF9NBR

Or contact me directly.

cards, Classes, Stampin' Up!, Techniques, Videos

CREATING A MOON EFFECT WITH THE WAVES OF INSPIRATION!

I shared this card briefly in a recent video of 5 Ways with the Waves of Inspiration. (You can check that video -> HERE if you missed it. And really there were more than 5 Ways…)

I wanted to create a separate video on this card to show how I did the background but particularly the moon effect. You will be surprised.

Here is the card.

You can check out the video below.

(If you receive this blog update by email the video may not show so head to the blog post directly to view it).

There is not much time left to grab the Waves of the Ocean Designer Series Paper so be sure you don’t miss out on it.

See the Waves of the Ocean Collection in my store -> HERE.

In Australia? You can order there directly. Please use the Host Code: 4SEB3FCV

Or Contact me and I can help you out.

I hope you get to try this out.

Happy Stamping,

Jenny

cards, Catalogues

WEDNESDAY’S WOW! #133 – LAYERING THE DAFFODIL DIES!

Wednesday’s WOW! #133 – How to Layer the Daffodil Dies.

You might have seen the Daffodil Dies in the Mini Catalogue. Now I will admit when I see dies like this I get overwhelmed of how to put them together. I came across these layering ideas shared from Stampin’ Up! I thought it might help you.

That makes it so much easier to see them visually like this. I hope that helps you like it did me.

These are the Daffodil Dies.

You can see the Daffodil Daydream bundle with the Daffodil Dies in my store -> HERE.

Here are some examples so you can see them in action.

If you are in Australia and need supplies please stop by my store now -> HERE and you can order. Please use the Host Code: AFHWZJKK

If you need some help with ordering please don’t hesitate to contact me.

Happy Stamping,

Jenny

Catalogues, Stampin' Up!, Techniques

WEDNESDAY’S WOW! #116 – CUT THE MANY MESSAGES STAMP!

For Wednesday’s WOW! #116 I have a little tip for you with the Many Messages stamp set. What I’m going to tell you is … cut that stamp!

Yes I know it is pretty horrific to cut in to the rubber on a stamp. Why did I cut the stamp though??

When I first got the Many Messages stamp I realised it is one big stamp. Yes I was in a hurry when I ordered and didn’t read the catalogue properly. That’s ok though. 🙂

I loved many of the sentiments on the stamp but I didn’t want to ink the whole stamp or most of it to get the one sentiment. And I didn’t want to have a multiple of sentiments sitting around waiting to be used.

So … I cut it up.


With all the sentiments now separated I could use whatever one I wanted to.

TIPS WHEN CUTTING THE STAMP

First adhere the backing sheet (stickers) with the words on it on to the stamp. To do this, only remove half of the backing sheet. Line it up with the stamp and only put the one half of the sticker on to the stamp and press it down to smooth it out. Then peel off the other half and adhere the rest of the sheet.

When cutting the stamp, have the rubber of the stamp facing up so you can see the actual stamp. Cut carefully around the words being sure to leave an edge. It is better to cut them with the rubber side up rather than following the sticker as you don’t want to cut any of the words off. Use sharp scissors and take your time. After they are all separated you can then go back to each one and trim and straighten any of the edges.

The stamps can be stored directly on to the inside back of the case.

Another note on the Messages Die since we are talking about this. Don’t be limited just to the stamps in the Many Messages stamp set. Although they are a bundle and work together there are many other stamps you would have in your other stamp sets where the sentiments would fit in some of these spaces in the die. Check them out and see what you can find.

I hope you find these tips helpful when using this stamp set and the Die. You will find it so much more versatile.

The Many Messages Bundle can be found in my store now -> HERE.

Or you can contact me directly if you need help.

Have a great Wednesday,

Jenny

cards, Catalogues, Videos

MERRY AND BRIGHT CURVY CHRISTMAS + A VIDEO!

I am loving the gorgeous new Quite Curvy Bundle of products we have available this week. I have been creating lots. Today I wanted to share not one but 2 projects with them.

The layouts are the same but one is a Christmas card and then I created another as a Birthday card just changing it a little. Today’s video will show you how to create them with a few tips on how to use these new products.

Check the video below.

On these cards I have used the new Classic Christmas paper in the Crumb Cake prints. There are some great prints in this pack in Crumb Cake, Shaded Spruce and Cherry Cobbler. I have neglected the Scalloped Lace Trim but it is so soft and adds that elegant touch to your cards.

The Crumb Cake card was embossed with the Subtles Embossing Folder to add a little extra texture. The bow and the bird were coloured with Stampin’ Blends.

Are you loving the Curvy Celebrations Bundle of Products? They are available to order now in my store -> HERE.

If ordering online please use the Host Code – RCDPWPWK Or contact me directly to order at jghayward@yahoo.com

Be sure to check out my class details too. View that -> HERE. (Australian residents only at this stage).

Be sure to check the video out and subscribe over on my Youtube channel so you can keep updated when I post a video.

Happy Curvy Creating.

Jenny