cards, Stampin' Up!

YOU FINALLY GET TO SEE THIS BOTANICAL BUILDERS CARD!

I have had this card sitting here for a while now waiting patiently in line to share with you. I started this card LAST NOVEMBER at Onstage! I just needed to finish it off but I didn’t know what to do with it.  It was quite a few months later that I thought I would tackle it. So here is the finished card.

image-6123

I was pleased with the end result.  I have used the Botanical Gardens Designer Series Paper and the Botanical Blooms stamp set.  I don’t have either of these but these little bits were from Onstage.

I stamped the lined pattern onto a piece of Whisper White and adhered this straight on to the Designer Series Paper. I matted this piece on to Hello Honey card.  Did you notice the piece of Designer Series Paper?  Some of the leaf prints from the Botanical Blooms stamp set were stamped on to the paper.

The greeting is from Celebrate Today set and I pierced some holes either side of the greeting and then wrapped around some white Baker’s Twine around the card before it was all adhered to the Mossy Meadow base.  A flower was cut from the Designer Series Paper using the Botanical Builder Framelits.

Have you got the Botanical Builders Framelits yet?  I have seen so many gorgeous creations with these dies.  You can put so many different flowers together and I really love the leaf edge die.

Buy them all together in the bundle and save money BEFORE THE END OF THE MONTH!  Bundle price is $87.75. (AUS).

Botanical builders        botanical blooms            botanical gardens

Head to my store now HERE and you can grab it.  (AUSTRALIAN RESIDENTS ONLY)

Please use Host Code: REKURR47     Thanks.

Thank you for visiting.  I hope your day is super wonderful.

Jenny 🙂
cards, Classes, Stampin' Up!, Techniques

WATER SPRITZING TUTORIAL!

A few weeks ago for Onstage I didn’t have an opportunity to make swaps to share with other demonstrators.  Life has been a little busy. 🙂  I did make a card for the Display boards though where you can add your swap cards or samples.  They are always so inspiring and is a big part of why I love to go.  It’s like a live Pinterest board!!!! 😉

I thought it was time to show you the card. This is a technique I have been playing around with recentlly. I don’t really know what the name of the technique is but I call it the Water Spritzed technique. I will show you how to do this below so read on.

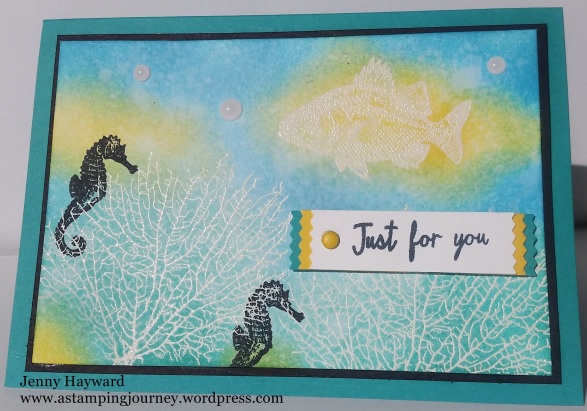
This is my card I made for the board.

waterspritzed_Bythetide

You can see the little “splodges” in the ink where the colour has lifted. It creates a cool motley effect.  Here is how it is done.

WATER SPRITZED TECHNIQUE

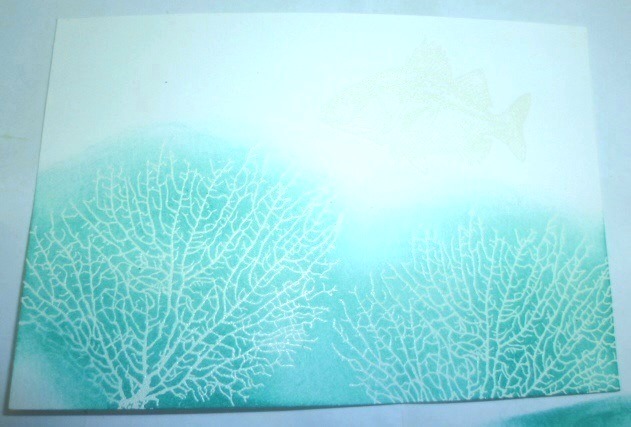
1. Using Thick Whisper White or Shimmery white cardstock, heat emboss your images.  On these I embossed the coral and the fish with white Embossing powder.  I stamped the seahorse with Black Stazon.  It is important to emboss or to use the Stazon so the ink on the images don’t run when you spritz.

2. Use your first colour and sponge in patches over the card. I have used Bermuda Bay here.

P1180329

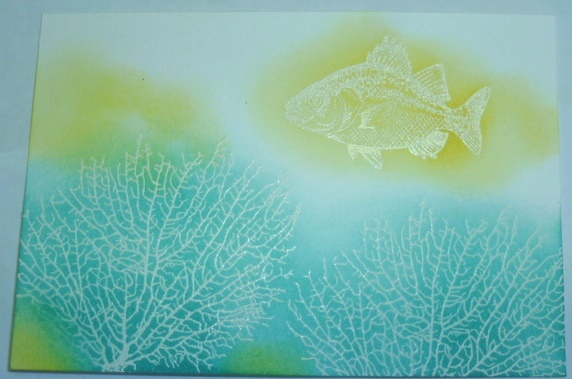
Then add your 2nd colour.  I have used Daffodil Delight.

P1180331

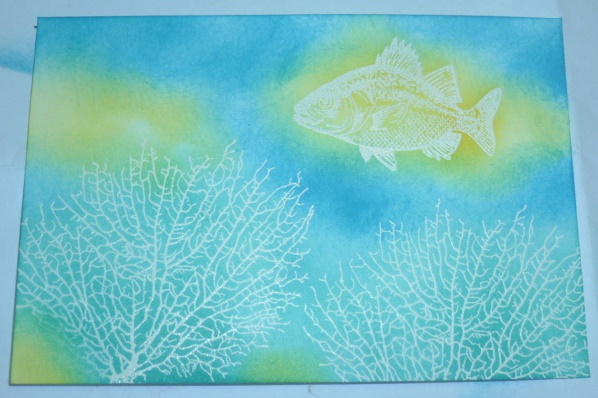
3. Fill in with your 3rd colour.  I have used Marina Mist I think.  It’s good to have 3 co-ordinating colours. Once you have sponged the colours on, use a tissue to wipe off the ink where the images are embossed.  This makes the embossing shine.

P1180332

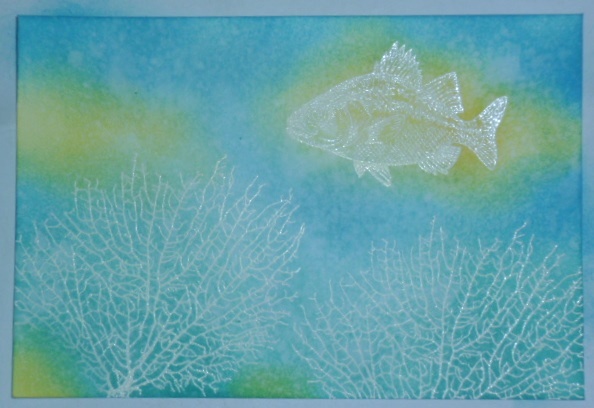
4. With a spritzer with water or I use an old Stampin’ mist bottle, hold the bottle a little away and lightly spray the card.  You don’t want to soak the card just lightly mist.  You will see some of the colour start to lift.  Mist until you are happy with the coverage.  Keep the card level or you will start to have runs from the water running down. Leave the card aside on the table for a few minutes.  The longer you leave the card, the more effect you will get.  Finish off drying your card with the Heat Tool lightly.  You don’t want to melt your embossed images any more.

P1180334

You can now finish your card as you like.

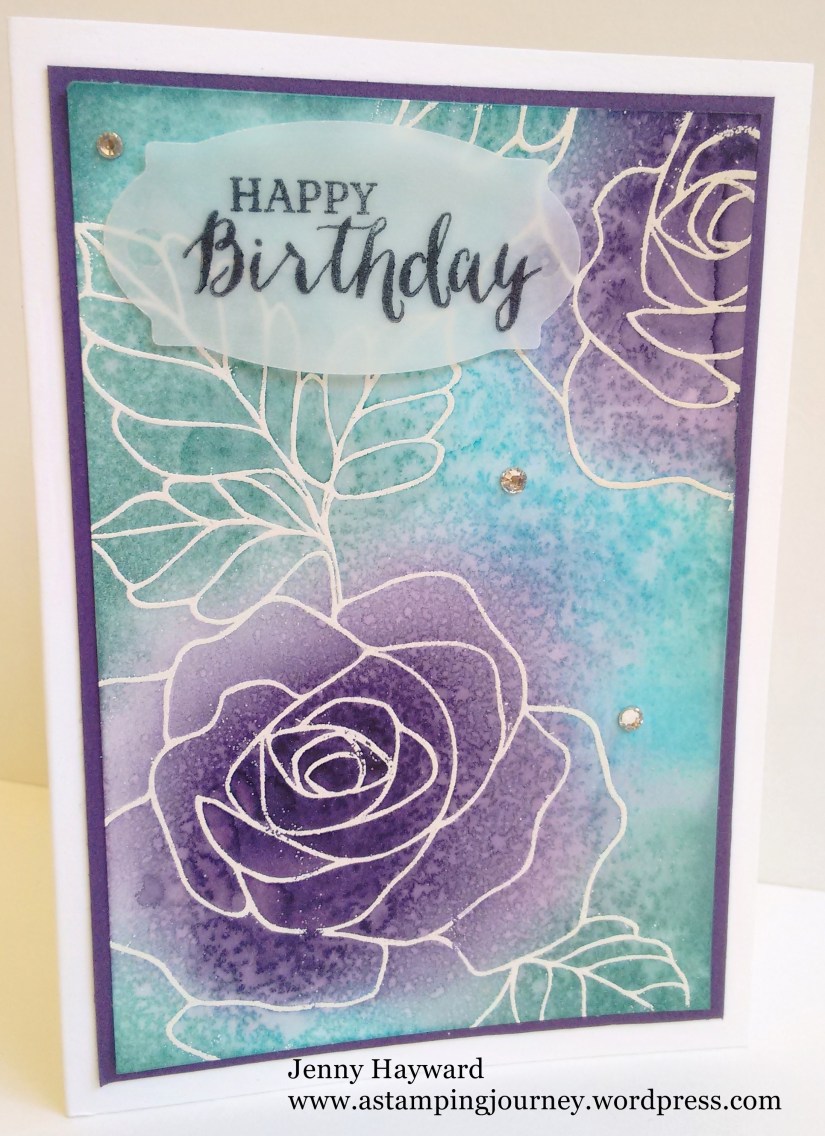
Here is the first card I made using this effect. I have used Rose Wonder set. Thank you to my friend Leonie for showing me this technique.  We made this card at my last technique class too. I have heat embossed the images in white,  The inks I have used are Elegant Eggplant, Tempting Turquoise and Bermuda Bay.

image-6194

I made another card that day but I didn’t leave the water sitting on the card for long so it doesn’t have as much mottling.  I was a little disappointed with the colour combination. I used Watermelon Wonder, Mint Macaron I think and Lavender Lace. I thought I would show you the card anyway. This is using Birthday Blossoms.

image-6191

So how about you have a try at this technique.  Each time you do one it will turn out different. It’s fun.

Thanks for visiting me today.  Have a wonderful day/night.

Jenny

3D projects, cards, Tutorials

MY PROJECT IS OUT FOR ‘WE STAMP FOR LARA 2016’!

Lara header

Have you joined in with ‘We Stamp For Lara’ yet?  My project is released today.  Here is a sneak peek for you.

?

I shared all the details in a recent blog post.  This is a fundraiser event for a special little girl.  Lara has so many medical challenges.  We are seeking to raise money to get a special mattress for her that can help turn her in the night.  You can read all about it in this blog post HERE.

For $15 you receive 1 tutorial a day for 15 days.  All the money raised goes directly to help young Lara and her family.  You can join anytime during the time (2nd May – 15th May) and still access all the tutorials.  Tutorials are available on a special Facebook group. If you are not on Facebook then they can be emailed to you. You can comment or email me here if you would like to join in.  Payment is made by Bank Transfer or Paypal.

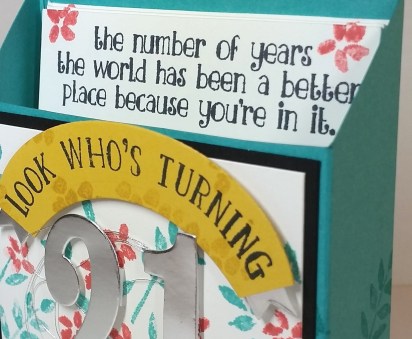
We are mainly focusing on  the ‘Number of Years’ stamp set and matching Framelits.  To help with the fundraising too I am donating my commission to ‘We Stamp For Lara’ when you purchase the ‘Number of Years’ set and framelits.  Buy the Bundle and save money.  These are available in the new Catalogue but not as a Bundle so get them now.

Bundle Price is $85.75.  (Stamp set alone is $47, Framelits are $54 – so great value!)

Stop by my store HERE to order directly or contact me by email or a comment here.

Please use the Host Code: APFCFBMW when ordering at my store this week.

Thank you

Jenny

cards

A 90TH WITH BOTANICAL BUILDERS!

We had a 90th Birthday party to go to last weekend. No it wasn’t the Queen’s 😉  This was a family friend so it was lovely to celebrate with her.  Of course I had to make a card.

20160422_172247-1_wm

Using the retiring Blackberry Bliss cardstock on the Thick Whisper White base.  I added Blushing Bride and Blackberry Bliss flowers cut with the Botanical Builders Framelits and I used Pear Pizzazz for the leaves.  I cut a glittery ’90’ from Dazzling Diamonds Glitter Paper with the Large Numbers Framelits. A special card for a special lady.

Thanks for visiting.

Jenny

Items are selling out fast on the retiring list.  Have you checked them out yet?  Stop by my store HERE and see.  You can order directly there too or contact me by email or a comment here.

Please use the Host Code: APFCFBMW when ordering at my store this week.

cards, Stampin' Up!

CREATIVE PLAY DAY WITH BOTANICAL BUILDER FRAMELITS!

I had some creative time yesterday just to play.  It was so good.  I don’t have a lot of occasions to do this for a whole day.  Good for the soul 🙂

After I made some customer Thank You cards (which I will show you next post) I could play with the Botanical Builder Framelits.  I only got the framelits recently.  I was NOT going to get these.  Nup,  I don’t need them, BUT I saw so many gorgeous things created that one day they slipped in to my order on Hostess rewards.  Just one of the many perks being a demonstrator. 😉

So I thought I would show you what I made.  I think I only touched the tip of the iceberg here.  So much to make with them.

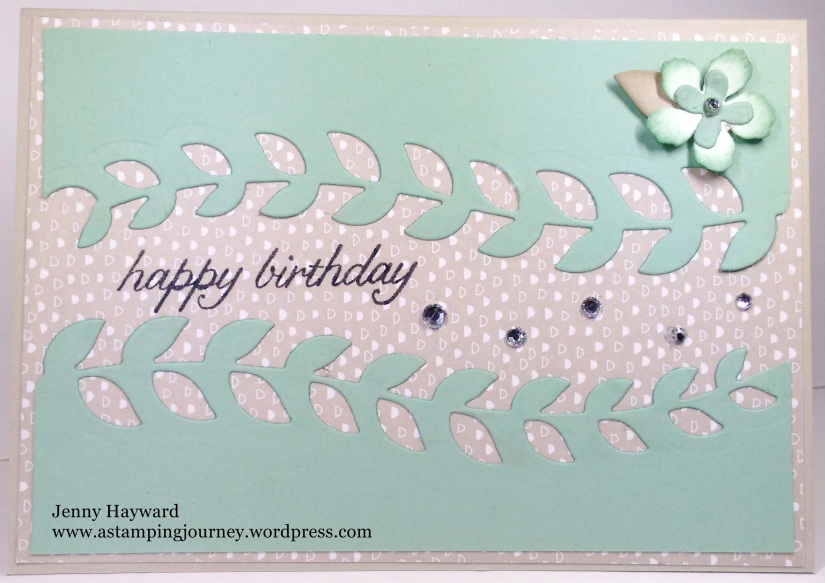
I saw this idea on a Facebook group I am on to use the leaf border as the centre border on a card.  I thought that was clever. Have to say though it was harder to work out than it looked – and maybe cut the right side of the card!  Here is the first card.  I am still not too sure of it. I thought I would show you anyway.

image-6229

The base in Sahara Sand and the Designer Series Paper piece is from the ‘It’s my Party’ Paper Stack. I think the colour of the DSP leaves it looking a little flat. I cut a piece of Mint Macaron card slightly smaller and then cut the leaf edge from the centre.  Just check which way you need to cut it first!!!

The sentiment is from ‘Birthday Blossoms’ set stamped in Black. I added some Rhinestones but still thought it was missing something.  After I cut some flowers for another card I added a flower to the top right.  The flower is in white and I sponged the edges. I don’t know, what do you think?  Missing something?

Well after making this card I tried another one this time in Island Indigo.

image-6228

I do like this version better.  Maybe it’s a bit brighter? I added some Adhesive Pearls to this one.  The sentiment is from ‘A Dozen Thoughts’.  This might work for a wedding card?

When I made the Mint Macaron version above I first cut it wrong.  Rather than waste the piece I thought I would make another card.

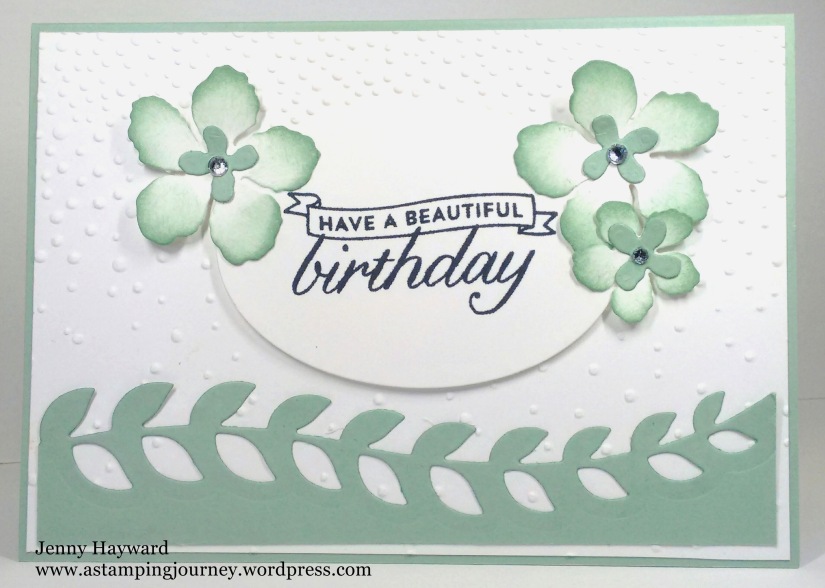
image-6231

I added the strip along the bottom of a Whisper White mat which I had embossed with the ‘Softly Falling’ Embossing Folder.  The card base is Mint Macaron.  This sentiment is also from ‘Birthday Blossoms’ which I cut with an Oval Framelit.  The flowers were cut in White and then sponged with some smaller Mint Macaron ones in the centre.

I can’t wait to get back to playing with these some more to see what else I can make.  Lots of versions layering and sponging!!

Thanks for visiting.

Jenny

cards, Classes

WATERCOLOUR FUN CLASS!

Watercoluring  is all the rage in the crafting world, have you noticed? We are focusing on 2 fun watercolouring techniques in our class this Saturday.  I hope you can join us.

Here are the details.

SATURDAY 9TH APRIL 2PM

We will make 2 fun cards with different watercolouring techniques.  Here is a sneak peek for you.

Please RSVP by Thursday 7th.

COST:   $15

BYO: Scissors and Adhesives.

I hope you can come. 🙂

3D projects, cards, Sale-A-Bration, Stampin' Up!

CARD IN A BOX FOR A 2 YEAR OLD!

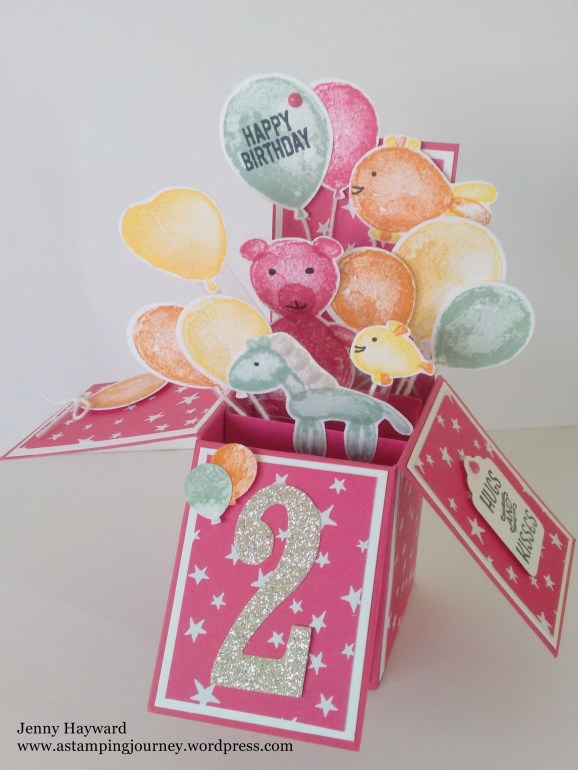
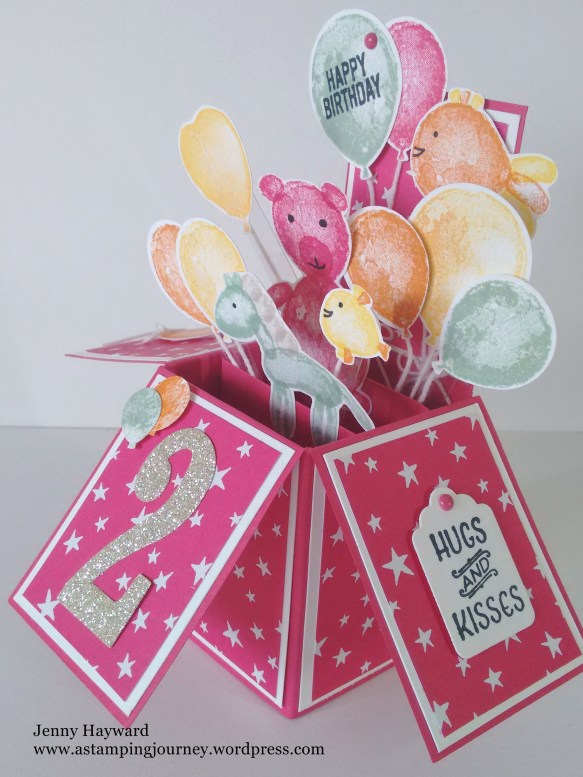
I can finally share this card with you.  I was so excited to finish this card but it had to wait. It’s kinda cute.  🙂

I was asked by a friend to make a special card for her 2 year old.  Things she liked was pink, purple and orange – and fish! How to incorporate all that??  I decided to go with the ‘Balloon Builders’ stamp set.

So, here it is for you. I have a few different angles for you.

image-6111

image-6113

The “Hugs and Kisses” sentiment is from the ‘Party Pants’ Sale-A-Bration set.  The ideas for the different balloon animals were from Pinterest. I had to incorporate a couple of fish in there somewhere. 😉  The Designer Series Paper is from ‘It’s My Party’ paper stack.

image-6110

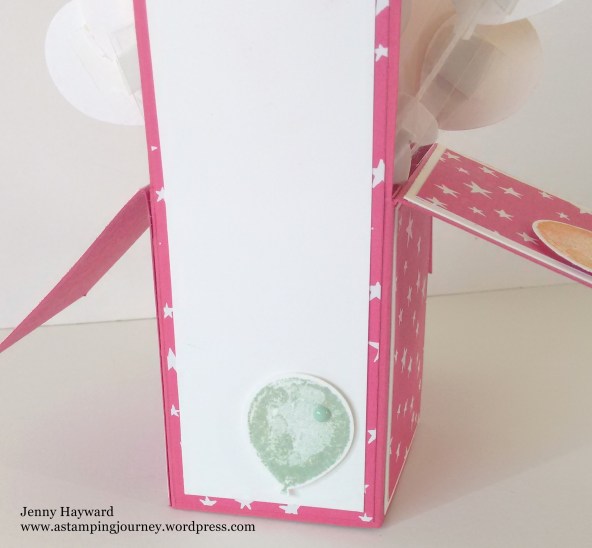
And the back gives a place to write on.

image-6108

What do you think?  This was a labour of love and I had so much fun creating and it was very well received.

Thanks for visiting me.

Jenny

cards, Sale-A-Bration

HONEYCOMB HAPPINESS CHICK!

Tomorrow is the last day of Sale-A-Bration for the year! Do you think this time has flown by too?  Crazy! I am squeezing in a couple of last minute Sale-A-Bration cards with you.

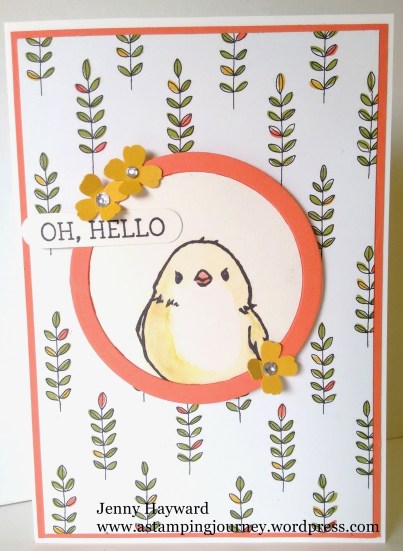
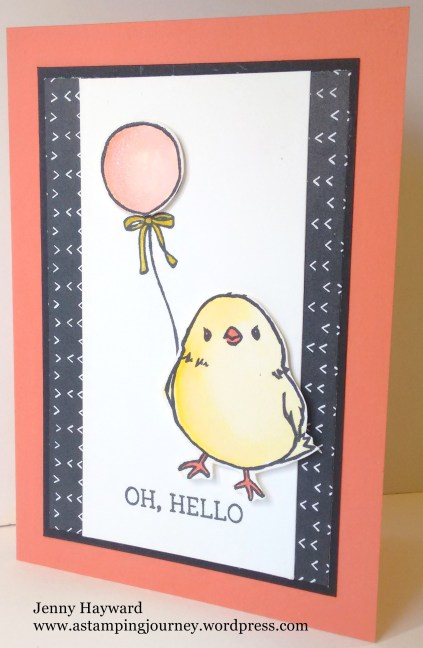
I have loved colouring this little chick from ‘Honeycomb Happiness’.  Isn’t his (or her) face sweet? This card I made a few weeks ago to send out to a few customers I haven’t heard from in a while.  The idea came from Pinterest.  I changed the size to make it a standard size card.

hello

I have coloured the chick with the Hello Honey inkpad and aquapainter. I love how he is peeking out from the circle.  I cut 2 circles in Calypso Coral card and created a window frame for him. I have layered it on the Sale-A-Bration paper ‘Wildfower Fields’ and layered this to a Calypso Coral card mat and then a Thick Whisper White cared base. The card was finished off with some punched flowers using the Itty Bitty Accents Punch Pack and some Rhinestone bling.

This next card was made for a friend’s daughter who is not well.  I just thought I would cheer her up.  This card was also cased from Pinterest.

Kate's card

The chick is once again painted with the Inkpad (Daffodil Delight) and aquapainter.  I cut it out and raised it up off the card with dimensionals.  I stamped the balloon on the card and then stamped it again separately and raised it up.  The Designer Series Paper is from the ‘It’s My Party’ paper stack and matted on Black and then on the card base of Calypso Coral.  You can’t see it but I did add some Wink of Stella  sparkle on the balloon.

Don’t forget to get your last minute Sale-A-Bration orders in.  I am taking orders until 8pm tomorrow night or you can order online at my store HERE.

Thanks for visiting,

Jenny

cards, Stampin' Up!, Techniques

SOMETHING FOR BABY!

I can finally show you this card.  A friend who is also one of my downlines had a baby boy back in January.  I have only got to see her recently so now I can show you the card.

baby blue

I found the idea for the window card on Pinterest but I changed it around and made it larger into a standard size card.  The window was cut with the Square Framelits. The Designer Series Paper was the ‘Perfectly Artistic’  Sale-A-Bration paper which is now no longer available.  Well it was when I made the card 😉

The cute little suit is from ‘Something For Baby’.  It is so nice to have the matching framelits too.  No cutting!!  The greeting is from ‘A Dozen Thoughts’, stamped and then punched with the Oval Punch.  I cut a red banner using the ‘Itty Bitty Framelits’.  I cut the banner in half and adhered this to the back of the oval to make it larger. The red gives it a “POP” I think.  I added the red Candy Dot to the bib.  I am still unsure, maybe it should have been a Tempting Turquoise one?? Sometimes you second guess yourself.

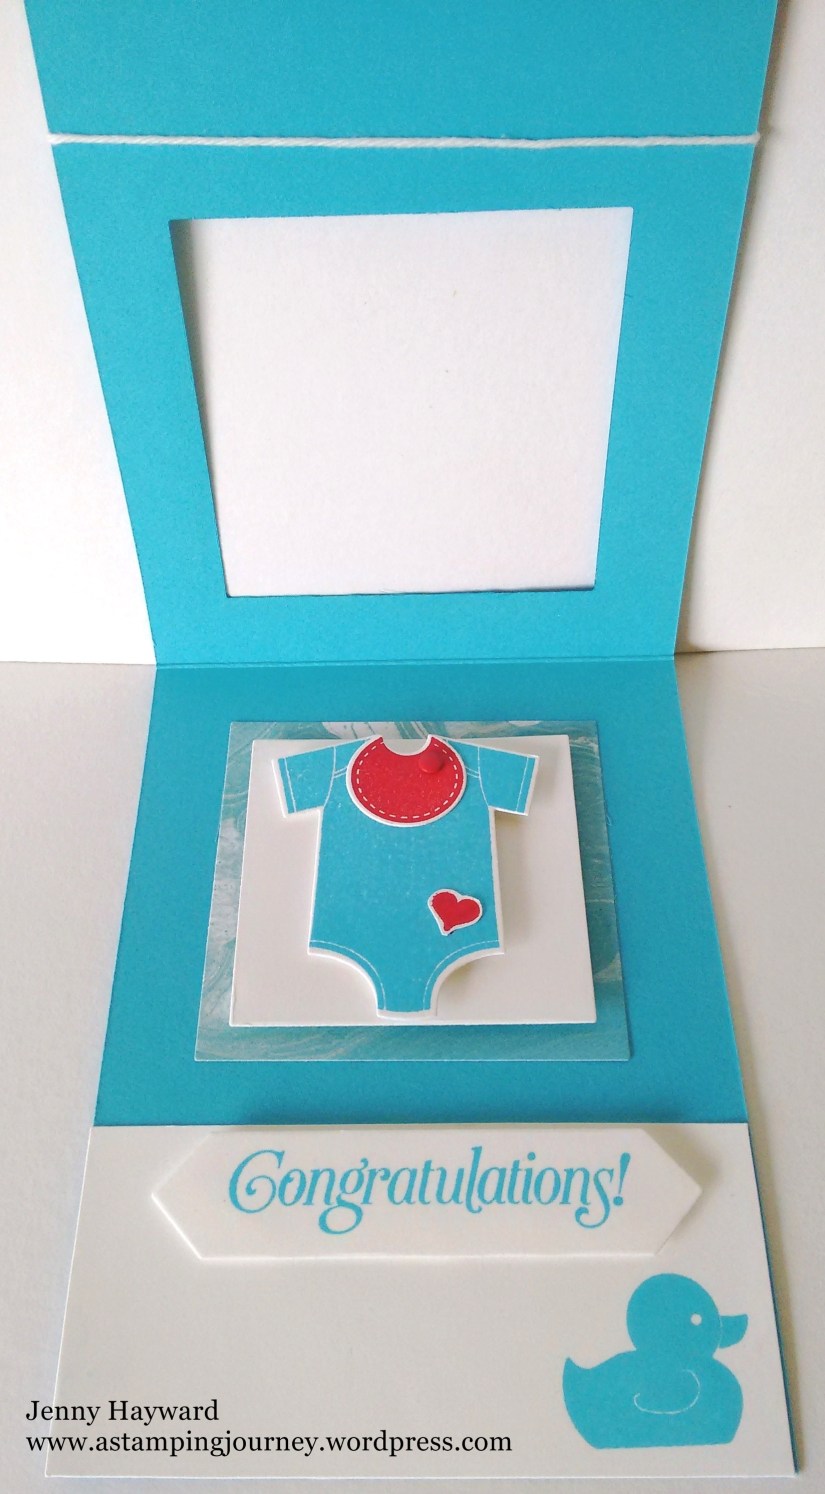
Here is the inside.

baby Insdie _ 2

I added a piece of Whisper White to the bottom inside.  I stamped the duck in the Tempting Turquoise too. The greeting is from Sale-A-Bration set ‘Sky is the Limit’ which is no longer available either. 😦  I stamped it and then cut the greeting with the ‘Project Life Cards and Labels Framelits’

I think it has the cute factor.  What do you reckon?? 🙂

Thanks for visiting today.

Have a great day.  The weather is turning chilly now.  I am sad that Summer is leaving us but it is a relief to have cooler nights to sleep better.

Jenny

cards, Masculine, Sale-A-Bration, Stampin' Up!

PARTY PANTS 21ST!

I needed to make a 21st card for Josh to give to a friend.  It needed to be quick.  I didn’t have a lot of time.  I had just received the Large Numbers Framelits so I thought this might be just the thing.  Plus I received the Sale-A-Bration ‘Party Pants’ set.  I love these little sentiments in this set.

Here is the card for you.

21st

I have used some of ‘It’s My Party’ Paper Stack. I have used so much of these papers. There is 48 12″x12″ sheets in the pack.  Not just some bright party type papers but some neutral Sahara Sand and black and white sheets.  Very versatile I think. 🙂

I cut the 21 from the black DSP piece and then added a piece of Real Red card behind it.  I matted it all on some Whisper White and then a Black card base.  The sentiment from ‘Party Pants’ is cut from the ‘Tags and Labels’ Framelits and matted on Real Red card frame.  I looped up some Silver Cord to add behind the sentiment.  Josh thought it was cool as it looked like barbed wire!!!  🙂

So a quick masculine 21st card was made in record time!

Thanks for visiting today.

Jenny