cards, Christmas, Classes

A CURVY THINKING OF YOU CHRISTMAS CARD!

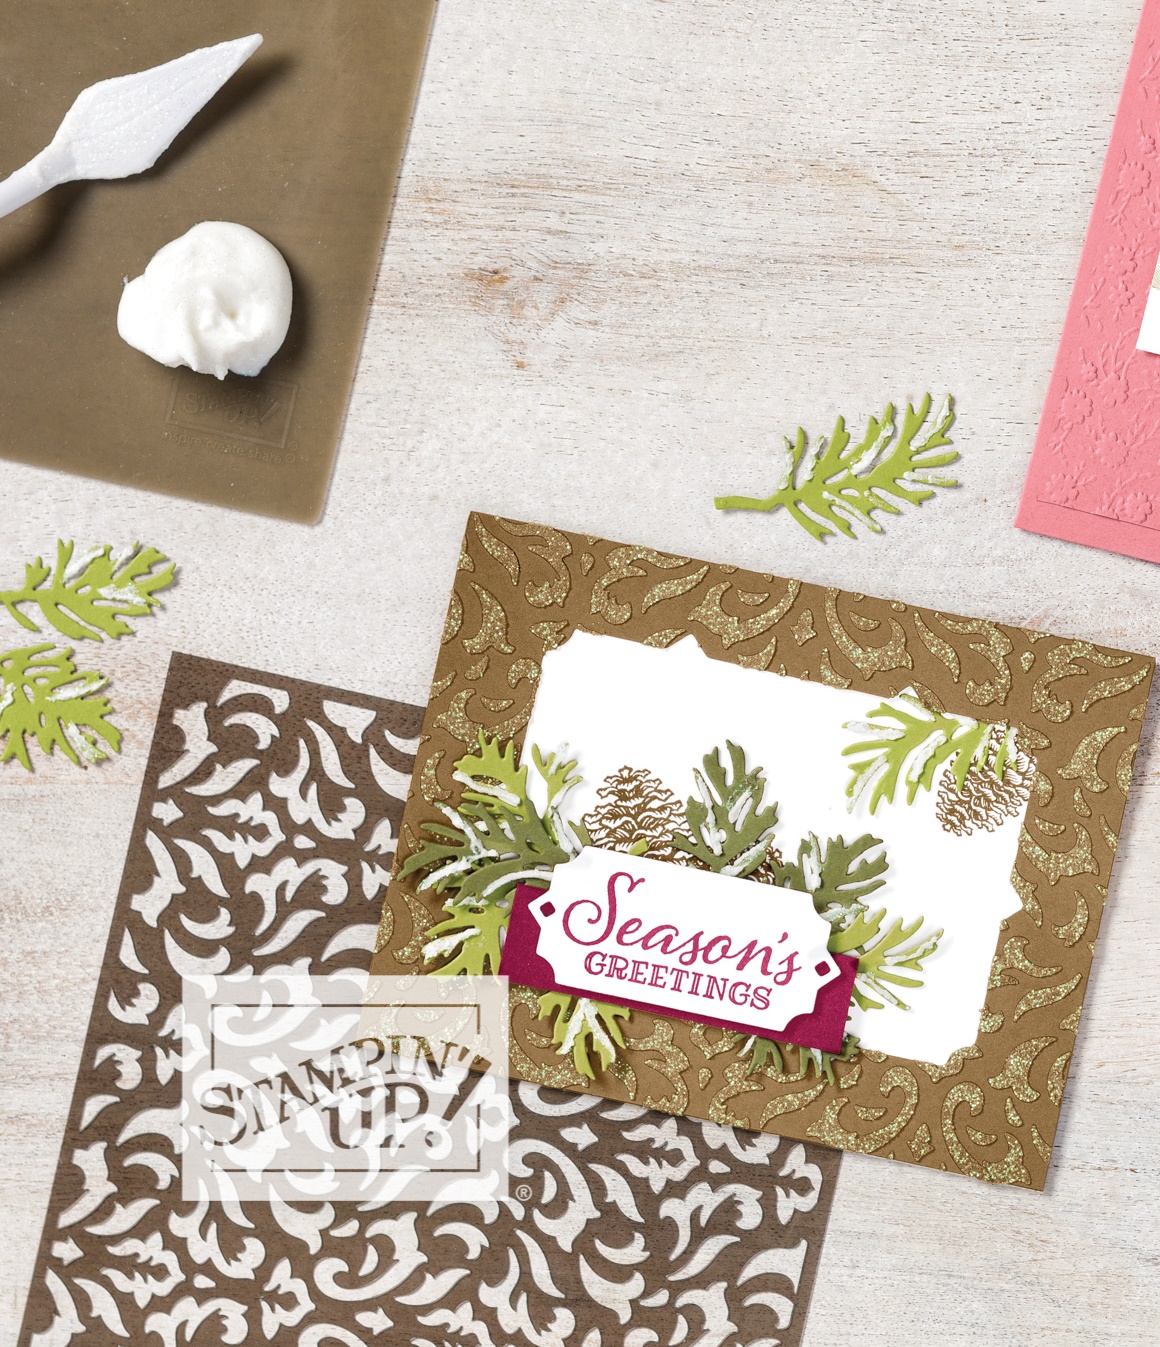
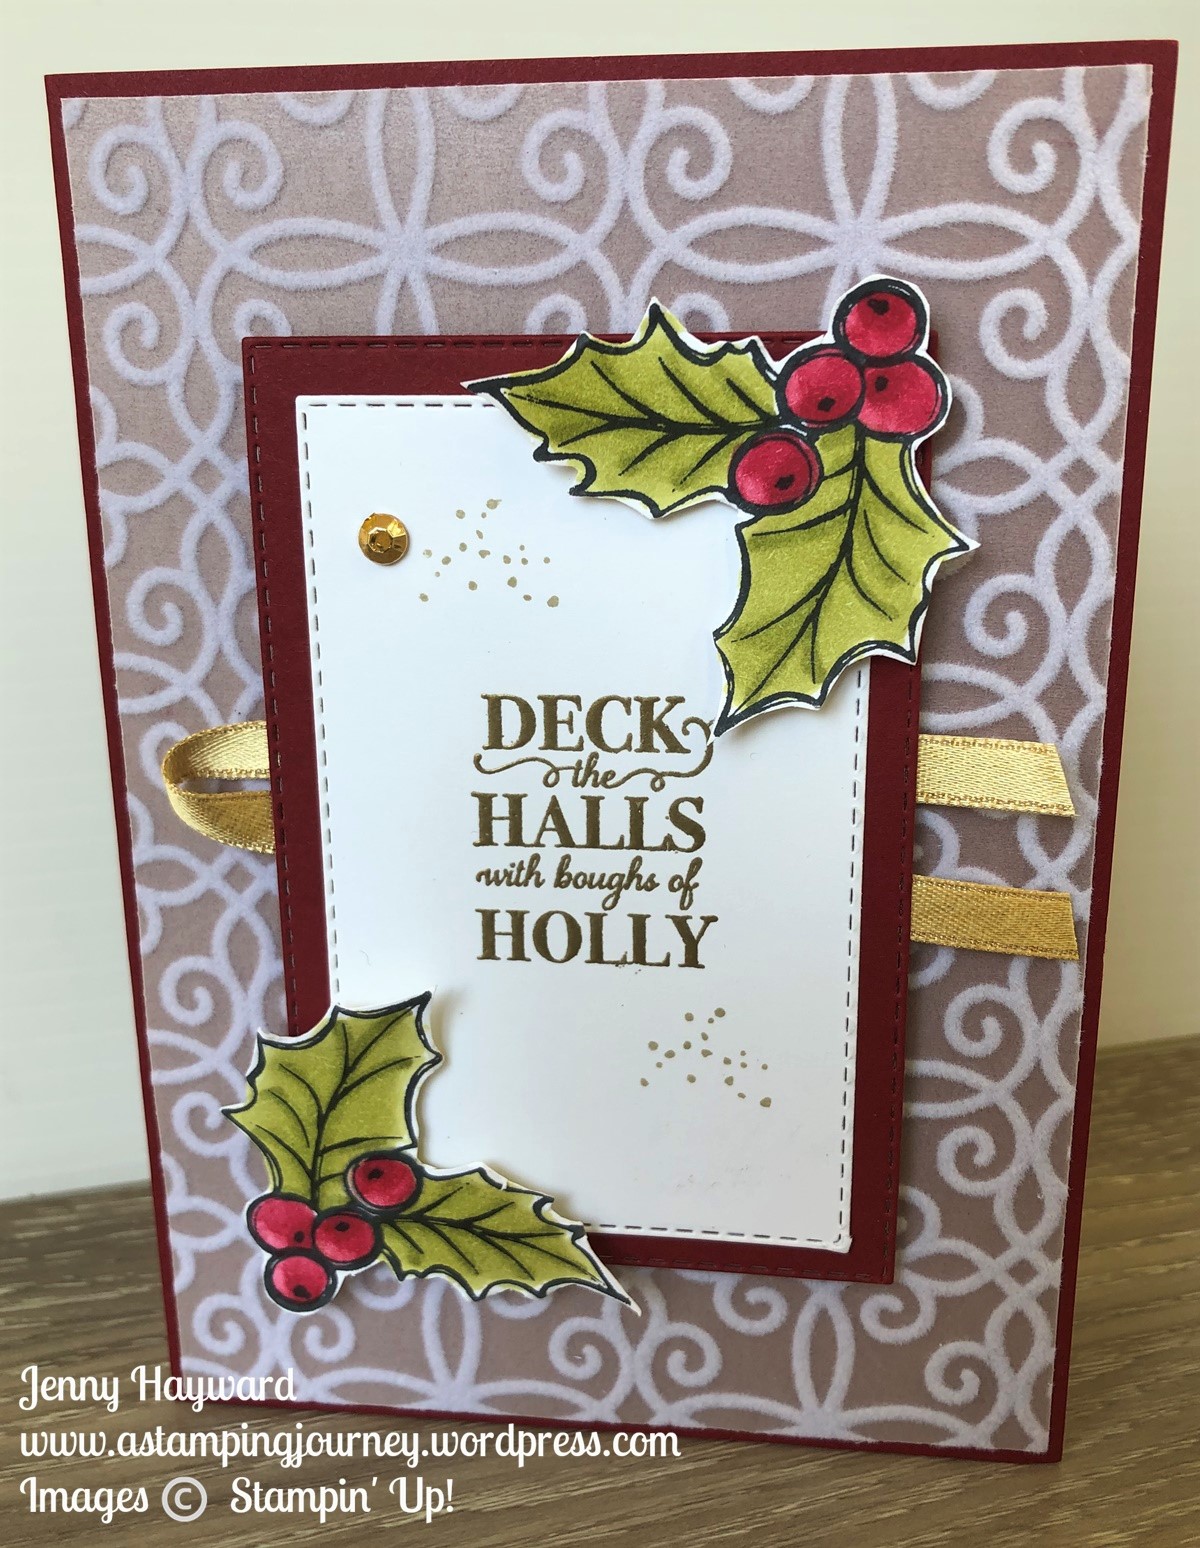
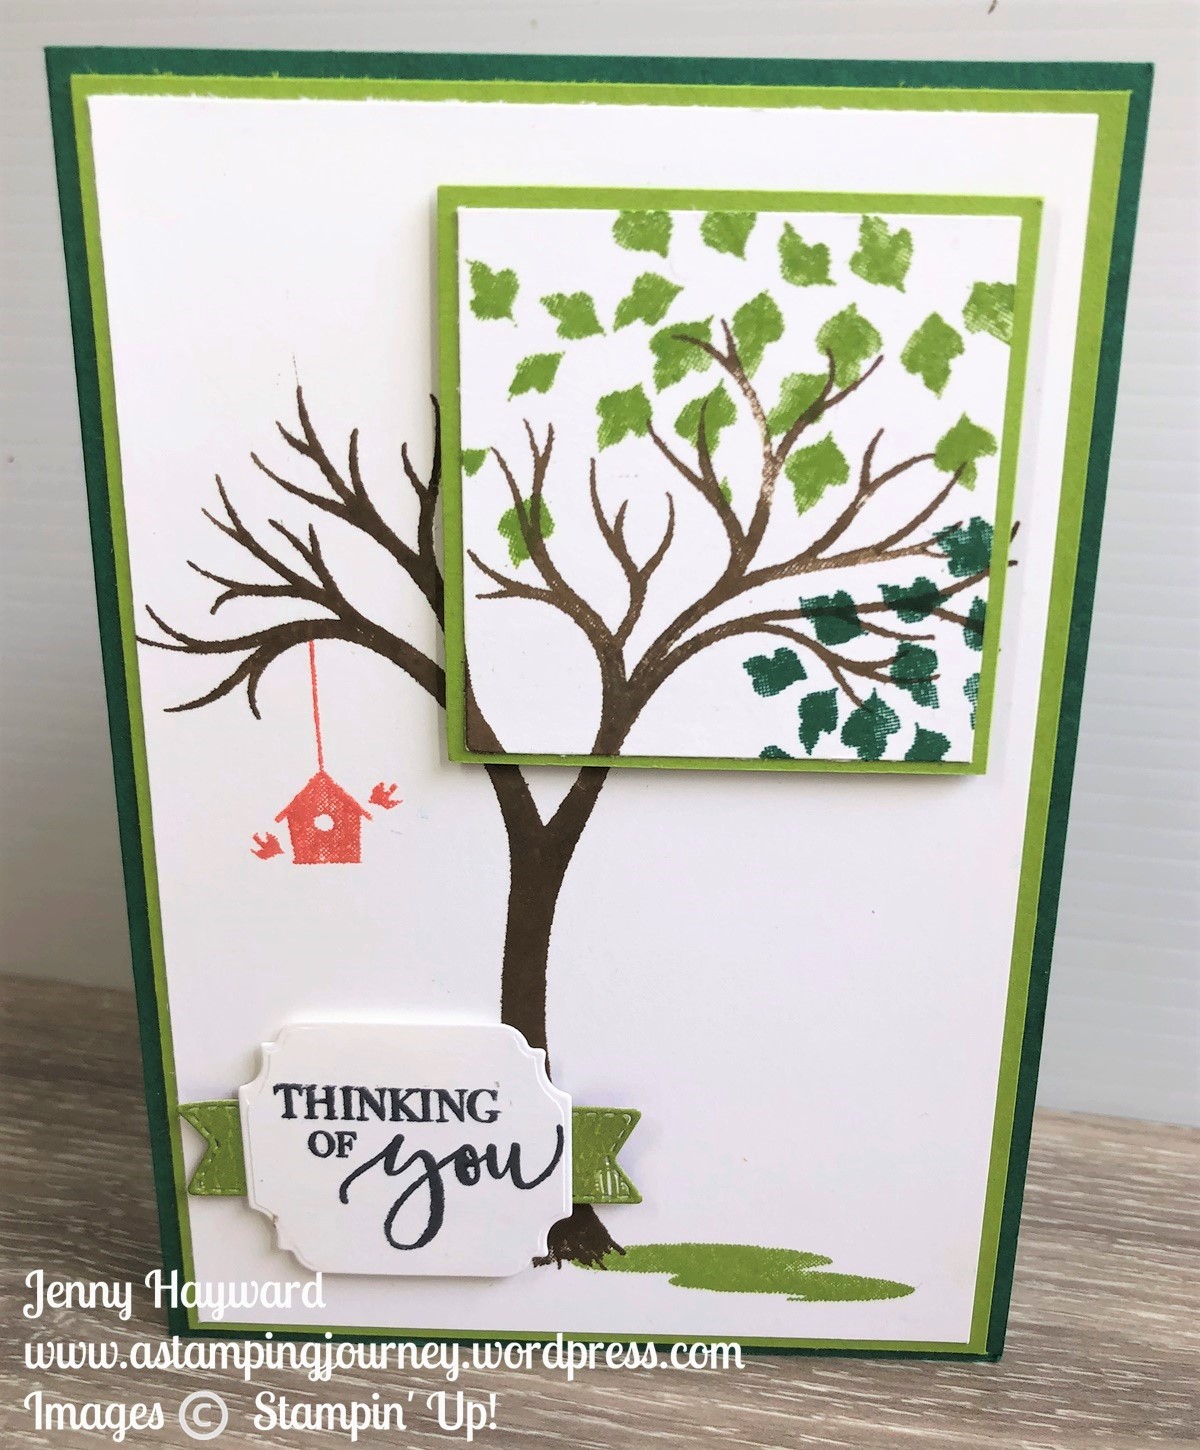
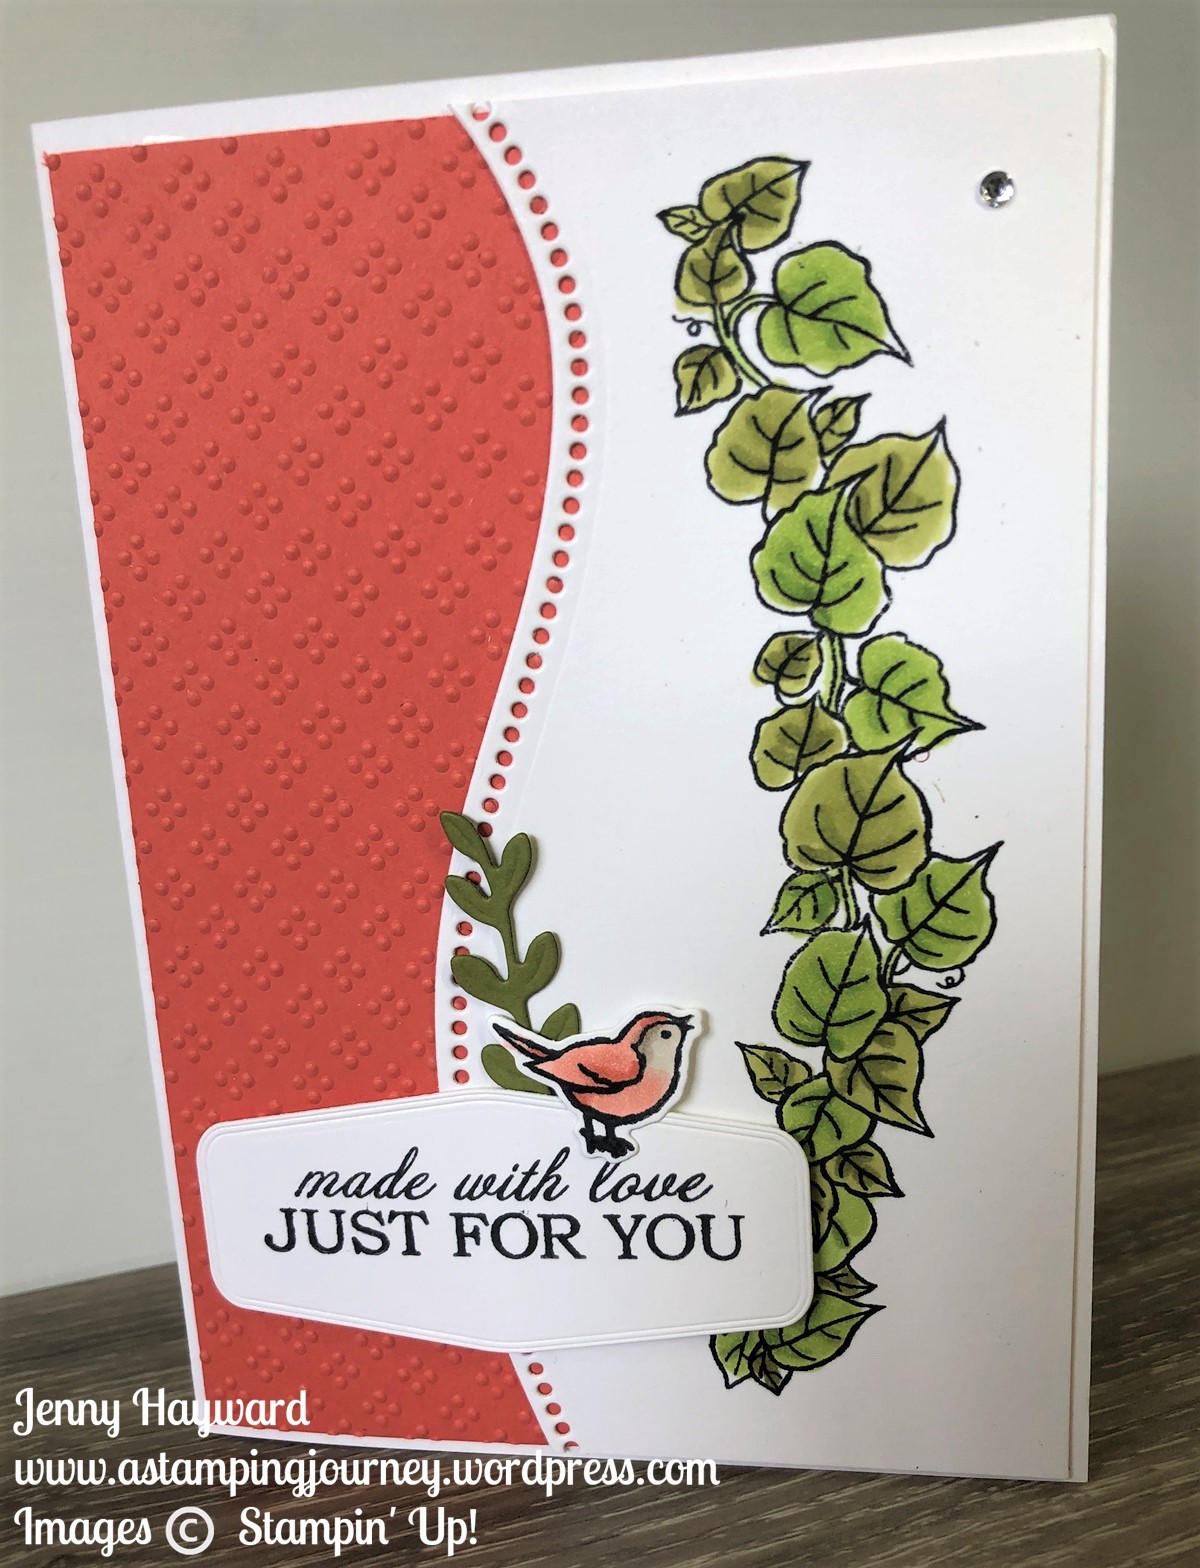
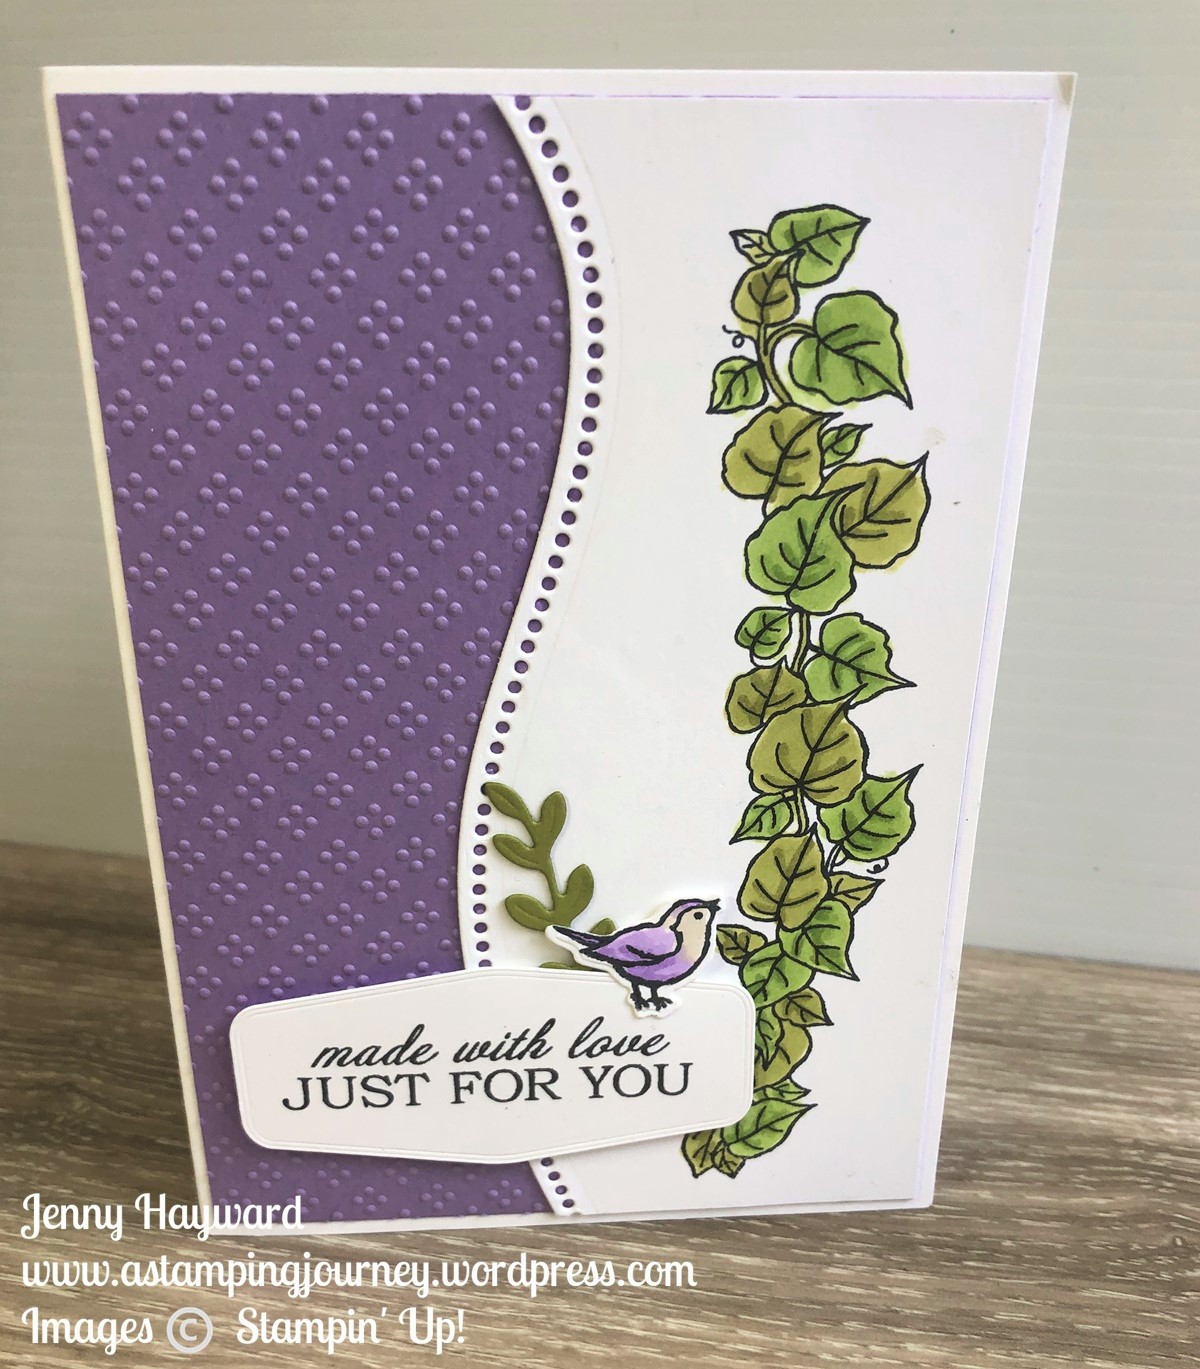
Today’s card I am sharing with you is another one we made at our Curvy Class a few weeks ago. I think this was a popular one too.

The Cherry Cobbler card mat was cut with the Curvy Dies and then embossed with the ‘dotty’ folder in the Wrapped in Texture Embossing Folders set. It was then adhered to the white card mat.

Before adhering the piece tie around some ribbon at the top. I used the Gold ribbon here. Everyone could choose the ribbon they wanted and it was interesting to see just how different they looked with the different ribbon choices. Some used the Gray Granite ribbon some the sparkly Snowflake Splendor ribbon.

The bow was stamped separately and fussy cut with scissors. It is hard to tell but we also use the Wink Of Stella Pen on it for a little sparkle. Finish the card with a Gold Faceted Gem for sparkle too.

We have one more class for the year next week and then we will be back in January 2021. If you are a Wollongong local come and join in the fun. I will post times soon.

Happy Stamping,

Jenny

Need last minute Christmas products? What about some of the amazing discounts in the Clearance Rack or the Year-end Closeout?

In Australia? I would love you to consider shopping with me. Contact me directly on 0439 844574 or shop in my store -> HERE.

cards, Catalogues, Techniques

WEDNESDAY’S WOW! #114 – COLOUR THE EMBOSSING PASTE

For Wednesday’s WOW! #114 I wanted to show you the effect you can create by colouring the Embossing Paste. This paste is not something I have used a lot of but it is so cool!

Embossing Paste is available in a 118ml or 4 fl. oz. container. You can use the paste to add extra texture to your projects which is fun. Use it with the Palette knives to add the paste directly by smearing it on your project or through the Decorative masks which are available.

Stampin’ Up! carries the regular White Embossing Paste as well as the Shimmery White Embossing Paste. The extra sparkle in the Shimmery White paste adds that little extra to your projects.

This one below is the Shimmery White one although it is hard to see the sparkle.

As an extra step why not add a little reinker to the paste. Simple smear some on the Silicon mat or even a block. Add one or 2 drops of reinker and mix. Then you can add it directly to your project. Be sure to rinse off the paste straight away on your mat or block that you have used.

Check out the project below. Some Soft Suede ink refill has been added to the paste and then smeared through the mask. It has been applied to the Soft Suede card so gives an textured sparkle in the same tone as the card. Pretty cool right. 🙂

This project uses the Peaceful Boughs stamps and the Beautiful Boughs Dies.

So why not grab some texture paste and not only add the paste on your projects but colour it with the reinkers for some co-ordinated colour.

These are available in my store now. In Australia? why not head along to grab some now. Head -> HERE.

Thanks for visiting for another fun tip today for Wednesday’s WOW!

Happy stamping,

Jenny

cards, Catalogues, Stampin' Up!

THE YEAR-END HOLIDAY CLOSEOUT IS NOW HAPPENING AND THE CLEARANCE RACK IS UPDATED!

The Stampin’ Up! Year-End Closeout is all happening now.

You might have already finished your Christmas creating for this year but you can stock up with some bargains for next year.  Maybe even some stocking stuffers. 🙂

Check it all out below. 

Some items have been reduced UP TO 50% OFF! 

This Huge Closeout Sale runs from December 8th to January 4th BUT ONLY WHILE SUPPLIES LAST!

View all the items in the PDF list -> HERE.

View it directly in my store now -> HERE

(**Note: All bundles are being retired but some will be carried over to order later individually as stamps or die/punch.  Save 10% now to buy them as a bundle).

Here is some of the projects I have shared recently with some of these products. Some of these products are crazily reduced. They will be snapped up in no time.

Plush Poinsettia paper – 50% off! Crazy!

Coming Home Bundle

Warm and Toasty Stamp set

Poinsettia Place Bundle

The Bundle will be carried over but you will save 10% buying it now as a bundle.

Life is Beautiful stamp set

Gilded Autumn Suite

So much more to love too. You have to shop quickly though as some of these will sell out very fast.

TO ORDER

** Spend over $100 and receive a pack of Red Rhinestones as a little Thanks – and a Christmas gift from me.

CLEARANCE RACK UPDATED!

I can’t believe some of these prices for the Clearance Rack.

Some examples – single Stampin’ Blends for 50% off. Crazy right!

Check it all out in the Clearance Rack -> HERE.


Order Online at my store FROM TODAY

Please use the Host Code: 4SQH4PNK

Or email me directly anytime or phone me on 0439 844574 

(I will be away from the 8th-10th and internet is intermittent but send me a message if you  can’t reach me and I will be in contact with you ASAP)

Happy Shopping,

Jenny

cards, Catalogues, Christmas, Classes

GET ON THE DIAGONAL WITH THE CURVY CHRISTMAS!

Today’s card with the Curvy Christmas stamp set is one we made in our Curvy Class recently. I think it is my favourite of the cards. It is simple but really do you need much more with these gorgeous Curvy Dies??

The paper is from the Classic Christmas pack. I love all the different patterns in this pack and they are in the 3 colours – Cherry Cobbler, Shaded Spruce and Crumb Cake.

For this card I chose the diagonal print in the Cherry Cobbler. Each person in the class could choose their own print so it was good to see the different look just with having a different print. I should have taken a photo of them.

The piece of Designer Series Paper is just slightly smaller than the card base.

Just a tip when cutting the white card – Check which way the blade is BEFORE cutting. You want to make sure that the “scallop” pattern is along the top of the die and the cutting edge is along the bottom. Not the other way around or it will just cut a curved line. 🙂

After cutting the white card then stamp the sentiment in Cherry Cobbler. Add a few stars in Crumb Cake too.

2 great leaf sprigs were cut with the leaf die in the set in Shaded Spruce and adhered together on to the left hand edge. The Linen Thread bow is adhered with a glue dot. And why not finish with bling. I added a Gold Faceted Gem.

If you want to grab the Curvy Christmas or the Classic Christmas paper you only have until the beginning of January. Well really you will want it earlier so you can get some Christmas cards made right. 🙂

Curvy Celebrations

In Australia? You can order this in store -> HERE. Please use the Host Code: 4SQH4PNK

Or contact me directly at jghayward@yahoo.com and I can place your order for you.

Happy Stamping,

Jenny

cards, Catalogues, Christmas, Sunday Suites

SUNDAY SUITES – POINSETTIA PLACE SUITE!

Today’s Sunday Suites is the Poinsettia Place Suite. It’s about time I checked this suite out. It is so gorgeous and has been so popular. So let’s look at it.

This is all that is in the Poinsettia Place Suite Collection.

The Poinsettia Place Suite Collection includes:
– Poinsettia Petals Photopolymer Stamp Set
– Poinsettia Dies
– Poinsettia Place Designer Series Paper
– Plush Poinsettia Specialty Paper
– Beaded Pearls
– Real Red 3/8″ (1 cm) Sheer Ribbon

The paper itself is just so gorgeous. Check it out below.

This is the Poinsettia Petals Bundle with the stamp set and the dies.

Some of the dies cut the stamped flower shape and some create an embossing on the leaves. Check it out.

We need to look closer at the Poinsettia Place Designer Series Paper.

You get 12 sheets of 6 different designs. The colours in the prints are Bumblebee, Garden Green, Old Olive, Real Red, Soft Suede, Whisper White. Some of these flowers on the prints you can cut out and just have that on your projects.

BUT, how gorgeous is this Plush Poinsettia Specialty Paper. I have shared some projects with this recently. The flocked designs are on white vellum and look so beautiful as a background or layered over patterned paper. Ooh! And they feel so good.

You need to see some products with this gorgeous array of products. Pretty papers and pretty stamps. These are created by Stampin’ Up! artists.

Some of that gorgeous Plush Poinsettia paper on these projects. Also in this suite of products are these beautiful Beaded Pearls. They make lovely centres for the projects.

And another project using completely different colourings to the suite but still showing the gorgeousness.

Not much time left to get the Poinsettia Place Suite of products. You can see them and order in my store -> HERE.

Or you can conact me directly to place your order.

Have a great Sunday,

Jenny

cards, Catalogues, Christmas, Stampin' Up!

MERRY CHRISTMAS WITH JOY TO THE WORLD!

Another variation with the Joy To The World Kit. This is a very simple version.

This time I stamped the wreath over a Crumb Cake card base to give that ‘tone-on-tone’ effect. The wreath was also stamped on to white card. The “Merry Christmas” was stamped over the wreath in Cherry Cobbler. This white card piece was matted onto a piece of Just Jade card.

To finish wrap the Cherry Cobbler twine a couple of times around the piece and tie in a bow. Then adhere it to the Crumb Cake card base with Dimensionals. Finish with a Gold Faceted Gem.

It’s great that you can use the beautiful stamp set for other Christmas cards.

Don’t forget to stamp the envelope.

Only a couple of days left to get the Joy To The World Kit. In Australia? You can grab one in my store -> HERE.

Thanks. Have a great weekend,

Jenny

cards, Christmas, Videos

JOY TO THE WORLD – CREATING LIVE!

On my Facebook Live this week I created with the Joy To The World Kit. Such a gorgeous one. Of course you can make the cards as they are but … isn’t it great to mix them up a bit – and use those stamps more too.

This was the card I made on the Live. I posted the video below too so you can check it out. And also, see some tips in using this gorgeous kit.

I don’t usually stamp the inside of the card but I did for this one.

I will share some more of these cards over the next few days.

The video is below or You can catch the replay of my Facebook Live. I am trying to go Live on my Facebook page every Wednesday afternoon so I hope you can come and join the chat and the fun.

There is only a few days left to get the Joy To The World kit. You will make 8 gorgeous cards but have some of the lovely kit to make more. They are very quick to put together. Of course, try something different with them too.

Order Your Joy to the World kit

In Australia? Order in my store now -> HERE. Please use the Host Code RCDPWPWK

Or Contact me directly and I can put the order in for you.

Happy Stamping,

Jenny

cards, Catalogues, Stampin' Up!, swaps

TEAM CARD SWAPS!

I shared recently a card I made for our recent Team Card swaps. That was the card shown in last week’s video. Today I thought I would share the swaps I received.

Part of the fun of our stamping events like Onstage is swapping and since we couldn’t all be together this year I thought it would be still fun to hold a swap. Some of my JEN’s INK team joined in. You might like to see the cards.

My card is the Highland Heather card in the bottom left with the Curvy Celebrations bundle. There was quite a mix of Christmas and other occasions. I think these cards are great what do you reckon?? Give them a cheer.

Swaps are just one part of the fun of being in my team. If you would love to join in then come and join us and be part of the Stampin’ Up! family and part of JEN’s INK. (If you are in Australia). I love my lovely team members. I’m so proud of them.

Find 9 Reasons why you would want to join Stampin’ Up! -> HERE. And joining today with Extravaganza Sale on you would get even more value as there is 10% off many of the Annual Catalogue Products.

Thanks for stopping by today,

Jenny

cards, Catalogues, Stampin' Up!, Videos

QUITE CURVY CARD IN CALYPSO CORAL!

Today’s card was created in my Facebook Live on Wednesday. Yes! I have ventured in to doing Lives. This is something I have put off for so long. But I am hoping that each Wednesday afternoon I can share a card with you on Facebook.

The video is now on my Youtube channel and I will post it here for you. For the card I used the Quite Curvy Bundle. I am loving these stamps and dies.

Here is the card.

The leaves were coloured with the Stampin’ Blends. I used the Wrapped In Texture Embossing Folder and the sentiment piece is diecut with the Tasteful Labels Dies.

I had made one of these cards before the Live for a swap card in my JEN’s INK Team Facebook Group. It was great to get some of my team creating for that. I will share the other swap cards soon. The card I made for the swap was in Highland Heather.

If you are in Australia and want to be part of these fun team card swaps and other activities we do then why not come and be a part of my JEN’s INK Team. You can find 9 reasons why you would want to -> HERE.

Now check the video out below. It is on Youtube as well -> HERE. You can head there to subscribe to my channel so you will catch all my videos.

So what version do you like?? Highland Heather or Calypso Coral???

Thanks for visiting me today. Have a great weekend,

Jenny

cards, Catalogues, Christmas, Techniques

WEDNESDAY’S WOW #113 – DRESS UP YOUR ENVELOPES!

Shelli, (Stampin’ Up!’s wonderful co-founder) has stated that there should be no naked envelopes. 🙂 I’m guilty of that all the time I have to say. What about you?

I have discovered these fun products in the Holiday Catalogue to dress up our envelopes. They look really fancy. For Wednesday’s WOW! #113 – Why not dress up your envelopes with the Ornamental Envelopes Bundle.

I think these products are overlooked in the catalogue. The ornaments in the Ornamental Envelopes stamp set are gorgeous but I really wanted to focus on the Envelopes Dies.

Below is the Ornamental Envelopes Bundle.

Check out the Envelopes Dies closer though.

 The Envelopes Dies consists of 12 dies. 4 Envelope liners, 1-2 decorative edges, and some other elements to diecut in to your paper liners or directly on to the envelope. It also has the dies to cut the ornaments from the stamp set too. The Largest die measures 6-3/16″ x 2-1/2″ (15.7 x 6.4 cm).

So how do you use these dies?? Check out the samples below.

On this one create a decorative wrap for your envelope. How fancy is that?? You can line inside the envelope as well.

Not just line the inside but you can make a pretty decorative liner for inside. How sweet! Or you can diecut the outside and add a liner inside of pretty paper that you can see through the edge.

For this one below I am not sure but I think that for the envelope a mask was made with one of the decorative dies and some coloured texture paste has been added through the mask. This adds to the festive feel.

If you want to dress up your envelopes with the Ornamental Envelopes Bundle or even just the Envelopes Dies you can check them out and order them in my store -> HERE

Please use the Host Code – RCDPWPWK

Or you can contact me directly by email at jghayward@yahoo.com

Happy Wednesday,

Jenny