Wednesday’s WOW! #170 – Colour your Embossed Card with Ink.
If you have an embossed image on white card sometimes it can be a little plain. You can add a little colour to lift it. Of course you could swipe the Inkpad over the Embossing Folder before or after embossing, but try a little light watercolouring with your Water Painter and Ink Pads. It can really highlight the detail.
This one is with the Traditional Wreath Embossing Folder but you could try it with most folders.
Try it out.
Happy Crafting,
Jenny
If you need supplies for your crafting then I would love to help you. You can stop by my store -> HERE OR Contact me directly.
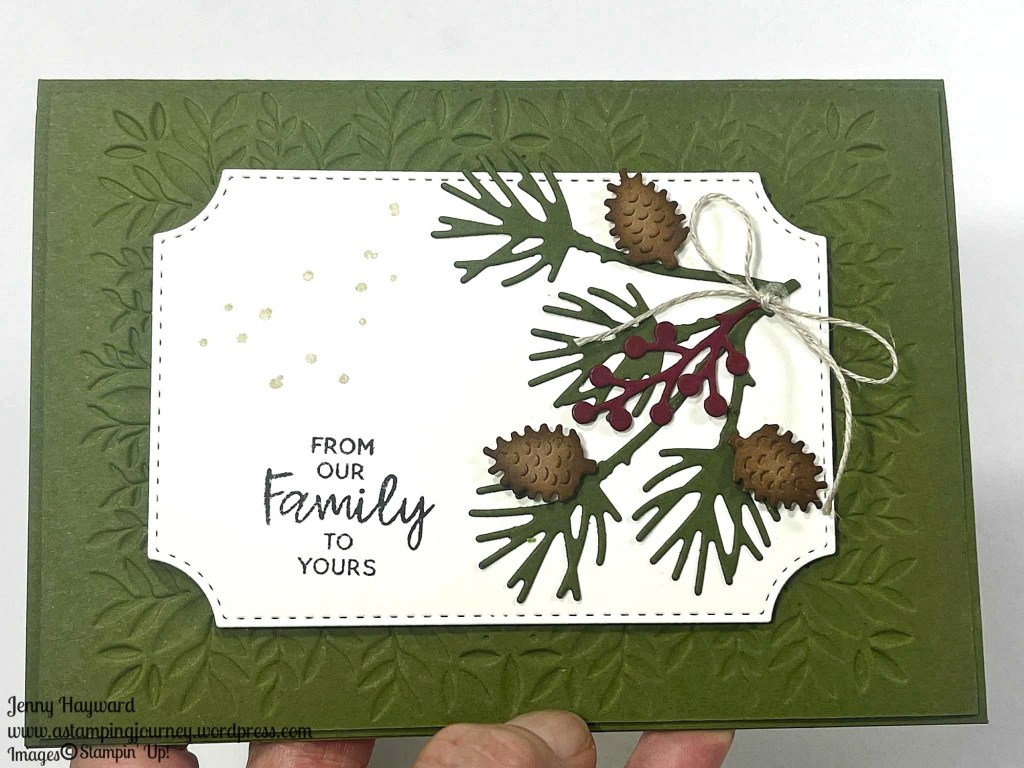
We had our Branching Out Class last week. We made 3 different cards with this Bundle. It is so diverse and I will show you the cards over time but this is one of them.
We embossed the Mossy Meadow Card Mat with the Peaceful Greenery Embossing Folder. Then diecut the leaf stems and the pinecones.
While I was sitting in the class I assembled one of the cards and decided to flip the embossed Card Mat. It gives a different impression but still looks ok I think.
What do you think? I don’t think there is a right or wrong with this folder. It just gives a different impression for your project.
If you are a Wollongong local I would love to see you at our classes. They have a lot of fun. I usually advertise them here on my blog or on my website or Facebook. If you still can’t find them contact me. It would be great to see you.
Hope you get some creative time in soon,
Jenny
If you need some supplies I would love to help you get them. You can shop in my store -> HERE Or Contact me directly.
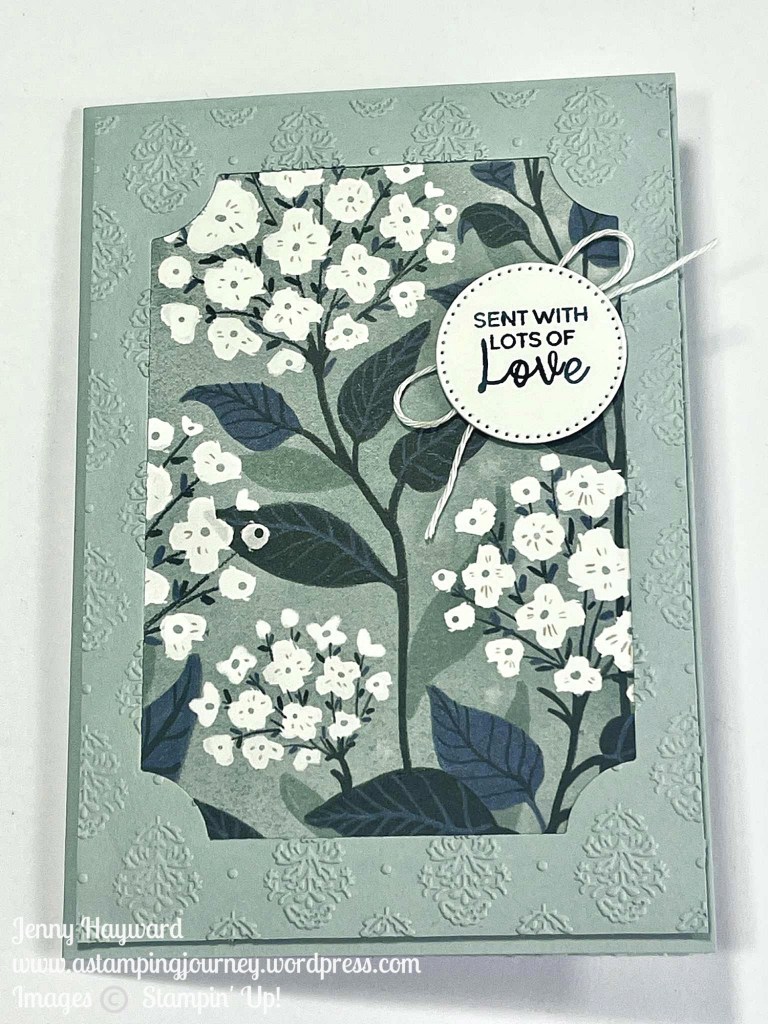
Today’s card is one with the gorgeous Peaceful Garden Designer Series Paper.
The frame is created with the Branching Out Dies from Cloud Cover cardstock. This was embossed with the Damask Designs Embossing Folder. I cut a piece of that lovely paper to adhere to the back and then raised the piece off the Base Card with Dimensionals. This gives the card extra dimension and texture.
Isn’t the sentiment so lovely?? That was diecut with one of the circles from the Stylish Shapes Dies.
It’s a simple card but what more do you need.
Try it with any of your papers and embossing folders. You can create the frame with any shape too. Maybe a rectangle or even a circle.
Happy Crafting,
Jenny
If you need supplies and you are in Australia I would love to help you get your crafty Stampin’ Up! products. You can head to my store -> HERE OR contact me directly.
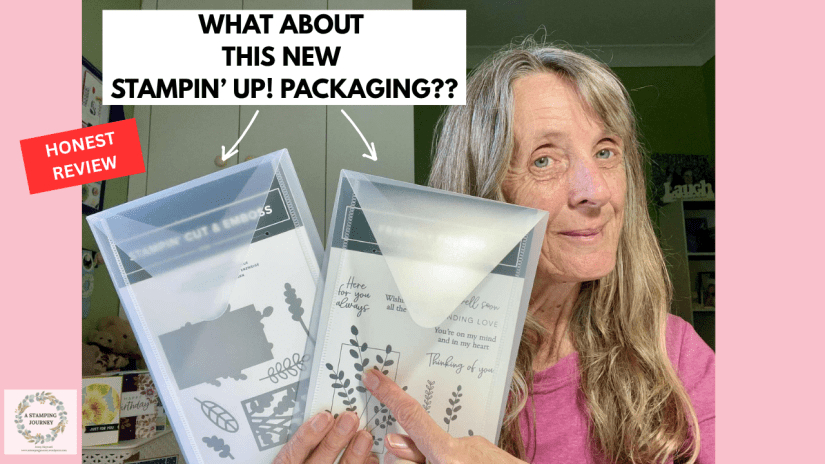
You might have heard the Stampin’ Up! packaging for the stamps and dies are changing. I have just received my first order with the new packaging so I thought I would put together a review so you can see it.
The video is on my Youtube now or you can see it below.
I would love to hear your thoughts and especially how you will store your stamps and dies now.
On a side note: If you prefer the clear DVD cases for your stamps you are able to purchase additional cases to convert your stamps. Or you can purchase additional clear envelopes to store them that way (starting in November).
Adding this Thumb Image below so you can PIN it to come back to.
Happy Crafting,
Jenny
If you need supplies and you are in Australia I would love to help you get them. You can head to my store -> HERE OR Contact me directly.
I’m making up some little Thank You Cards to send out to my lovely customers when they order. For the cards recently I have been using some “left-over” bits.
This one I was playing around with the Sunflower Embossing Folder. I fussy cut one of the sunflowers. I was going to add it to a previous card and then it didn’t work out. But not to waste it. I add it to this little Mini Card.
I had a small scrap piece of the Florals in Bloom Paper and trimmed it down for the front of the card. The sentiment from Simply Said set was stamped on some Lemon Lolly card.
I will share some more of these Mini Thank You cards very soon.
Happy Crafting,
Jenny
If you need some crafting supplies I would love to help you get them. You can shop in my store -> HERE. OR Contact me directly.
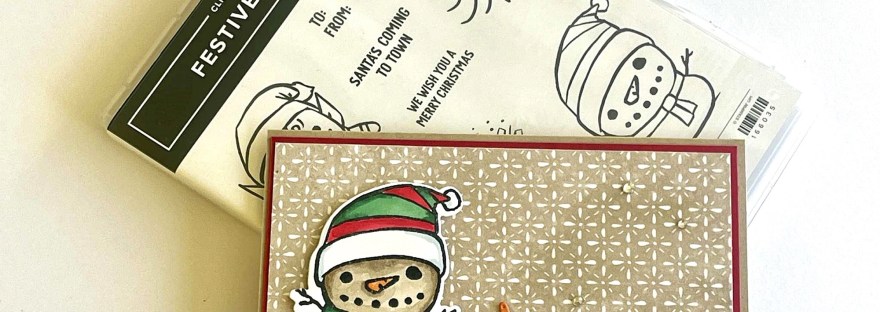
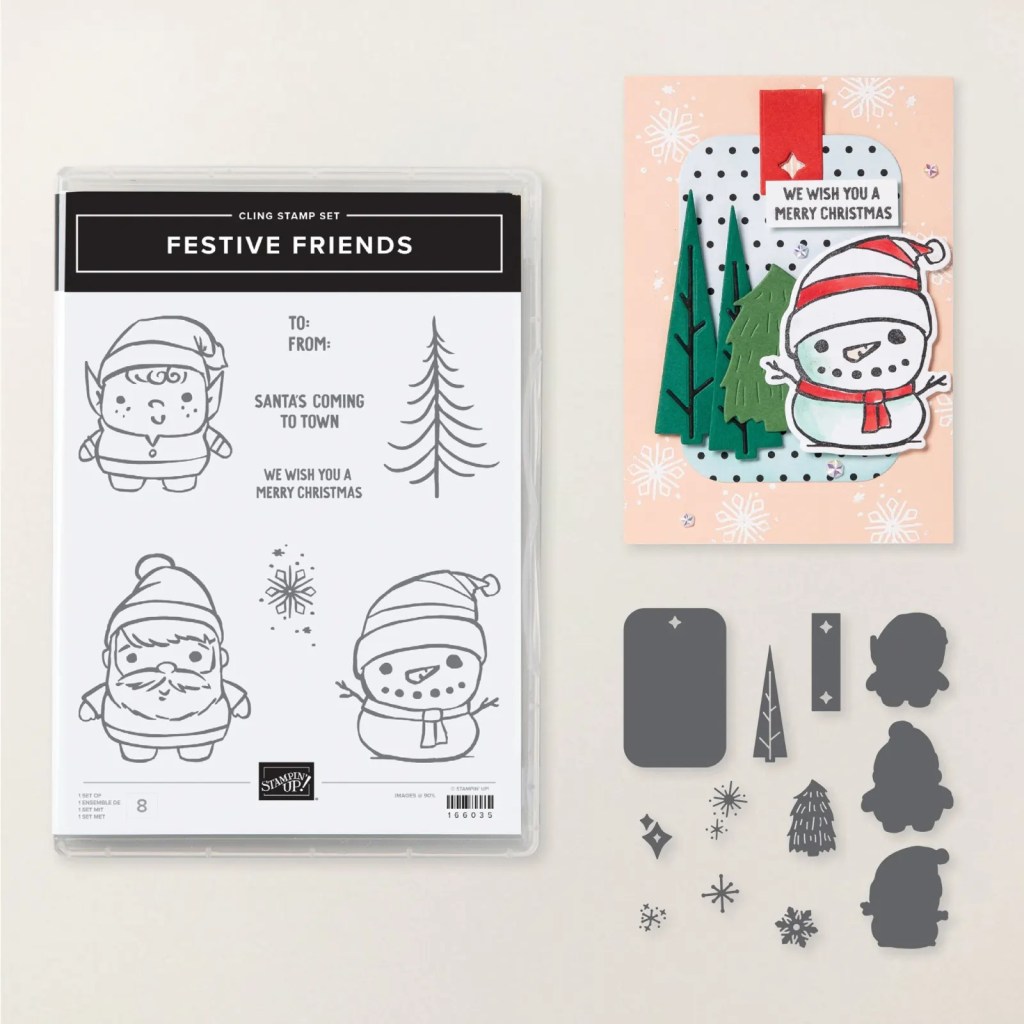
I couldn’t resist. I recently got the Festive Friends Bundle. They are cute characters in this one BUT for our Hot Christmas time in Australia with many heading to the beach I couldn’t help but make the snowman a Sandman.
I remember so many times at the beach when I was young creating big mounds of sand and decorating it with seaweed for hair and added sticks and shells. And at Christmas time you did add a Santa Hat. Such fun memories.
So the Festive Friends snowman became a Sandman. Not too many shells or seaweed on this one but still all dressed up for Christmas.
The Sandman was coloured with the Stampin’ Blends and the shells were from the Notes and Totes Dies set. The paper worked well with it. This was from the Peaceful Garden Designer Series Paper pack.
I had a lot of fun colouring this character. I have created with the other characters too so I will get back to you soon on those ones.
This is the Festive Friends Bundle. It has some fun little additional elements too with the trees and snowflakes and a tag shape. See it more -> HERE.
Happy Crafting,
Jenny
If you are in Australia and need supplies for your crafting I would love to help you. Head to my store -> HERE Or Contact me directly.
My first Christmas card for the season. I don’t know about you but I’m not quite feeling the festive spirit yet. It still seems so early. But then we need to get on to them soon to get our cards made ready.
New products always help to freshen up the cards. This is one with some great new products from the 2025 Holiday Catalogue.
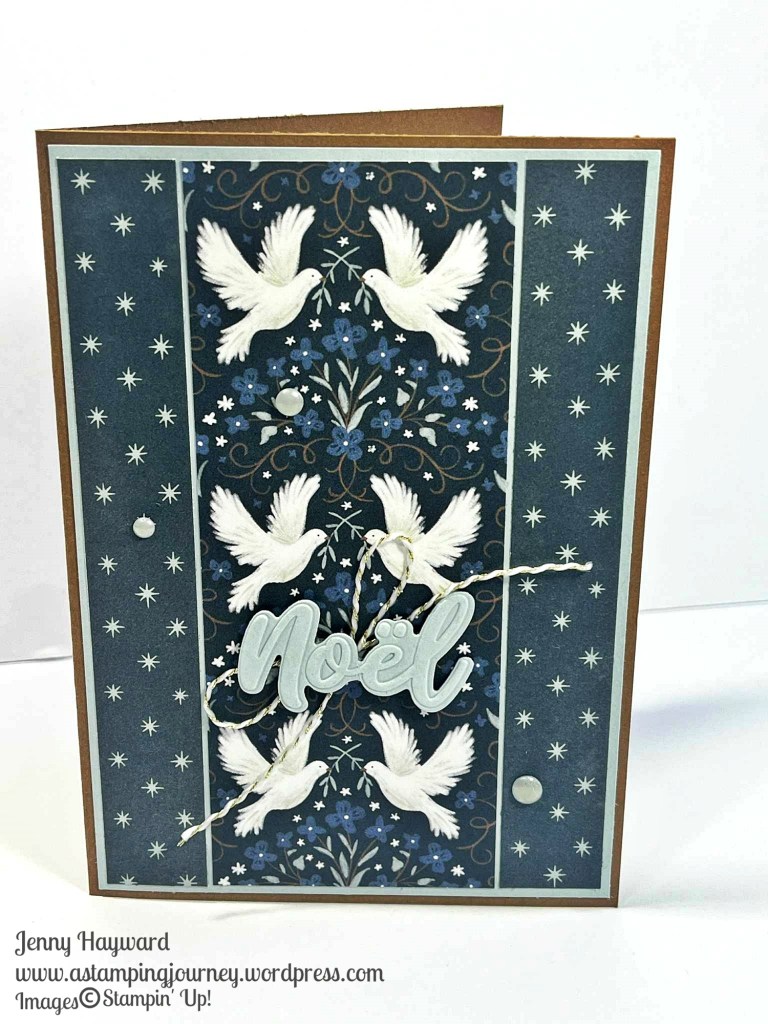
I have created this with the Peaceful Garden Designer Series Paper. I wanted to use the dove pattern but to use a whole piece meant cutting in to some of the doves. So I cut a section and added that to the centre and have 2 strips of another pattern on either side.
The Card Base is Pecan Pie and I used Pool Party for the card mat and the “Noel”.
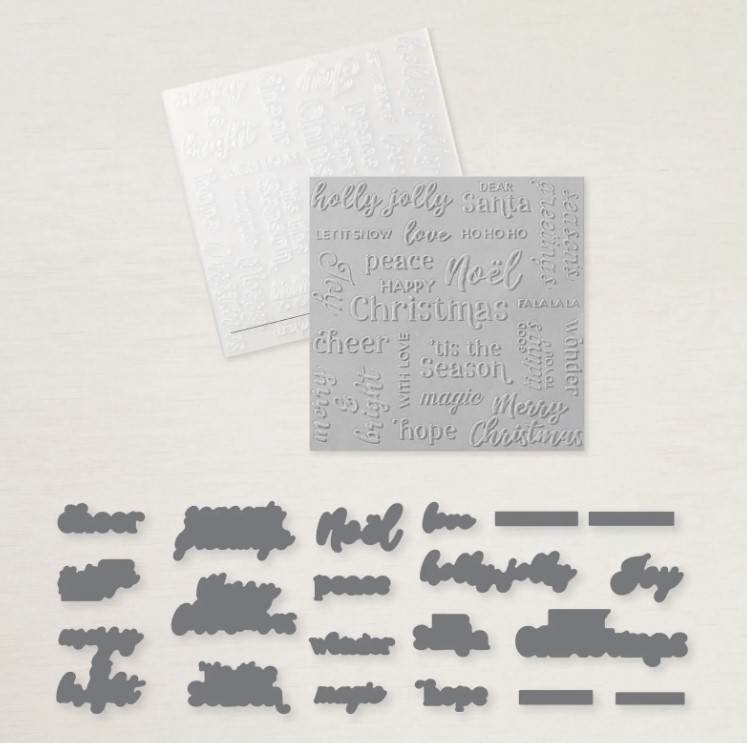
For the “Noel” I embossed and diecut it with the Christmas Words Collage Hybrid Embossing Folder. I like this folder and die set. I just used a small piece of card just larger than the word rather than use a large piece.
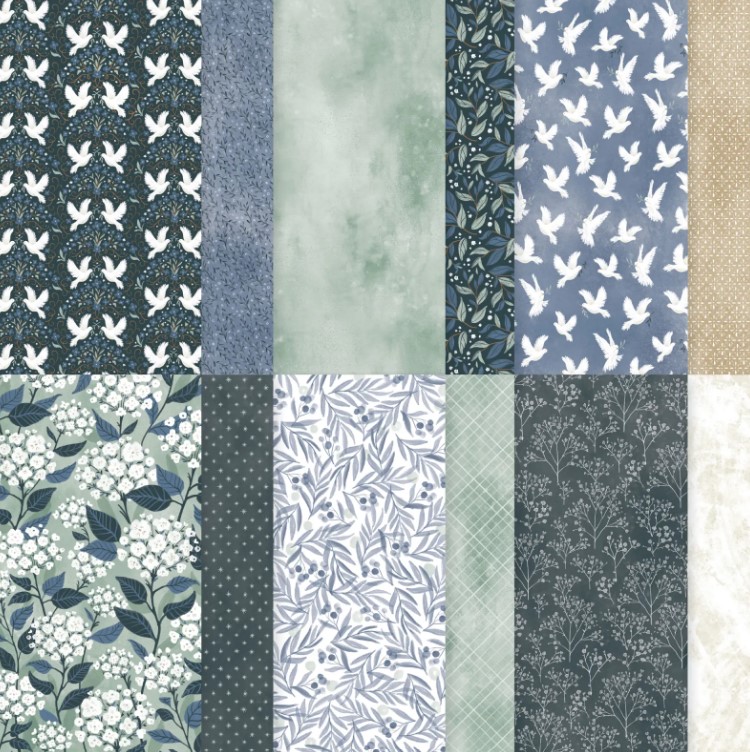
This is the Peaceful Garden Designer Series Paper.
If you need these or any other products and you are in Australia I would love to help you get them. You can stop by to my store at either of those links above OR Contact me directly.
Let’s see what else we can create with this great new products.
HO! HO! HO! It’s that time of year. Are you ready for some Christmas Creating? Maybe you are so organised you have already started right??
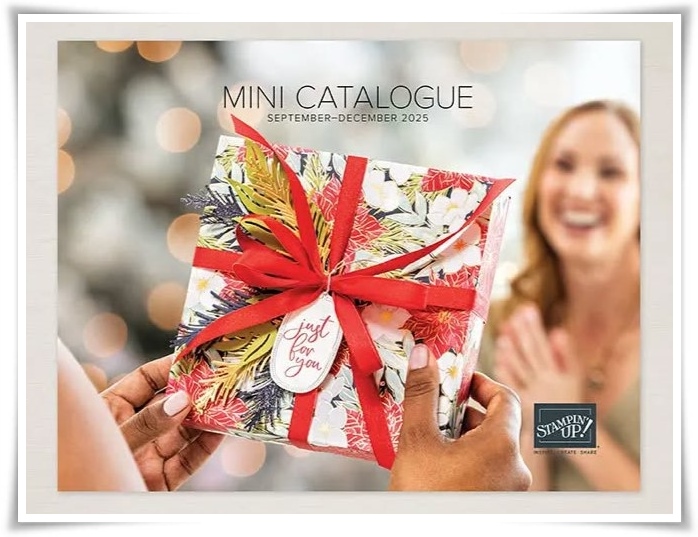
Today the 2025 Stampin’ Up! Holiday Catalogue is out ready for you. There are some great new Products. There are some great new products in the new Online Exclusives too. (I will leave that one for another day).
Here are some of my favourite Picks from the Catalogue.
Christmas Words Collage Hybrid Embossing Folder $74.00AUD
Branching Out Bundle $83.50AUD
I especially like the Dies in this Bundle. (Yes they are stitched. My favourite)
Peaceful Greenery Embossing Folder $17.50AUD
Peaceful Garden Designer Series Paper $21.75AUD
You can Download the PDF of the Holiday Catalogue ->HERE.
Happy Christmas reading. I will be back soon to share more of with some of the products.
Jenny
If you are in Australia I would love to help you get some of these products to freshen up your Christmas creating. You can stop by my store at the above store link OR Contact me directly.
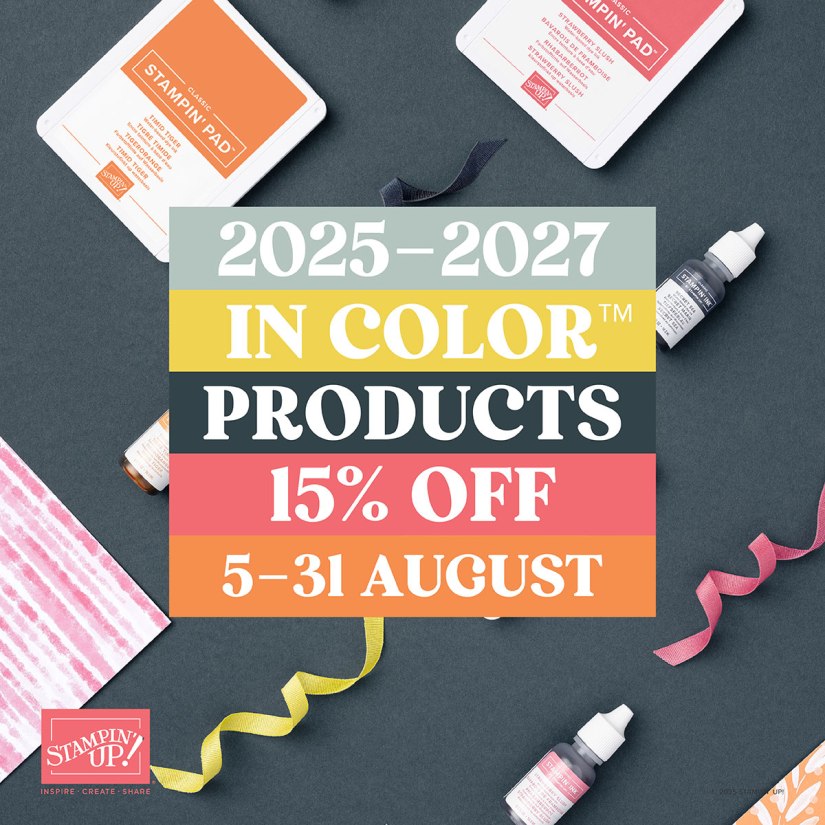
If you are enjoying the Current new In Colors the Sale is ending this week.
Receive 15% Off Select 2025-2027 In Color Products. That includes Ink Pads, Refills, Stampin’ Blends, Cardstock, some Papers and some Embellishments. You can see them all -> HERE.
Products like the 2025-2027 Stampin’ Write Markers and Ink Pads. (And the markers in all the colours are leaving very soon…)
Choose your colours that work together to create your projects. Just a little of the colours and in different shades work together.
If you need some of these In Colors while they are reduced. And also any of the Last Chance items then grab them now before the end of the month.
If you are in Australia I would love to help you get them. You can head to my store -> HERE. OR Contact me directly.
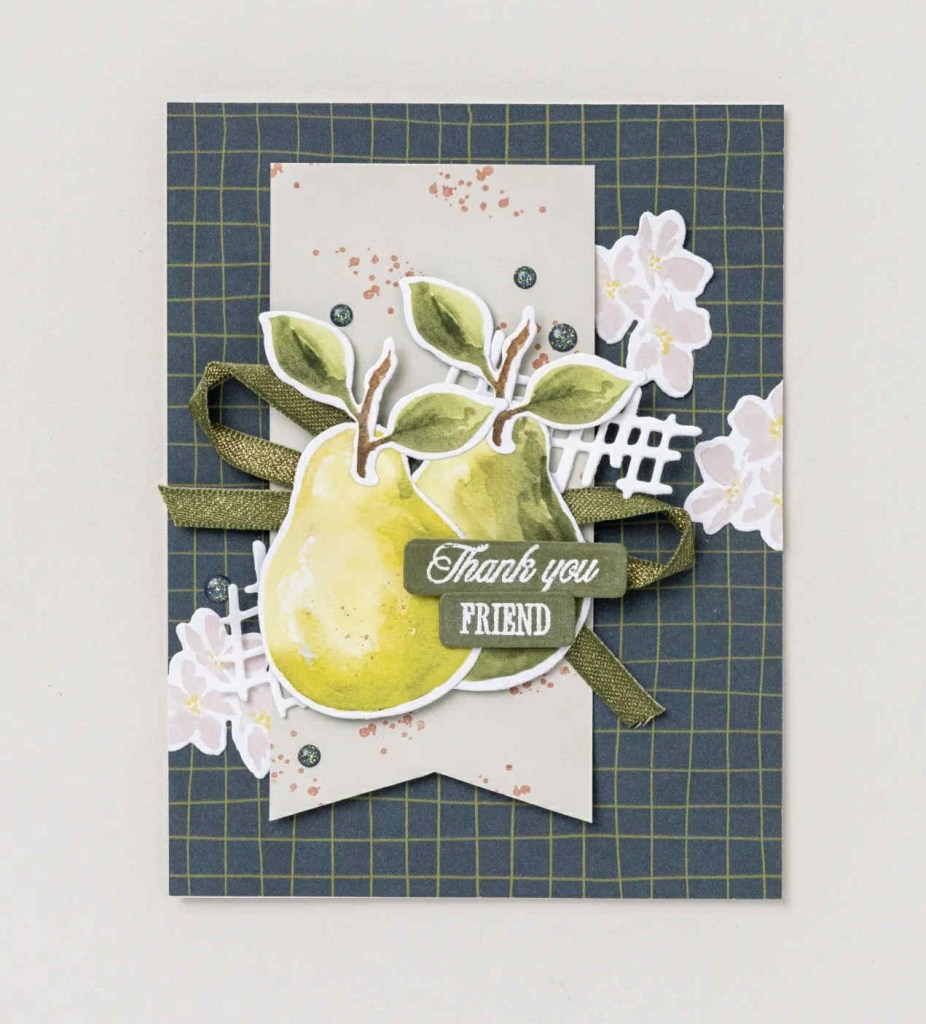
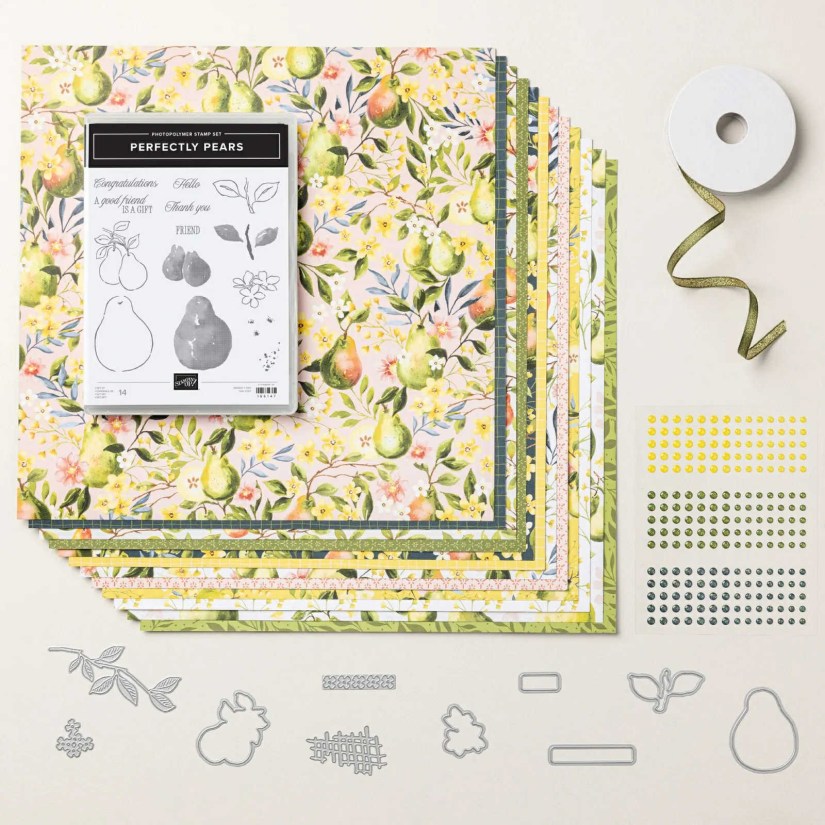
This suite offers an array of pear-inspired patterns featuring blossoms, fruit and graceful leaves. What I love though is the soft colour palette in the paper.
Let’s check the Painterly Pears Suite. The Suite includes:
The Perfectly Pears Bundle (Stamps and Dies)
The Painterly Pears 12″x12″ Designer Series Paper
The Mossy Meadow and Gold 6.4mm (1/4″) Trim 9.1m
Low-Profile Sparkle Dots
Let’s look closer at them.
The Perfectly Pears Bundle.
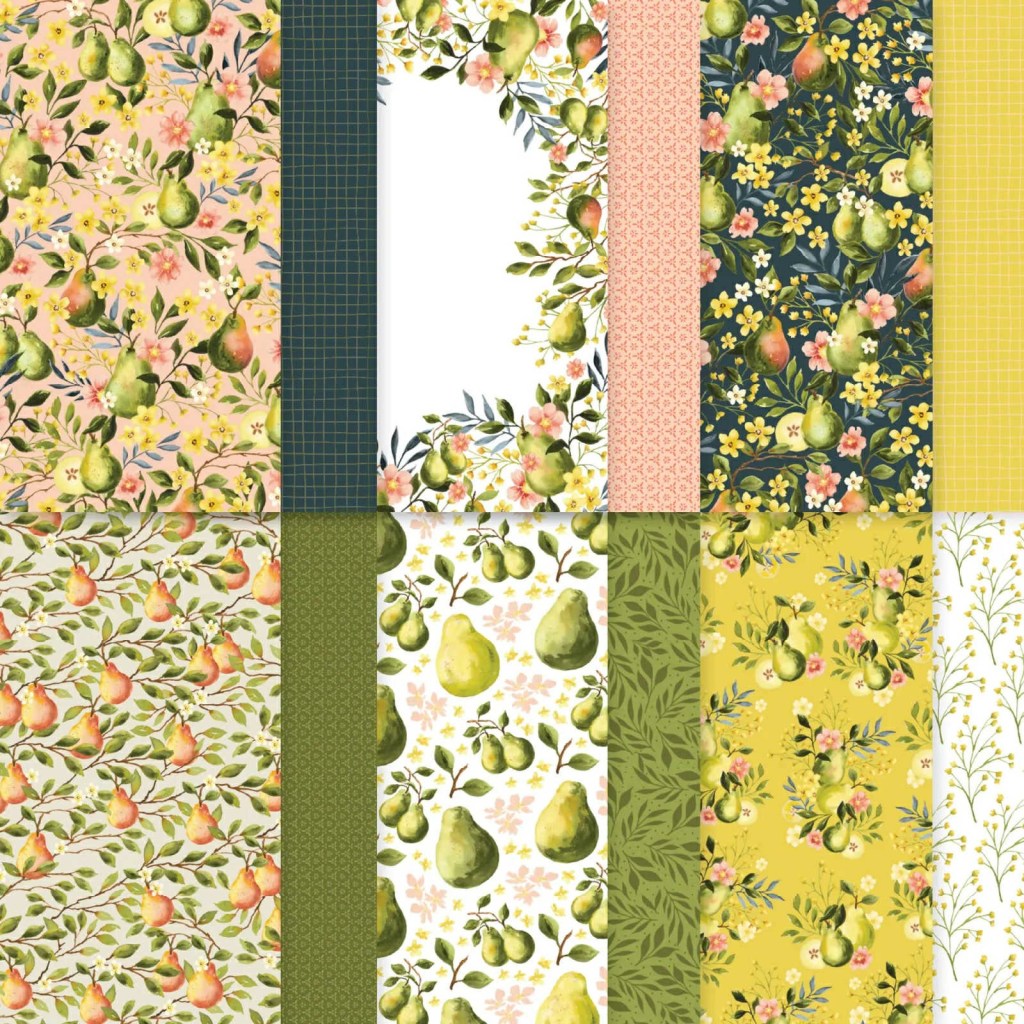
The Painterly Pears Designer Series Paper.
The paper is 12″x12″ with 2 each of 6 Double Sided Designs. It has the pears, leaves and some simple patterns. The colours in this paper are – Basic Beige, Darling Duckling, Mossy Meadow, Old Olive, Petal Pink, Secret Sea.
BONUS: The paper is 15% off this month with the In Color Sale. In Australia reduced to $18.49.
The Mossy Meadow and Gold Trim is really lovely. This would work so well for Christmas cards too …
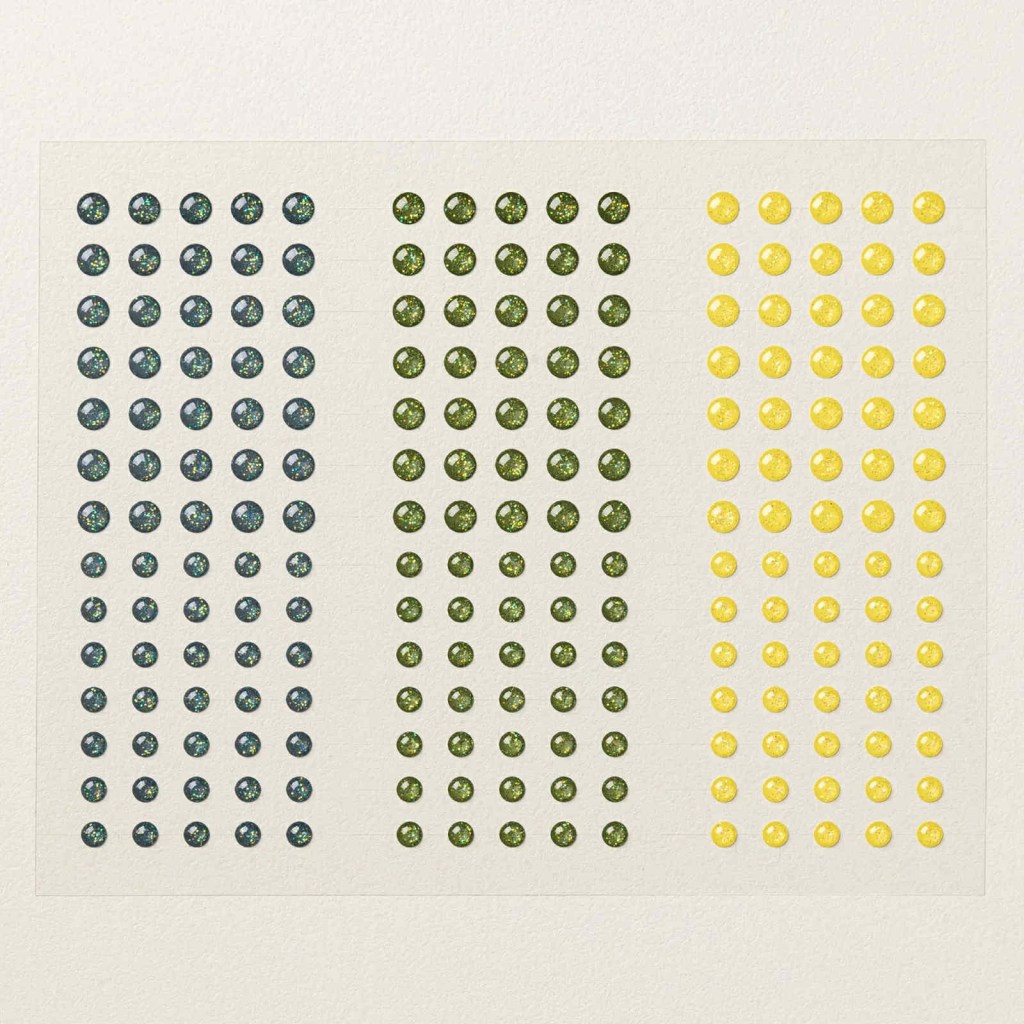
The Low-Profile Sparkle Dots. These include 210 adhesive backed pieces. There are 35 of each in 3 colours varying in 4mm and 5mm size. The colours are Darling Duckling, Mossy Meadow and Secret Sea.
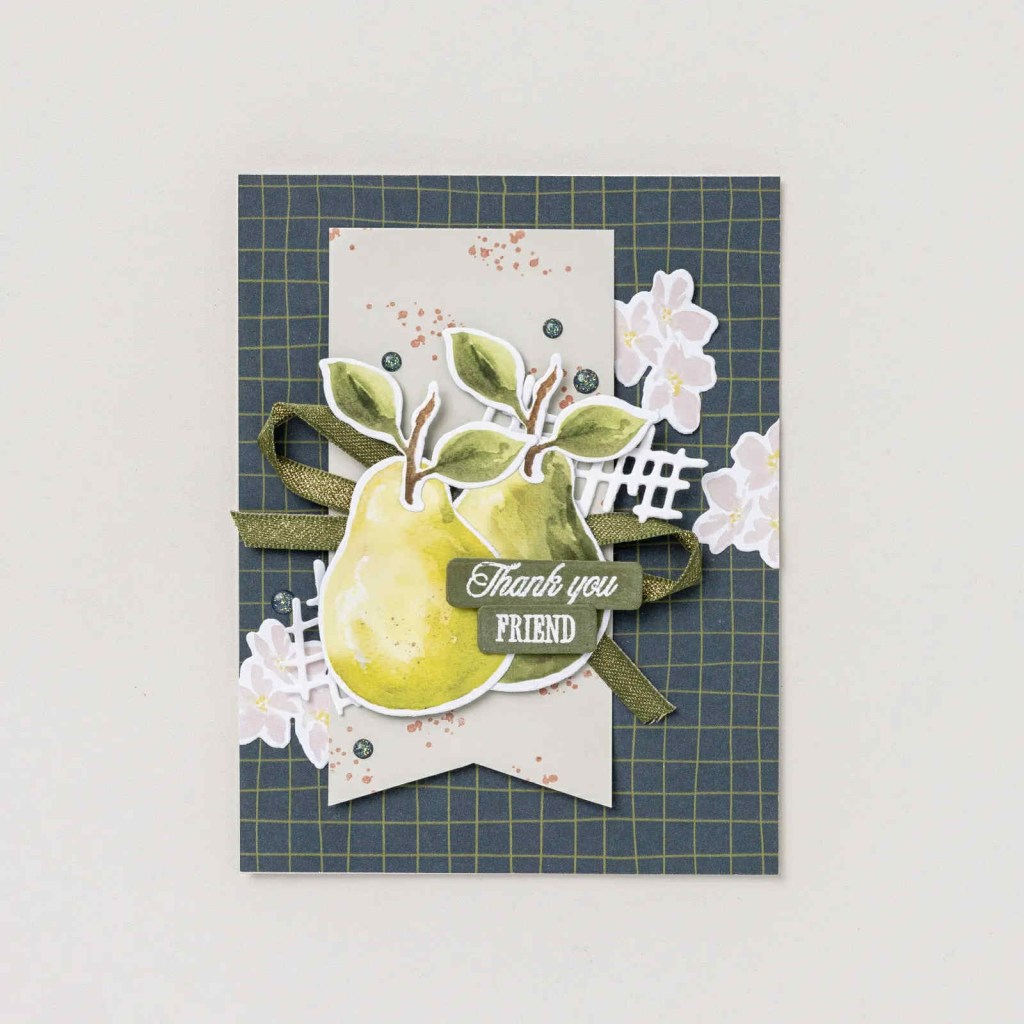
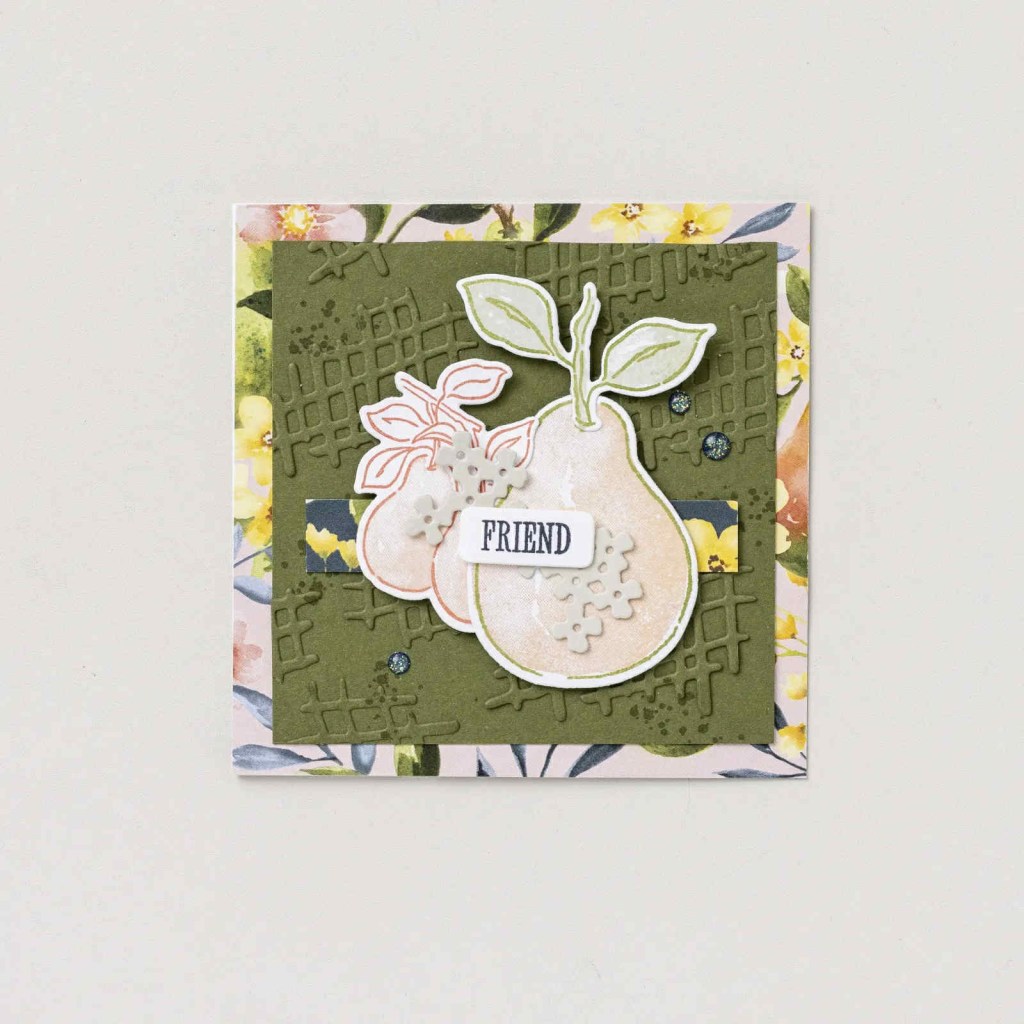
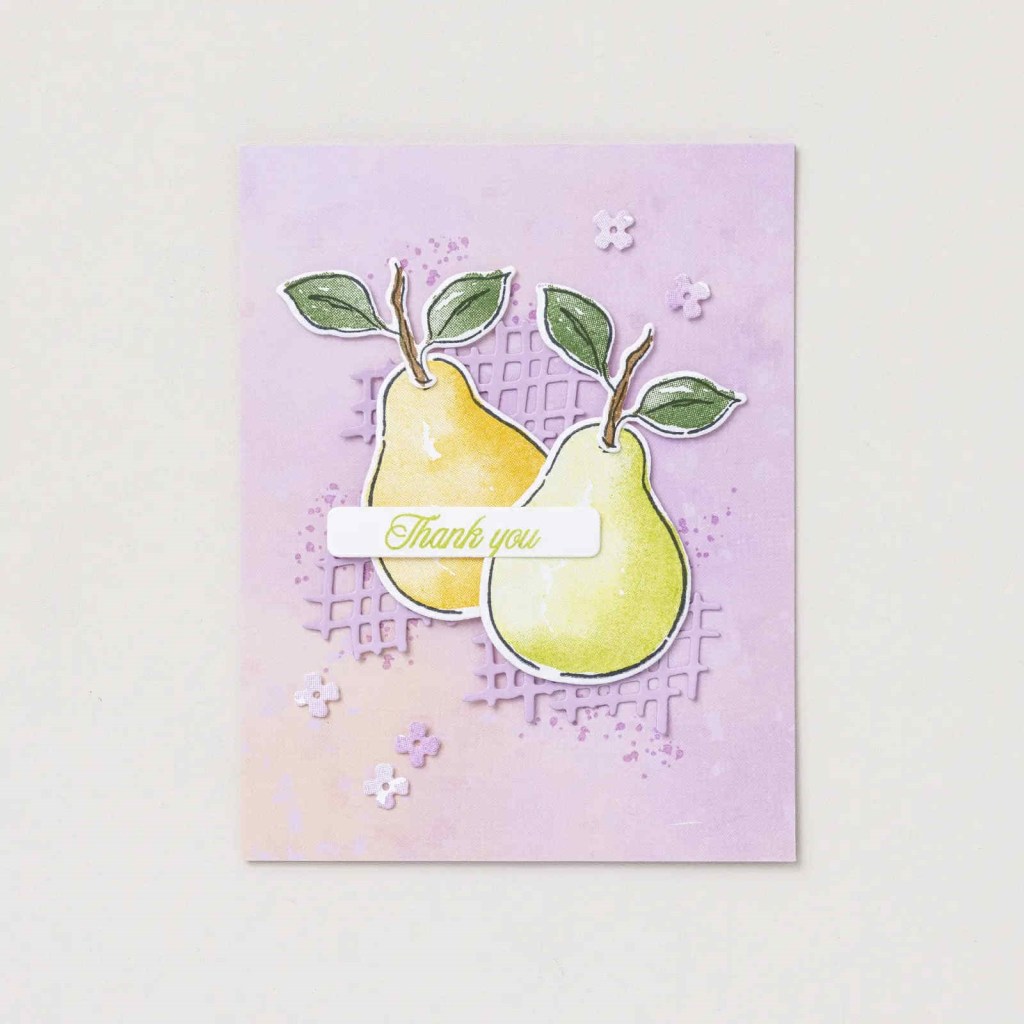
Now let’s see what the Stampin’ Up! Artists have made with this Suite.
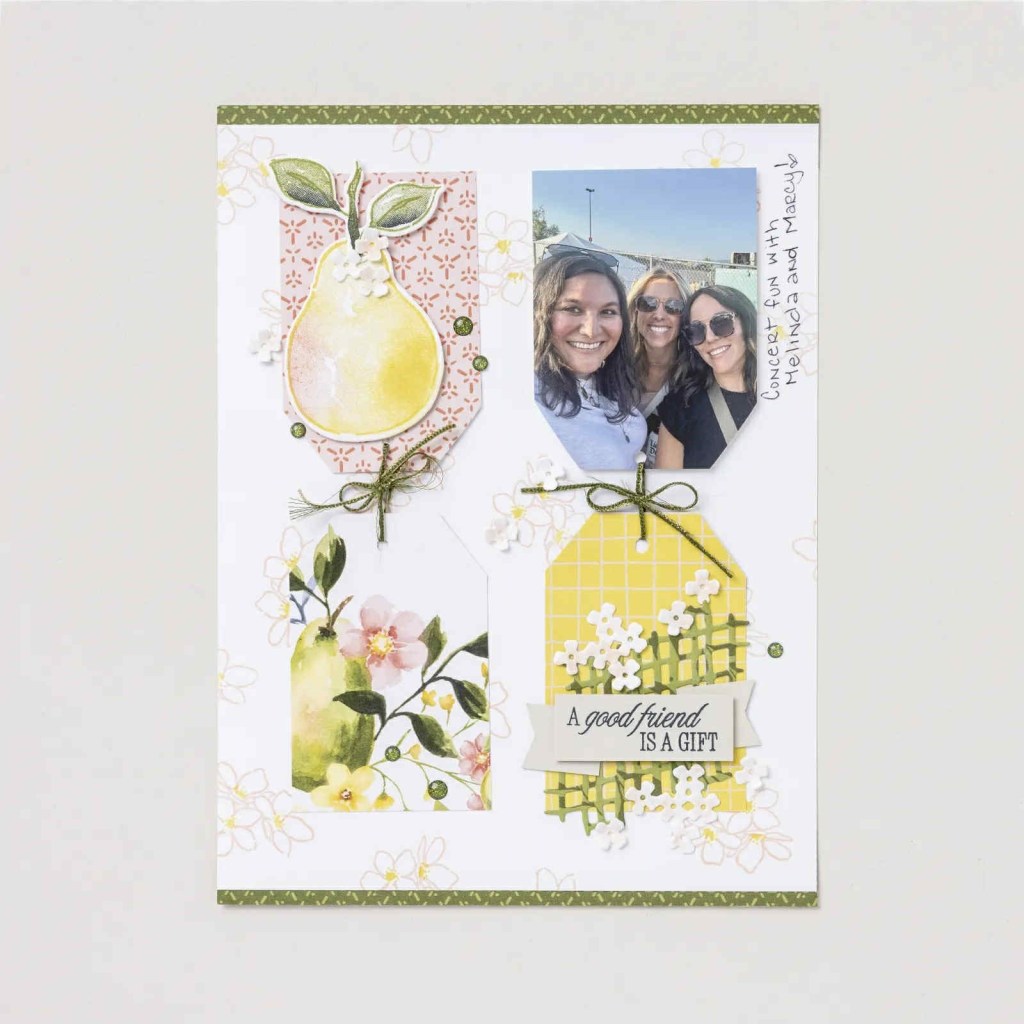
Are you a Memory Keeper/Scrapbooker? Maybe a little inspiration with the suite for a page.
If you are in Australia and “need” some crafty supplies I would love to help you. You can head to my store at the link just above OR Contact me directly.