cards, Catalogues, Sale-A-Bration, Techniques, Videos

SPONGING THE FLOWERING FOILS PAPER WITH A VIDEO!

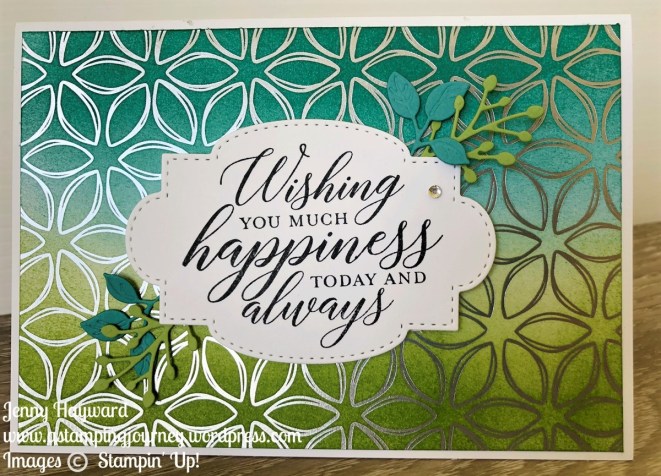
I have mentioned already the gorgeous Flowering Foils Specialty Designer Series Paper.  You have probably seen lots around with it too.  Today I have a card to share with you using this paper and a video to show how you can very easily add the colour to the paper with the sponge rollers.

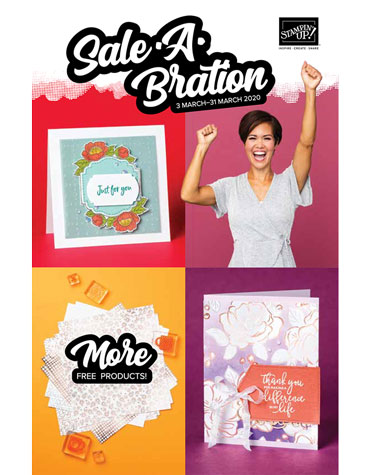
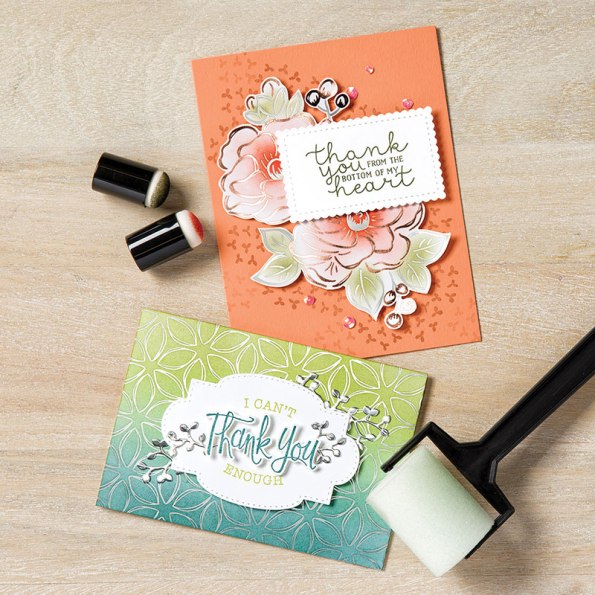
This card is inspired by a card in the 2nd release Sale-A-Bration brochure (p3)  I changed it up a little.

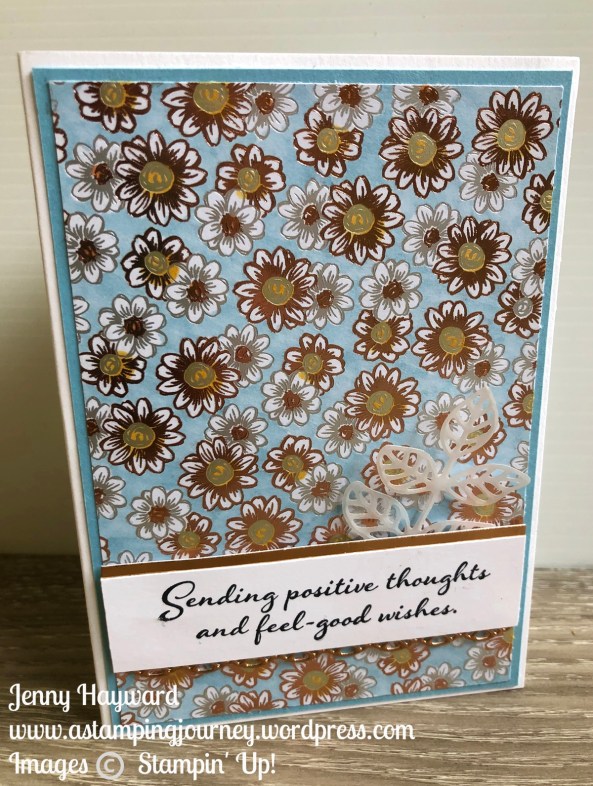
Here is the card.
Check the video below.

I used the Stitched So Sweetly Dies on the card and the sentiment is from So Sentimental. The card in the brochure uses one of these sentiments too but I just wanted to keep it simple rather than cutting around the sentiment seen on that card.  It does give it a good effect when you do that.

The leaves are from the Birthday Dies.  These are available as Co-ordination products that go with the Happy Birthday To You stamp set also for Sale-A-Bration.

The Flowering Foils Specialty Designer Series Paper is only available for March during Sale-A-Bration (or while supplies last) so you want to grab them soon.  You receive them as your free choice with orders over $90.  Check out my store now -> HERE.

Have fun sponging and colouring this paper.

Jenny


Catalogues, Stampin' Up!, Techniques

WEDNESDAY’S WOW! #97 – NATURE’S THOUGHTS DIES!

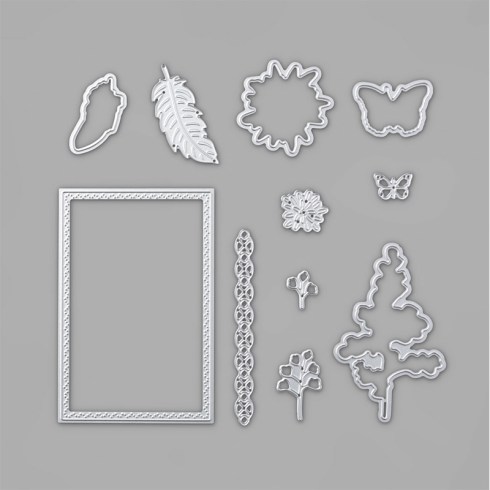
Wednesday’s WOW! #97 – Today I thought we need to take a closer look at the Nature’s Thoughts Dies.  These are a hidden gem and I have had so many comment lately about where the dies are from when I have used them.  Perhaps you have missed them yourself.

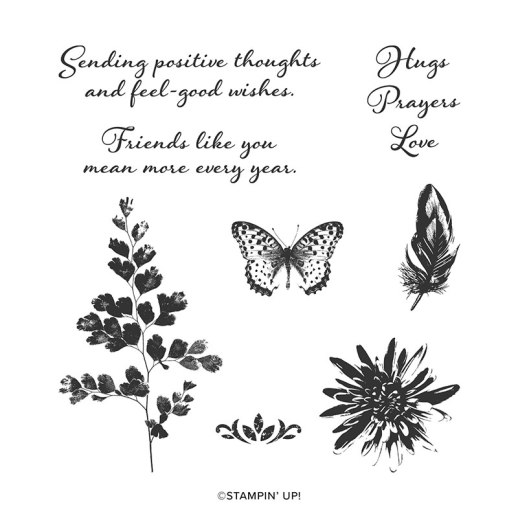
These dies co-ordinate with the Positive Thoughts stamp set in the Mini Catalogue.  They have recently been released as part of the Co-ordination products.  

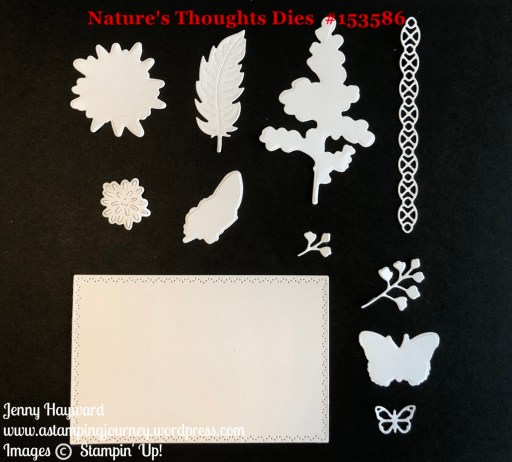
I have die-cut them out so you can see them closer.

What I love particularly is the “dotted” frame die and the little flourish strip.  All the dies are great though. What about the largest feather? It has embossed lines on it which is really cool.

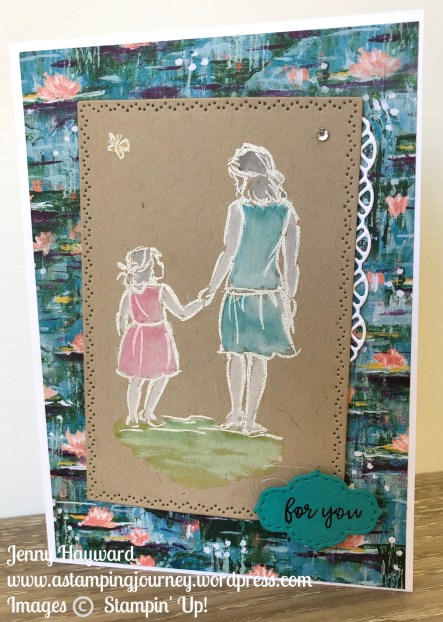
This card below I shared recently uses both the frame and the flourish strip.

This is the Positive Thoughts stamp set that these dies co-ordinate with.   The words are lovely in this set too.  I think these are a “Must-have” in your collection.


You can find these dies in my store now -> HERE.  Don’t miss them. You need them for your collection.

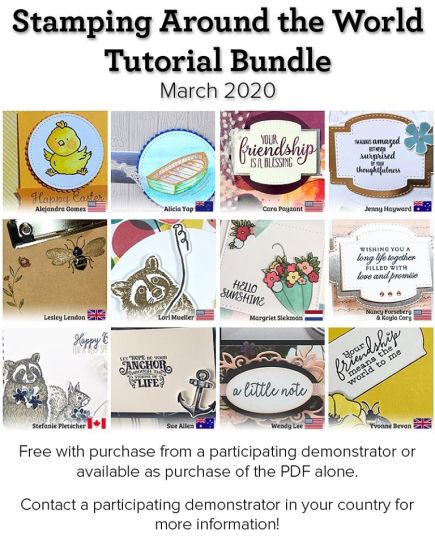
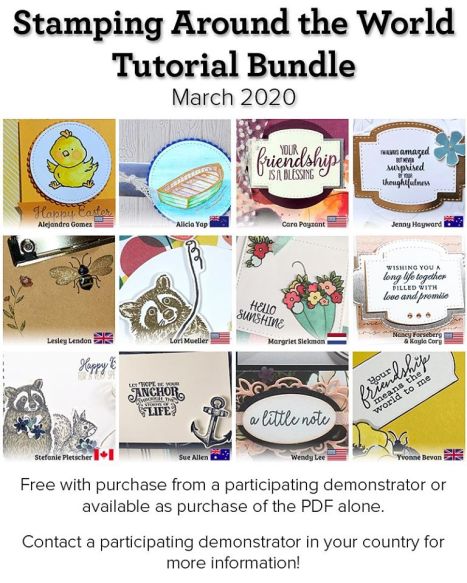
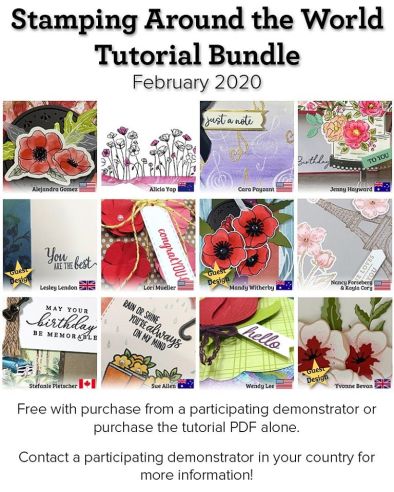
If ordering online please use the Host Code: MJMPAFFR.  After your order I will email out to you your free Project Tutorial Bundle available for this month.  This includes 12 projects using different Stampin’ Up! products.

Be sure to check them out.

Have a great day,

Jenny

cards, Catalogues, Stampin' Up!, Techniques

FLOWERING FOILS FAVOURITE FOR SALE-A-BRATION 2ND RELEASE!

Today is the 2nd release for Sale-A-Bration.  As if you didn’t have enough choices right!

You can see all the items in the catalogue -> HERE.

Of course there are some great choices.  I have to say though my favourite is the Flowering Foils Designer Series Paper.

We have had similar paper in past years.  These are just (if not more) as gorgeous.

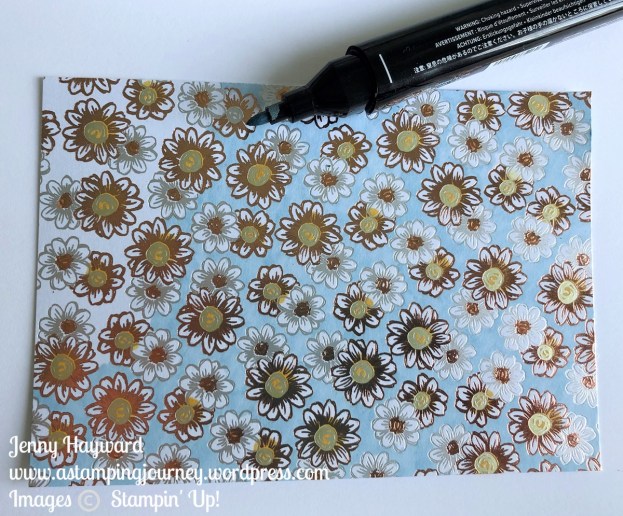
There are 12 12″x 12″ white sheets with embossed designs in Rose Gold and Silver.  There are 4 designs and 3 of each sheet.

You can leave them plain or colour them with a sponge/dauber or with the Stampin’ Blends.

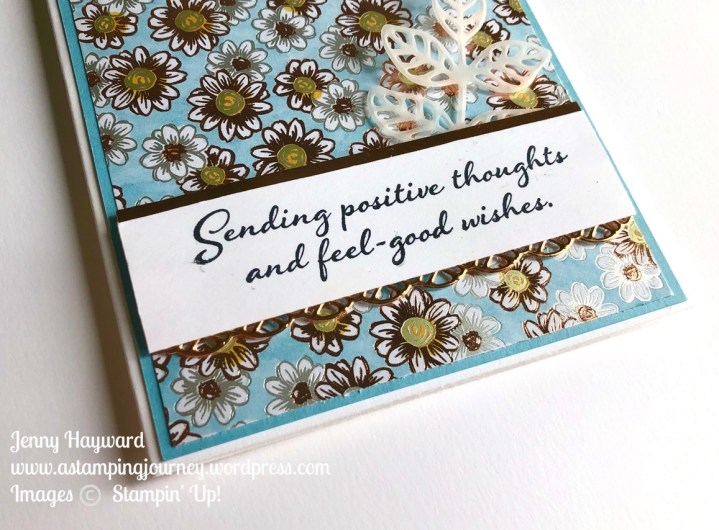
This is one of the cards I created with the paper coloured with the Stampin’ Blends.  I have used the Balmy Blue and coloured the background then used the Daffodil Delight for the flower centres.

The sentiment is from the Positive Thoughts stamp set.  Such lovely words.  I had the vellum diecut from the Flourishes Dies left over from another project and it worked well with this.

It’s hard to tell in the photo but I have used the ornate die strip from the Nature’s Thoughts Dies. You can see it better in the photo below.

These projects are created by Stampin’ Up! artists but it shows how pretty the paper is sponged.

So how do you get yourself some of this Flowering Foils paper??

It’s available free as part of Sale-A-Bration with orders over $90 AUD until the end of March.  

In Australia?  Head to my store now -> HERE and shop for your stamps, ink paper.  When your order totals over $90 you can select this as your free item.

There are other choices too and other options for over $180 too.  Don’t miss them.

Happy Shopping – and creating. 🙂

Have a great day,

Jenny

New Host Code now for March and new Tutorial Bundle available now sent out as a Thank You for your orders.

cards, Catalogues, Stampin' Up!

BEAUTIFUL MOMENTS WEEK – REVIEW AND PICK YOUR FAVOURITE!

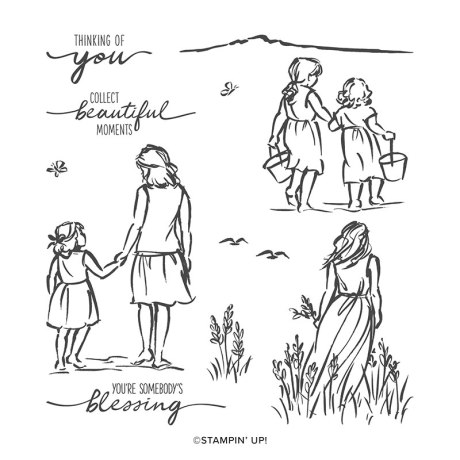
This past week I have sharing projects with the Beautiful Moments stamp set.  Thanks for all your comments and likes here and on Facebook and Instagram.  That means a lot.

Now you can pick your favourite by taking the quick Poll Below.

If you want to check them then head back to the recent posts this week.


If you have been inspired by these projects (Thank You) and if you need this set in your collection you can shop in my store now -> HERE.  Please use the Host Code: FURRYWCK

I will send you out a small gift to say Thanks and you will receive a 12 project Tutorial Bundle with lots of great inspiration for a number of different Stampin’ Up! products.

Thanks for visiting me today.  Have a great day.

Jenny

cards, Catalogues

BEAUTIFUL MOMENTS WEEK – DAY 5 – PAPER PIECED GIRLS!

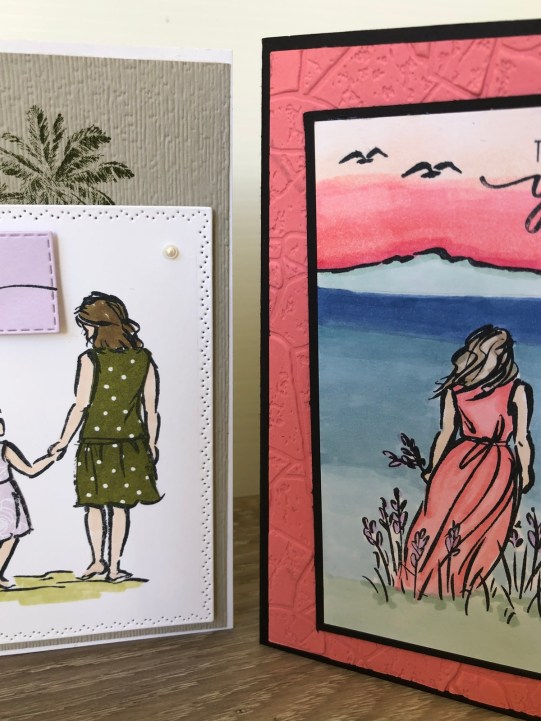
I have been sharing projects all this week featuring the Beautiful Moments stamp set.  Today I have 2 classes using this set.  I thought for Day 5 of the Showcase I would share with you one of the cards we will be making.

This card was inspired by Su Mohr.  I changed it a little.  I liked the idea that you don’t have to colour it with Blends or inks or other mediums but by using patterned paper you can add colour to the images.  This Technique is known as Paper Piecing.

I have used the Best Dressed Designer Series Paper.  To create this first stamp your image in Black Memento on to white card.  This card was cut with the Nature’s Thoughts Dies.  I love this dotted pattern around the edge.

After diecutting the piece then stamp your images on your chosen pieces of Designer Series Paper.  Cut around the outside of the lines on these images.  Then adhere these to the stamped image.  It’s a bit like playing with Paper dolls when we were younger.  Do you remember that? That was such fun.

For the rest of the card I stamped the palm tree in Old Olive ink on to Crumb Cake and then embossed the card with the Subtle Embossing Folder. This was adhered to a Thick Whisper White card base.

Before adhering the stamped white card I looped around some Linen Thread.  Then the piece was raised up off the card with Dimensionals.

For the sentiment it was stamped on Purple Posy card and then cut with a small Stitched Rectangles Die.  The left hand end was trimmed to fit on to the card but it makes a different look for the sentiment block too. The card was finished with a Pearl.

I hope you have liked the projects this week.  It has been fun creating with this sweet set.

I do hope you add it to your collection.  You can grab it in store now -> HERE.

Thanks for stopping by today and taking the time to visit my corner of blog land,

Happy Stamping,

Jenny

cards, Catalogues

BEAUTIFUL MOMENTS WEEK – DAY 3 – TOP PANEL CARD!

Moving along on our Beautiful Moments Showcase Week.  Day 3.  This card is a little different.  I don’t know what you might call it but I call it a Top Panel Card.  I will share the instructions below.

The base card is a little smaller than the standard size allowing you to have a panel overhanging the edge.

Of course, you could do the base any size but for this one, the base card measures 21cm x 10.5cm scored at 10.5cm.  (8 1/2″ x 4 1/4″ scored at 4 1/4″).  The paper mat is slightly smaller 4mm (1/8″).

The stamped piece is watercolor card cut with the larger die in the Stitched So Sweetly Dies.  The image was stamped in Black Stazon and coloured with the Watercolor Pencils and washed over lightly with the Aquapainter.  When the watercolor card was cut it left some scratches on the other side.  (maybe because my plates are scratched!).  I didn’t want it showing on the reverse so I adhered a piece of White card on the back.

The sentiment was also stamped on watercolour card to match the stamped piece.  The sentiment is from the Positive Thoughts stamp set.  It was stamped in Black Stazon so I could do a light colour with the Daffodil Delight pencil and lightly wash it.  The flourish piece behind the sentiment is from the Flourish Dies.

Check back tomorrow for Day 4 of our Showcase using this lovely set.

Jenny

Receive a Tutorial Project bundle when you place your order with me with 12 gorgeous projects using a varying stamp sets.

cards, Catalogues

BEAUTIFUL MOMENTS WEEK – DAY 2 – FLAMINGO GIRLS!

Day 2 of the Beautiful Moments Week as I showcase this gorgeous stamp set.

Yesterday I shared a card with the sweet girls in the stamp set.  So thought I would share another card with these girls.

This one was stamped in Saddle Brown Stazon on to watercolor paper.  Then it was coloured with the Watercolor Pencils then washed over with the Aquapainter.  I love the softness of it.

I stamped the birds in as an afterthought just before I assembled the card but I was annoyed that I used the Black.  I just grabbed that inkpad without thinking too much. I think it would have looked much better if I had used the Saddle Brown ink again.

I used a piece of Tropical Oasis Designer Series Paper.  I really wasn’t sure what I was going to do with this flamingo piece but the colouring worked really well with it.

Before adhering the stamped piece on to the card I looped around some of the Daffodil Delight Ruched Ribbon.

Have you seen the images in the Beautiful Moments stamp set?  I will be sharing more this week with it so stop by.

You can see it in my store now -> HERE.  If ordering online please use the Host Code: FURRYWCK

Have a great day,

Jenny


cards, Cards by Mail, Catalogues, Classes

BEAUTIFUL MOMENTS CLASS – OR TO GO!

Whether you are local or elsewhere in Australia you can join in this class.

Local Wollongong people you can come along to my studio in East Corrimal.  Or if you can’t make it or not local you can Grab the Class To Go.

The Beautiful Moments stamp set is a gorgeous set with so many different ways of using it.

We will create some fun with it making 3 different projects. Two are in the sneak peek above.

WHEN: Friday 28th February 10am and 7pm

COST: $20 ($5 extra to use my adhesives).

BYO: Scissors and adhesives.

RSVP: Thursday 27th.  Drop me an email or a comment to register.

CAN’T MAKE IT??

Grab the CLASS TO GO – $20. Order the Beautiful Moments stamp set separately if you like to.

Let me know ASAP to reserve your seat – OR to order your Class To Go kit.

Jenny

cards, Catalogues

BEAUTIFUL MOMENTS WEEK – DAY 1 – BEST DRESSED GIRLS!

This week I am showcasing the Beautiful Moments stamp set.  Such a beautiful one with line art images ready for colouring.  I am not great at colouring but I am working on it.

Today’s card uses the sweet little girls.

The images were coloured with the Stampin’ Blends and cut with my new favourite dies the Stitched So Sweetly Dies. The paper is from the Best Dressed Designer Series Paper pack and seemed to fit the image so well.  Before adding the stamped piece on to the card and looped some Mint Macaron Sheer Linen Ribbon.

The sentiment is from the Peaceful Moments stamp set.  It was stamped on a strip of Mint Macaron card and then I cut the end on an angle adding some Sparkle Glimmer Paper behind it.

Watch out for more cards with this stamp set this week.

Happy Stamping,

Jenny

cards, Catalogues, Classes, Stampin' Up!

A FRUITY TAG WITH THE TROPICAL OASIS DESIGNER SERIES PAPER!

I meant to show you this a while ago.  I had my ALOHA Catalogue Kick-Off a few weeks ago.  This was the tag I made up to go on everyone’s gifts that came along to the fun event.  This is using the gorgeous Tropical Oasis Designer Series Paper.

The strip of paper was 5cm wide by about 10cm long.  (2″ x 4″).  I cut a piece of white card to that size and adhered it on the back of the paper to make it more rigid but also so I could write a little Thank You message on it.

The corners were punched with the Detailed Trio Punch.  To decorate it I heat embossed the pineapple in Copper Embossing Powder.  It was nice and shiny although you can’t see that in the photo.

From red card I diecut a small frame from the Stitched So Sweetly Dies to adhere the pineapple to.  They were raised up with Dimensionals. Thread through some of the Mint Macaron Sheer ribbon to finish it off.

They were quick to make once I embossed and cut all the pineapples. To make it quicker you could just stamp them.

Have a great day,

Jenny