I have played a lot with the Stampin’ Up! Ornamental Christmas Bundle and the Modern Christmas Specialty Paper. It is so gorgeous.
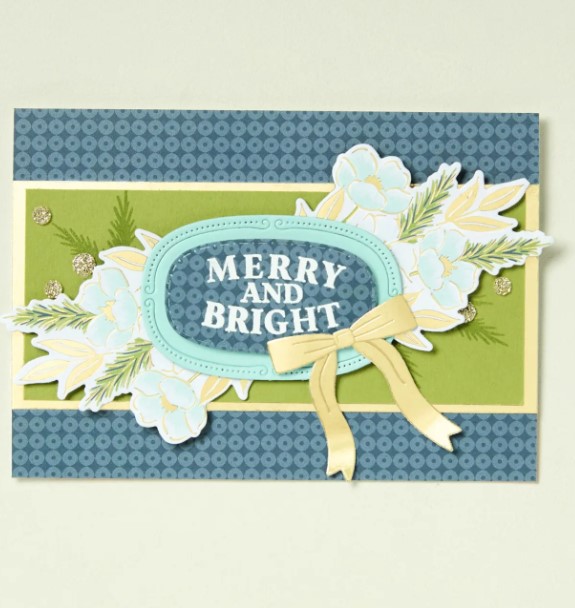
For this one I added a little more classy gold.
To create this diecut an ornament shape from Gold Foil then position it in the Christmas Words Collage Embossing Folder. You can see the words to get the best place. Then emboss through your Diecut Machine.
Also diecut an ornament from the lovely Modern Christmas paper too. Add a strip of black card and then some diecut gold dots.
If you don’t have this particular bundle you could still get a similar look. You may have another ornament style punch or die and even a different Embossing Folder. Gold adds a lot of class for your Christmas cards.
Happy Crafting.
Jenny
If you are in Australia and would love some new goodies to create with I would love to help you get them. You can stop by my store -> HERE OR Contact me directly.
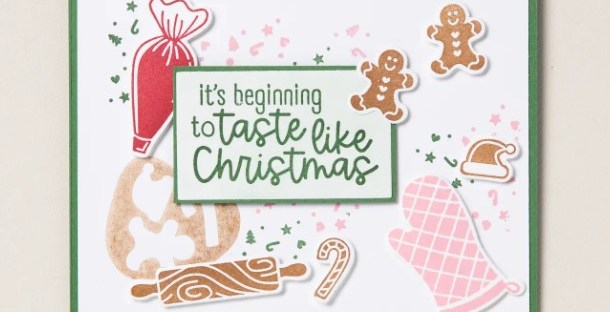
I’m not a baker. And really not that great a cook. I will admit it. But I might be able to handle this one.
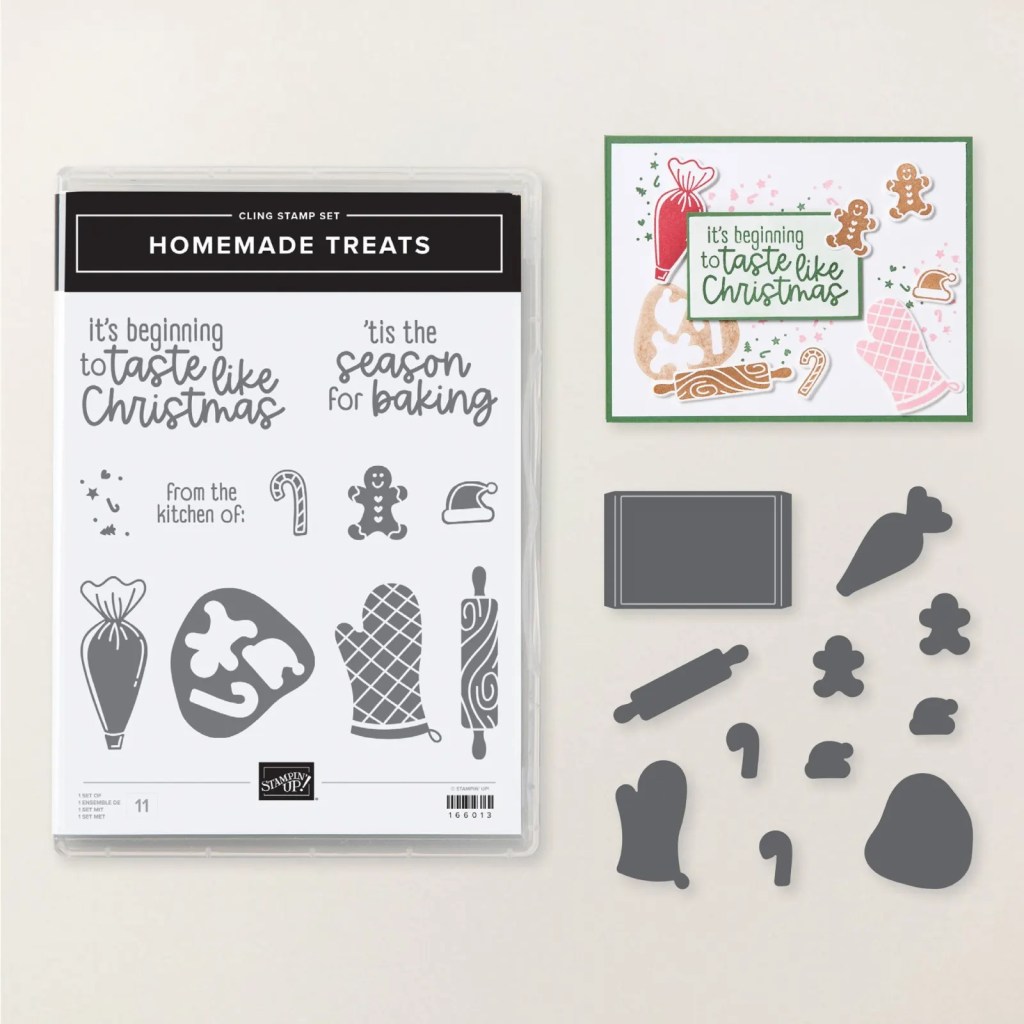
The Homemade Treats Bundle is a cute one. It has the Dies to cut little gingerbread men, and candy canes and other baking goodies, even a baking tray. How fun!
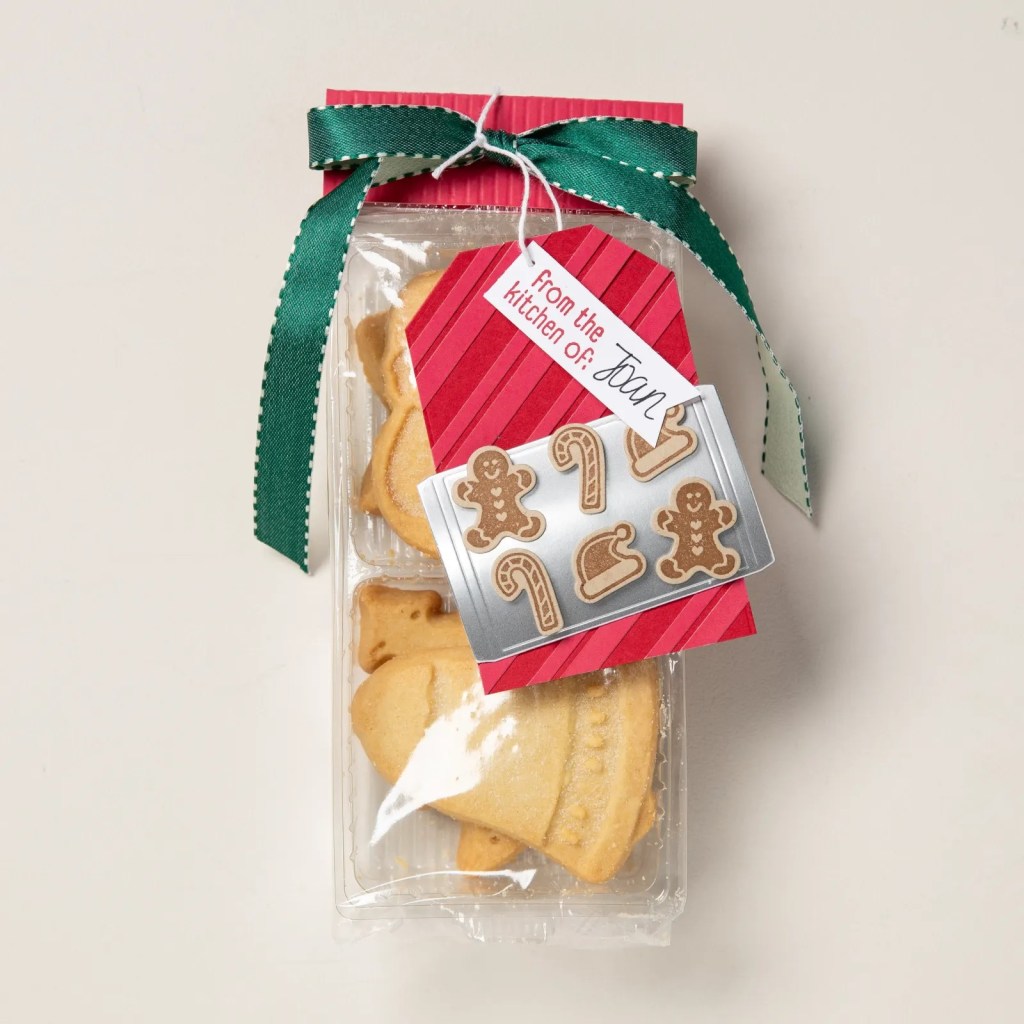
This would make great cards but how great would this be to dress up some cookies to give at Christmas. In my case maybe I can dress up some store bought cookies. 🙂 I will stick to making the cards and tags.
This is the Homemade Treats Bundle.
Even fun little sentiments for your baked goodies.
The card is cute but dress up some cookies too.
You can see the Homemade Treats Bundle in my store -> HERE.
If you need this one for your baked goodies or for cards for a wannabe cook (raising my hand), then you can grab it there OR contact me.
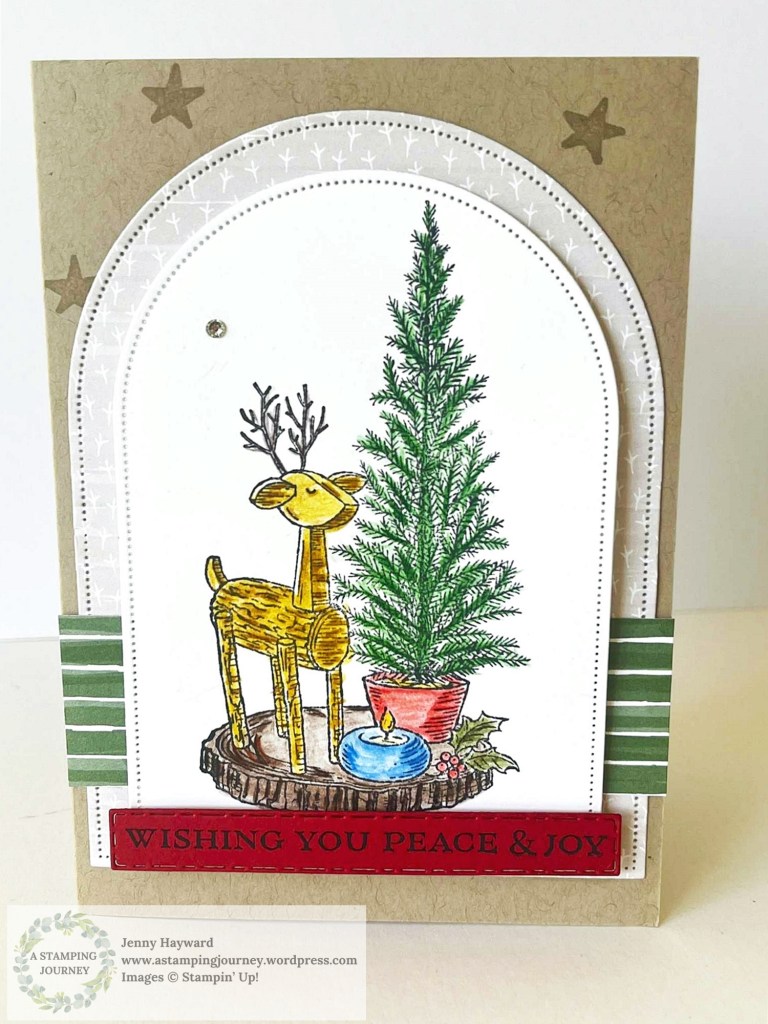
I made this weeks ago but just remembering to share with you now.
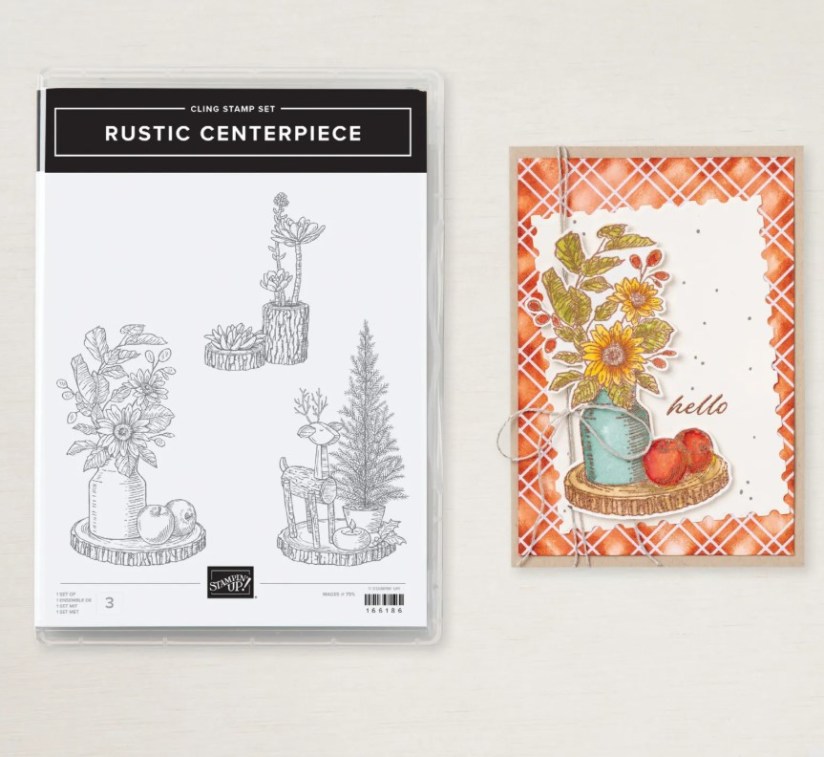
This one is with the Rustic Centerpiece Stamp Set. It’s a set with images that can be used for different occasions through the year.
I like the rustic deer and tree on this one. I coloured it with the Watercolor Pencils. I find them easier to control rather than the Stampin’ Blends or Watercolouring especially when there are finer details.
The sentiment is from the Ornamental Christmas Stamp Set. The paper is with the Nests of Winter Designer Series Paper. It works well for Christmas too.
I realised I haven’t shared the other cards I have made with this set too. I shared them on my Facebook but missed it here. SO… I will be back soon with those projects.
Crafting time is a little sparse at the moment but I hope to be back soon with some more creating. Especially as we start getting in to the busy Christmas season.
Happy Crafting,
Jenny
Do you need some crafting Stampin’ Up! supplies? I would love to help you get them. Head to my store -> HERE OR Contact me directly.
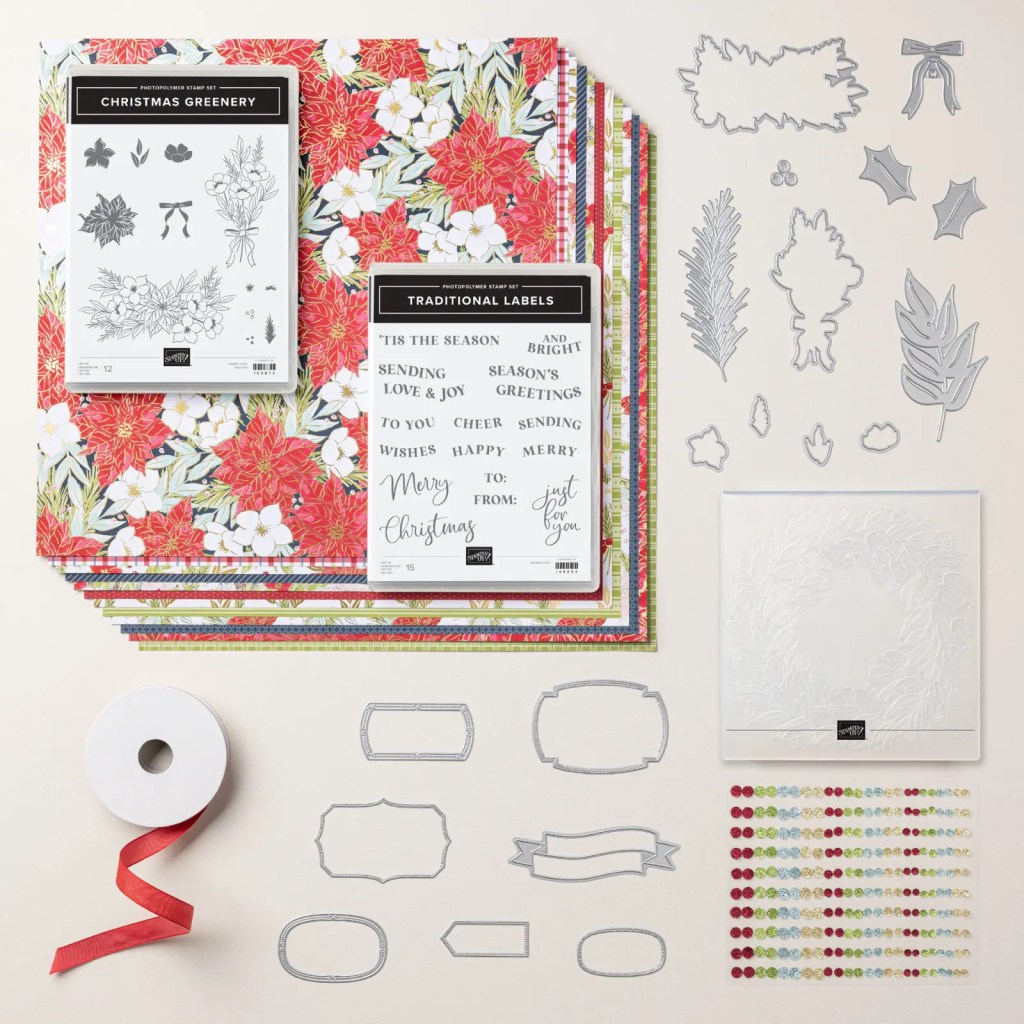
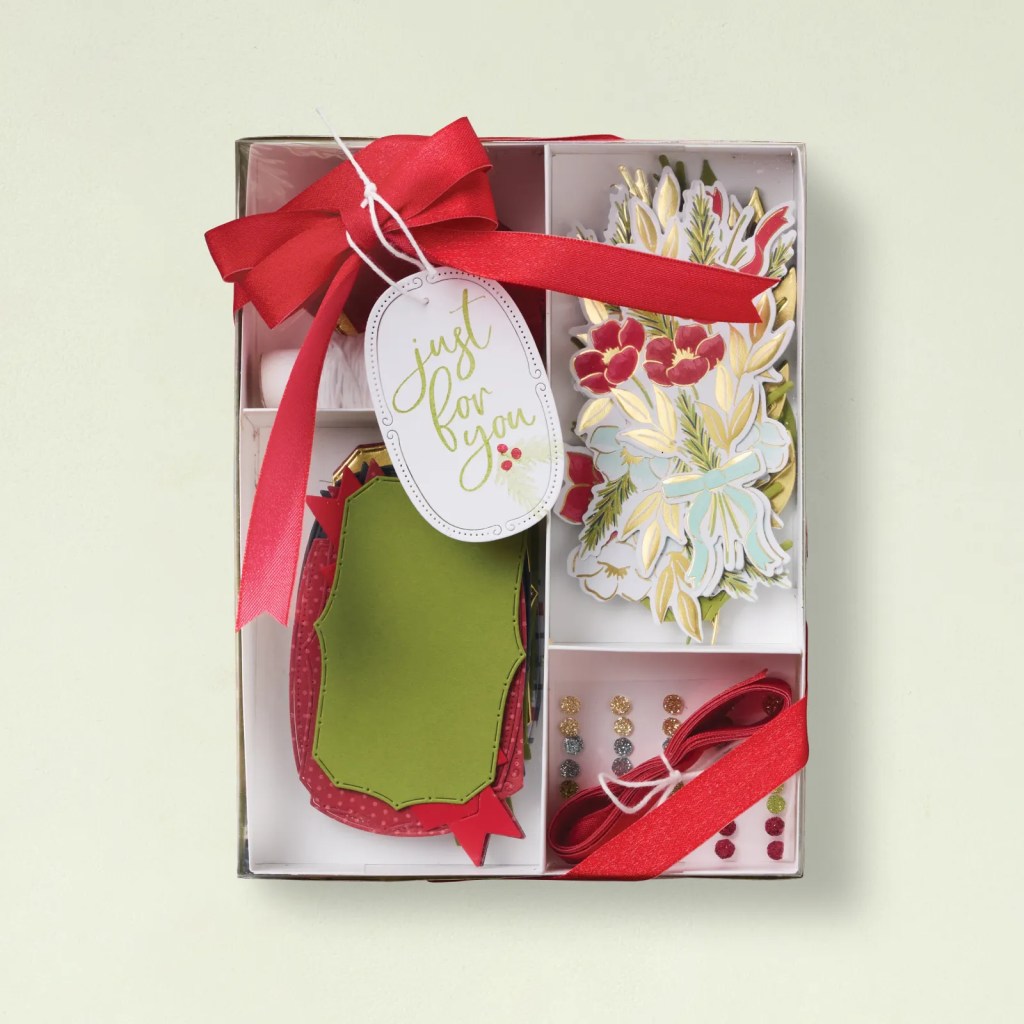
Sunday Suites with the Traditions of Christmas Suite. If you love the classic red and greens for Christmas and the Holly and Poinsettias then you will love this.
The Traditions of Christmas SuiteCollection includes:
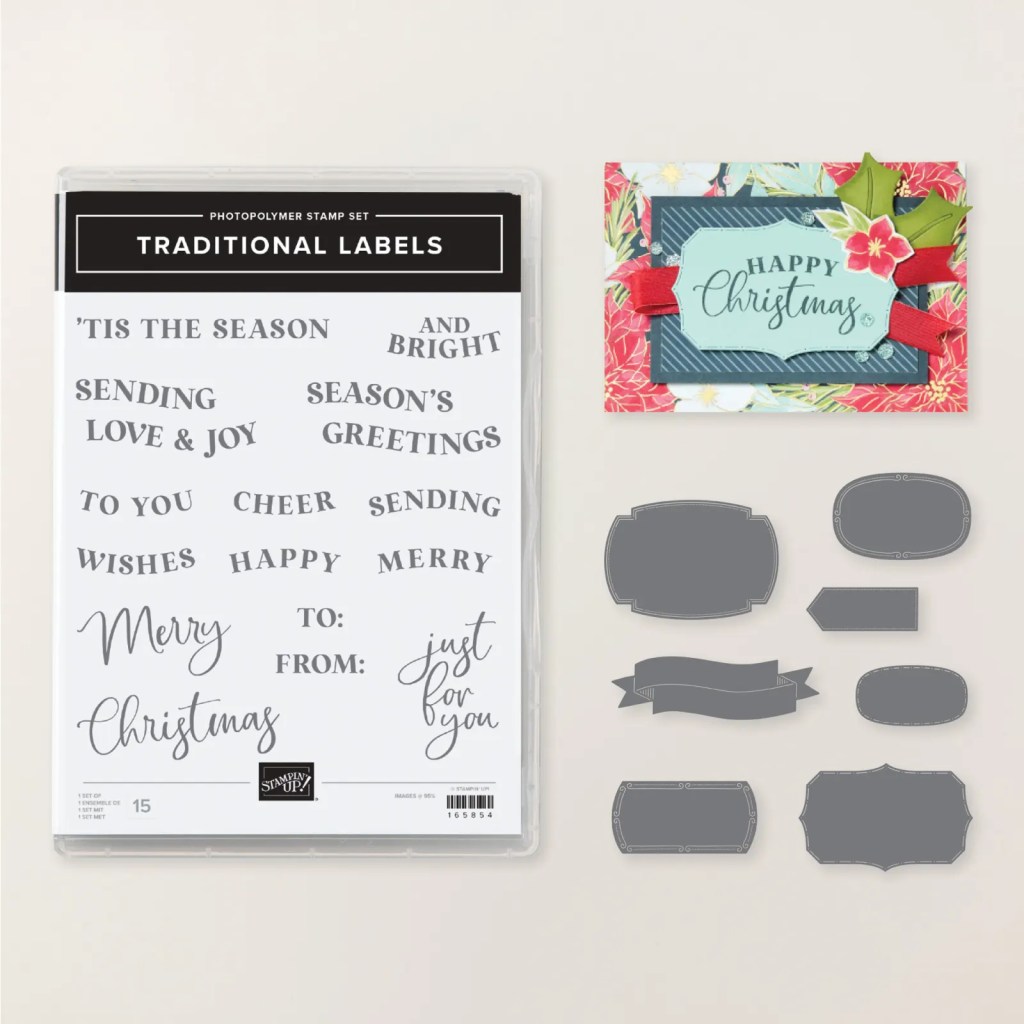
Traditional Labels Bundle
Christmas Greenery Bundle
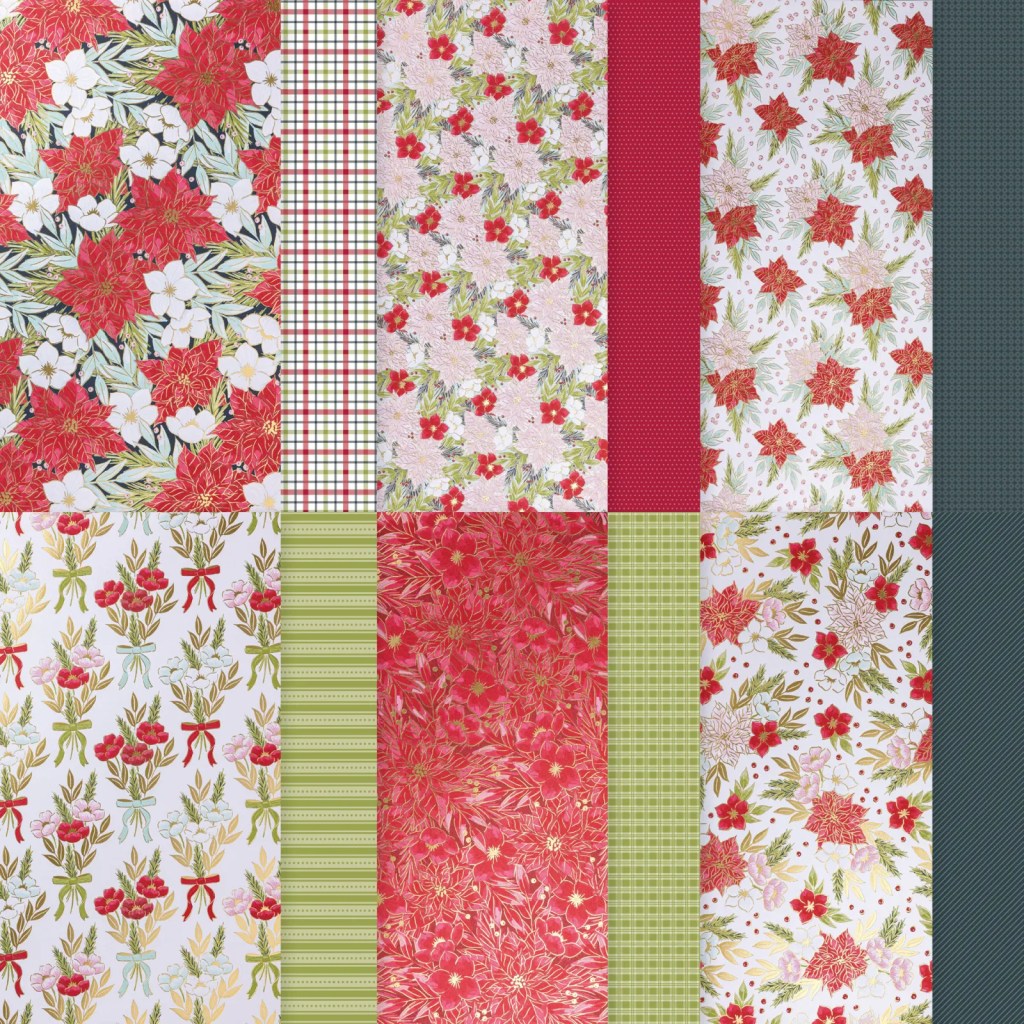
Traditions of Christmas Specialty Designer Series Paper
Real Red 1/2″ (1.3cm) Shiny Ribbon 10 Yards (9.1m)
Traditional Sparkling Sequins 240 adhesive-backed pieces 60mm each of 4 colours. 4mm, 5mm, 6mm.
The Traditional Labels Bundle contains individual sentiments that can be used together or by themselves and not just for Christmas so it is a versatile one. But I do like the Dies set with this one with the different shape dies.
The Christmas Greenery Bundle contains the poinsettia and greenery stamps and has coordinating dies to diecut the images plus a number of different shaped leaves to create Christmas floral arrangements.
The Traditions of Christmas Specialty Paper has touches of Gold through it which is really striking. It has the classic Christmas flowers and leaves like the Poinsettias and Holly. The paper is 12″x12″ with colours of Cherry Cobbler, gold, Old Olive, Pool Party, Real Red, Secret Sea.
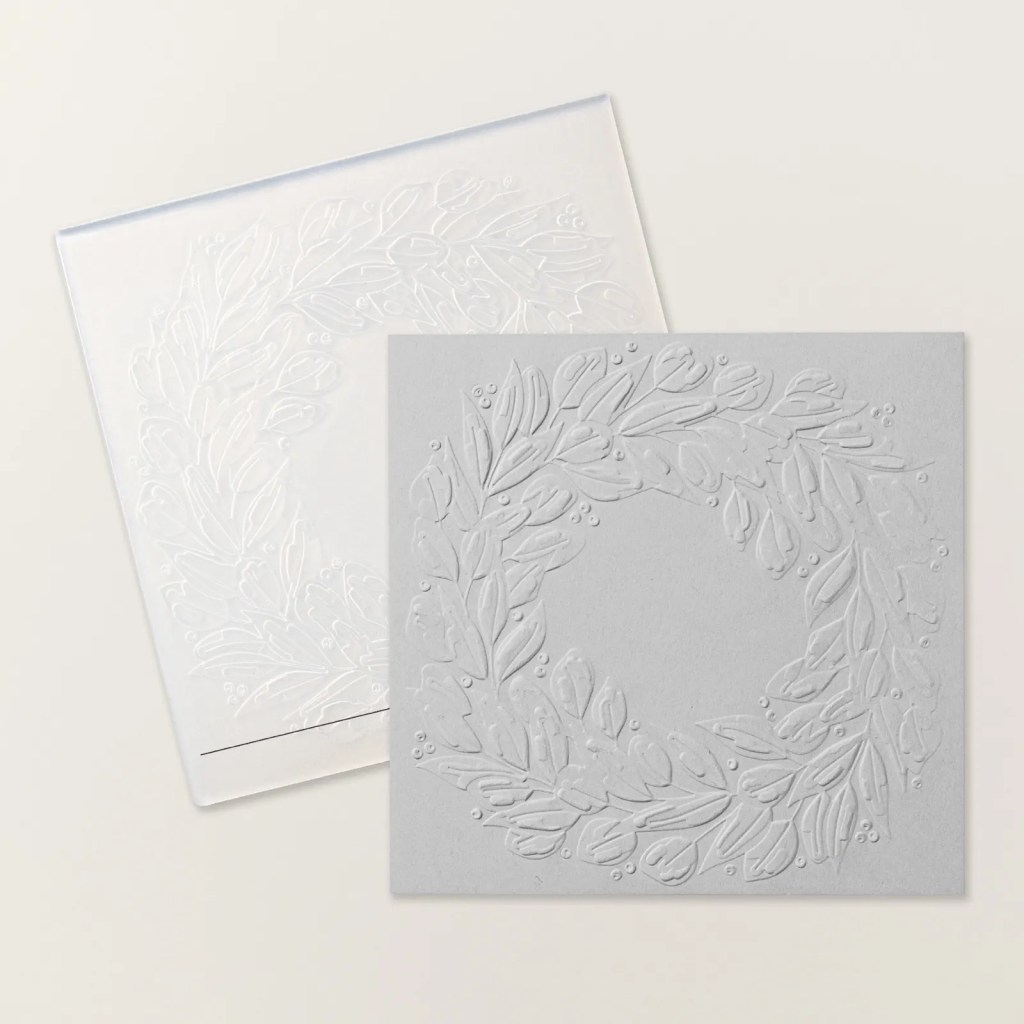
The Traditional Wreath Embossing Folder. Note this Embossing Folder is very large. It is 6″ x 6-1/4″ (15.2 x 15.9 cm). So bigger than your standard Card Size you would just have a touch of texture on it. It is pretty though with lots of detail.
The Real Red Shiny Ribbon is very shimmery which really adds a delicate, soft touch to cards and gift packaging. In addition there is the Traditional Sparkling Sequins.
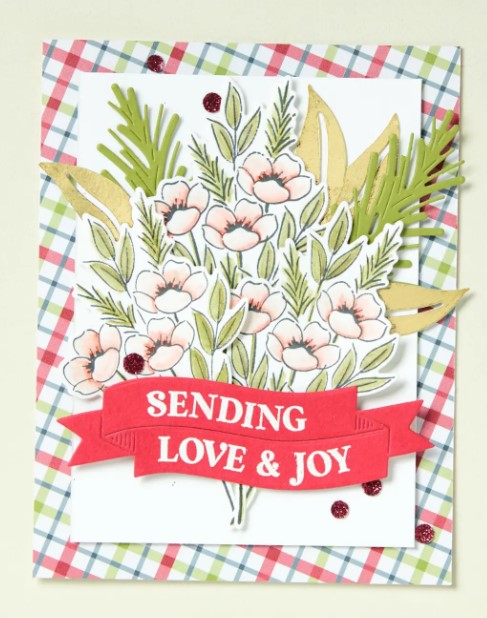
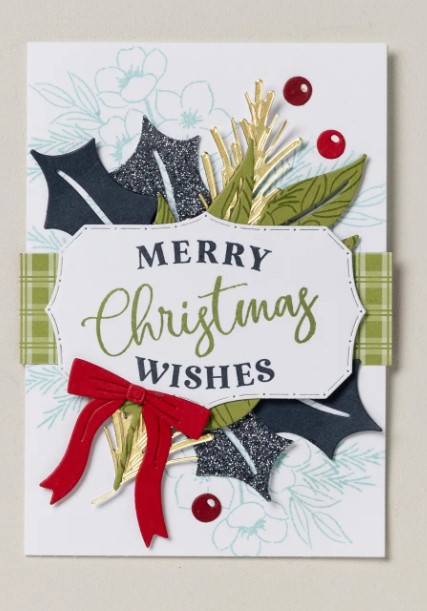
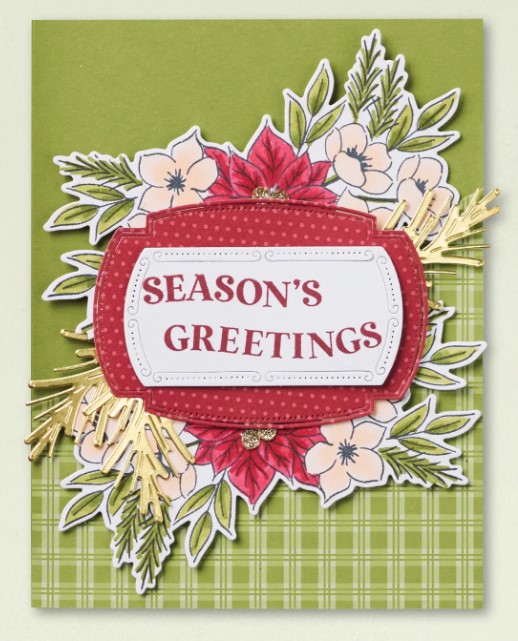
Here are some samples with these gorgeous products.
Are you a Classic Red and Green with the traditional flowers and foliage. This will be for you. See it more -> HERE.
If you need supplies I would love to help you get these if you are in Australia? You can stop by my store at the above link OR Contact me directly.
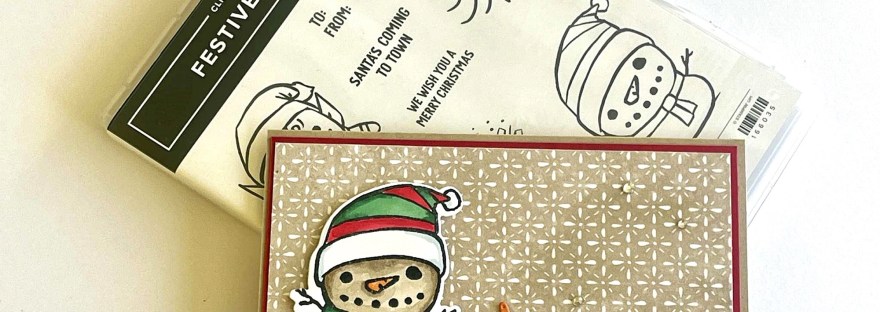
I couldn’t resist. I recently got the Festive Friends Bundle. They are cute characters in this one BUT for our Hot Christmas time in Australia with many heading to the beach I couldn’t help but make the snowman a Sandman.
I remember so many times at the beach when I was young creating big mounds of sand and decorating it with seaweed for hair and added sticks and shells. And at Christmas time you did add a Santa Hat. Such fun memories.
So the Festive Friends snowman became a Sandman. Not too many shells or seaweed on this one but still all dressed up for Christmas.
The Sandman was coloured with the Stampin’ Blends and the shells were from the Notes and Totes Dies set. The paper worked well with it. This was from the Peaceful Garden Designer Series Paper pack.
I had a lot of fun colouring this character. I have created with the other characters too so I will get back to you soon on those ones.
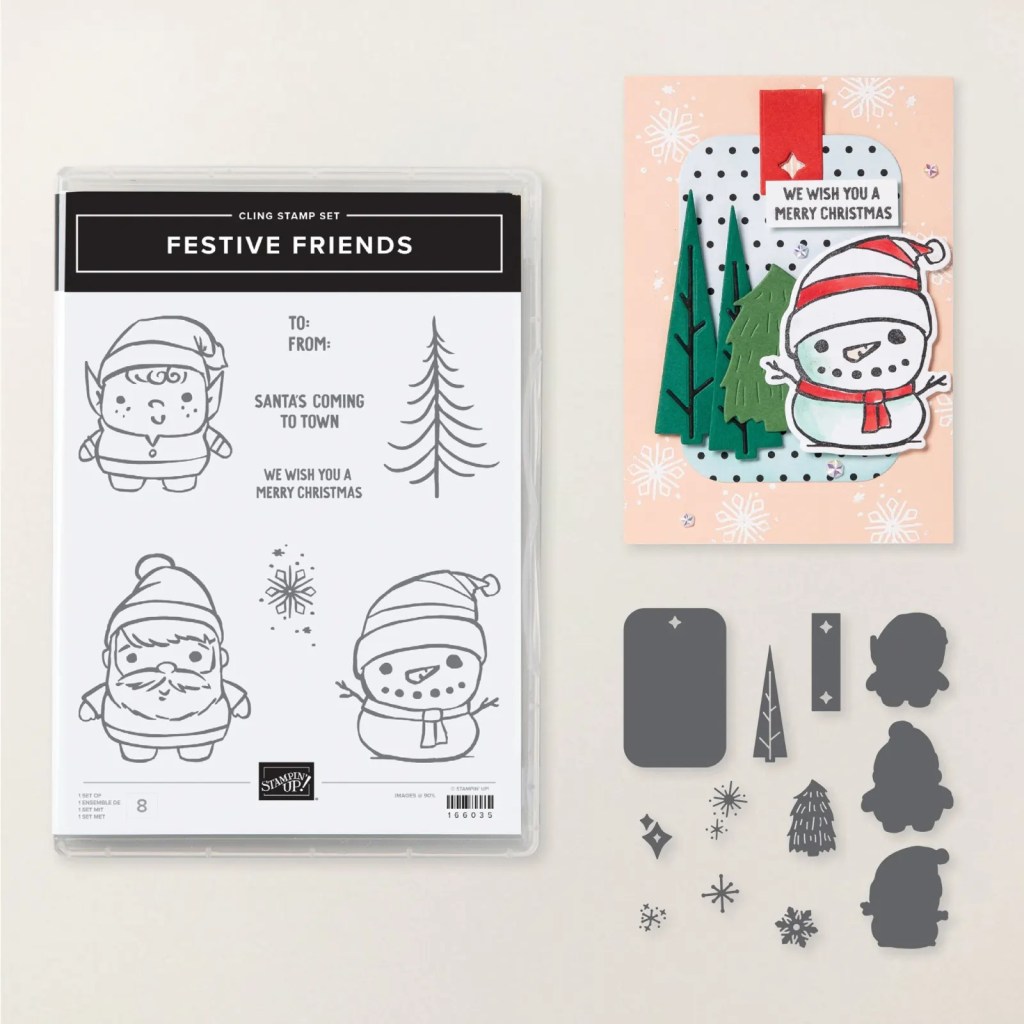
This is the Festive Friends Bundle. It has some fun little additional elements too with the trees and snowflakes and a tag shape. See it more -> HERE.
Happy Crafting,
Jenny
If you are in Australia and need supplies for your crafting I would love to help you. Head to my store -> HERE Or Contact me directly.
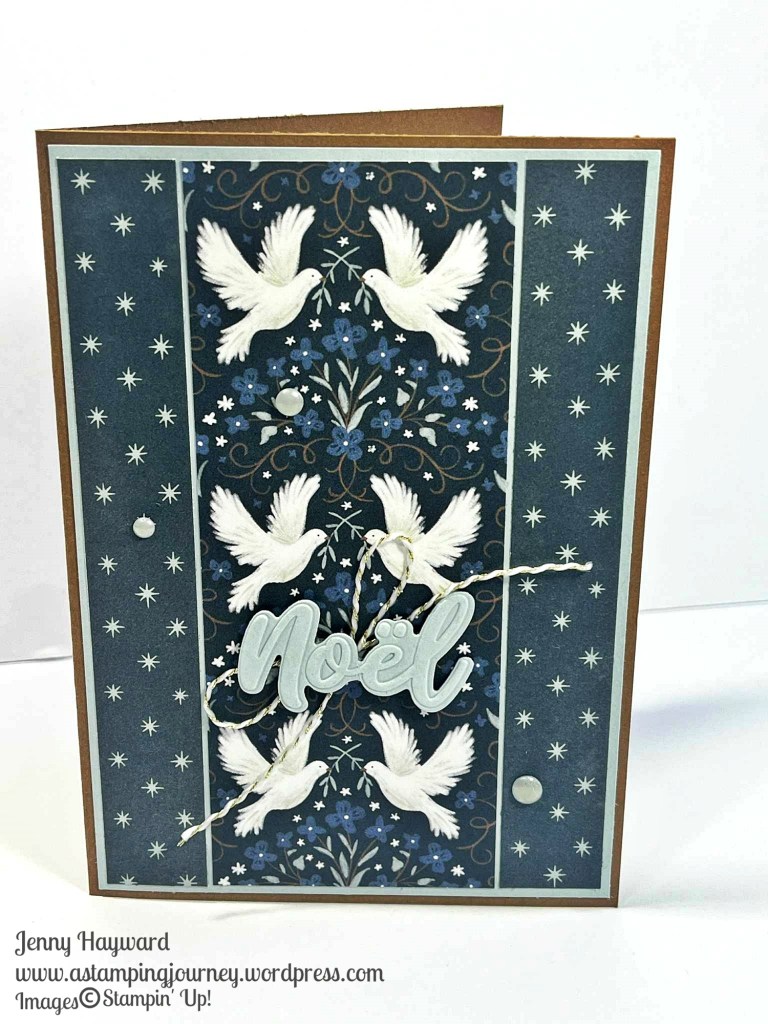
My first Christmas card for the season. I don’t know about you but I’m not quite feeling the festive spirit yet. It still seems so early. But then we need to get on to them soon to get our cards made ready.
New products always help to freshen up the cards. This is one with some great new products from the 2025 Holiday Catalogue.
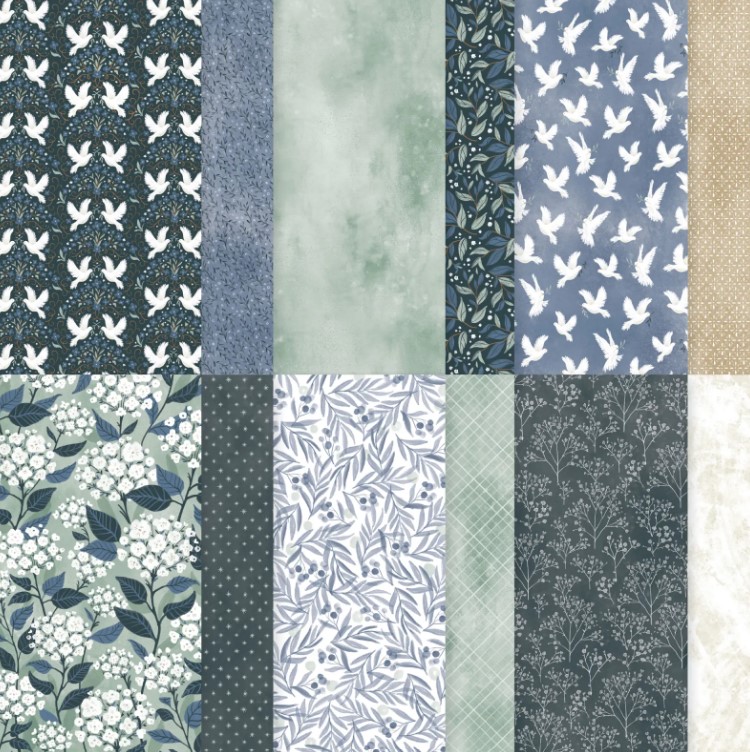
I have created this with the Peaceful Garden Designer Series Paper. I wanted to use the dove pattern but to use a whole piece meant cutting in to some of the doves. So I cut a section and added that to the centre and have 2 strips of another pattern on either side.
The Card Base is Pecan Pie and I used Pool Party for the card mat and the “Noel”.
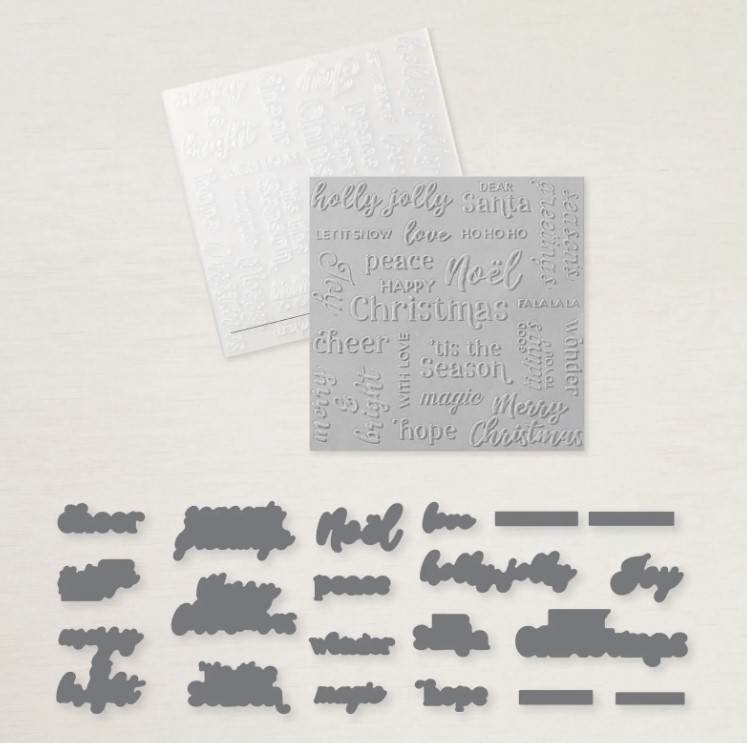
For the “Noel” I embossed and diecut it with the Christmas Words Collage Hybrid Embossing Folder. I like this folder and die set. I just used a small piece of card just larger than the word rather than use a large piece.
This is the Peaceful Garden Designer Series Paper.
If you need these or any other products and you are in Australia I would love to help you get them. You can stop by to my store at either of those links above OR Contact me directly.
Let’s see what else we can create with this great new products.
HO! HO! HO! It’s that time of year. Are you ready for some Christmas Creating? Maybe you are so organised you have already started right??
Today the 2025 Stampin’ Up! Holiday Catalogue is out ready for you. There are some great new Products. There are some great new products in the new Online Exclusives too. (I will leave that one for another day).
Here are some of my favourite Picks from the Catalogue.
Christmas Words Collage Hybrid Embossing Folder $74.00AUD
Branching Out Bundle $83.50AUD
I especially like the Dies in this Bundle. (Yes they are stitched. My favourite)
Peaceful Greenery Embossing Folder $17.50AUD
Peaceful Garden Designer Series Paper $21.75AUD
You can Download the PDF of the Holiday Catalogue ->HERE.
Happy Christmas reading. I will be back soon to share more of with some of the products.
Jenny
If you are in Australia I would love to help you get some of these products to freshen up your Christmas creating. You can stop by my store at the above store link OR Contact me directly.
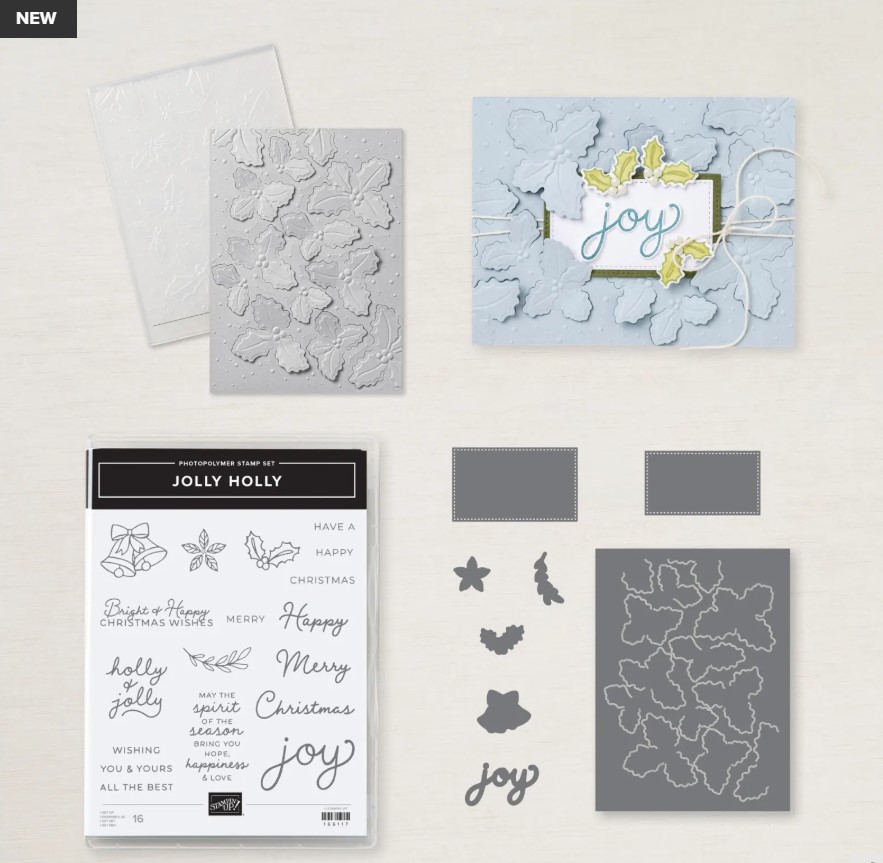
It’s Hidden Gems Day. Sometimes products get lost with the Online Exclusives. Today let’s check out the Jolly Holly Bundle.
The Bundle includes the Jolly Holly Stamp Set and Jolly Holly Hybrid Embossing Folder.
The Stamp Set has very versatile sentiments that you can use together or on their own in different fonts. And it has cute simple Christmas images.
I particularly like the Hybrid Embossing Folder though. The Embossing Folder can add a textured background to your Christmas projects. BUT what about the dies to use with it. The large die cuts the Holly leaves out giving a partial Pop-Up effect.
You can see how it partially cuts the leaves in the photo above. The ones below shows the embossed effect. You can colour the Holly leaves or using the Two-Tone cardstock rub over it with a light sanding block.
If you would love this or any other Stampin’ Up! products and you are in Australia I would love to help you. You can head to the link above OR Contact me directly.
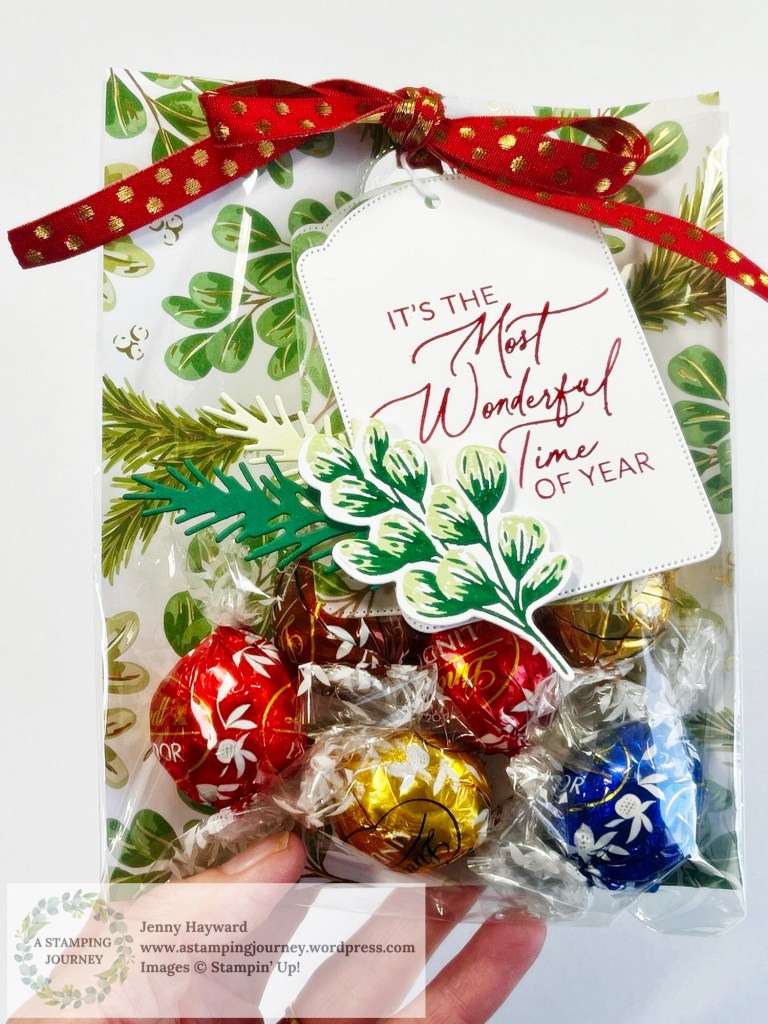
We have arrived to our last week for our 12 Weeks of Christmas Series. Our Week 12 project is a quick and easy Treat Bag.
For this one I have used the Green and Gold Specialty Designer Series Paper.
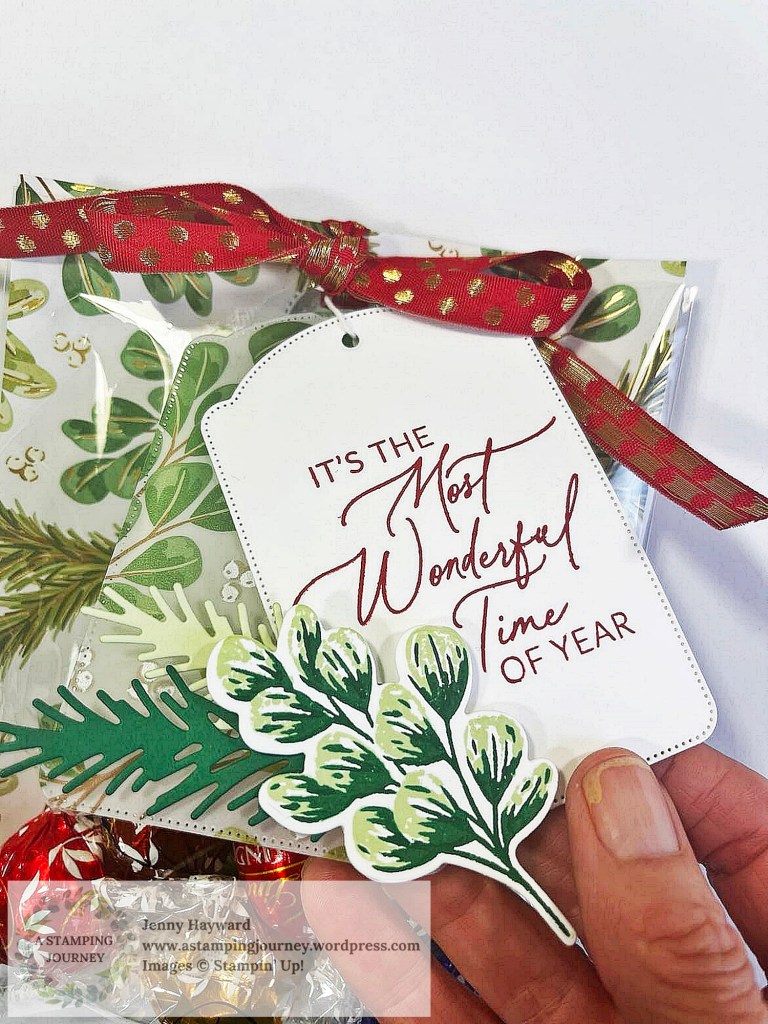
Here’s a close-up of the tag.
A tag was diecut from White card but also from the Graceful Greenery Vellum. I used the Greetings of the Season stamps and dies. Add a stamped leaf from the Golden Greenery stamps and dies and then also diecut leaves. One from Shaded Spruce and the other from Soft Sea Foam card.
It’s nice to dress up some chocolates in a cute bag. All you need is a clear plastic or Cello bag and some pretty paper. I share some tips in how to create them in the video below.
I hope you have enjoyed the projects through our 12 Weeks of Christmas Series and that they have inspired you. Some would work for any occasion so file them away for upcoming ideas.
Did you know you can create your own textured background with dies?
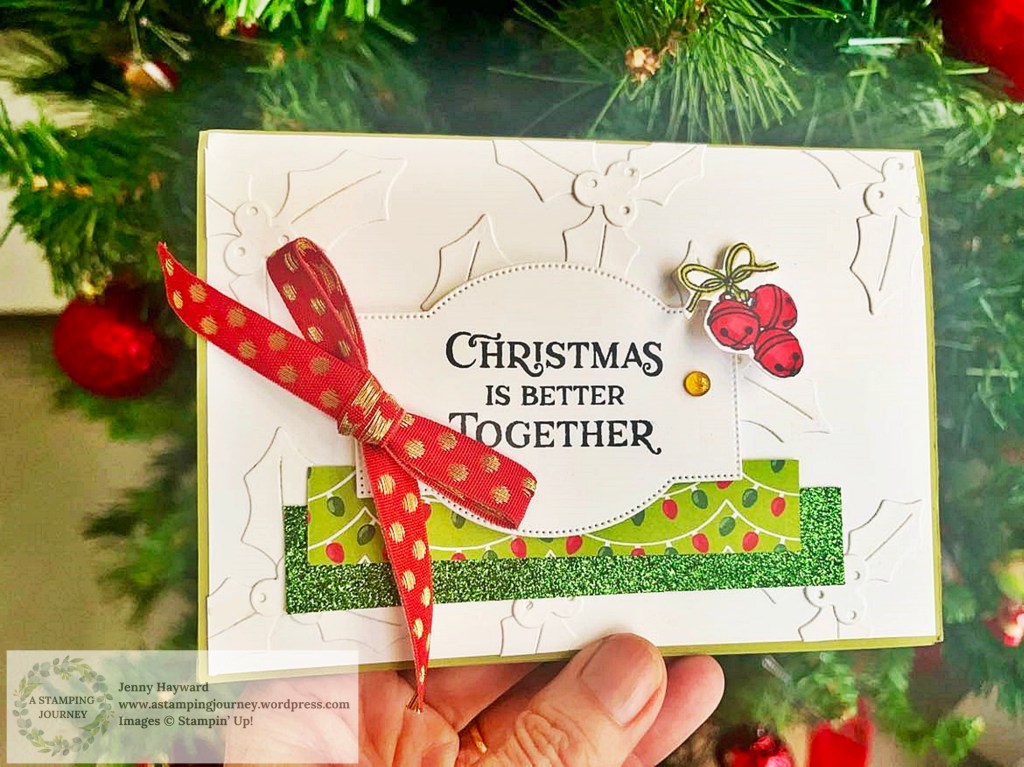
For this card I diecut lots of white Berries and Holly leaves from the Reindeer Fun Dies and adhered these together. Then I added them to a white card mat. It adds a subtle texture.
Here’s how to Create this effect:
Diecut lots of Holly Leaves and Berries from the dies on white card.
Adhere the Holly and Berries together.
Lay all the Holly/Berry pieces out on the white card mat to position them how you like. Have some overhanging the edges.
Adhere them down to the card mat. Turn over the card and trim off the overhanging pieces.
Then complete the card as you like.
I added a strip of Reindeer Days Paper and a strip of the Green Glimmer Paper along with the bells coloured with Stampin’ Blends. I finished it off with a bow from the Real Red and Gold Ribbon.
Try this idea with some dies you have. It takes a little diecutting and sticking together but it is a fun way to use them.
Hope your Christmas Creating is going along well.
Jenny
If you need some crafty supplies and you are in Australia you can stop by my store -> HERE. Or Contact me directly. I would love to help you out.