3D projects, Blog Hops, cards, Stampin' Up!, Tutorials

ESAD 2017 ANNUAL CATALOGUE SNEAK PEEK!

Welcome to the ESAD 2017/2018 Annual Catalogue Sneak Peek Blog Hop.  Today you can hop along to 26 Demonstrators showcasing some of the exciting new products coming out VERY SOON!! I hope you have a cuppa in hand while you take your journey – and be ready for lots of inspiration!  You might have come from Kristel’s blog or just starting out here.  You can join in anywhere along the way.  So let’s get going!

Today I am sharing some projects from the Colorful Seasons bundle – the Colorful Seasons stamps and the Seasonal Layers Thinlits as well as the Color Theory Designer Series Paper Stack. I have lots of photos but I know you want to get on your way with the rest of the Bloghop so come back tomorrow and I will share a tutorial with you. for the cute little bag below.

I have two Double Z-fold cards for you and little matching bags.

These bags just use 1 square of 6″x 6″ Designer Series Paper. So cute!!
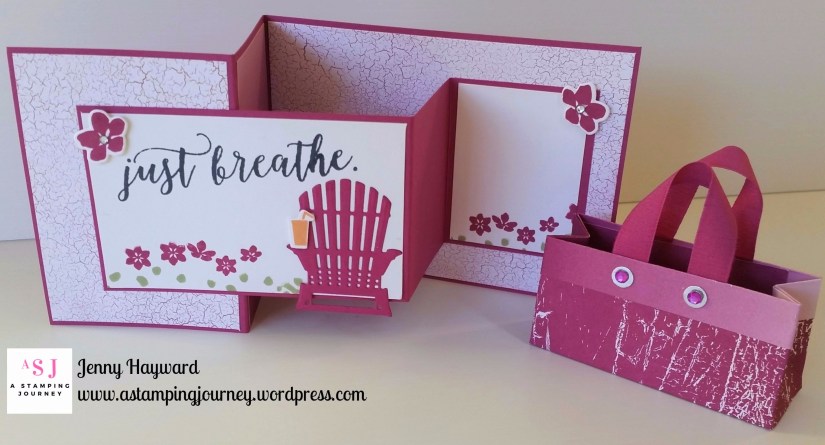
I love the new Berry Burst Incolor.  What am I saying? I love all the new Incolors!
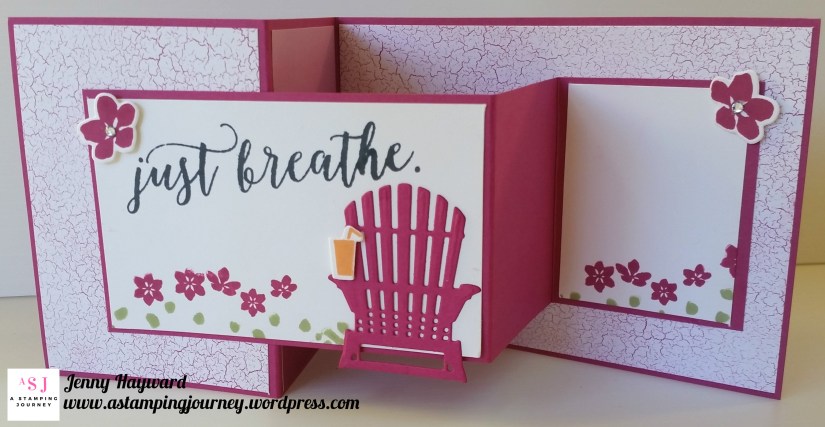
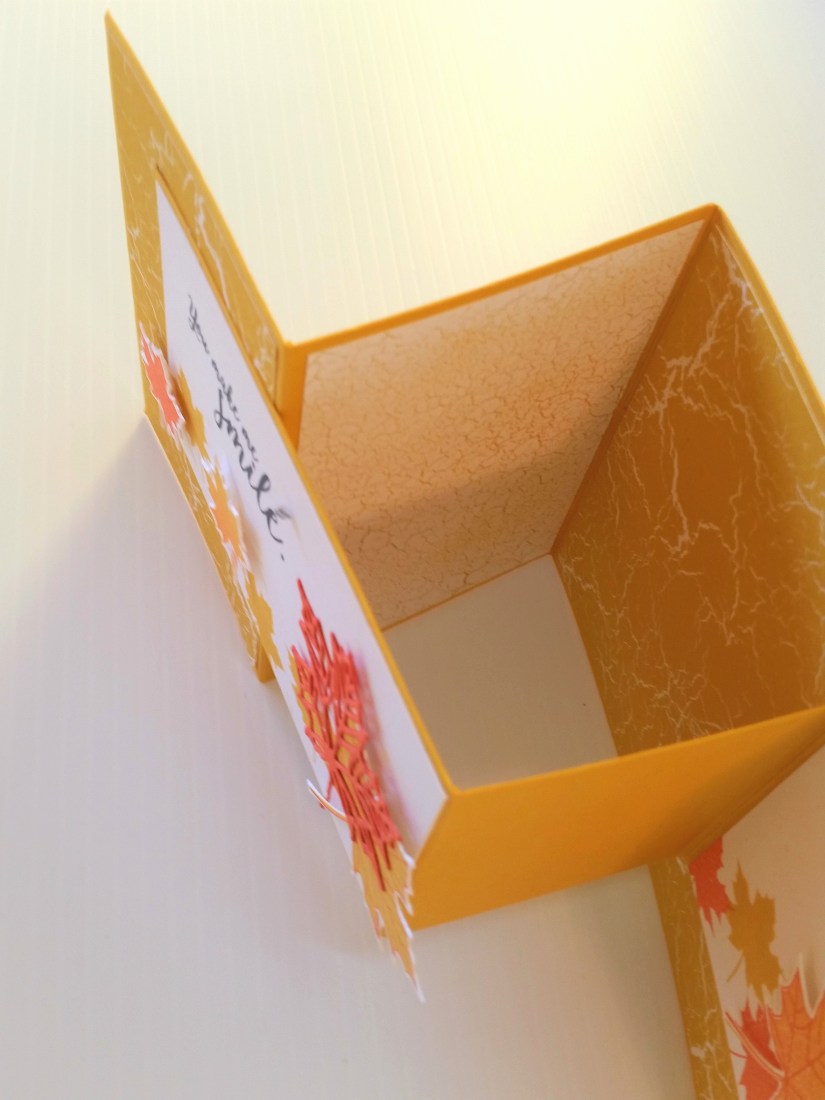
The card folds flat to your standard size card so it is easy to put in an envelope.
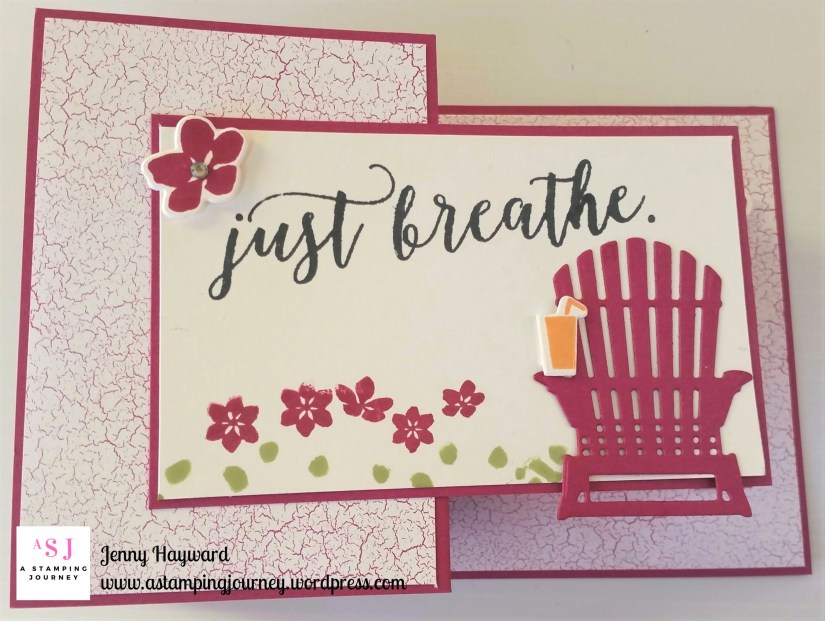
You can find the Tutorial to make the Z-fold Card HERE on Amanda’s Craft Spa Blog.  This is in Metric.  If you would like the Imperial Measurements then you can find the Youtube by Dawn’s Stamping Thoughts HERE. 

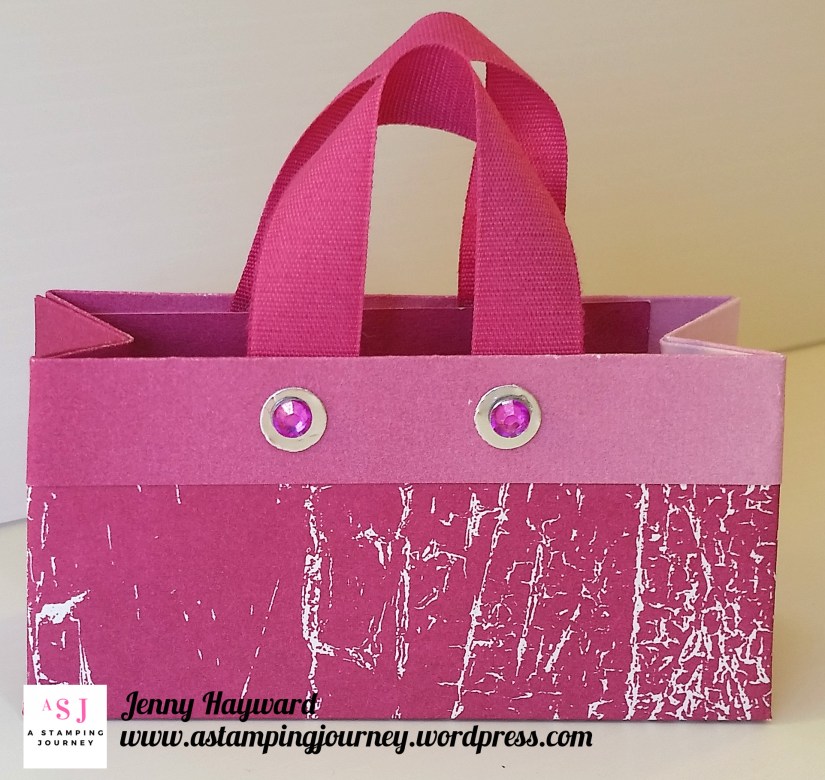
Now for the bag.  This will fit 2 small chocolates inside or perhaps a Lip Balm. This would make a lovely little gift for a friend to cheer them up or to add to their birthday gift.  Check the Rhinestones! I coloured the Adhesive Rhinestones to match using Sharpie markers. (Edited: Head to the next post to see the tutorial to make these cute little bags).
This version of Z-fold card below is using the Crushed Curry paper in the stack.  This card is with a different style of bag.  I am planning on making the card and different bags with each of the colours in the stack.  I will share those with you soon.
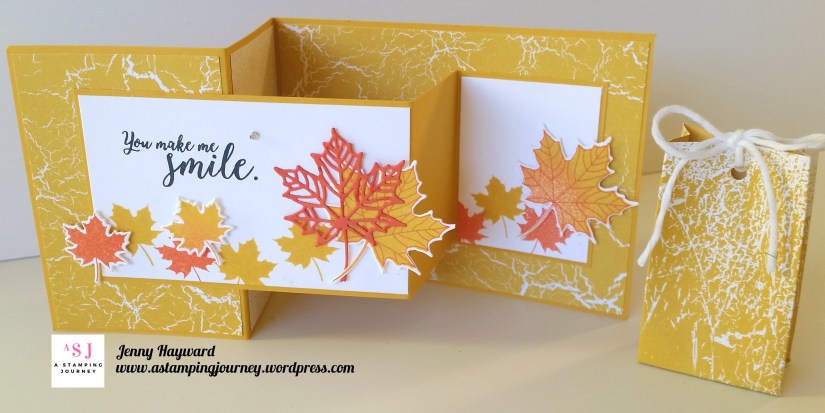
I love the patterns in this Color Theory paper stack.  You have crackle look and a marble look, the Ombre effect and paint chip style strips.  It’s really fun!  I have used 2 different types of the paper. One for the front and back and another one inside the card.
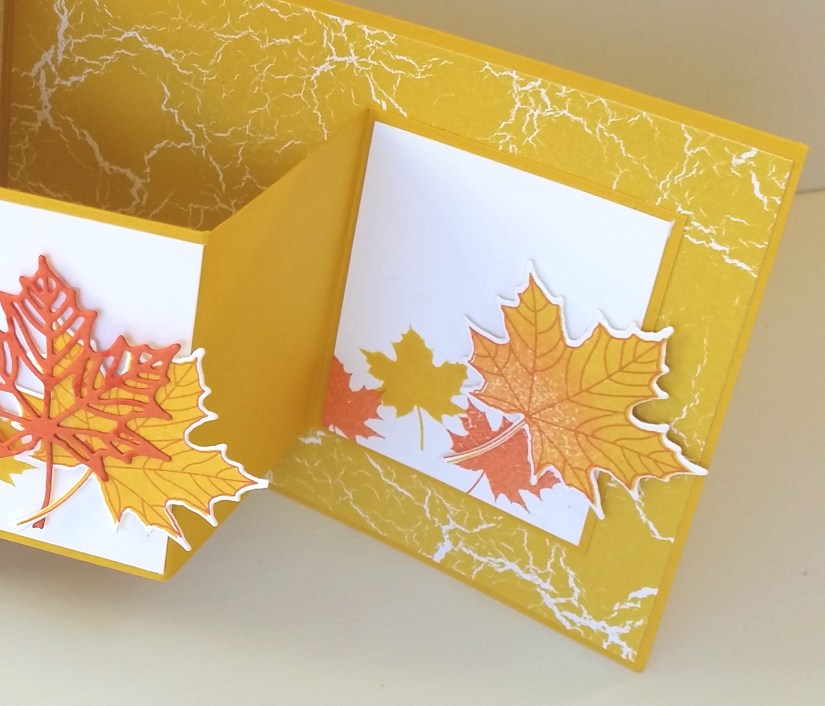
A close up of the larger leaves.  I inked the solid leaf in the stamp set in Crushed Curry ink then sponged some Tangerine Tango ink to add a little colour variation.  Then I stamped over with the “lined” leaf stamp in Tangerine Tango before cutting it out with the co-ordinating Thinlit.
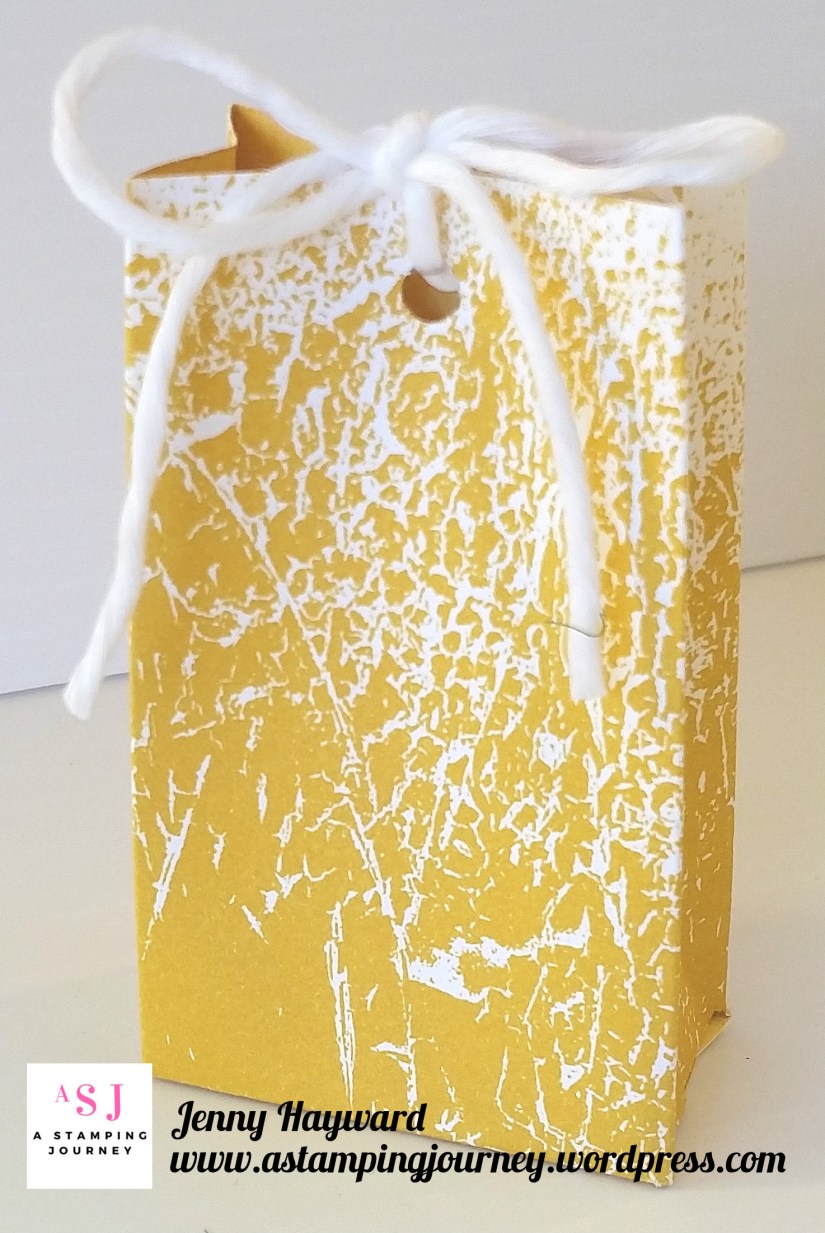
This little cute bag stands about 7.5cm tall (3″).  You can find the tutorial for this on Pootles blog HERE.  You could add a tag or a different closure?? I just kept it simple for this project and tied it up with some Thick White Baker’s Twine. 
Be sure to pop back tomorrow and I will share the tutorial for the cute Berry Burst bag.

Now you can be on your way to Carly’s blog.  Head HERE

Thanks for stopping by today,

Jenny


3D projects, Blog Hops, cards, Catalogues, Stampin' Up!

NEW CATALOGUE BLOGHOP TOMORROW. BE SURE TO STOP BY!

The excitement is building for the 2017 Catalogue to start on June 1st.  Not many days left now!

Just to give you all a sneak peek we are having a Blog Hop TOMORROW to get you inspired.  Be sure to stop on by tomorrow and take the little “hop”.  I don’t know about you but I am excited to see everyone’s creations using some fun new products – and don’t forget those new Incolors! Woo Hoo!

See you 6pm tomorrow (about this time!). 🙂

Jenny

cards, Catalogues, Stampin' Up!

I’M CRAZY ABOUT YOU!

Today I am looking at the Crazy About You set that is retiring.  I have had fun with this set over it’s time.

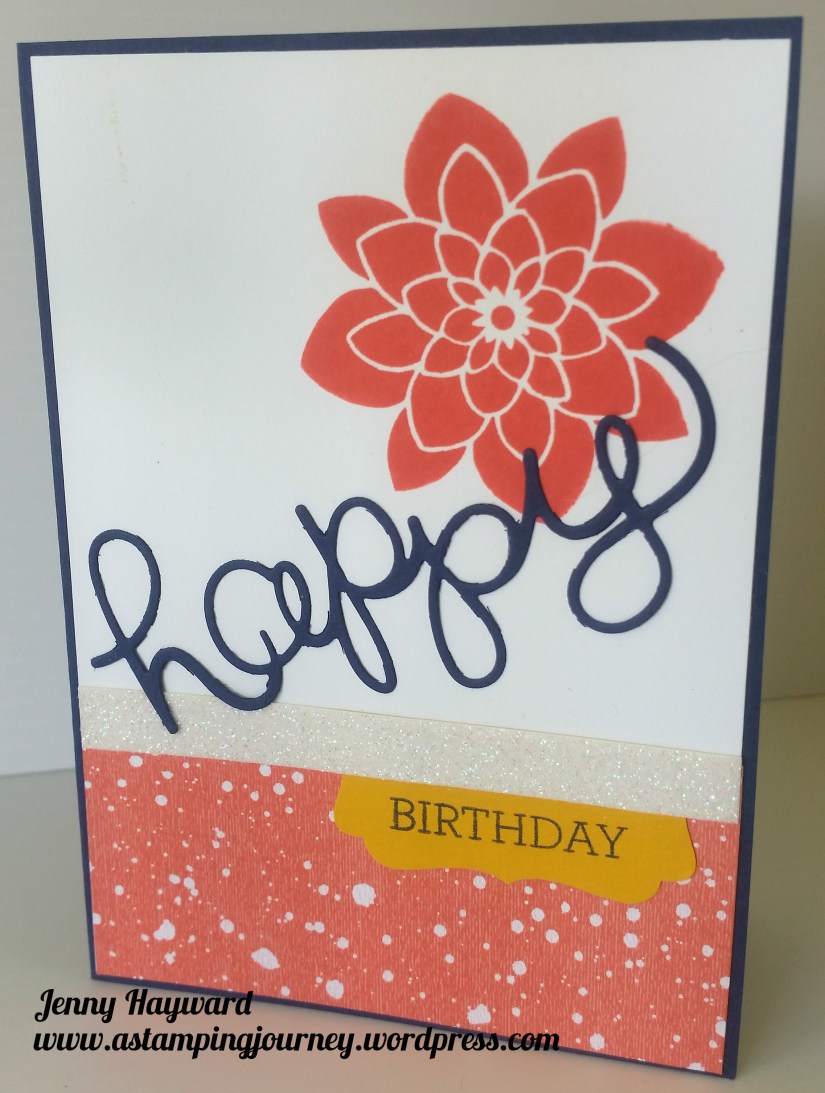
This one we did as a Stamp A Stack card back a few years ago.  In Night of Navy and Calypso Coral with Crushed Curry for the sentiment piece.    I added a little strip of Dazzling Diamonds Glimmer Paper too.  I think we did this in another colour combinations but I can’t seem to find that one. I think it was Daffodil Delight instead of the Calypso Coral. I do like this colour combo though.

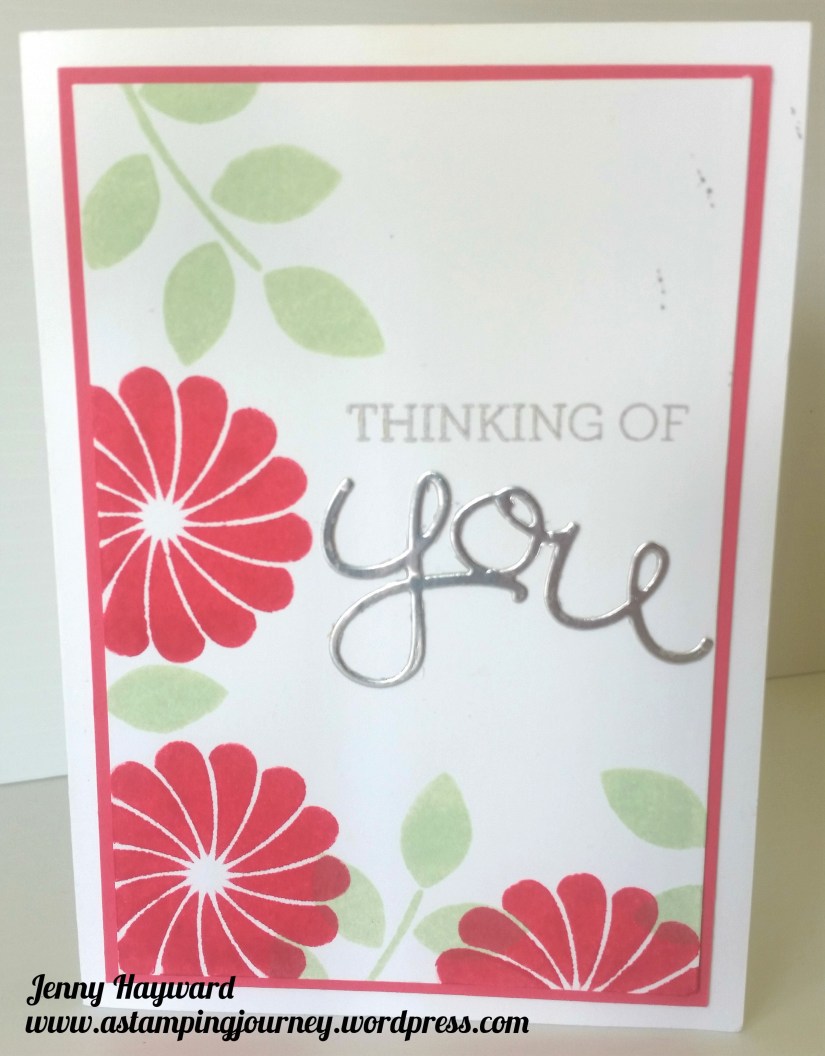
I think this one was a Make and Take at a few workshops.  This one was in Primrose Petal and Pear Pizzazz.  Having the diecut words for these cards just gives it a little more dimension.

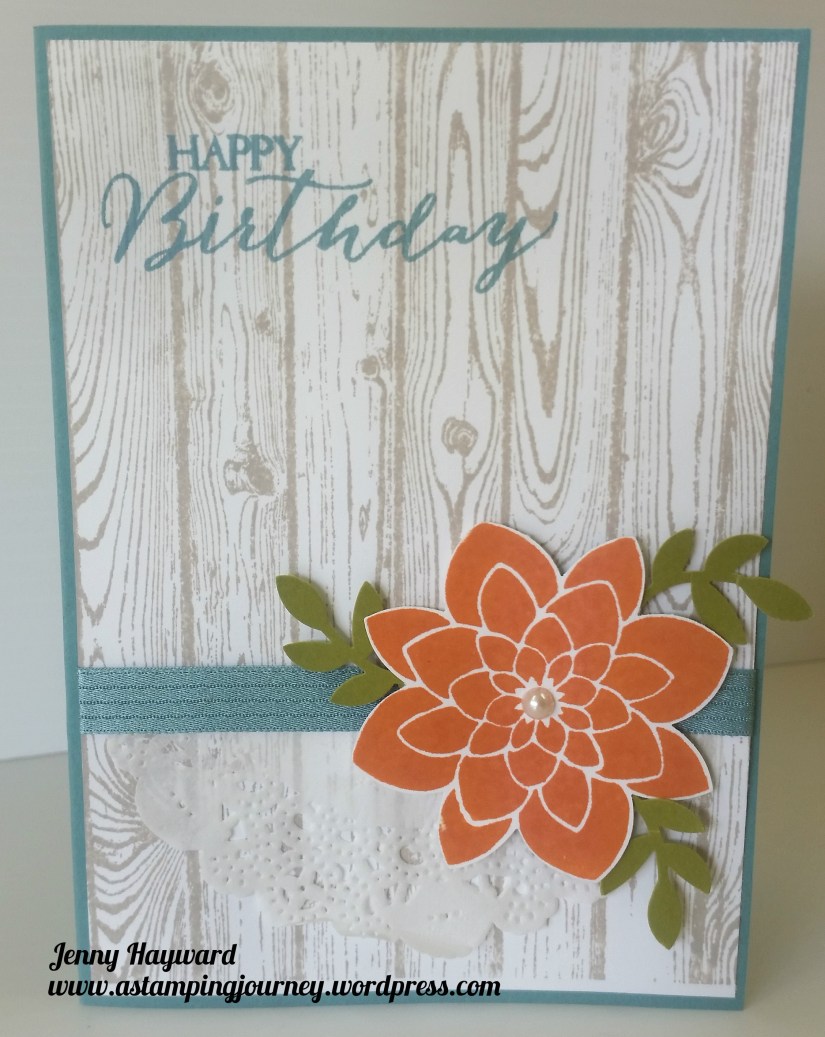
This one was a card sample.  This was quite some time ago with Lost Lagoon and the 2 step Bird Punch for the leaves.   The background is the Hardwood background stamp which is inked in Crumb Cake.  The sentiment is from Butterfly Basics. 

The flower stamp matches so well with the Flower Medallion Punch (also retiring, $31 AUS). No hand cutting this baby. 🙂

The words in the Crazy About You set are very versatile for so many different occasions. You can also get the ‘Hello You’ Thinlits ($41 AUS).

You have less than one week now to get any of these retiring products.  Be quick now!  Stop on by my store to order.  Please use the HOST CODE: 2WNURG3N

Crazy About You  W $90  C $68 -> HERE

Hello You Thinlits  $41  -> HERE

Flower Medallion Punch  $31  -> HERE

Have a wonderful weekend,

Jenny


cards, Catalogues, Stampin' Up!, Tutorials

LEMON LIME MEDALLION!

I know I have been showing you cards with retiring products BUT I just wanted to interrupt that to show you this card with the Eastern Palace suite.  I kind of liked how it turned out.  🙂

I started out to Case a card by Connie Babbert. You can see that card HERE. 

Here is my version.

CREATE YOUR OWN

1. Cut card base is Tidal Tide.  On a piece of Very Vanilla Cardstock just slightly smaller than your base adhere a strip of the Eastern Palace Specialty DSP with the Tidal Tide pattern. IT measures about 5cm wide (2″). Add a little strip of the DSP in the Lemon Lime Twist colour across the middle. Don’t you love that new Lemon Lime Twist colour?? It’s so bright and fresh.

2. Add a sticker strip from the Eastern Gold Vinyl Stickers just above the DSP.  Stamp 2 of the “sprays” in the top left and top right in the Lemon Lime Twist colour.

3, Cut a medallion with the Eastern Medallion Thinlits from the Lemon Lime Twist card and a smaller one from the Tidal Tide card.  Raise that smaller one up off the Lemon Lime Twist one with Dimensionals. Stamp the sentiment on Very Vanilla card and cut it with a small circle die from the Layering Circles Thinlits. Add some loops of Gold Thread behind the sentiment and adhere that on top of the other 2 medallions with Dimensionals.   

4. Adhere this to your card with Dimensionals.  Then add two of the flower stickers from the Eastern Gold Vinyl Stickers to finish.

—————

Don’t forget there is one more week left to get your Eastern Palace Suite bundles and save.  If you want to know more about them head HERE.

If you grab your Eastern Palace Bundle Now while you can get a discount then stop by my store HERE now.  Please use the Host Code for this week: 2WNURG3N

Thanks for visiting today.

Jenny

cards, Catalogues, Stampin' Up!

PARTY POP-UPS ARE GOING!

The Party Pop-Up Thinlits have only been around for a short time – and now they are going!  I thought I would show you a few cards I have made with them over the months.

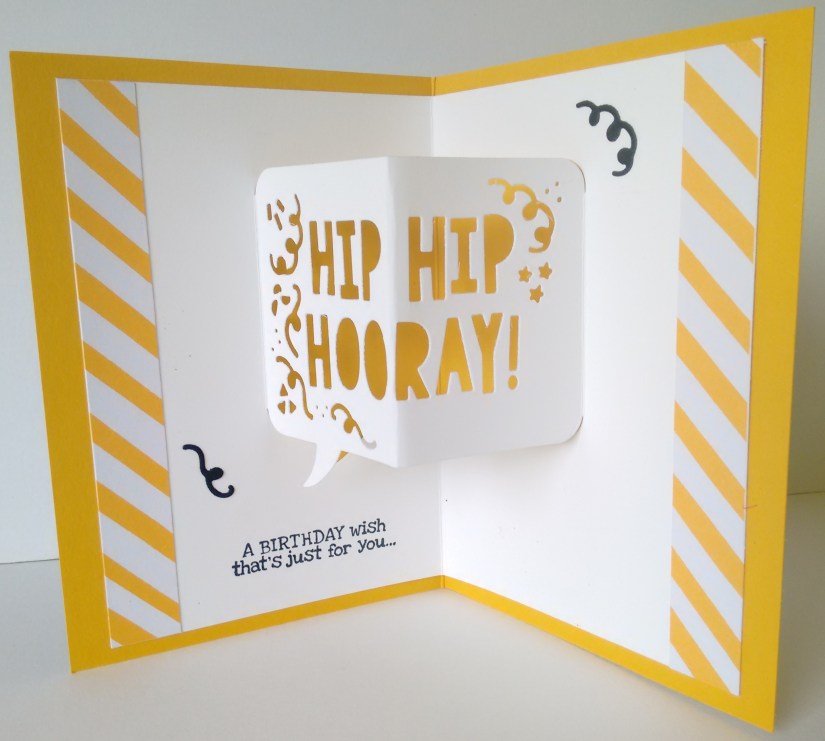
The Thinlits make cool Pop-ups inside the card.  It’s such a WOW!

But you could add them to the front of the card.

The other Pop Up Die in the pack is the Happy Birthday.

For this one I cut the words out from Watercolor Paper and then coloured them with the Aquapainter and Inkpads.  I did add the Wink of Stella to the “flames” although that is hard to tell.

This card below is a Flap Fold.  I hadn’t shown you this one yet.  I made this last year for our nephew’s 40th birthday.

To make this cut your card vertically in half on the short side so you have a long card strip.  On an A4 sheet that would be at the 10.5cm mark.  Then score on the long side at 7.4cm and then at 14.8cm (ie at 1/4 of the card and half way). Fold on the score lines at the half way score line and then back on itself at the first score line.

This is the inside for you to see it.

I cut a circle in the Crushed Curry and placed adhesive on half of the circle at the back and adhere that half on the front flap.  The Designer Series Paper is the Moroccan DSP and the card base is Dapper Denim.

It needed something on the birthday and without making it to bling-y I added a strip of Silver Foil and just one Adhesive Rhinestone in the centre.

You can see the Thinlits set in my store HERE.  Now these are reduced down to $40.  I think they will be a useful addition to your cardmaking not just to make the WOW cards but to add them to card fronts as well.  Grab them now.

If ordering online please use the Host Code:  2WNURG3N

 Have a good day,

Jenny


3D projects, cards, Stampin' Up!

A KINDA ECLECTIC SHOW!

Another retired set that will be leaving us very soon is ‘Kinda Eclectic’.  I am a little sad about this one.  I must say I haven’t used it too much recently but I did use it a lot when it first came out.

This card was the Make And Take everyone made at the Catalogue launch back in 2014 when it was released. The original  post is  HERE.

These were the Thank You bags I made at that launch with the set. 🙂

This next card I was pleased how it turned.  I think it has been popular on Pinterest to as it has been repinned 1.4K times!

This card is one of my most recent makes with this set.  I only made these late last year for some customer cards.  You can see that post HERE.

This set is still available to buy but don’t wait long.  You can order it in store HERE.   Wood mount $49   Clear Mount $33.

Have a great weekend.  It looks like it could be a wet one here this weekend.  But not much time for crafting though.  (or maybe just a little …)

Jenny


3D projects, cards, Christmas, Stampin' Up!

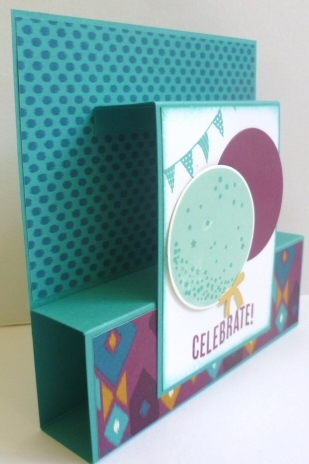
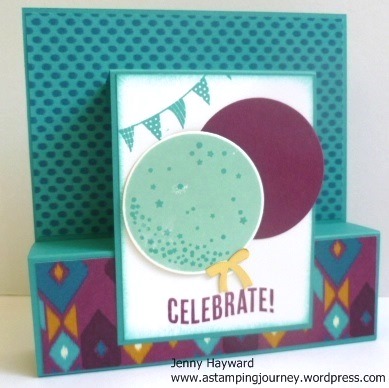
FAREWELL ‘CELEBRATE TODAY’!

Since there is just over one week left of this  current catalogue and our retiring list I thought I would say a last Farewell to some of the products.

Today it is the Celebrate Today stamp set.

I have made lots of fun cards with this set but here are some favourites.

This one has been very popular and has been repinned on Pinterest nearly 650 times.  Check the original post HERE. 

What about a Fold Flat card? Check the original post HERE. 

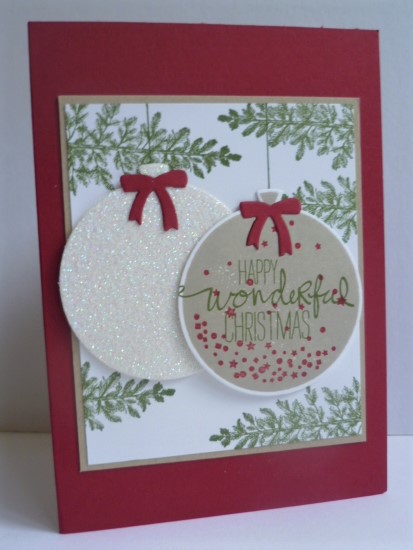
It’s a great one for Christmas too.  This one we made at a Stamp A Stack a few years ago.  See how versatile it is!

This stamp set is reduced on the retiring list too.  Grab the Photopolymer set for $38.25 AUS.  Here in store.  Don’t forget the matching framelits too you can grab for $29 AUS.

Please use the HOST CODE: 2WNURG3N


Have a happy day,

Jenny
cards, Catalogues, Stampin' Up!, Techniques, Tutorials

DIFFERENT WAYS WITH THE EASTERN MEDALLIONS THINLITS!

I have been working on this project for a few days.  Really! It’s not like it’s even a card but it seemed to take some time.  Maybe I was getting a little too fussy but anyway … I wanted to show ideas of how you can use the Eastern Medallions Thinlits.  I have seen a few Demonstrators show these ideas but thought it would be a good reference for myself – and to share with you.  🙂

These Thinlits would have to be the most versatile ones Stampin’ Up! have produced I think.  There are so many ways of layering them together or using one just by itself.  Don’t be limited to the ideas I have shown you here.

I hope this is  helpful for you.  See what you can put together.

Did you check out the great value in the Eastern Palace Suite Bundle that is available at the moment? There is only just over a week to grab this bundle.  If you want to refresh your memory just head back to this Blog Post -> HERE.   or see below. 

Have a great day,

Jenny
cards, Stampin' Up!

A DAPPER DENIM/TIDAL TIDE MIX WITH THE EASTERN PALACE BUNDLE!

I have another Eastern Palace Suite card to show you today.  I created this card after I made the project for the Blog Hop while I still had everything out.  BTW: Have you checked the Blog Hop out yet with the Eastern Palace Suite?  If not head back 2 posts and start the Hop around to see some great projects with this suite. 

The card base is Dapper Denim and then a piece of the Eastern Palace Specialty Designer Series Paper is matted on to a Tidal Tide card mat.  I added one of the Eastern Gold Vinyl Stickers along the bottom edge.   For the flower I cut 2 of the shapes from the Eastern Medallions Thinlits in Tidal Tide and then 1 in Gold Foil.  I was still waiting on my Tidal Tide inkpad so I sponged the edges of the flowers with Versamark to add some depths of colour.  The flowers were layered together and then some stickers were placed on the top one.  Before adhering it to the card base I curled up the edges a little with my Bone Folder and then added some loops of the Gold Thread.  The sentiment is from the Eastern Beauty set and embossed in Gold and I added a little Gold embossed swirl as well.  This was punched out with the Classic Label punch and then adhered together with a Gold Foil one.   An adhesive Pearl was added to finish it off.

There you have it.  I hope you like it.  Until next time….

Jenny
3D projects, Blog Hops, cards, Stampin' Up!, Tutorials

ESAD BLOG HOP WITH THE EASTERN PALACE SUITE!

Thank you for joining us on the ESAD Eastern Palace Suite Blog Hop.  I have already been sharing some cool projects with this suite this past week and I am excited to share this one with you too.

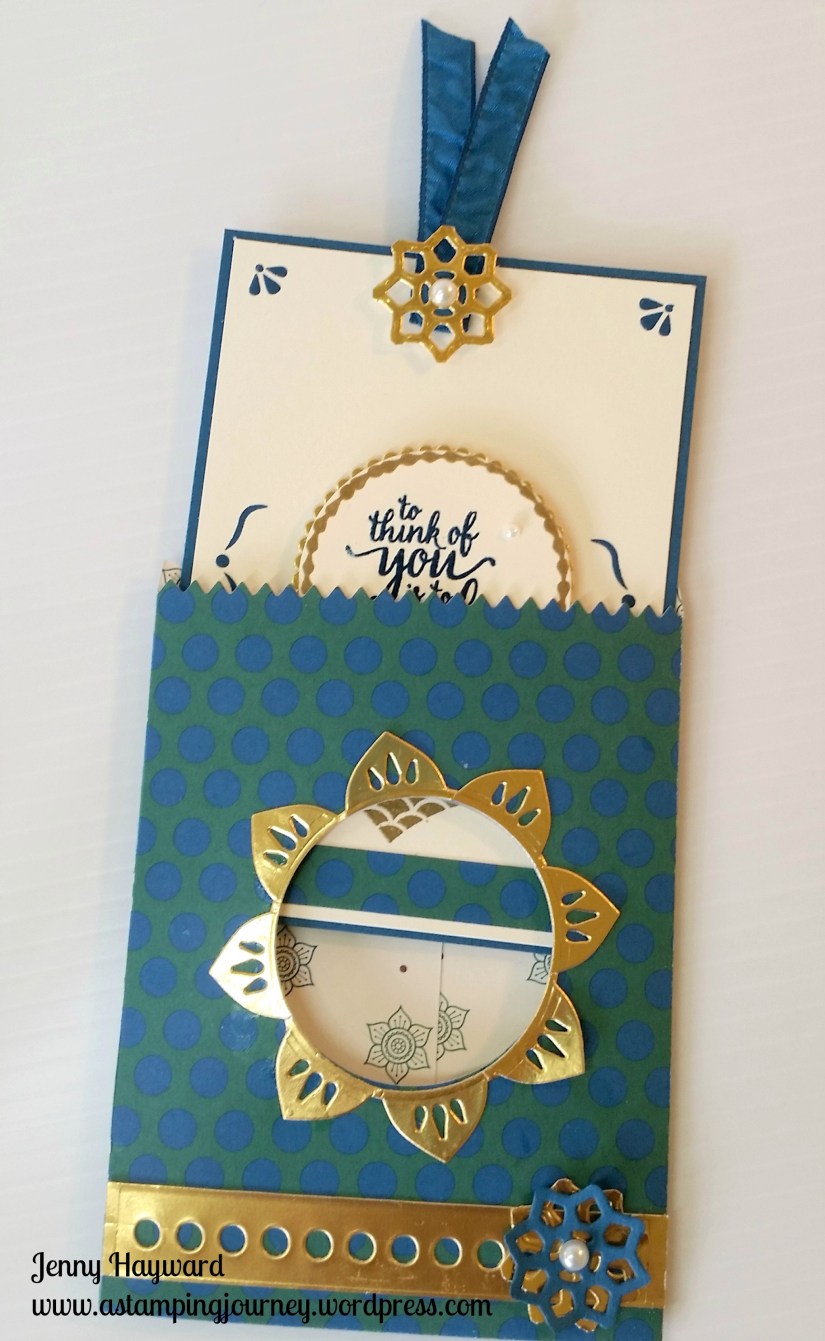
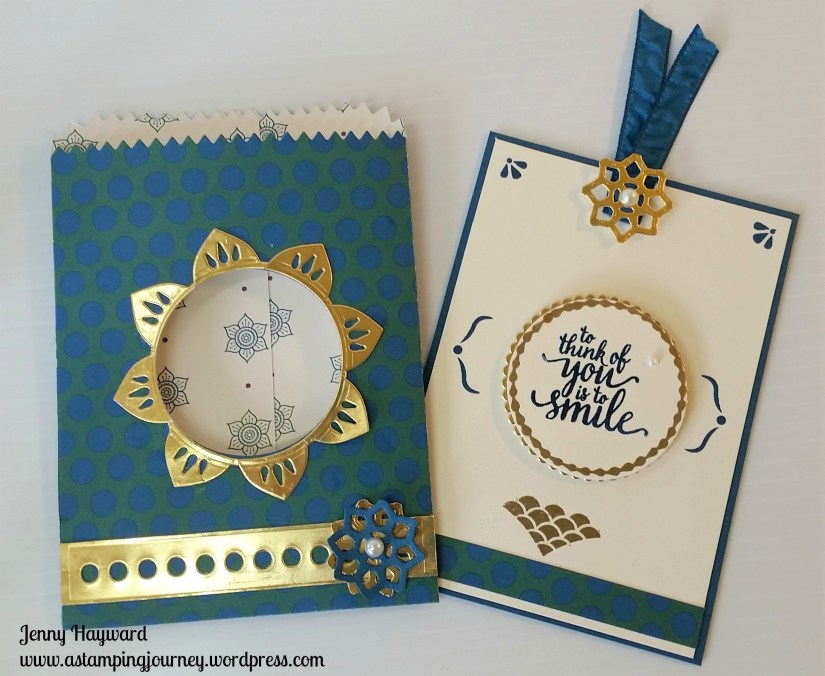
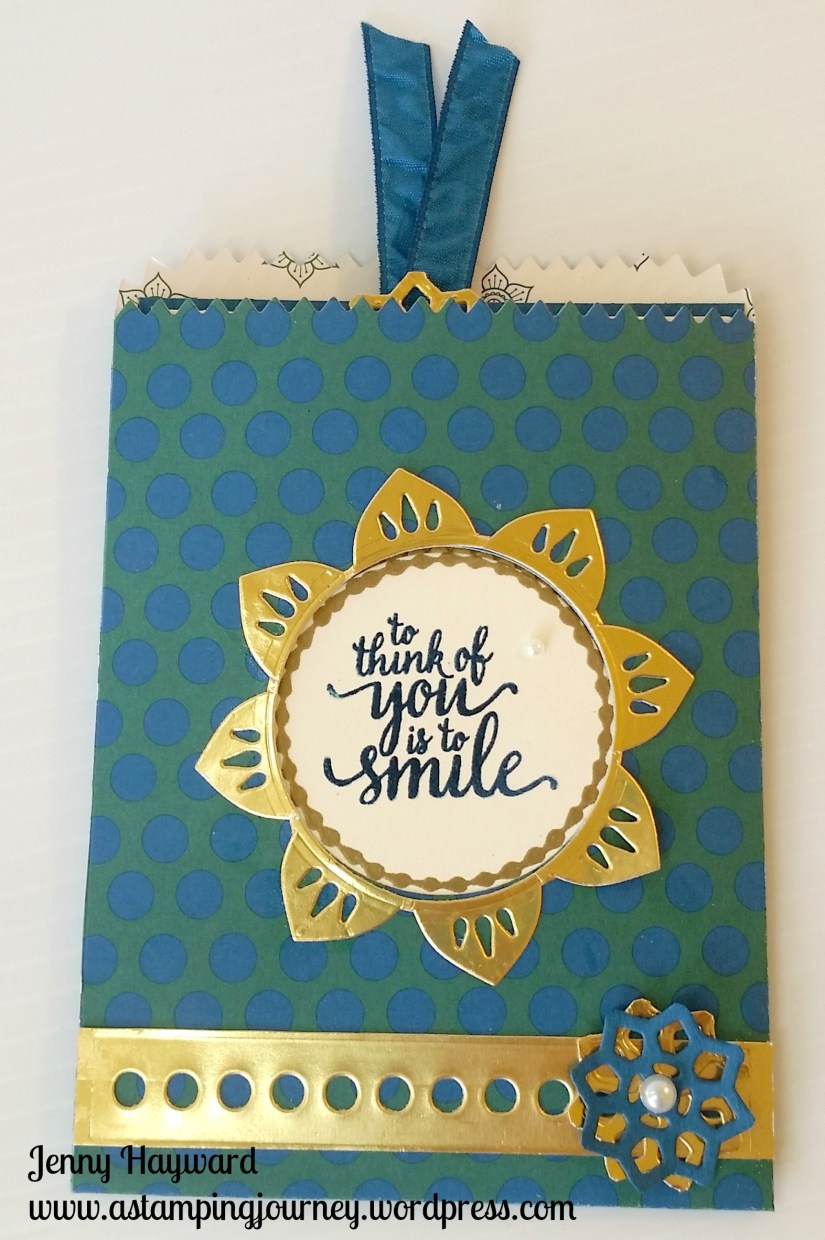
This project is a cute Tag and matching Envelope.  I will share the details on how to make it further below. It’s a bit hard to photograph with the shiny Gold Foil.  Sorry for the shine.

CREATING THE MINI TAG AND ENVELOPE.

THE ENVELOPE

1. Cut the envelope from the Mini Treat Bag Thinlits with the Eastern Palace Specialty Designer Series Paper.  Before you assemble the envelope be sure to cut the circle window in the front panel with the Layering Circles Framelits.

2. Cut the circled strip in Gold Foil using the Thinlits in the Mini Treat Bag Thinlits set.  The little flower on the front strip is cut from one of the small Thinlits in the Eastern Medallion Thinlits set in Gold Foil and Dapper Denim.  

3. The “flowery” diecut in the centre is from the Eastern Medallions Thinlits set.  It comes out attached to your card with the diecut outline. You can snip off the tiny sections where it is attached.  I then used one of the Layering Circle Framelits to cut out the centre of this piece and also cut the circle in the Treat Bag BEFORE  it is assembled as mentioned further above.

THE TAG

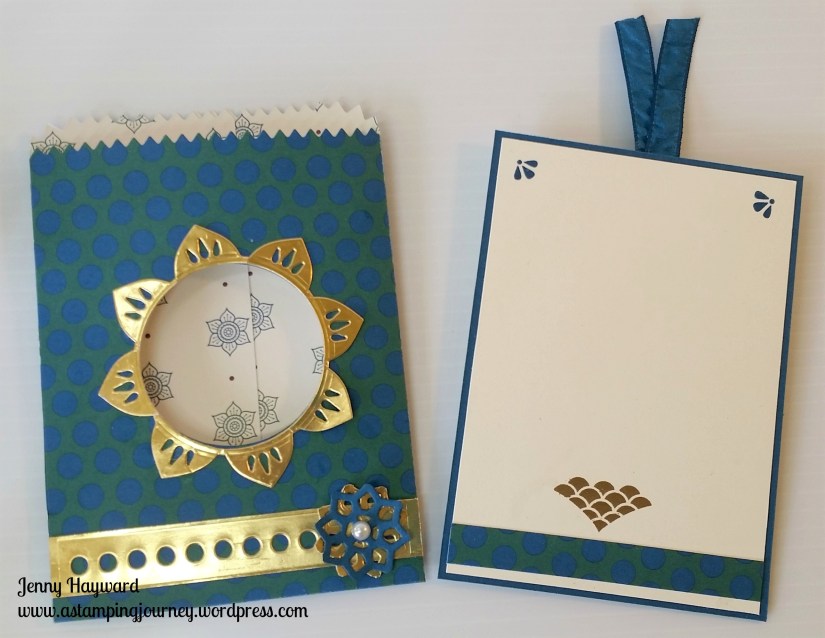
When you pull the tag out it reveals the stamped piece that you could see through the window of the bag.

1. On a piece of Very Vanilla card [measurements are 8.4cm x 12cm – (3 3/8″ x 4 3/4″)] stamp the smaller images from the ‘Eastern Beauty’ stamp set in Dapper Denim. At the bottom heat emboss in gold the “flourishy” image. Add a matching strip of DSP along the bottom.

2.Heat emboss the circle image from the ‘Eastern Beauty’ stamp set in gold onto  a small piece of Very Vanilla card. Then heat embossed the sentiment in the centre.  To do this first ink the stamp in Versamark and then ink in Dapper Denim ink before stamping on the card. Pour over your Clear Embossing Powder and heat.

3. Cut the stamped circle with the Layering Circle Framelits.  Layer this circle on to a Gold Foil Scallop Circle which is a larger size of Scallop than the circle in the Layering Circle Framelits. Raise them up off the card with Dimensionals.  Layer this Very Vanilla tag on to a piece of Dapper Denim card [measurements are 8.8cm x 12.4cm – (3 1/2″ x 4 7/8″)]  Then add a piece of Dapper Denim Ruched Ribbon at the top and a small Gold “flowery” diecut over it. To finish add an Adhesive pearl to the centre of the flower and one on the circle sentiment.

4. For the reverse of the tag cut a piece of Very Vanilla card the same size as the piece on the front of the tag. (measurements above).  Stamp the corner images again and repeat the DSP strip at the bottom and the Gold Embossed “flourish”.

If you haven’t seen this great suite yet then below is the stamp set and the thinlits.  How many different ways can you use these Thinlits?? I will show you in a post soon.


You can see more about this suite in store HERE. 

Now you can continue on your Hop to see some more fun creations with this set.

              You will be off to Narelle’s blog now.  Click ->  HERE to continue.


Thanks for visiting.  See you again with more Eastern Suite Palace projects again soon,

Jenny