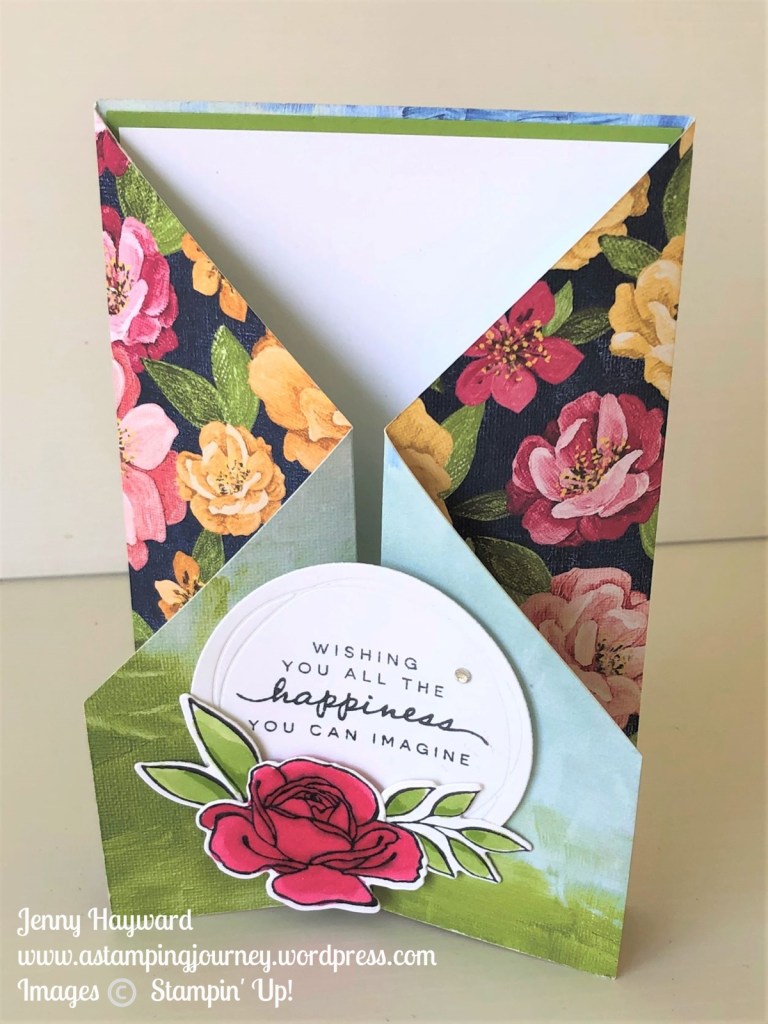
Have you made a Zig Zag Fold Card before? They are so easy and fun. The great thing I love about this fold too is that you get to see both sides of the gorgeous paper. Who really wants to hide one side away!
Here is the card.
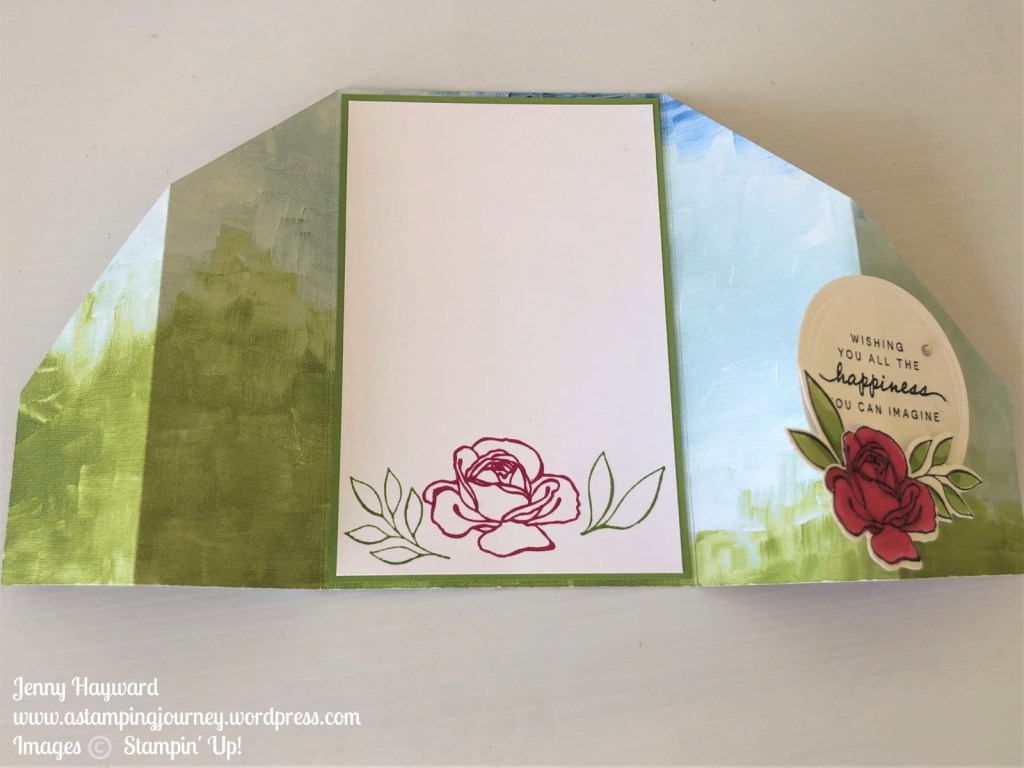
Don’t forget the inside when you make one.
I have used the Hues of Happiness Paper. So pretty! And with the Happiness Abounds Bundle.
You can catch the video now below to make your own.
Follow along with the video for the measurements or they will be sent out in next week’s Newsletter. Have you subscribed yet? I send out a different Tutorial each week. Some projects I haven’t shared before on Facebook or on my blog. Click on the link in the Right Hand Column on my Blog.
Hope you get to make one very soon,
Happy Crafting,
Jenny
If you need supplies to create this project or any others and you are in Australia then jump on over to my store -> HERE and pick them out. Please use the Host Code: B47Q7JP2
Or Contact me Directly. I would love to help you out. Thank You.
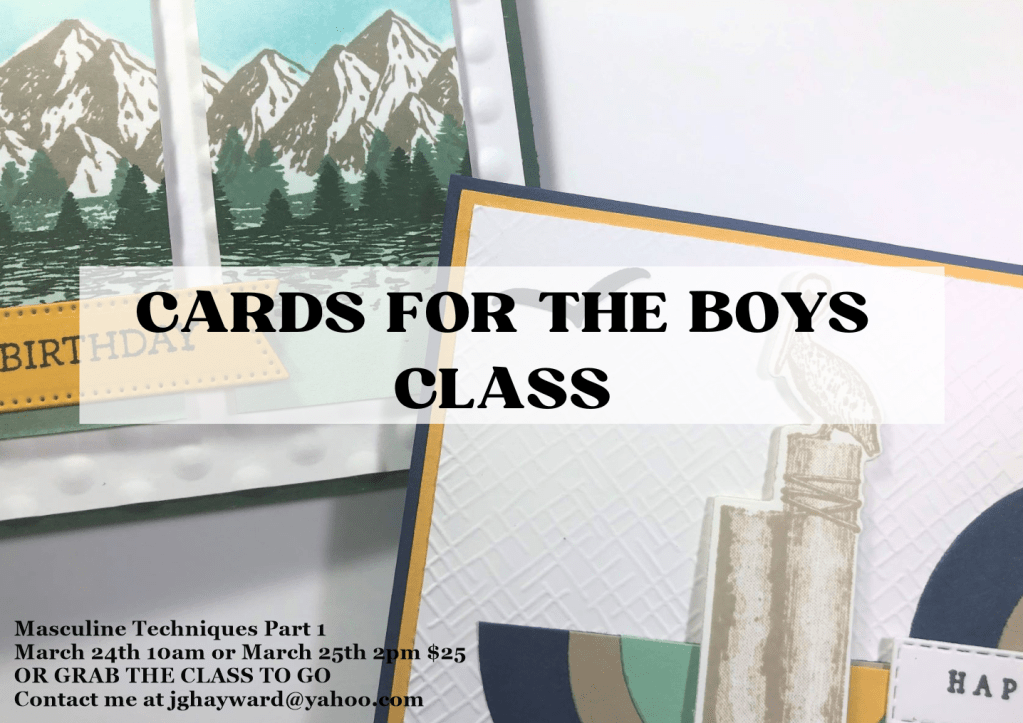
In this class discover some fun techniques you can use on those hard to make Cards for the boys. This is Part 1 of some fun techniques we will be trying out. Later parts will happen in the coming months in my Technique Series.
This class will look at 2 different techniques. Create a sampler to test it out and then create a card with each technique.
The sampler and instructions you can keep and build up in a notebook or folder to refer back to regularly.
Class includes card kits and basic instructions.
Can’t make it? Grab the Class to Go. (See below).
WHEN: Friday 24th March 10am or Saturday 25th March 2pm in the studio
COST: $25.
BYO: Scissors and adhesives and Paper Trimmer if you have one.
RSVP: Wednesday 22nd
CLASS TO GO
Can’t make the class or at a distance? No problem. Grab the Class to Go.
Includes card kits for the cards and samplers and Basic instructions.
Stamped images are not included but you can substitute with what you have for the images. The important part is the techniques to try.
COST: $25 includes postage
RSVP: Friday 24th March.
Payment can be made by Cash (in class) or Paypal or Bank Transfer.
On my Private Facebook Group I set a little sketch challenge this weekend to help inspire the members in their creating.
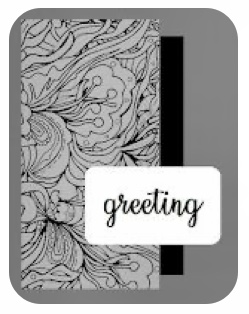
This is the Sketch. (This was from Julie Davison).
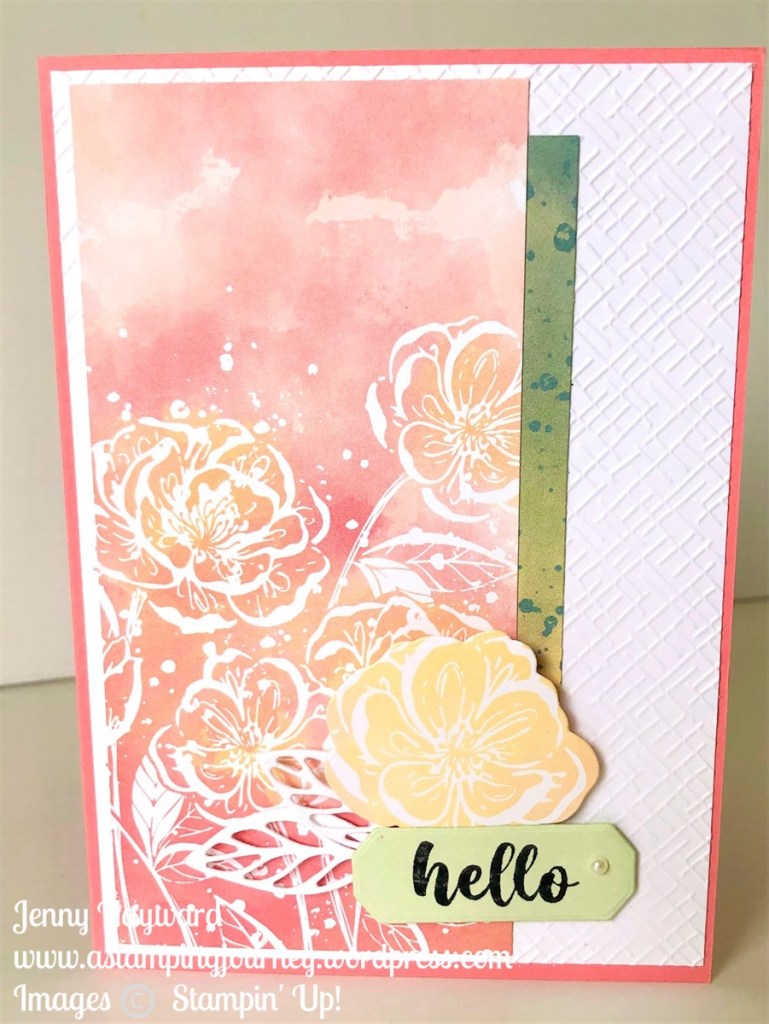
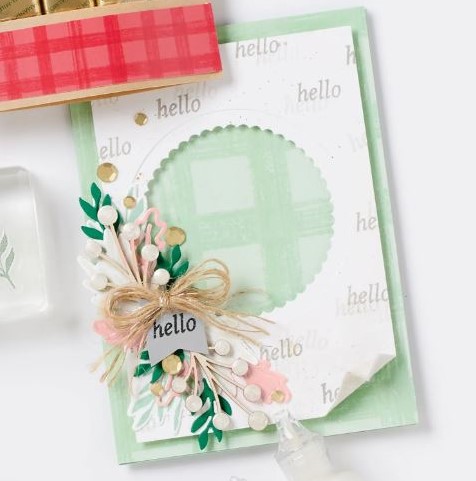
I had a little play myself today. This is the card I created.
This card was very quick to put together. There was very little stamping. The Hello, Irresistible Paper was the star.
The white background was embossed with one of the folders in the Basics 3D Embossing Folders set. I have to say there are 3 Embossing Folders in this set and they are all great designs.
The sentiment piece was diecut with a die from the Harvest Dies.
So, why not have a go at the sketch yourself. Share it with me. Send it to me at jghayward@yahoo.com
OR why not join the Facebook group and share it with us there. Head -> HERE.
Happy Crafting,
Jenny
In Australia and need some fun Stampin’ Up! supplies? I would love to serve you.
Head to my Online store -> HERE. Please use the Host Code: B47Q7JP2
Back with our Wednesday’s WOW for the year. These are little tips, techniques, ideas to help your crafting.
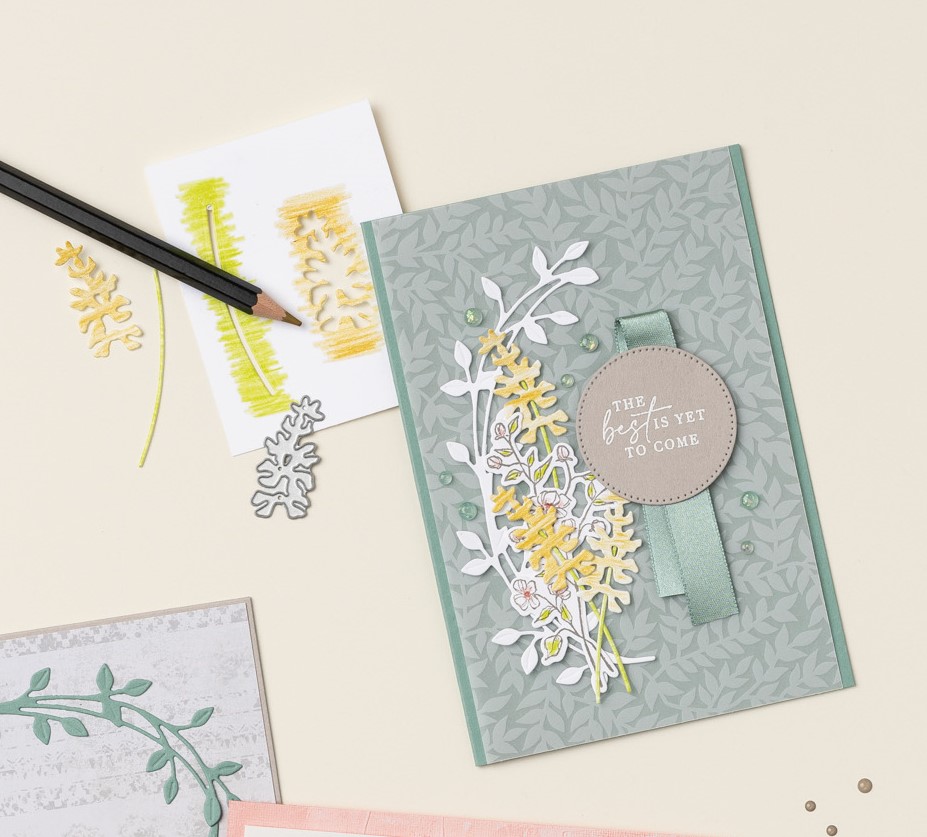
Wednesday’s WOW! #144 – A fun way to add colour to your diecut pieces.
I came across this idea and thought it was so cool. Want to add some colour?
Grab a small piece of card and your colouring pencils. Scribble some colour in patches on the card in different areas just a little larger than the die you want to use. No need to add water to blend the colour. When you diecut it the piece will have “lines” or different colourings which add some lovely colour contrasts.
Hope you get to try it out yourself.
Have a Happy Wednesday,
Jenny
In Australia and need some supplies? I would love to serve you.
Head to my store -> HERE. Please use the Host Code: 73TFR9BD.
Or contact me directly by email or phone. Don’t forget to pick your Sale-A-Bration choice with your order.
It’s all happening now with the 2023 Mini Catalogue going Live. Have you checked it out yet??
I mentioned I was involved with the Global Catalogue Launch Party with Demonstrators from around the world. It’s such an exciting time to share with you.
Let me show you the the card I made.
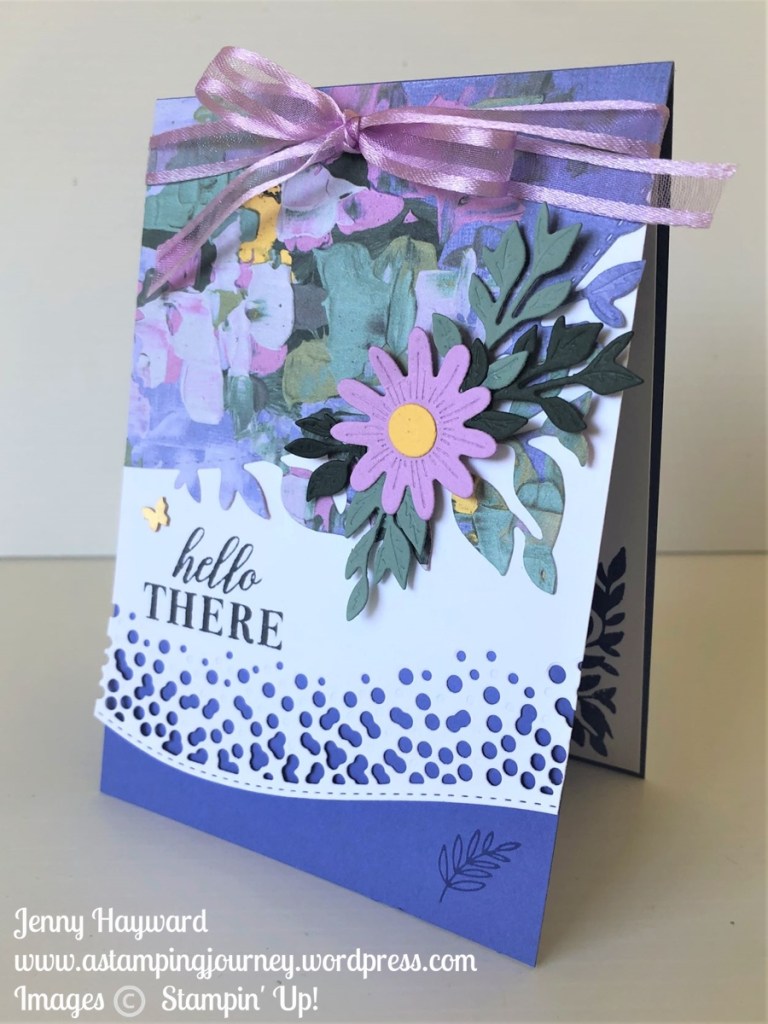
For my project I shared a card with the Around the Bend Bundle and the gorgeous Fancy Flora Designer Series Paper.
I love the detail in these curvy dies. It creates such a cool edge. And there are some other great curvy dies as well.
Here is the inside of the card. Don’t forget that.
Want to catch the YouTube video to follow along? Check it out below.
If you haven’t joined in with the Global Launch Party you can still catch the replays.
Wednesday’s WOW! #143 – How to create Luminescence to your “lights”.
Here’s a different effect for your Baubles or Ornament type stamps to give that glow (luminescence).
Stamp them on a coloured card rather than white. Then with a Sponge Dauber and White Ink add a little white over them. This would work well with Embossed images preferably. How cool!
While I’m not showing you here how to do it you can see the effect.
This particular project uses the Family and Friends stamp set.
Hope you get to try it yourself.
Happy Stamping,
Jenny
Need to order and you are in Australia? I would love to serve you.
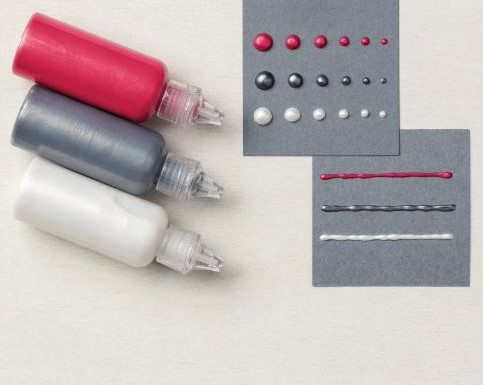
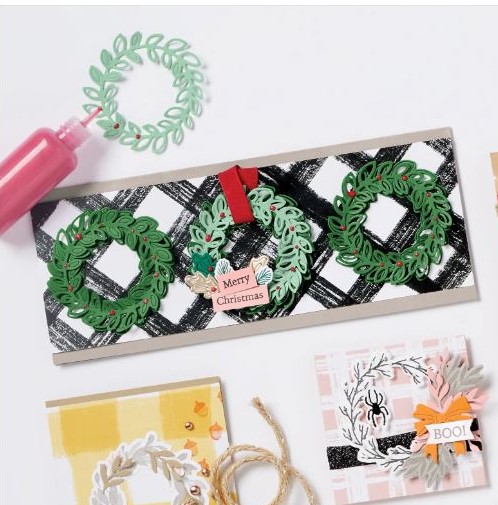
This is so cool. You can create your own shiny, pearly dots or lines with the Pearlized Enamel Effects Basics.
See them below.
The Pearlized Enamel Effects Basics come in 3 little bottles (1oz or 29.5g each), in Red, Black and White lacquer.
With them you can create some really special elements for your projects.
Outline your stamped images to add some extra depth.
Add extra details like dots or lines.
Add detail to part of a stamped image or other embellishment piece.
Write words to give a “raised” effect.
Draw shapes like stars or hearts.
Here are some ideas how to use them.
Add little dots around the wreath to create little “berries”.
Add the white to the end of the Textural Elements or similar to make a shiny surface.
How would you use it?
A bonus this week is the Pearlized Enamel Effects is on the Weekly Deals. So you can get it at a discounted price of $24.30 for the 3 bottles. This price is only until Thursday though.
Need to grab some and in Australia?
Head to my store -> HERE. Please use the Host Code: 6PPKEPZJ
Or Contact me directly and I can add it for you.
Now off to grab some so you can add some “Pearly” effects.
Wednesday’s WOW! #140 – Ways to use the Embossing Paste.
Have you used the Embossing Paste? I have to admit I haven’t nearly enough. If you like adding that extra texture to your projects then this paste would be just the thing.
Let’s see how to use it.
The Embossing Paste comes in little tubs. 4oz or 1.18ml. You can get it in Matte finish or Shimmery White which has a little sparkle.
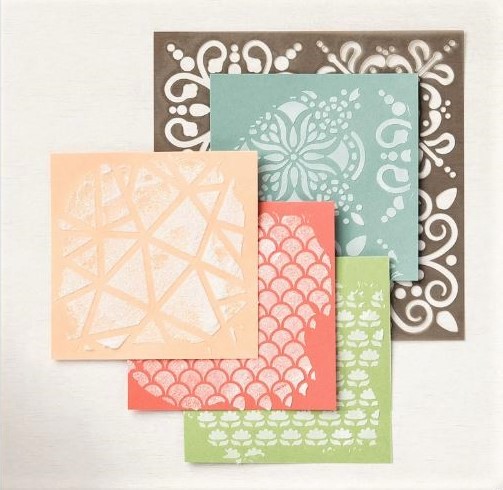
With a little spatula you can scrape on your paste. Use it directly on your projects to add texture or use it through a mask for an effective pattern. There are masks available but you could also use a diecut shape on Foil Sheet or acetate to apply the paste through it.
Leave it to dry for some time before completing the project or you can use the Heat Tool gently to speed up the process.
See the effect with the different masks available. Apply it all over or just in sections for your project. Be sure to wash off your masks straight away.
Try colouring the paste.
In a small container mix together drops of reinker to a little paste. The more reinker, the more intense the colour is. Then apply the paste as you would.
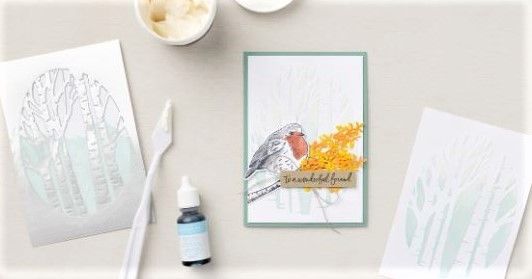
This project below uses a diecut shape using the Aspen Tree Dies. The shape was cut in Silver Foil as this is more rigid than card. Apply some Embossing Paste adding the coloured paste to the lower section and then add some plain paste to the top section. It adds some lovely texture.
It is hard to see in the photo clearly sorry. Project created by Stampin’ Up! artists.
You can find the Paste in my store.
For the Matte Embossing Paste ($14.00 AUD), See it -> HERE.
For the Shimmery Embossing Paste ($15.75 AUD), See it -> HERE.
Go and grab some and add texture to your next project.
Shop in store at the above links or contact me directly and I am happy to help you out.
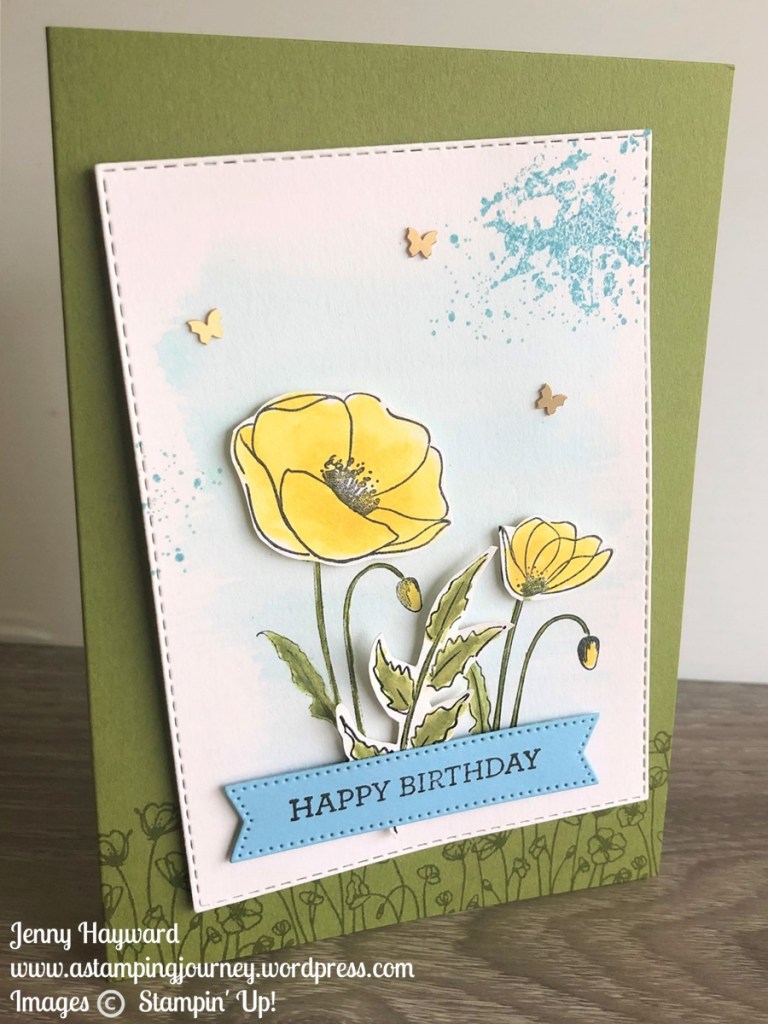
Did you know it’s World Watercolouring Month?? A month of celebrating and sharing all things watercolouring.
I’m no expert at watercolouring. But I have picked up some tips along the way. And practice makes perfect right. 🙂
There are lots of different ways to watercolour and different mediums to use. I shared a video recently on using Watercolor Pencils. In today’s video I’m using the Ink Pads and Water Painters to create a watercolour wash and more detailed watercolouring.
I pulled out the Painted Poppies Stamp Set. I haven’t used this in a while.
Check out the video below.
This card was inspired by one in the current Annual Catalogue on Page 29.
I hope you pull out your inkpads and Painters and get watercolouring.
Have a great day,
Jenny
Need some supplies and you are in Australia?
Stop by my store -> HERE. Please use the Host Code: 99CMHTER
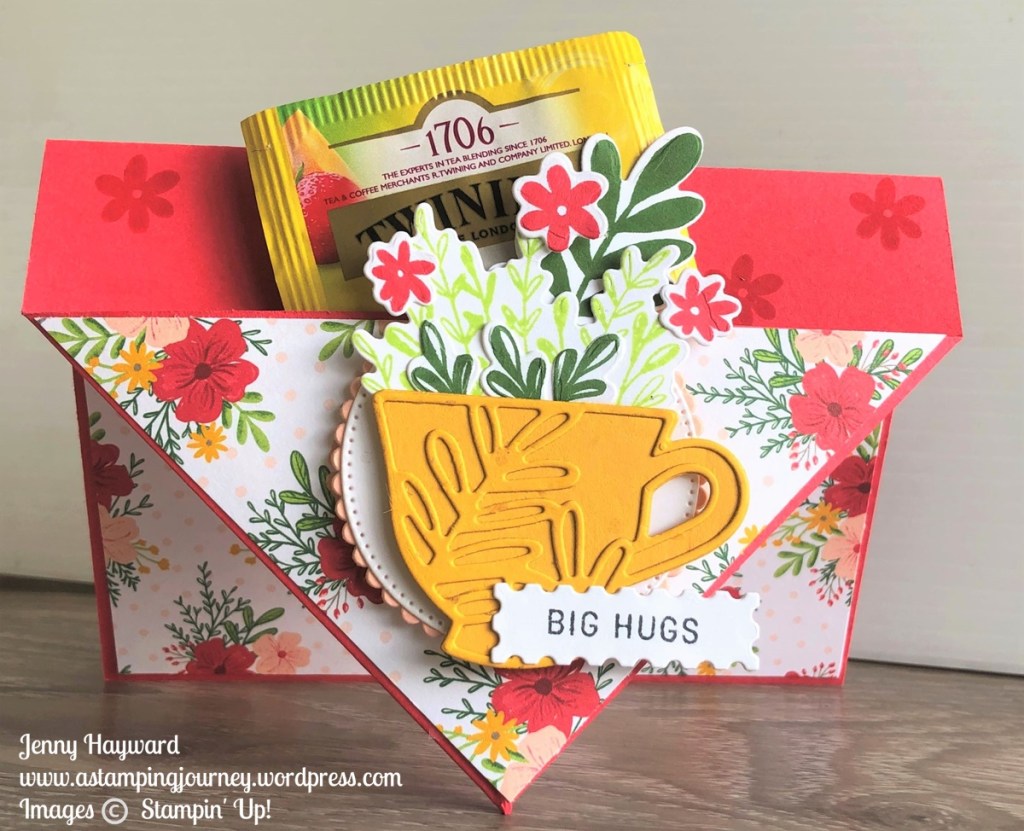
Today’s video is a fun card I think. It’s a Pocket Front card.
It’s a standard size card and with a little folding and scoring creates a pocket in the front. Just the size for a tea bag, Gift Card or even a small chocolate.
I have a video to show you how to make it but also have the measurements below for you so you can recreate your own.
Here is the card for you. We have some different angles so you get an idea of it.
I used the Tea Boutique Collection for this card. Quite an appropriate one to include a Tea Bag in the pocket.
Below is the view from the front with the card standing up. It can stand well just on the point.
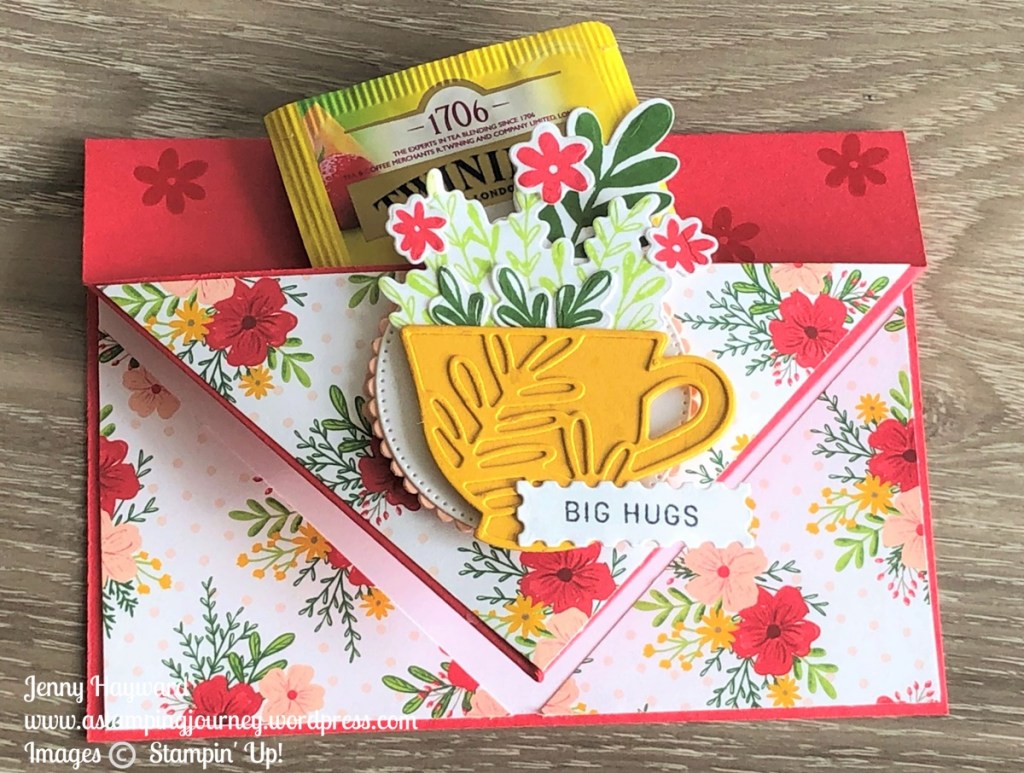
Lying flat.
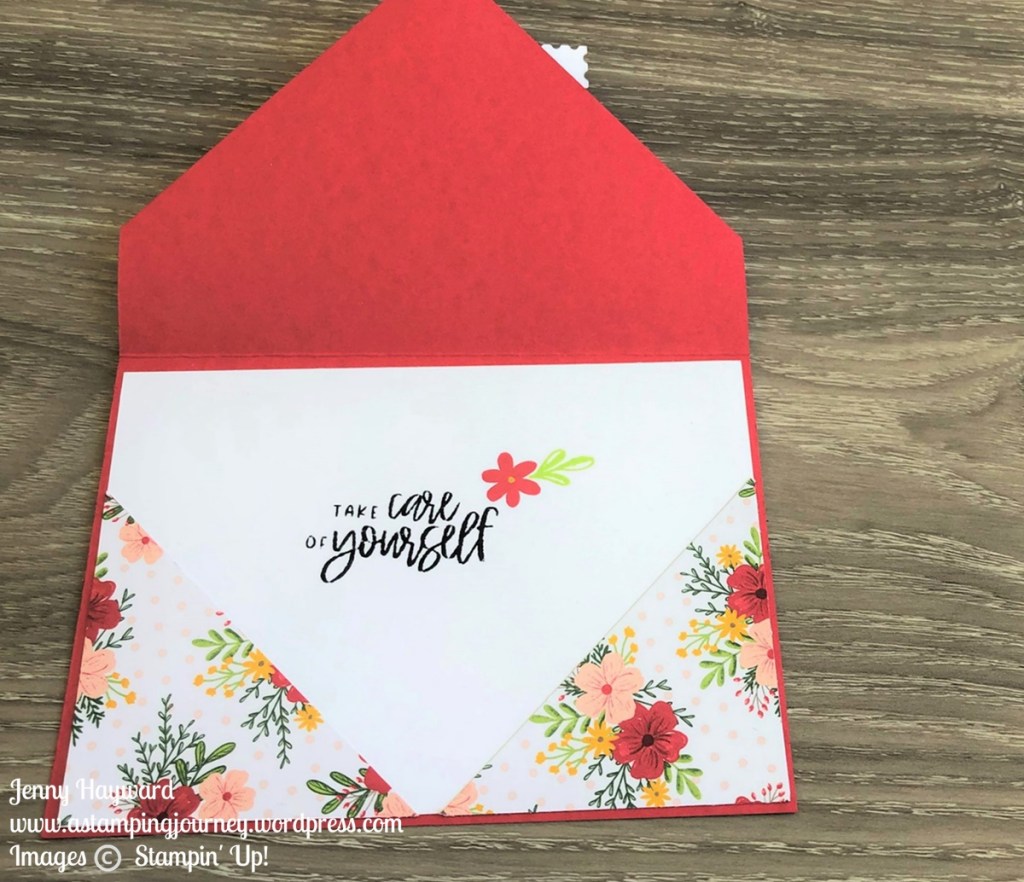
Inside. I added a piece of white card so there is room to write.
Check the video out below.
The original idea came from Splitcoaststampers website -> HERE.
CREATE YOUR OWN POCKET FRONT CARD
Follow along with the video to see the scoring and folding of the card.
Base card 14.8cm x 21cm Score on the long side at 10.5cm
5 1/2″ x 8 1/2″ Score on the long side at 4 1/4″
On the long side place the left hand edge at the 7.4cm or 2 3/4″ point on the Paper Trimmer. Mark in pencil at the little channel on the Trimmer. Alternatively use a ruler to measure in 7.4cm or 2 3/4″ from the left hand edge and mark the point.
Turn card clockwise 1/4 turn. Mark halfway on this side which will be 7.4cm or 2 3/4″.
Score an angled line from the centre mark on the short side to the mark on the long side. Repeat the angled line from the centre to the mark on the other long side.
Fold on the score lines and fold in at the angles. Adhere to 2 angled folds down with tape.
Cut Designer Series Paper to 10cm x 10cm 3 1/2″ x 3 1/2″.
Cut the piece at an angle from one corner to the other. Keep one triangle as a large piece. Cut the other triangle in 2 to have 2 half triangles.
Adhere the large piece to the front of the card.
White card for inside measures 14.4cm x 10.1cm 5 3/8″ x 4 1/8″.
Adhere the 2 smaller triangles on each of the bottom corners. Adhere the white card inside the base card.
Decorate as you wish to.
—
I hope you get to make one. Let me know how you go.
Need any supplies and you are in Australia? Head to my store HERE or contact me directly.