3D projects, Stampin' Up!, Tutorials

WEDNESDAY’S WOW! #61 – BOTANICAL BUTTERFLIES GIFT BAG!

Wednesday’s WOW! #61.  I have something special today.  I hope you like it.  I am featuring the Botanical Butterflies Designer Series Paper all week.  Of course you can use any paper for these projects but how pretty is this paper – and bonus because it is free!

Today I want to show you this cutie Butterfly bag.  I have the tutorial below for you.
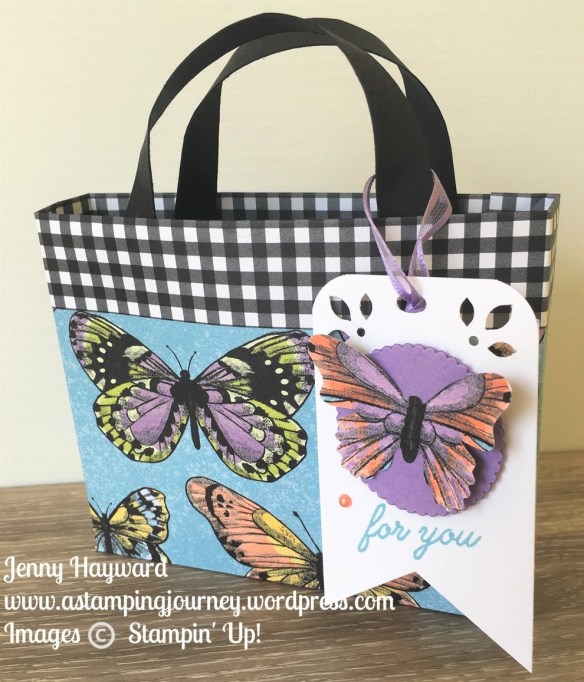
For the cute tag above I punched a butterfly from a scrap piece of the paper using the Butterfly Duet Punch. I used the Detailed Trio Punch on the white tag. The sentiment is from Beauty Abounds.

Here is the side view.

This is such an easy Gift Bag to make and it only uses 1/2 sheet of the Designer Series Paper.  You can make a few in no time.

BUTTERFLY GIFT BAG

METRIC MEASUREMENTS:

30.5cm x 15cm.

Score on the long side at 12cm, 14.5cm, 26.5cm and 29cm.

Score on the short side at 2.5cm and 12.5cm.


IMPERIAL MEASUREMENTS:

12” x 6”.

Score on the long side at 4 ¾”, 5 ¾”, 10 ½”, and 11 ½”

Score on the short side at 1” and 5”.


With the paper in landscape orientation, cut up on the scored lines along the bottom up to the score line.  Angle the cuts if you prefer so the tabs will sit better when they are folded up.

Fold on all the score lines.  On the top score lines fold the paper forward to show the other side of the paper.  Adhere this down on to the front.  See the photo to show it clearer.

Place adhesive on the narrow side tab and fold the paper to form a box shape.  Adhere this narrow tab to join the other side.  Place adhesive to the bottom small tabs.  Fold up and then adhere the long tabs at the bottom to form the box.

HANDLES:

Card strip – 2 @ 1.2cm x 14.8cm.

2 @ ½” x 6”

For the handles: Firstly, take a strip and run it up and down on the edge of the table.  This helps curve the card and breaks down the tissue a little.

Place adhesive on each end of one strip, Position one end inside the bag at the top.  Gently curve the strip and adhere the other end to the inside of the bag.  Repeat the same for the second strip on the other side.

———-

Have fun creating them,

Jenny


IN AUSTRALIA? ORDER NOW ->HERE PLEASE USE HOST CODE: JQGFKFT9

GRAB YOUR FREE BOTANICAL BUTTERFLIES PAPER OR CHOOSE ANY OTHER SALE-A-BRATION ITEM FOR FREE WITH ORDERS OVER $90.  YOU WILL ALSO RECEIVE AN EXCLUSIVE TUTORIAL BUNDLE OF 12 PROJECTS FREE.

THANK YOU FOR YOUR ORDER.
cards, Sale-A-Bration, Stampin' Up!

FAB FRIDAY #145 WITH BOTANICAL BUTTERFLIES PAPER!

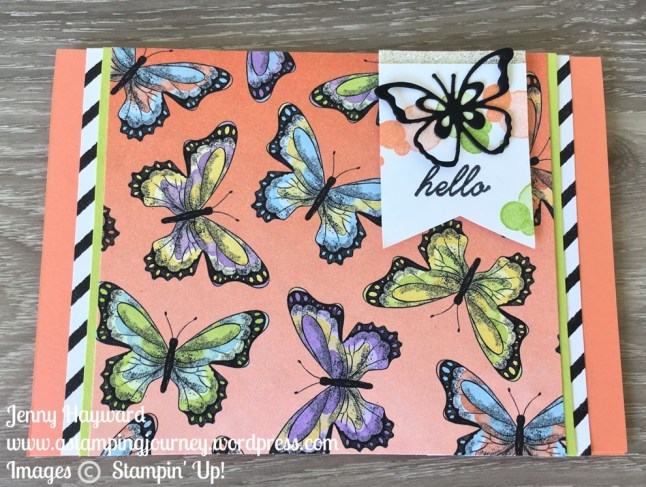
Continuing with the Botanical Butterflies Designer Series Paper series for this week.  I have another cute card with this gorgeous paper.

How pretty are these butterflies?  You don’t need much to put together a card when you have paper like this.  I went for the colourful butterflies print for this card.  The black and white diagonal stripe paper at the sides are the reverse of this print.  I simply cut 2 strips to run along the edge of some Lemon, Lime Twist card and then adhered them both to the back of the paper piece.

To put the card together I used a card sketch from Fab Friday #145.  You can see that sketch -> HERE.

Watch out for another project tomorrow – and it’s our Wednesday’s WOW! project so be sure to stop by.

Jenny

12 Days left for Sale-A-Bration! Have you got your free products yet?

In Australia? Shop online -> HERE.  Please use the Host Code: JQGFKFT9

THANK YOU. 🙂

cards, Catalogues, Sale-A-Bration, Stampin' Up!

BOTANICAL BUTTERFLY PAPER WITH BLENDS!

It’s a Botanical Butterflies Week this week. 

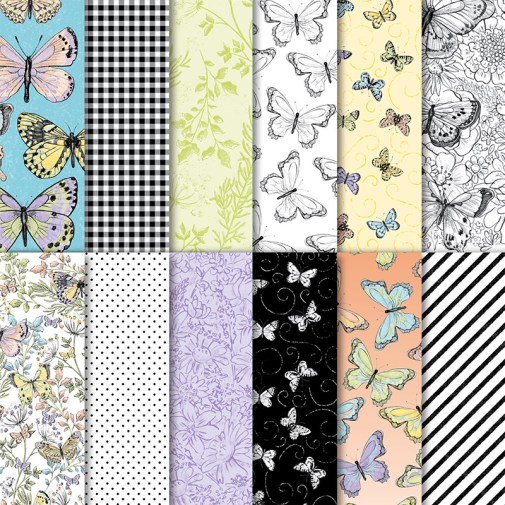
I will share a number of projects with you using the gorgeous Botanical Butterflies Designer Series Paper from Sale-A-Bration.  There is only 2 weeks left for this gorgeous paper so let’s get it out and use it.  It follows my theme from posts some time ago to #usethatpaper

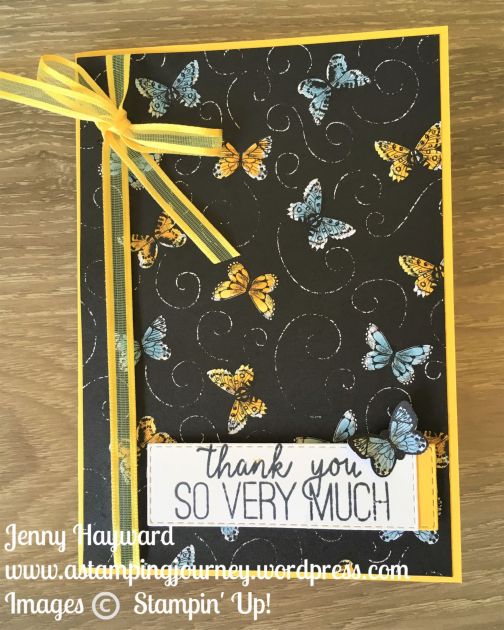
I used a piece of the small black and white butterfly print and coloured the butterflies with the Stampin’ Blends.  It is such an easy way to add colour. I used the Balmy Blue and the Daffodil Delight Stampin’ Blends. I think looking at it now I should have added some bright green like the Granny Apple Green on parts of the “wisps”.  I also coloured one butterfly from the paper and cut it out to add on the sentiment.

The sentiment is from Butterfly Gala and cut with the Rectangle Stitched Framelits.  I cut a 2nd rectangle in Daffodil Delight card and adhered it underneath the sentiment.  Perhaps I should have done some silver under there instead.  I did this card weeks ago and I can see so many things I would do differently.  But anyway, perhaps it will inspire you in some way and know that you can colour the paper with the Stampin’ Blends.

Have a closer look at this paper.  Keep in mind that there is only 2 weeks left to grab this as your free choice.  It could be sooner if it runs out so don’t delay on this.

Also, note:  There is a small supply of this Organdy Ribbon back in stock too as your Sale-A-Bration choice but that won’t stay around long either.

Watch out this week as I bring some more projects using this pretty paper.

Jenny

In Australia? Shop in my store 24/7.  All orders receive a gift and card to say Thanks.  Eligible orders will receive a Free 12 project Tutorial.

Shop -> HERE.  Please use the Host Code: JQGFKFT9

THANK YOU

cards, Catalogues, Sale-A-Bration, Stampin' Up!

SO HOPPY HALF FOLD CARD!

I have a bright, happy card for you today.  I wanted to create some more with this fun Sale-A-Bration set So Hoppy Together.  I have made a few cards recently.  If you missed them you can click on the tag ‘So Hoppy Together’ down the bottom.

For the card I cut off about 3cm (1 1/4″) on the front panel.  The cheery paper is from the How Sweet It Is DSP pack.  I had JUST enough of that paper for the front.  The frog is stamped in Memento and coloured with the Stampin’ Blends. 

Of course, I used the Layering Circles Framelits and the Stitched Shapes Framelits.  These don’t move too far off my table. The little tag is from the Wood Crate Framelits.  It’s just the right size.  The card was inspired by THIS card here but I decided to cut the card down and changed it around a little. 

Here is the inside.  I stamped the flies down the side.  Cute but in real life I don’t like being in a swarm of flies especially with those bulging eyes.  🙂  The sentiment is from Amazing Life.

How fun is it??

You can still get the So Hoppy Together stamp set but not for much longer.  2 weeks left for Sale-A-Bration. The Hop Around Framelits are still available here but in short supply so if you want them Get Them Now.  NOTE: These are additional products to purchase not a Free Sale-A-Bration choice. Available for $47 AUS.

You can order in my store -> HERE.  Please use the Host Code JQGFKFT9    Don’t forget to choose your Sale-A-Bration item. 

Also, with your orders over $78 receive the Tutorial Bundle for 12 exclusive Projects. All orders receive a little card and gift to say Thanks.

Have a Hoppy day,

Jenny

cards, Catalogues, Stampin' Up!, Videos

WEDNESDAY’S WOW! #60 – LET’S LOOK CLOSER AT THE NEEDLEPOINT NOOK SUITE!

I don’t know about you but I am not a needlework crafter.  I will mend some pants and I have sewn curtains but when it comes to the finer points of embroidery and cross-stitch I don’t have the patience for that.  So I wasn’t taken with the Needlepoint Nook Suite in the Occasions Catalogue initially.

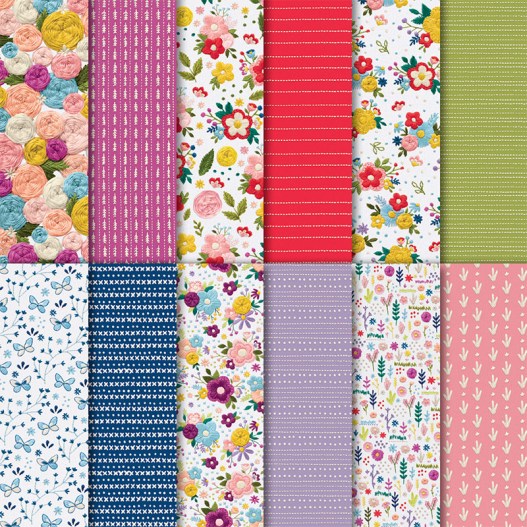
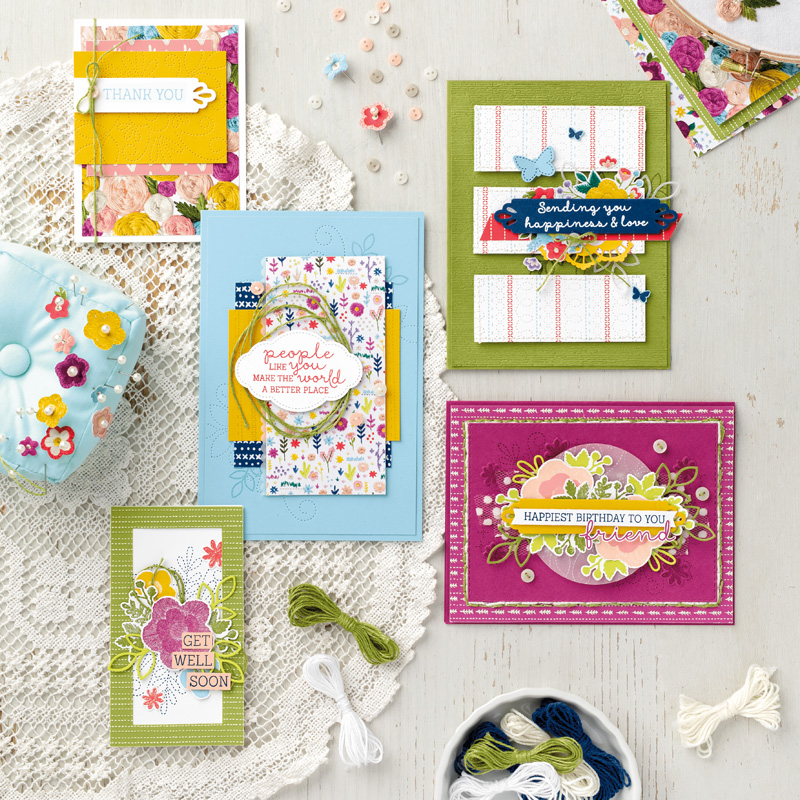
For Wednesday’s WOW! #60 I thought we would have a closer look at this suite.  I have to say it has me intrigued now.  You have to have a closer look at the Needlepoint Nook Designer Series Paper. It is actual photos of embroidery.  They are beautifully done.  You can see the original work in this video below.  Take the time to check it out and have a closer look a the Needlepoint Elements Framelits Dies.  

Below is the Needlepoint Nook Bundle containing the Needle and Thread stamp set and the Needlepoint Elements Framelits Dies.  The stamp set is a Distinktive style of stamp so you will be able to achieve more depth in the image when you stamp it to make it more realistic looking.  And it does do that.

If you see the dotted die in the bottom right corner you will notice with the dots it won’t cut your card but create a “stitched” effect on your cards which is great for backgrounds.  Check them in the sample cards at the bottom.

The Needlepoint Nook DSP has realistic “embroidered” images on one side and on the other side is a simple stitched print.

Samples courtesy of Stampin’ Up! Aren’t they pretty?

So now if you are like me and not in to needlework you can get the look of it with the paper and stamps.  How clever!

You can grab the Needle and Thread Suite which includes the Stamp set and the dies for $80 AUS.  Add a pack of the Needlepoint Nook DSP for $19.25 and you can grab your choice of Sale-A-Bration item.

See them all in my store now -> HERE.

Shop with me in Australia. Please use the Host Code: JQGFKFT9

Thank you for your order. I like to send a little something out when you order so be sure not to mark your order anonymous.

Have a great day,

Jenny


cards, Techniques, Tutorials

BY THE BAY SMOOSHING!

I have another By The Bay card for you today.  It’s a little Smooshing effect.  Have you tried this technique before?  Very easy.  I will tell you about it below.

I was happy with how the stamped image turned out.  It was putting the card together that I had a problem.  I tried a few alternatives which resulted in a few bent edges trying to lift it off a few times.  In the end I think it was ok and I managed to rescue it. I have used the Botanical Butterfly Designer Series Paper for Sale-A-Bration. Here is how to create it.

TO SMOOSH

For this technique I used the large Clear Block (Block E) and coloured over it with the Stampin’ Write Markers.  I used Balmy Blue, Granny Apple Green and Calypso Coral.  Lightly mist the block with water and then stamp on to Shimmery White card. Allow to dry and then stamp your image on to the card.  Since the card is dry it doesn’t matter if you use Memento Black or Black Stazon ink. Then stamp on the sentiment. There it’s that easy.

Try it yourself.

Thanks for visiting me today.

Jenny

cards, Catalogues, Stampin' Up!, Tutorials

BY THE BAY WITH PENCILS!

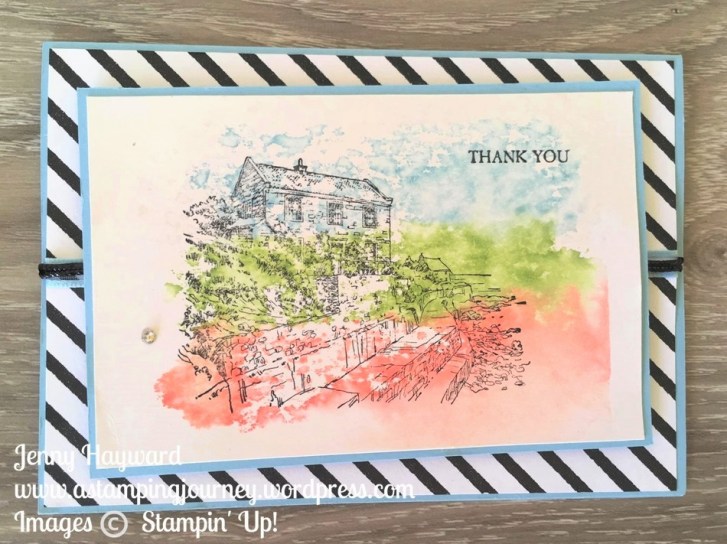
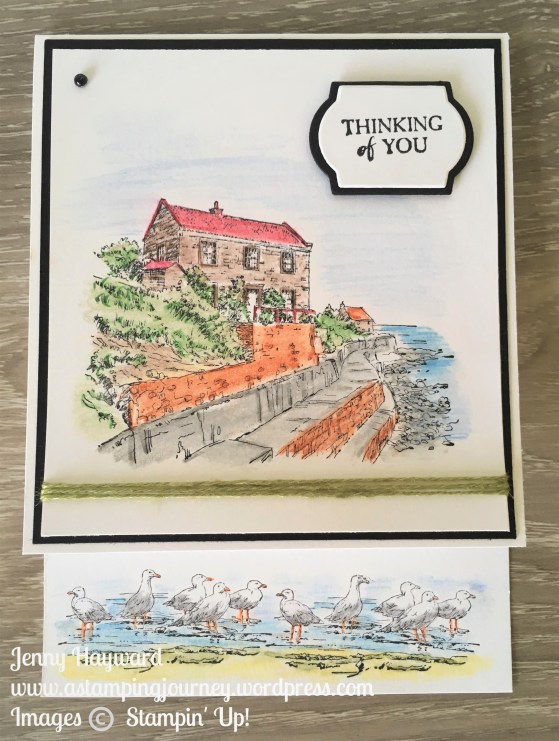
I have been playing with the Sale-A-Bration set By The Bay. Have you noticed it in the catalogue? It hasn’t had much of a showing on blogs and Pinterest that I have seen. This is actually the first card I made with it although I shared a card in the last post.  This one I have coloured with the Watercolour Pencils.

Firstly, you need to stamp on Shimmery White card or Watercolor Card with Stazon Ink when watercolouring.  I prefer the Shimmery White as it doesn’t have the texture on it.

Take your time when colouring.  Lightly colour an area and wash over it lightly with the Aquapainter to smooth out the colours then let it dry.  It doesn’t take too long to dry but once it is then you can go back and add some more colour to intensify the area or add highlights.

I have to say I am no expert at colouring and I am learning a lot as I go.  Picking what colours to use is always hard.  I coloured most of it and left the wall and the path/wall to last as I wasn’t sure what colour to use.  The path was Ok in the grey but I am not really happy with the wall.  I did try lifting some colour off but was starting to mess it up SO … you just have to go with what you have. Right?? 🙂

For the sentiment I stamped that on white card and cut it with one of the dies in the Bottles and Bubbles Framelits and cut a larger one in black with the larger die.  I think I have to use these dies a little more often for these small sentiments.  They are just the right size.  I coloured a Rhinestone with a Black Sharpie as I wanted a black embellishment.

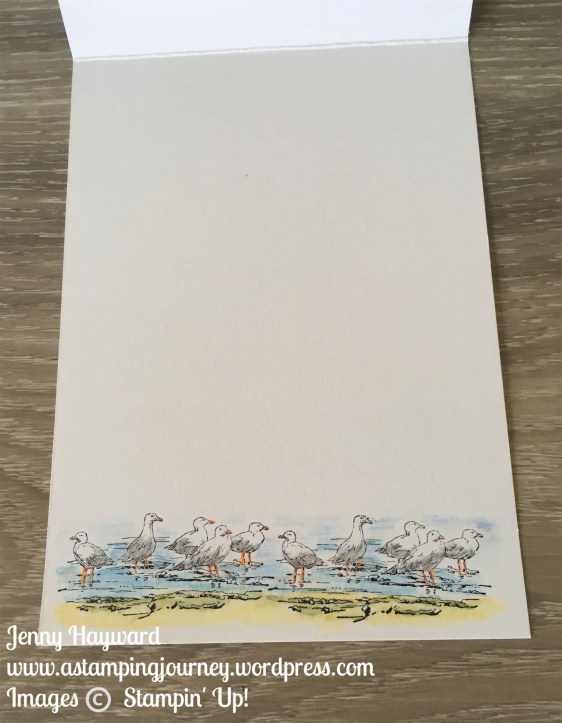
To put the card together I cut the Thick Whisper White in Portrait orientation.  So cut down the length on the narrow side (10.5cm or 4 1/4″).  Score at the half way point on the long side (14.8cm or 5 1/4′).  Cut off 3cm or 1 1/4″ on the bottom edge.  On the inside of the card I stamped the seagulls twice across the bottom.


By The Bay is available now as a free choice for Sale-A-Bration with orders over $90.

Order in store now -> HERE. Please use the Host Code: TTBQMGUT  You can select By The Bay or any of the other Sale-A-Bration options when you reach the qualifying order amount.

Receive the Tutorial Bundle with 12 amazing projects with orders over $78 AUS.  These are compiled by a team of Global Demonstrators and I know you will love them and sent out free with your qualifying orders OR you can buy the Tutorial Bundle from me through Paypal or Bank Deposit wherever you are located in the world.

Have a great weekend.  I will be back again soon with another By The Bay Project for you.

Jenny

cards, Catalogues, Stampin' Up!, Techniques

WEDNESDAY’S WOW! #59 – REDUCING THE SIZE OF DIECUTS!

Today for Wednesday’s WOW! #59 I want to share a little trick I discovered yesterday. Well it is not necessary a new discovery but new to me and it might be new to you.  Today I want to share with you how to reduce the size of your Framelits especially your shapes like the Rectangles Stitched Framelits.  

Do you sometimes have an image or a sentiment that is just slightly different size to what your current Framelits sizes can cut? It happens occasionally and it can be annoying.  Yesterday when I was making the card I will share below I wanted a smaller square to fit the sentiment.  So … I cut it down. Let me show you.

HOW TO REDUCE THE SIZE OF YOUR DIECUT SHAPES

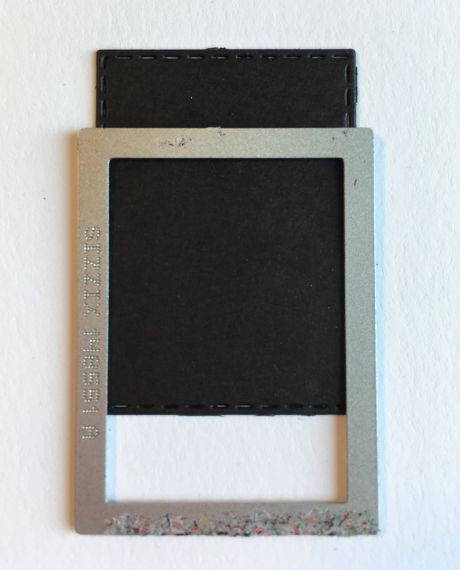
Cut your piece of card with one of the Framelits Dies that is close to what you need. Then position your Framelits die over the cut piece of card to make it the size you want.  You will find the card will slip in to the die snugly.  Just check it out underneath to be sure.  (See below for the position of the die).

Diecut the card out and you have the smaller diecut you need.

Note: I hadn’t stamped this piece of card as this was just as a sample to show you.  It is a good idea to stamp before you cut so you know the exact size needed.

Below is the card I used the smaller diecut on.  I found that any other size and even a square in the Stitched Shapes Framelits was still not the right size.  That’s ok.  I could make a custom sized one.

For this card I stamped the image from By The Bay Sale-A-Bration set on to Grapefruit Grove Foil sheet.  Be sure to use Stazon when stamping to avoid smudging of the image. This stamp set By The Bay is a free choice for Sale-A-Bration.  The Foil Sheets were too but sadly have run out.

For the sentiment I daubered White Shimmer Paint on to the stamp and stamped it on black card.  Call me lazy.  I couldn’t be bothered getting my Heat Tool out and emboss it. 🙂

Don’t you like the colour with this card when the light hits the foil?  It’s like a rainbow.  Just a tip I found when making this card.  Don’t use Tombow Multipurpose Adhesive on the back of the Foil.  You can see the marks from it. At least you can’t see it in this photo. 🙂

Thanks for visiting.

Have you put your order in yet and received your choice of Sale-A-Bration set?? There are only a few weeks left so you better get on it.  

In Australia? You can order in my store now -> HERE.  Please use the HOST CODE: TTBQMGUT

Jenny


With a qualifying order (over $78 AUS) receive 12 project Tutorials in Stamping Around The World Tutorial Bundle.

cards, Cards by Mail, Catalogues, Classes

TRIANGLE FUN FOLDS IN CLASS THIS WEEK – OR GRAB IT BY MAIL!

Fun Fold cards certainly give  a WOW! to the receiver.

If you are a Wollongong local you can make these 2 fun Triangle cards in class this week

OR get the Class By Mail.

WHEN: Friday 8th March 10am or Saturday 9th March at 2pm.

COST: $20 (Extra $5 to use my adhesives)

RSVP: Wednesday 6th.


CLASS BY MAIL: 

Order the card kit with full instructions $20. Stamped images not included but you can substitute with what you already have or order the stamps separately.

Here is a sneak of the cards.

Let me know ASAP to reserve your seat by commenting here or emailing me.

Jenny

cards, Catalogues, Onstage, Stampin' Up!

FOREVER LOVELY ONSTAGE CARD!

I realised I hadn’t shown you this card.  This was one of the Make and Take cards from Onstage last November.  I know it’s a long time ago BUT I have only recently completed it.  🙂  You might have seen some versions around the internet.

This card is using the Forever Lovely set from the Occasions Catalogue.  I don’t have this set so it is nice to have a card using it.  The Lovely Flowers Edgelits Dies are very detailed and decorative. I have used one of the little flower dies on this.

The paper banner strip is from the All My Love Designer Series Paper and the ribbon is the Lovely Lipstick from the All My Love Ribbon Combo pack.  The pearls give a little elegance to it.  I liked how one of the flower images and the leaves were stamped on the background of the Crumb Cake Card base.

Thanks for looking.  I hope your weekend is good. 🙂

Jenny