3D projects, cards, Christmas, Tutorials

12 WEEKS OF CHRISTMAS – WEEK 4 – A TAG FOR YOUR WINE!

Today for Week 4 of 12 Weeks of Christmas I have a cute tag for you.  Quite often we might give a bottle of wine to a workmate, a neighbour or to a friend when we visit for dinner.  Why not dress up the bottle and add a tag to it.  These are very quick to make and good to have on hand.  I have been making them for the Craft Fairs I do and they are very popular.

I actually have 2 tags to share with you today that I have made recently.

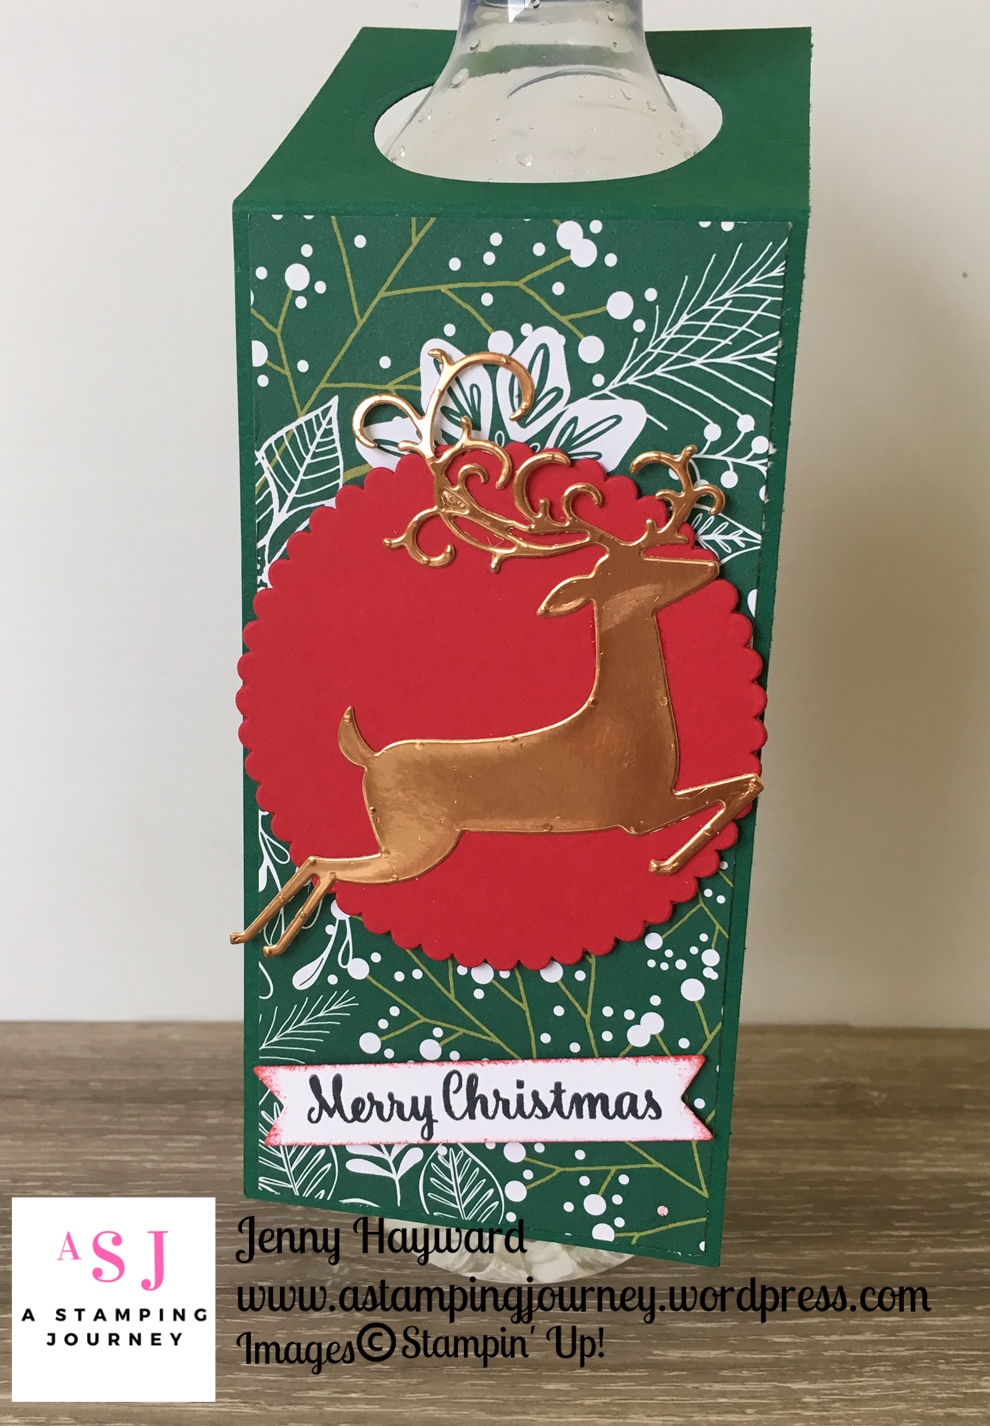
The first one is on Shaded Spruce card with some of the gorgeous Under The Mistletoe Designer Series Paper.  The deer from the Detailed Deer Thinlits is cut from Copper Foil.
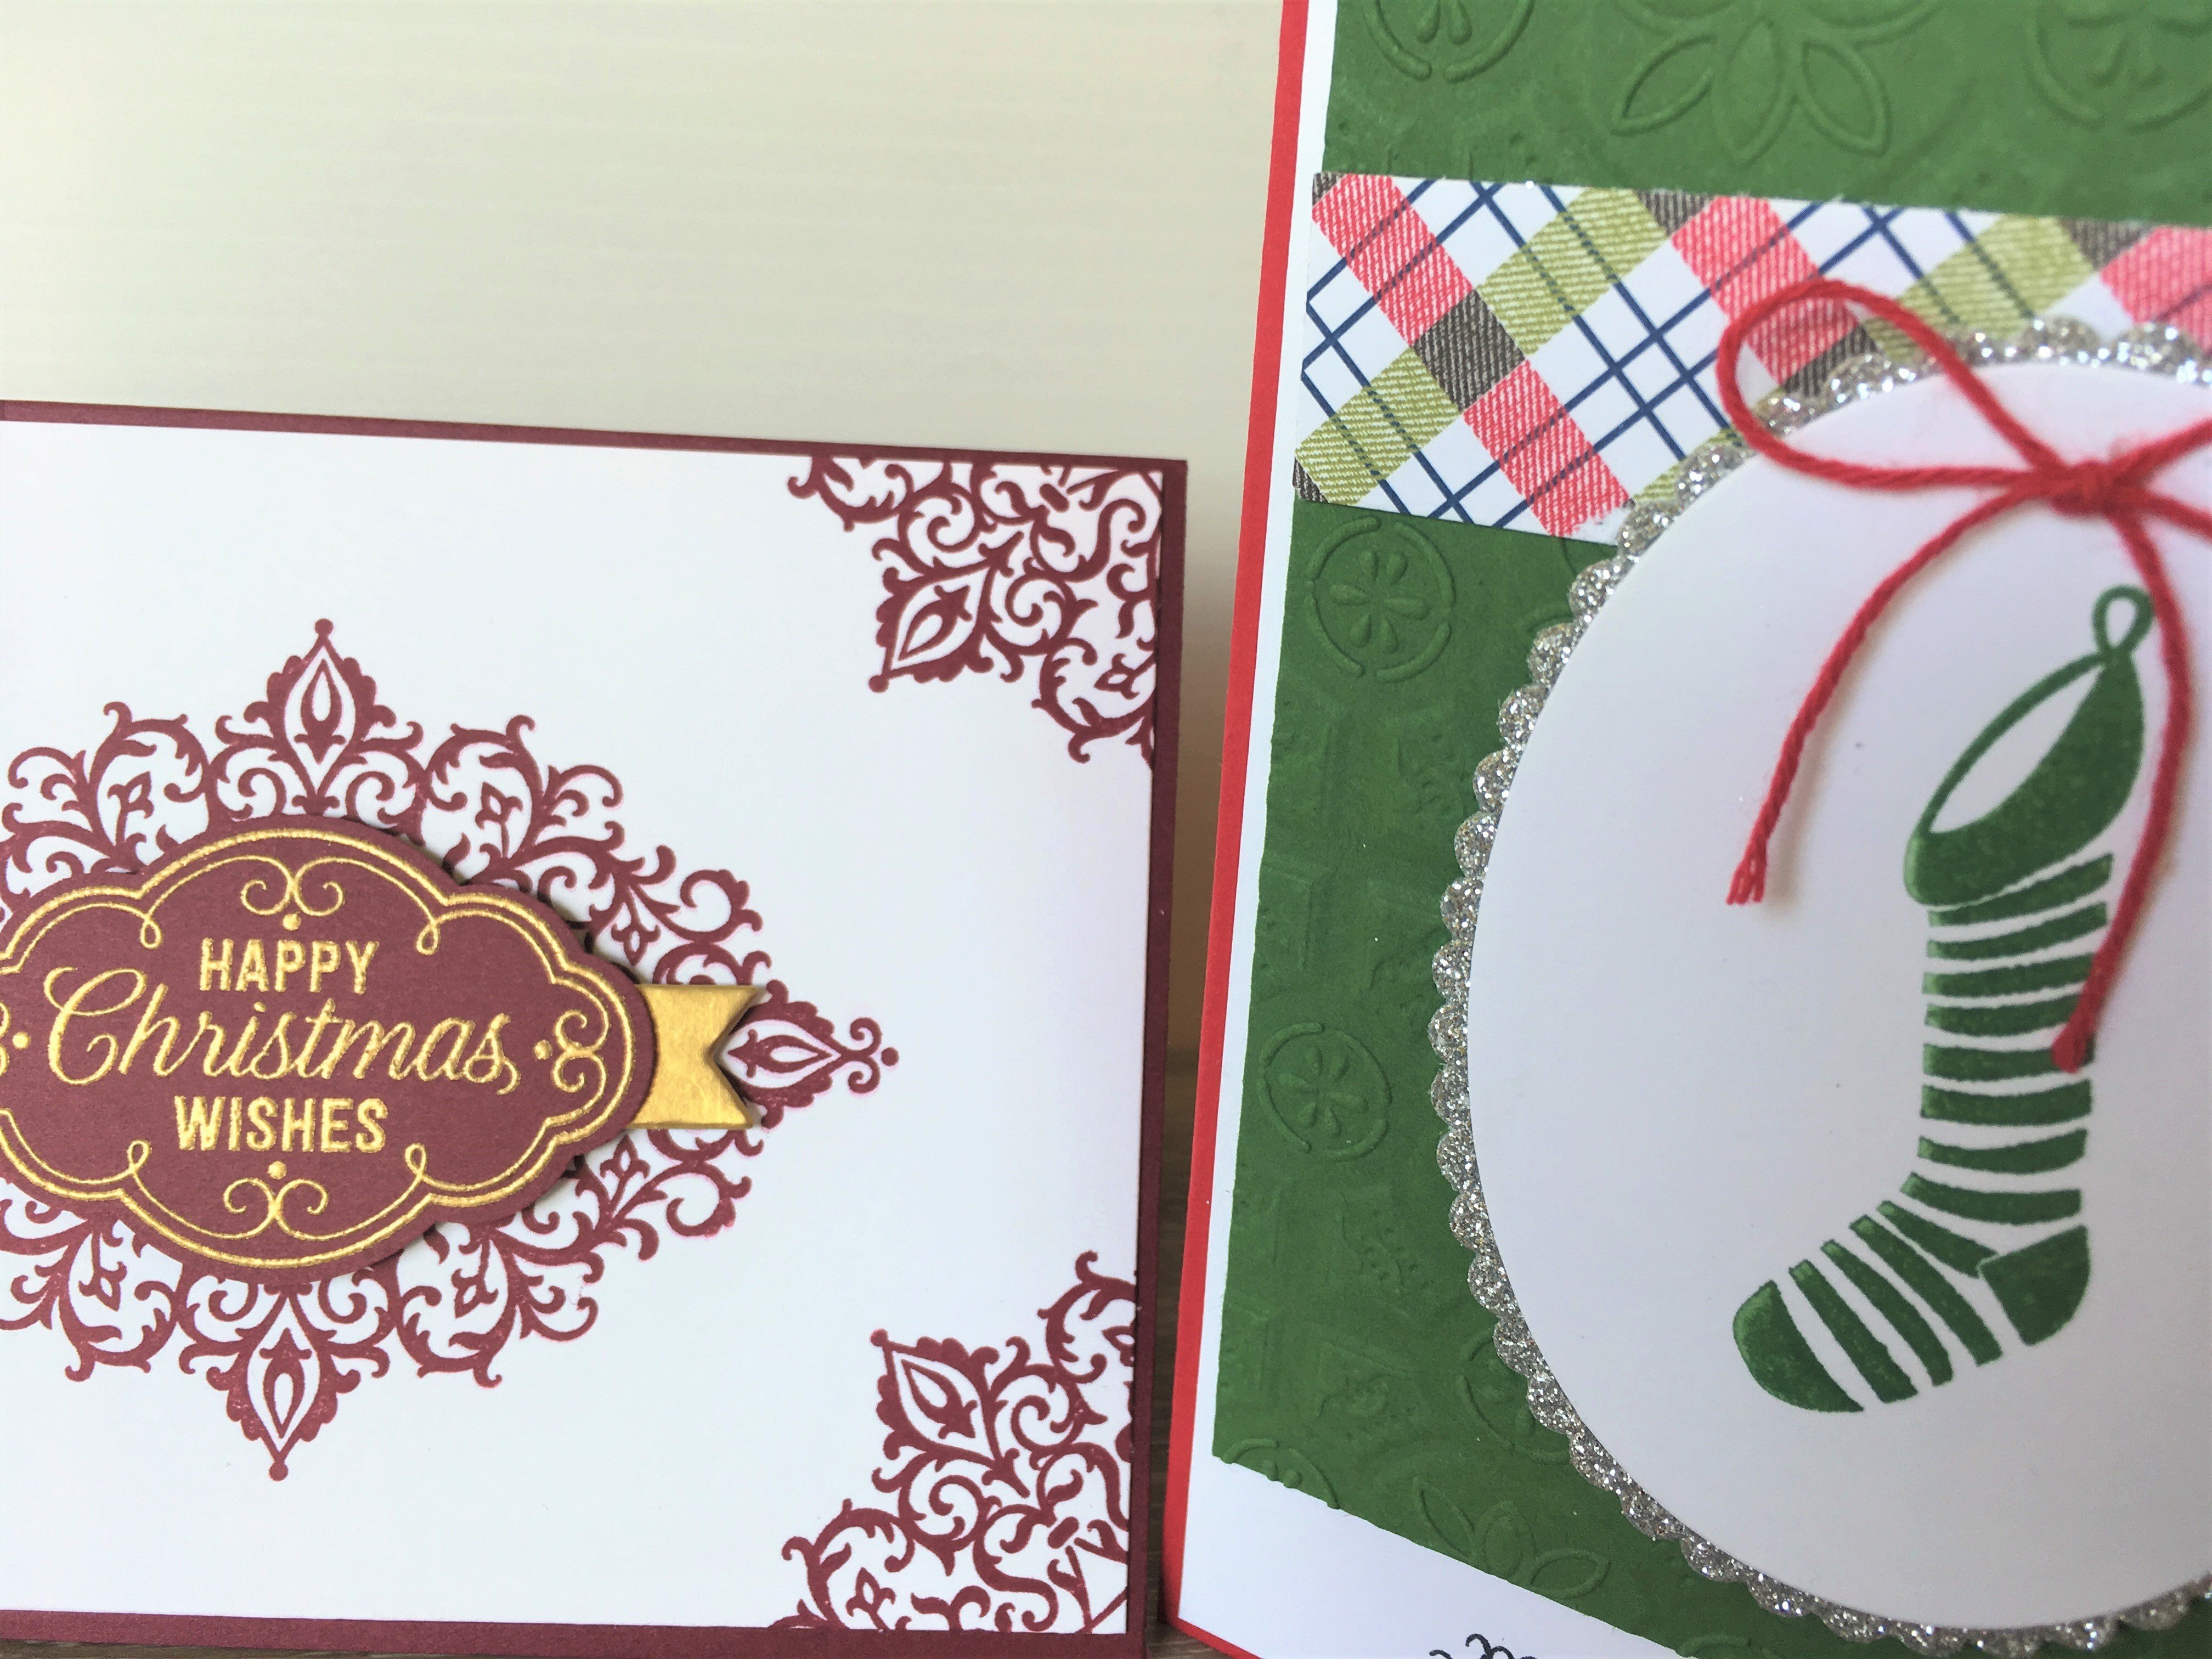
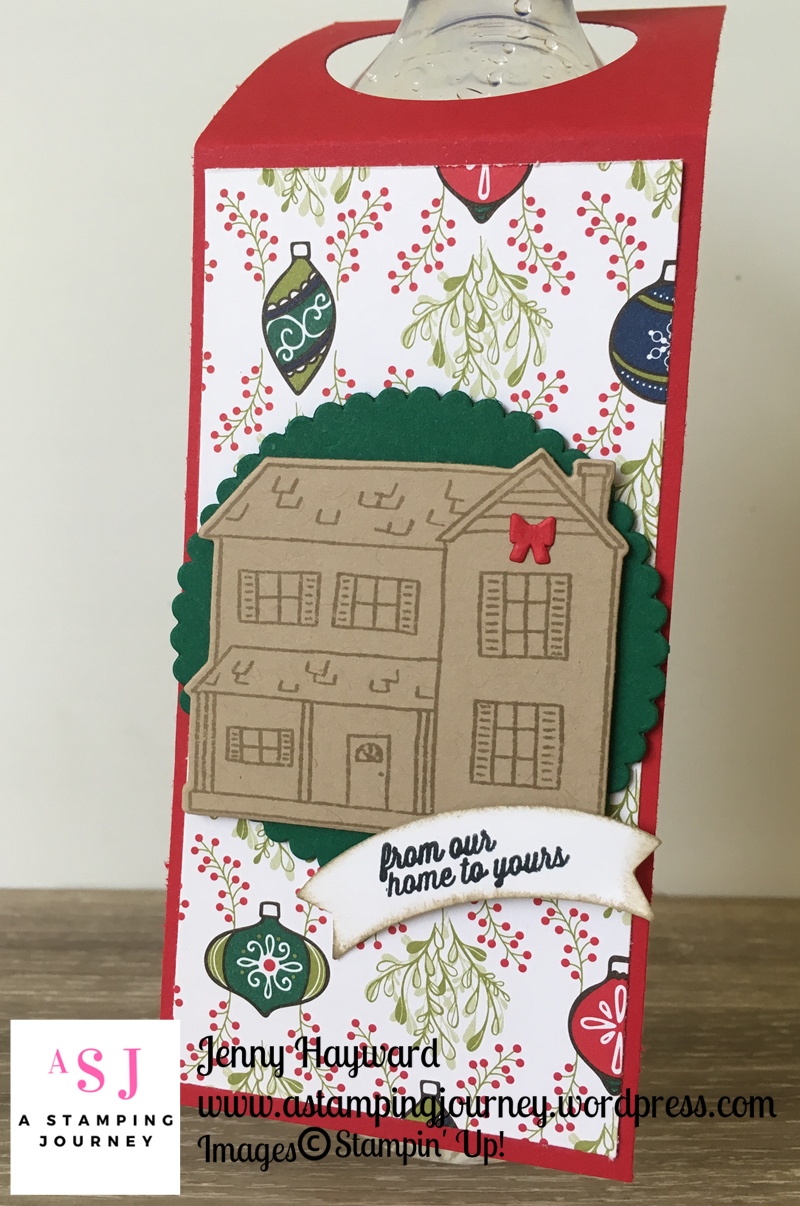
This tag below is used the Farmhouse Christmas bundle.  I stamped the farmhouse in Crumb Cake on to Crumb Cake card and cut that out.  I kept it simple so I didn’t have to colour them in. 🙂  The paper is also from the Under The Mistletoe Designer Series Paper. 
Do you want to make them? They are very easy.  Let me tell you.

MAKE YOUR OWN WINE BOTTLE TAG

You can create these any size you like.  I will give you the measurements for these ones.

Metric: Cut your card 7cm x 21cm.  Score at 7cm.    Imperial: Cut your card   3″ x 8 1/2″. Score at 3″.

Use one of the smaller circle dies from the Layering Circle Framelits and cut a circle in the small square section at the top.

Decorate as you desire.  I cut the piece of Designer Series Paper slightly smaller than the lower length of the tag.

I made some of these tags a few years back.  If you want to see these versions then head to this post -> HERE.

Thanks for stopping by,

Jenny

cards, Catalogues, Stampin' Up!, Videos

WEDNESDAY’S WOW! #43 – ONE STAMP, ONE DIE = 16 TAGS!

How can you make 16 tags from One Stamp and One Die?? I have to say this intrigued me.  For Wednesday’s WOW! #43 this week I wanted to check out this Tags and Tidings Bundle and see how it worked.  I found the video from Stampin’ Up! to share with you.  Maybe you are intrigued by it yourself??  The stamps are very small so how can you use them on your projects? How can you line the stamps up so easily with the die so they cut?  So many questions.  So if you are the same check out the video below and don’t miss out on the end to see their cute projects.

Here are some of the Stampin’ Up! projects.  So these might be small but they are cute.  I like even how the background is stamped on the card with them.  I had considered cutting the stamps up as I thought it might be easier. (SHAME ON ME).  I think I will leave it as one stamp.  Much easier to use and great for that background.

What do you think now?  Have you got this bundle? I would love to see your projects with it.

You can see it in my store -> HERE now.  $71 for the bundle.

Thanks for checking this out with me today.  Have a wonderful Wednesday.

Jenny

cards, Christmas, Classes

STAMP A STACK OF CHRISTMAS CLASS ON THIS WEEK!

If you are in Wollongong come along and make some Christmas cards.  I would love to see you.  We are a friendly bunch and have a lot of fun so it is really not scary. Really. 🙂

Here are the details.

Friday 26th October   10am or 7pm  Christmas Stamp A Stack 

If you can’t make it – see below.

Create 6 cards.  $20 (extra $5 to use my adhesives)

Please RSVP by Thurs 25th.

Here is a sneak of what we will be making.

Can’t make it? Order the card kit to go:  Email me at jghayward@yahoo.com

$20 includes all card and embellishment but not stamped images.

Jenny

Catalogues, Stampin' Up!

IT’S A BIRTHDAY STAMP SALE!

To celebrate Stampin’ Up!’s 30th Birthday they are having a 15% off sale ONLY FOR 24 HOURS.

There are so many to mention.  You WILL want to check it out.

My favourite, OK I have a few favourites:

Vertical Greetings (I love that the sentiments on these are vertical for a different option for your cards), One For All (with the funky Happy Birthday and the whimsical girl on a bike), One Wild Ride (For the boys – you need this cool set),  Swirly Frames (add a frame to your images or your sentiments for a fun effect).  Do you get the idea – there are lots you will want. 🙂

Check the list out Here ->  FLYER_BirthdayStampSale_SP (Click on the red text on that page for the flyer)

You will be able to view the full list with images tomorrow (Tuesday) on my website.  Check in ->HERE then.

Here is a taste of some of the sets. 

TO ORDER

**(Please order by 9pm so I can finalise all the orders in time).

Email/Phone me directly with your orders.

OR

Order Online -> HERE.  Please use the Host Code this week: SGXSEFMS

Thank you in advance for your orders and I do send out a card and a little something to thank you for your orders so watch the mail. 🙂
Jenny
cards, Catalogues, Christmas

12 WEEKS OF CHRISTMAS – WEEK 3 – REINDEER TAG CARD!

Week 3 of our 12 Weeks of Christmas special.  Today’s card was inspired by some tags I made for the special treat bags my guests received at my Holiday Catalogue Launch last month.  I thought they were cute – and very easy to make.  So I thought why not add the tag to create a card.

Firstly, the base card is Real Red and a piece of Garden Green cardstock which had been embossed with the Woodland Embossing Folder was adhered to the card base. To create the tag, I cut a strip of paper from the Under The Mistletoe Designer Series Paper and flagged the end. Then cut a vellum scallop circle using the Layering Circle Framelits and cut a deer from Early Espresso card from the Detailed Deer Thinlits.  The deer was raised up with Dimensionals off the Banner shaped strip.  The sentiment is from the Star of Light stamp set and heat embossed with Gold Embossing Powder before cutting it with one of the dies from the Bunch of Banners Framelits.  If you want to make this card quicker you can simply stamp the sentiment perhaps in Early Espresso ink.

Hope you like this one.  Thanks for stopping by,

Jenny
cards, Catalogues, Christmas, Stampin' Up!

FESTIVE FARMHOUSE CHRISTMAS CARD!

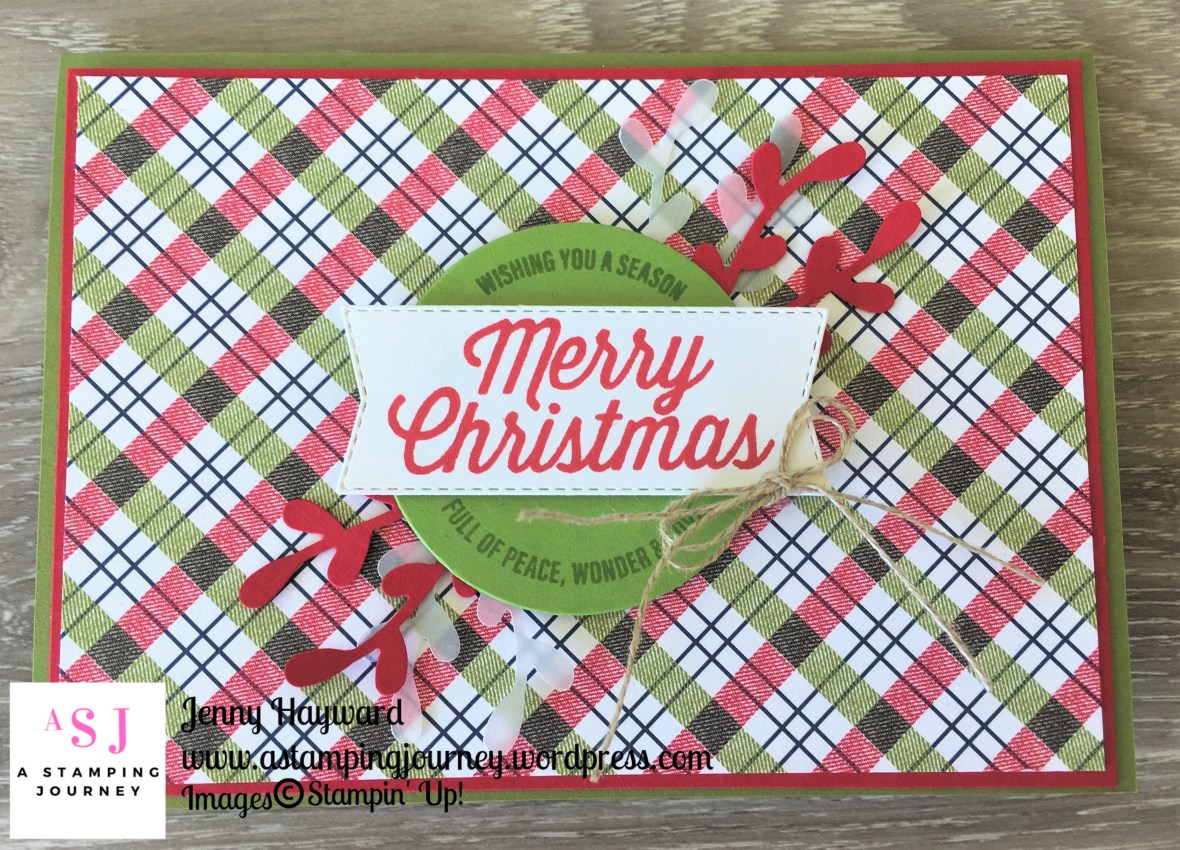
A couple of weeks ago for my Week 1 of 12 Weeks of Christmas I showed how quickly your Christmas cards can be made using the lovely Designer Series Paper from Stampin’ Up!. (Head back a few posts if you missed it).

Today I have another Christmas card for you using Designer Series Paper.  This one uses the Festive Farmhouse Designer Series Paper.

The sentiment from the Farmhouse Christmas set is stamped in Old Olive on Granny Apple Green and cut with one of the Layering Circles Framelits.  It was stamped again in Real Red on white and cut with the Stitched sentiment label die in the Farmhouse Framelits dies.  Before they were raised up off the card I added a couple of leaves punched from the Sprig Punch from Real Red and vellum.  I finished the sentiment off with a double bow from Linen Thread.  The base card is Old Olive and the Real Red.  I have to say the colour in the paper is actually Cherry Cobbler but it worked with red.  I don’t know why I used that but I think because I was making the other card that I had shared at the same time and just used the same colours.  I have to say you don’t notice it though.

So there is another quick Christmas card for your collection.

Thanks for stopping by,

Jenny

cards, Catalogues, Stampin' Up!, Techniques

WEDNESDAY’S WOW! #42 – COLOURING – WHAT PAPER, WHAT INK??

Wednesday’s come around so quickly but I love sharing little tips and videos with you on Wednesday’s.  Do you like them?

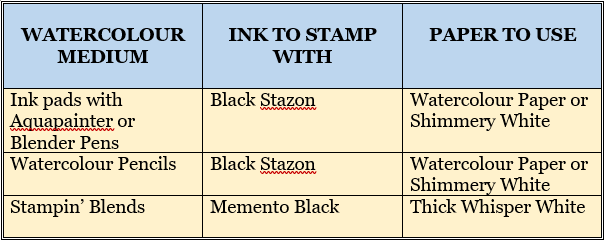
Today’s Wednesday’s WOW! #42 is what I hope will be a helpful little chart.  Which Ink and which paper to use when you are colouring.  I often get asked this question in classes so maybe you are wondering too.

I think the chart is self-explanatory but it goes through different colouring mediums – the Aquapainter or Blender Pens with the Inkpads,  Watercolour Pencils and Stampin’ Blends and which ink and paper to use with these.  It really makes a difference to the finished result with what you use.  Next time you come to watercolour I hope that you find this useful to refer to.

Hope that is helpful.

Jenny

cards, Catalogues

POSTCARDS PALS TRIO!

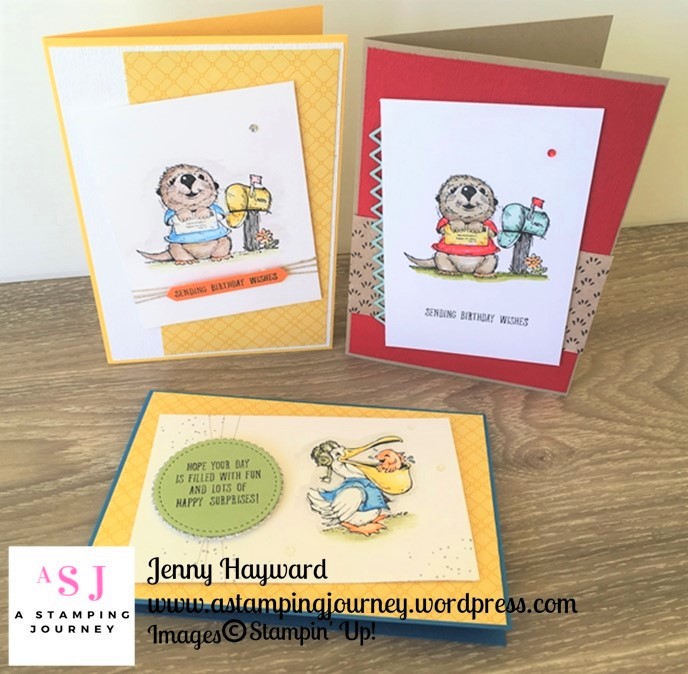
I have been wanting to share these cards with you for a few weeks.  I coloured them a couple of months ago and posted the images on Instagram and Facebook but only recently assembled them on to a card.  These cards use the very cute Postcard Pals set.  I have to say I was a little hesitant getting the stamp set as I am not very good at colouring.  I am working on it.  I saw such cute cards with them though and it may have just slipped in with an order one time. 😉

Here are the 3 cards.  My daughter did point out to me that I hadn’t coloured the Platypus dude.  I will do him shortly.  I can’t miss him out. 🙂

Here they are close-up for you.

For this one below I have stamped the image in Black Stazon on Shimmery White card and coloured it with the Watercolour Pencils.  The base card is Crushed Curry and the paper is from the Country Lane Designer Series Paper.  I went around lightly in Basic Gray pencil and washed it over to add dimension to the image.

This next card is stamped on to Thick Whisper White card and coloured with the Stampin’ Blends.  Isn’t this beaver such a happy chappy.  The Real Red card is embossed with the Subtle Embossing Folder and a strip of paper from the Share What You Love Specialty Designer Series Paper.  The card needed something else.  Rather than a card mat I thought a decorative strip.  I pulled out the Delicate Lace Edgelits and cut the “triangular” edge one from Pool Party card.

Now we have a happy Pelican.  This one was stamped on Shimmery White and coloured with Watercolour Pencils.  The sentiment was stamped on Pear Pizzazz and cut with the Stitched Shaped Framelits.  I also cut a scalloped circle from the Layering Circles Framelits from Silver Glimmer Paper to adhere underneath this one.  The white card was a bit plain so I added some “spots” from the Farmhouse Christmas set that I had out on my desk still.

I hope you like these trio.  They make me smile whenever I look at them.

Have a happy day,

Jenny

cards, Catalogues, Christmas

12 WEEKS OF CHRISTMAS – WEEK 2 – HOLLY CHRISTMAS!

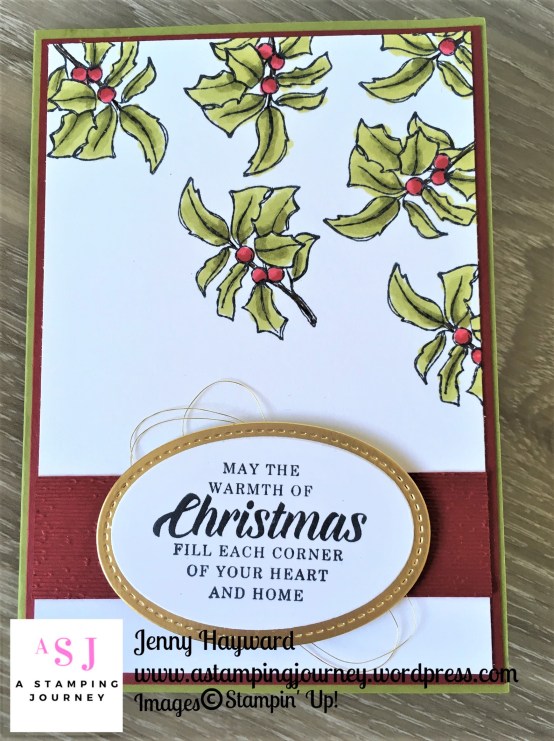
Week 2 of 12 Weeks of Christmas.   Today I am sharing a card with the Timeless Tidings stamp set.

Today’s card is not exactly quick but if you had a small number of cards to send out I think these would be pretty special.  You could simplify it to make it quicker if you like.  Although you are colouring the leaves they are simple to colour.  I used the Old Olive and the Cherry Cobbler Stampin’ Blends.  You could leave off the loopy Gold Threads and if you didn’t want to emboss the Cherry Cobbler strip either that would make it quick.  I had embossed this strip with the Subtle Embossing Folder. But really there isn’t a lot to do on the card.   I hope you like it anyway. 🙂

Thanks for stopping by,

Jenny

cards, Catalogues, Christmas, Videos

WEDNESDAY’S WOW! #42 – QUICK CHRISTMAS CARDS WITH TIMELESS TIDINGS KIT!

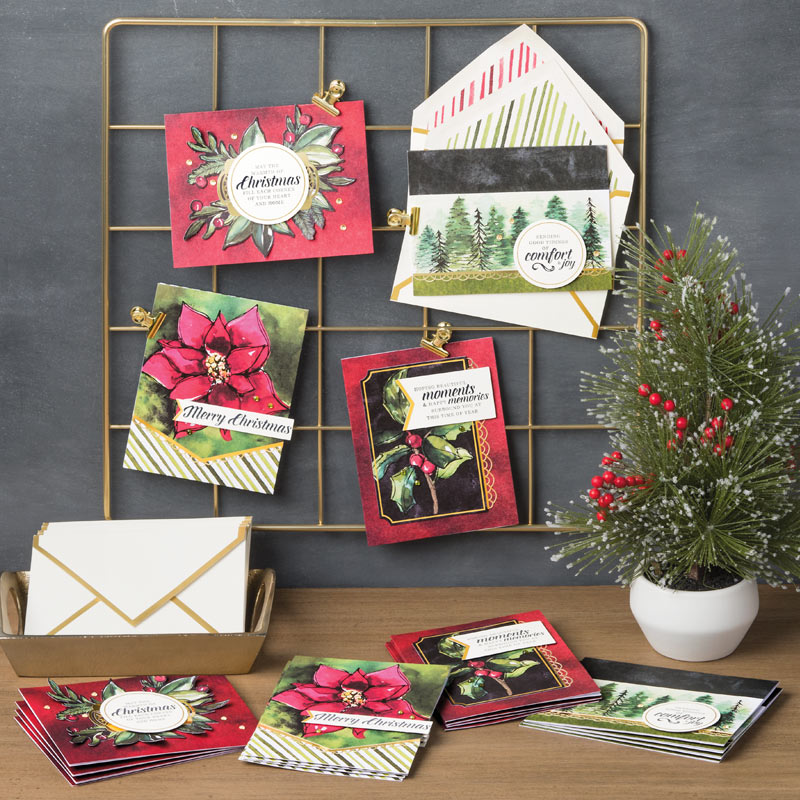
Last weekend at my World Cardmaking Day class we focused on making easy, quick cards by using Kits.  There are so many lovely Stampin’ Up! kits available.  One of them we focused on was the gorgeous Timeless Tidings kit.  Everyone loved the beautiful watercoloured look to the cards and and they were very easy to put together.  If you haven’t noticed them they are on page 33 of the Holiday Catalogue or you can see them below.

For Wednesday’s WOW #42 I thought we would have a close look at this kit. I have the video below to see them and you can see how easy it is to put them together.

What do you think?  Aren’t they gorgeous?  The fun thing with kits too is that you don’t have to make them exactly as they are.  You can change them around little.  Just a note on them,  we found that when we peeled off some of the gold strips and trim not all of them came out clean so you need to use a paper piercer or similar to pick out the little “bits” left behind.  That is probably the longest part to putting the cards together.

**Grab your Timeless Tidings Kit in my store now -> HERE  $35 AUS.  (Australian residents only).  Please use the Host Code: SGXSEFMS

**You might want to grab the Timeless Tidings stamp set too. -> HERE  $35 Clear mount or $49 Wood mount.

Of course, you can contact me directly to order too.

Jenny