Onstage, Stampin' Up!

MORE ONSTAGE SNEAK PEEKS!

?

I have some more of the fun to share with you today from Onstage last week.

We all love Bonnie.  Bonnie works  at the Home office in Utah and is so fun. 🙂

20160416_092111

One of the projects Bonnie shared using a new set coming. (Lovely Stitching)

?

I love this new set (fresh Fruit) and what about the new incolors!

302

I love teddies and I might have a few around. 😉 This is going to be a must-have set for me. (Baby Bear)

281

A new embossing folder perhaps??? (Floral Affection)

297

So what do you like here?

I might share some more projects in next post.

Jenny


3D projects, Classes, Stampin' Up!

GIFT BOX CLASS THIS COMING FRIDAY!

I have a special gift box and 4 cards at this week’s class.  I hope you can make it (ie if you live local!).  This box will be great with Mother’s Day coming up but would be great for any special friend.  Here are the details.

GIFT BOX CLASS

WHEN: Friday 29th April 10am or 7.3opm.

COST: $20  Please bring your scissors and adhesives.

RSVP: Wednesday 27th April.

Here is the gorgeous box and cards. (Includes envelopes as well).  You can change the greeting to suit you.

box    box and card

Don’t forget to let me know by the RSVP date.  I hope you can come.

Jenny

Convention, Personal Ramblings, Stampin' Up!

STAMPIN’ UP! ONSTAGE 2016

?
?

By now you have probably heard of the Onstage Event last weekend and some of the things that went on.  I have finally had a chance to upload my photos and go through some.  I mean some!  How can one person take so many photos on one day!!! 😉 Anyway, I will show you some in this post and share some of the other projects later.

It is always exciting getting together at these events. Knowing that Demonstrators were meeting together in various places around the world at the same time was pretty exciting too.  I went to Sydney for our local event.

Here is some of our Inky Fingers team.

Inky Fingers Team

Busily creating one of the Make and Takes for the day.  I will share them at a later date.  I actually finished them all this time.  Usually they go home unfinished – and for the most part they stay unfinished!

386

And of course it’s exciting winning prize patrol AND getting the new catalogue! 🙂

20160416_091134-1-1

This year Stampin’ Up! celebrates 10 years in the South Pacific market. So we had cupcakes to celebrate.

20160416_105615

Having the events world-wide meant some of the presentations were telecast from the Onstage Live event in Salt Lake City.  Here is Shelli and Sara in their opening speech.

254

Come back again soon and I will show you some projects. 🙂

Stampin' Up!

THE STAMPIN’ UP! RETIREMENT LIST IS OUT TODAY!!

retired2016_demo_Apr1816_ENG

Retired group

You have probably heard by now that the new Stampin’ Up! Catalogue is out very soon.  (June 1st to be precise).  With lots of great new products we have to say Good-Bye to some favourites.  The Retirement List has just been released. Do you want to see what is leaving us?  It’s a big one.

Click HERE to view the Retirement List in my Online Store. Or click on this link for the PDF format.  CLICK HERE 

Now some of these items are reduced by up to 50% so if you want to grab some bargains then don’t fiddle around thinking about it. Order them now because they sell out quickly.

HOW TO ORDER:

Order Online at my store HERE using the Host Code: 49K69936

OR contact me today by phone or email to place your order with me.

Be quick so you won’t be sorry you have missed them.

Jenny

3D projects, Stampin' Up!

FRY GIFT BOX!

Just a quick one for you today.  I am heading off tomorrow to Sydney for the Stampin’ Up! Onstage event on Saturday.  Exciting!!! And the new Catalogue will be revealed.  More exciting!!!  🙂  Before I go though I thought I would show you another quick treat box I made for my markets last month.

This was the first time I have used the Fry Box after having it for some months.  I have used some retired paper for them. I have used the ‘All About Sugar’ stamp set to decorate them.

image-5340

I thought they might be good for the boys.  What do you think??  Fill them up with some cool treats or small toys.

Thanks for visiting.  I will fill you in on what I can tell you from Onstage when I come back.

Jenny

If you would like your own 2016 Stampin’ Up! Catalogue mailed to you, then drop me a comment. I know you want to rustle through those pages and make your list.  Stock up on your Post-it notes now. 🙂

Stampin' Up!, Weekly Deals

WEEKLY DEALS – FINAL WEEKS!

WeeklyDeals_Share-2_Apr0516_SP_EU

These great Weekly Deals are coming to an end VERY SOON. There are some fantastic bargains on this week’s Weekly Deals. Check these out!

Ap 13

Apr 13 _ 2

Lots of ribbon and embellishments BUT… have you got the Watercolor Wings stamp set yet or the Curvy Corner Trio Punch. These are must have’s I think and they are at 25% off. Don’t miss out on them.

TO ORDER 

You can order directly to me

OR Shop Online HERE  Please use the Host Code: 79ED92rU

Thank you kindly 🙂

3D projects, Tutorials

SKINNY MINI TREAT BAG HOLDERS!

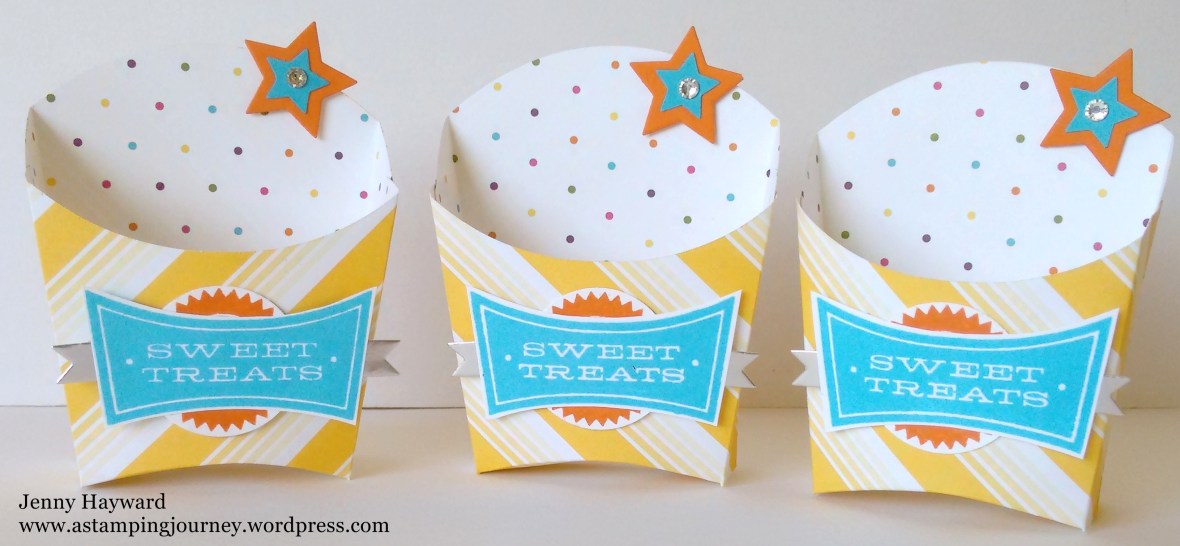
A few weeks ago I shared the Easter Baskets I made for the upcoming Easter markets.  I made a few cute treat holders for the markets too.  I have been wanting to show you the project for a couple of weeks but with Easter and Sale-A-Bration there were so many other projects to show you. 🙂

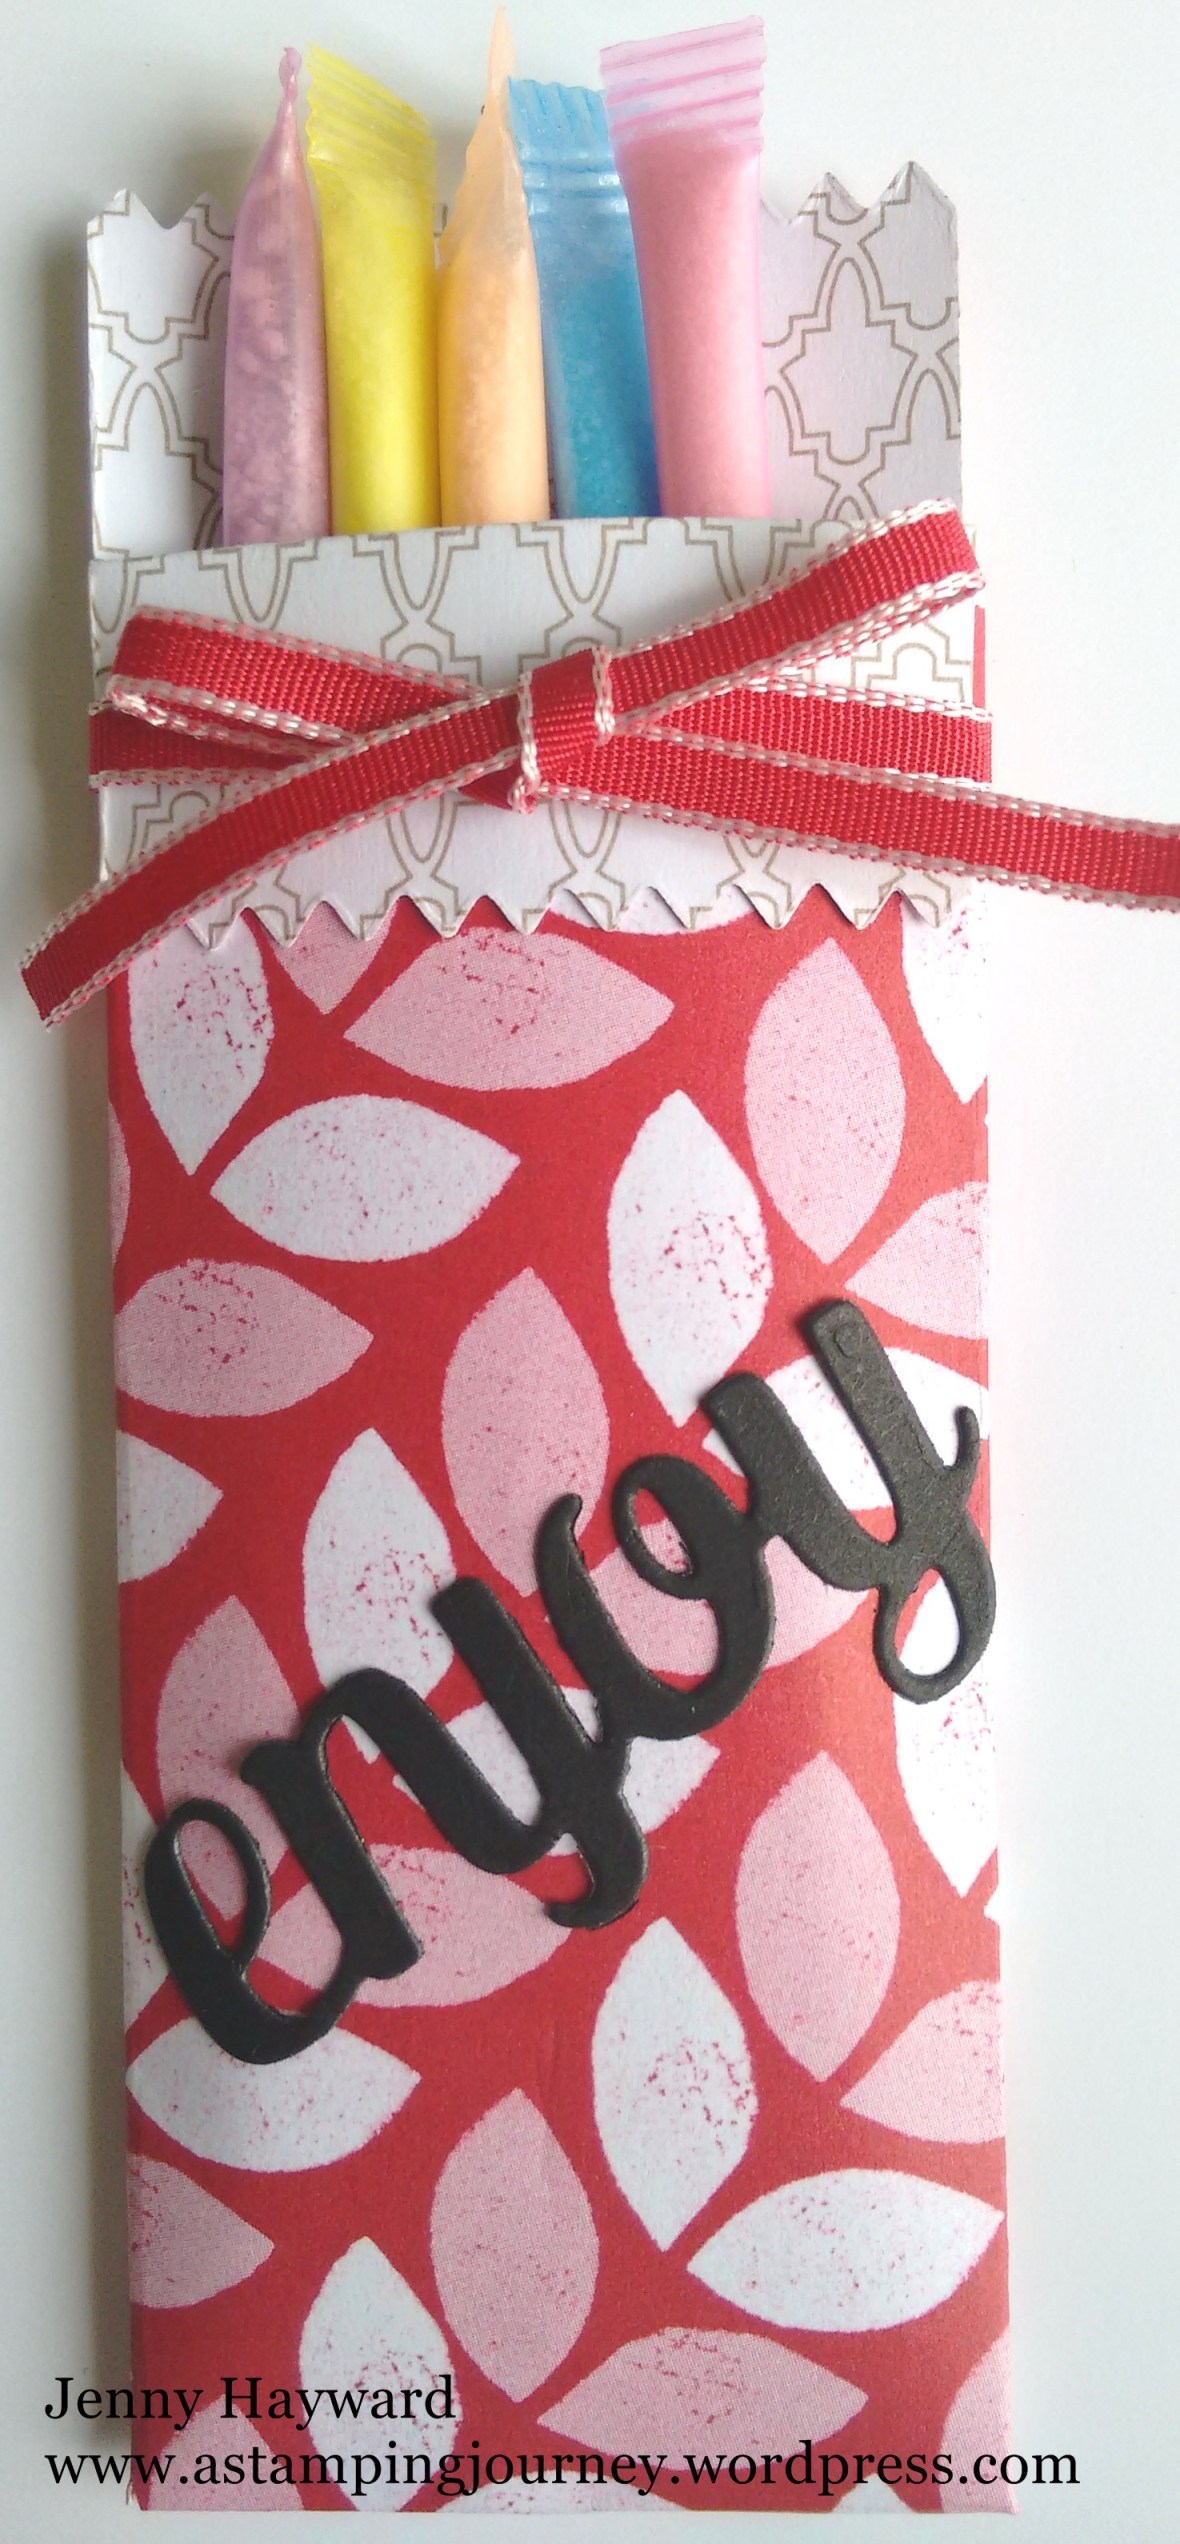
These are really quick to make and you can use them for any small treats.  Here I have some little sherbet straws for the kiddies but you could add a chocolate treat or coffee sachet.  I have used some retired Designer Series Paper.

448

447

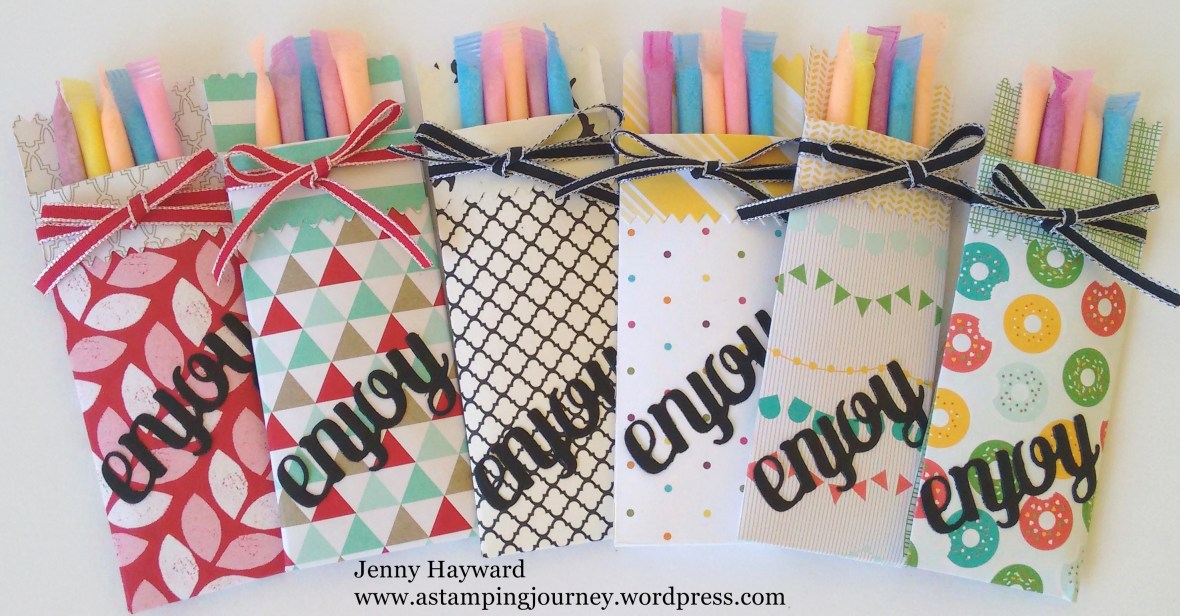
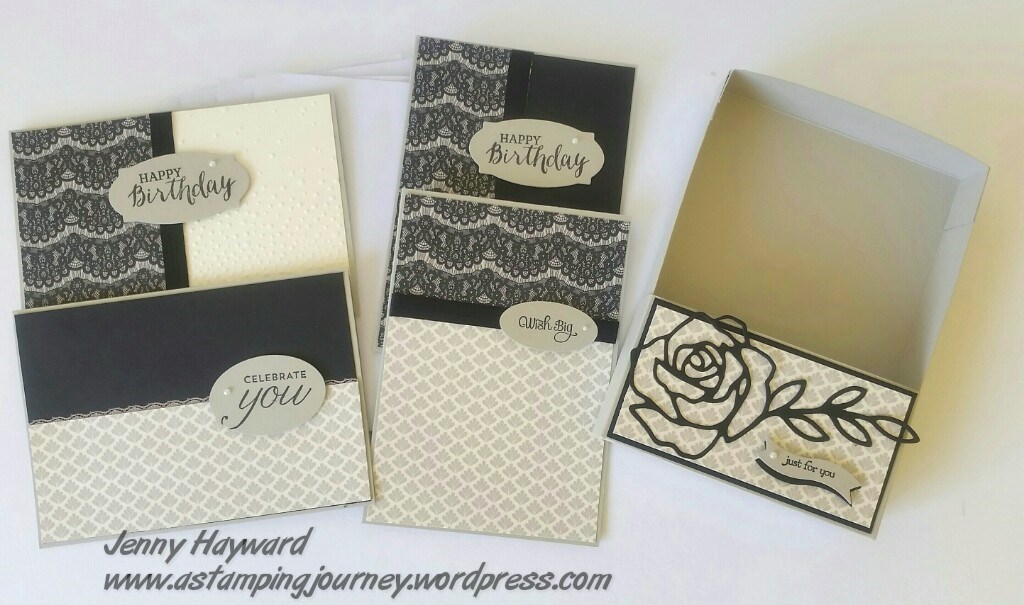
Aren’t they fun and colourful?? I have simply decorated them with some ribbon (retired) and cut the “enjoy” (which is in the Mini Treat Bag Thinlits set), from black card to add to the front.  Really they probably took all of one hour to make.  I didn’t have a lot of time but wanted something cute but inexpensive to add to my stall.

Do you want to know how to make them?

SKINNY MINI TREAT BAGS

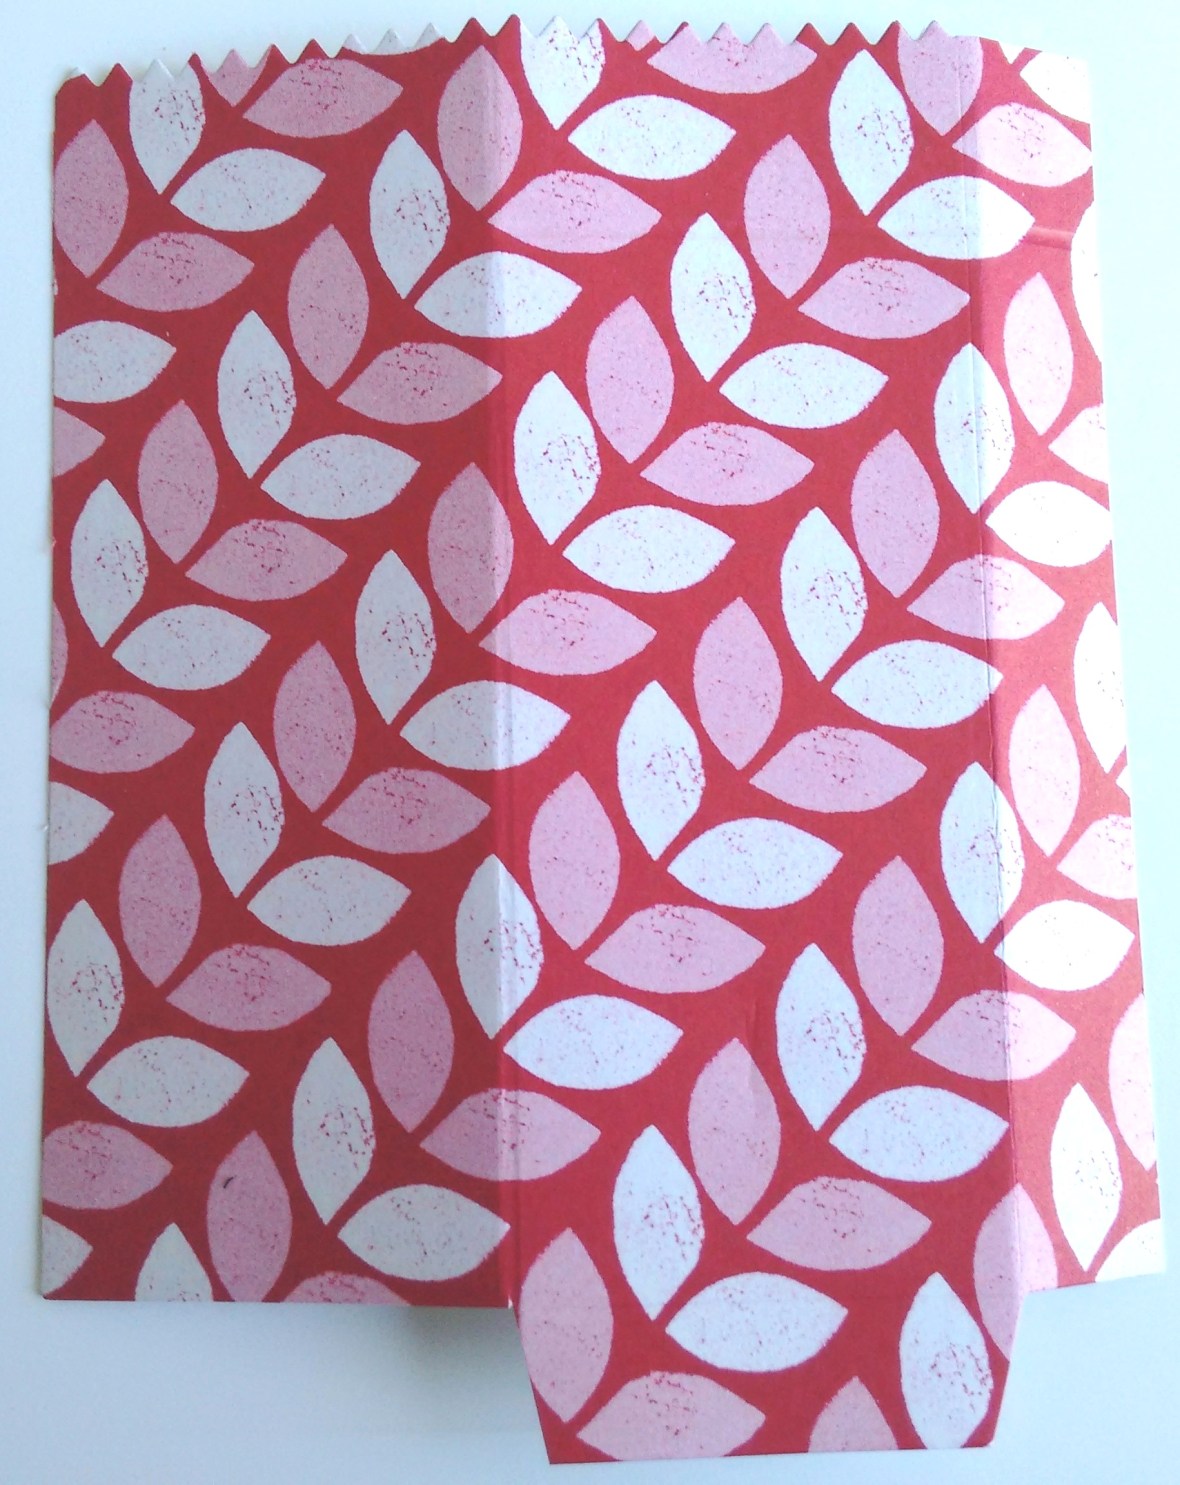
1. Cut a piece of Designer Series Paper (DSP) a little larger than the large section of your ‘Mini Treat Bag Thinlits’= 10.5cm x 15cm (4″ x 6″).  Cut the piece out on your Big Shot.

442

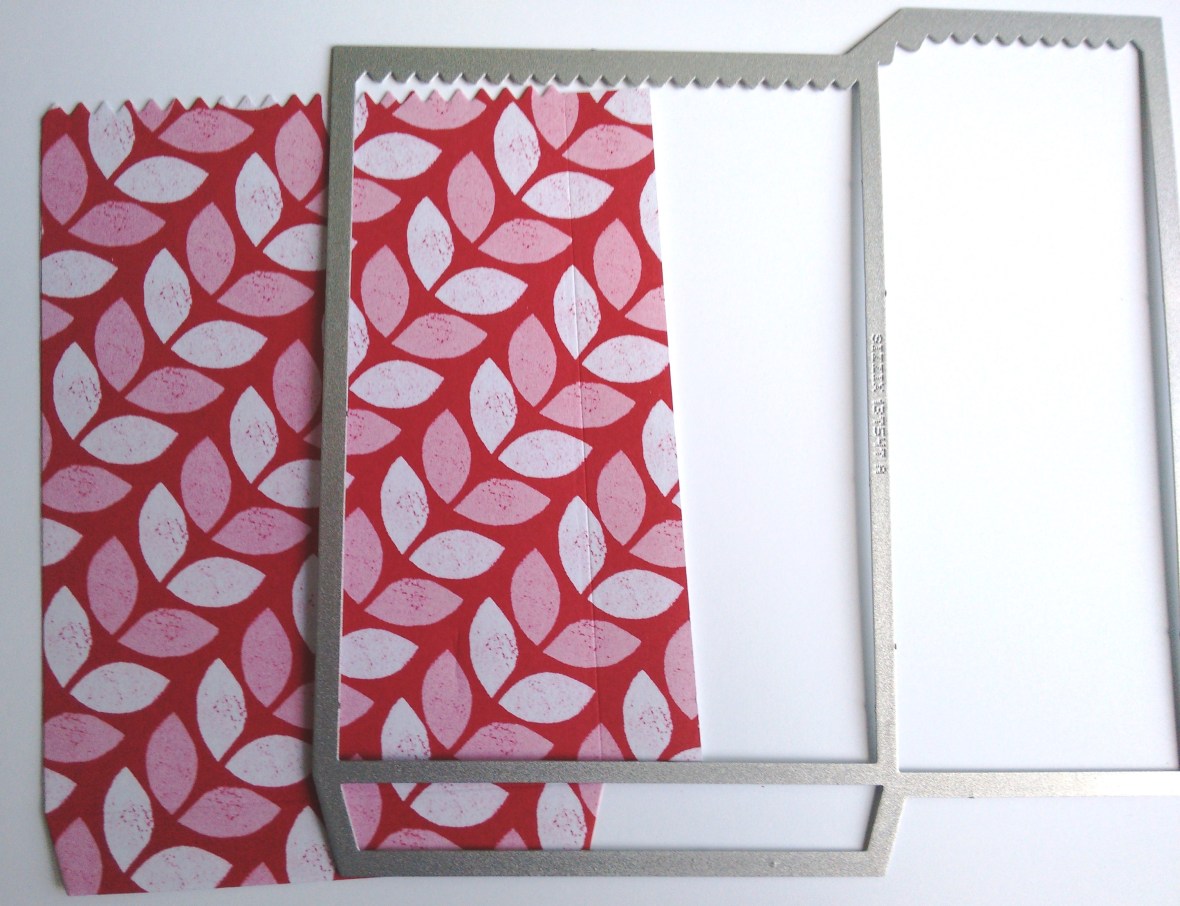
2. Score the large section in half vertically so at approximately 4.6cm (1 7/8″).  The photo below shows the DSP piece with the right side facing up. Cut off the left hand side on the bottom tab section.

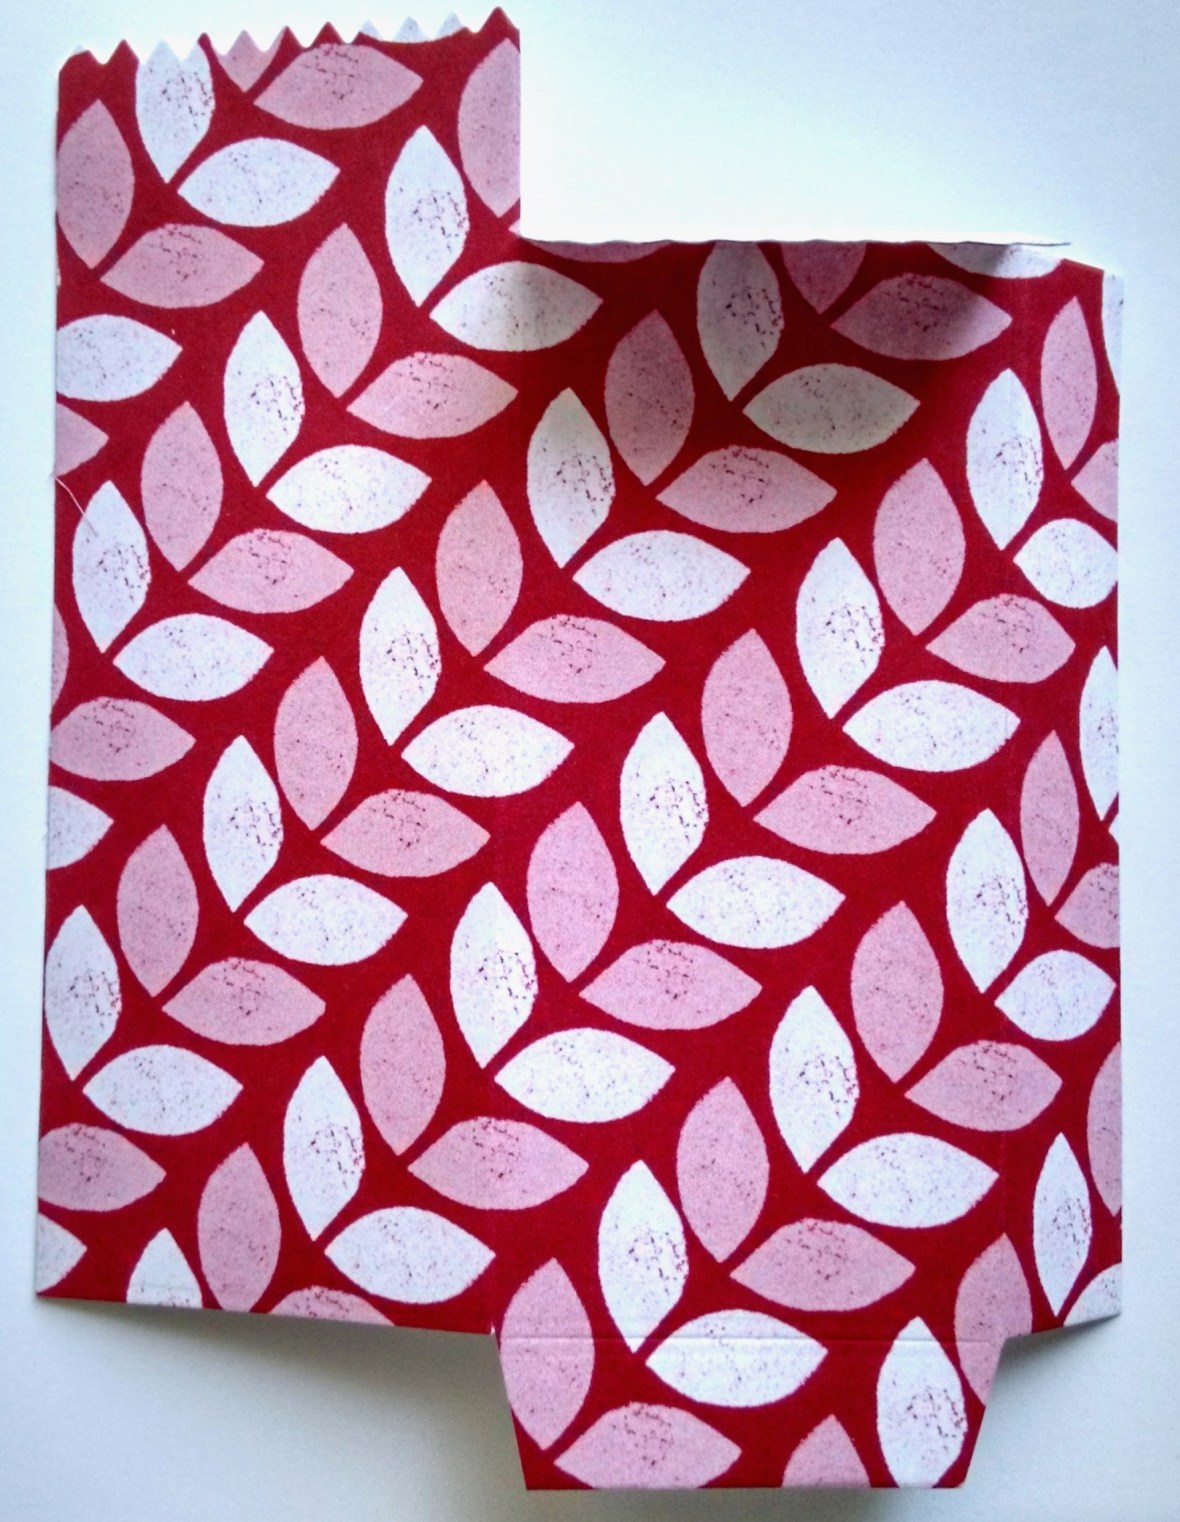
Place your piece on your Paper Trimmer with the narrow side tab at the top.  Line up your zig zag edge at 2cm (3/4″) and score a line from the top edge and just to the score line in the middle.

444

Cut off the small tab on the top left with your scissors. (Which I hadn’t done yet in the photo). I like to taper the end of the long side tab to give a neater finish when you fold.

3. Fold on all the score lines and open out again. At the top cut down on the middle score line to where it meets the 2cm (3/4″) score line running across.

445

4. Fold again on the score lines so the folded flap piece is at the front and the taller section is at the back. Place adhesive on the right side (the outside) of the long tab and fold to adhere to the back of the bag with the tab section on the inside.  (It doesn’t matter too much if it is adhered to the outside. Just for a neater finish I like it on the inside).

Place adhesive at the back of the small bottom tab and fold over to the back to adhere down. (I wasn’t worried that this was on the outside at the back). Place adhesive under the front flap to adhere down.

Decorate as you like and fill it with treats you would like to give.

446

I hope this is easy to follow for you. Please let me know if you any questions.

Enjoy 🙂

cards, Stampin' Up!

CREATIVE PLAY DAY WITH BOTANICAL BUILDER FRAMELITS!

I had some creative time yesterday just to play.  It was so good.  I don’t have a lot of occasions to do this for a whole day.  Good for the soul 🙂

After I made some customer Thank You cards (which I will show you next post) I could play with the Botanical Builder Framelits.  I only got the framelits recently.  I was NOT going to get these.  Nup,  I don’t need them, BUT I saw so many gorgeous things created that one day they slipped in to my order on Hostess rewards.  Just one of the many perks being a demonstrator. 😉

So I thought I would show you what I made.  I think I only touched the tip of the iceberg here.  So much to make with them.

I saw this idea on a Facebook group I am on to use the leaf border as the centre border on a card.  I thought that was clever. Have to say though it was harder to work out than it looked – and maybe cut the right side of the card!  Here is the first card.  I am still not too sure of it. I thought I would show you anyway.

image-6229

The base in Sahara Sand and the Designer Series Paper piece is from the ‘It’s my Party’ Paper Stack. I think the colour of the DSP leaves it looking a little flat. I cut a piece of Mint Macaron card slightly smaller and then cut the leaf edge from the centre.  Just check which way you need to cut it first!!!

The sentiment is from ‘Birthday Blossoms’ set stamped in Black. I added some Rhinestones but still thought it was missing something.  After I cut some flowers for another card I added a flower to the top right.  The flower is in white and I sponged the edges. I don’t know, what do you think?  Missing something?

Well after making this card I tried another one this time in Island Indigo.

image-6228

I do like this version better.  Maybe it’s a bit brighter? I added some Adhesive Pearls to this one.  The sentiment is from ‘A Dozen Thoughts’.  This might work for a wedding card?

When I made the Mint Macaron version above I first cut it wrong.  Rather than waste the piece I thought I would make another card.

image-6231

I added the strip along the bottom of a Whisper White mat which I had embossed with the ‘Softly Falling’ Embossing Folder.  The card base is Mint Macaron.  This sentiment is also from ‘Birthday Blossoms’ which I cut with an Oval Framelit.  The flowers were cut in White and then sponged with some smaller Mint Macaron ones in the centre.

I can’t wait to get back to playing with these some more to see what else I can make.  Lots of versions layering and sponging!!

Thanks for visiting.

Jenny

cards, Classes

WATERCOLOUR FUN CLASS!

Watercoluring  is all the rage in the crafting world, have you noticed? We are focusing on 2 fun watercolouring techniques in our class this Saturday.  I hope you can join us.

Here are the details.

SATURDAY 9TH APRIL 2PM

We will make 2 fun cards with different watercolouring techniques.  Here is a sneak peek for you.

Please RSVP by Thursday 7th.

COST:   $15

BYO: Scissors and Adhesives.

I hope you can come. 🙂