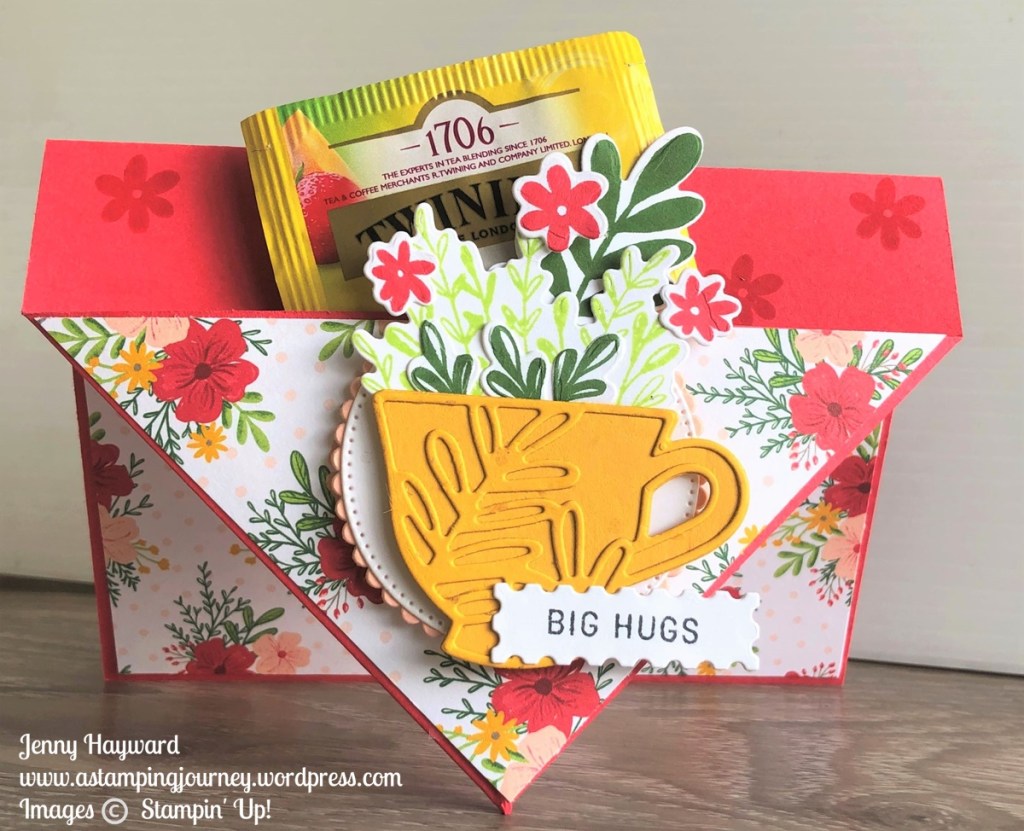
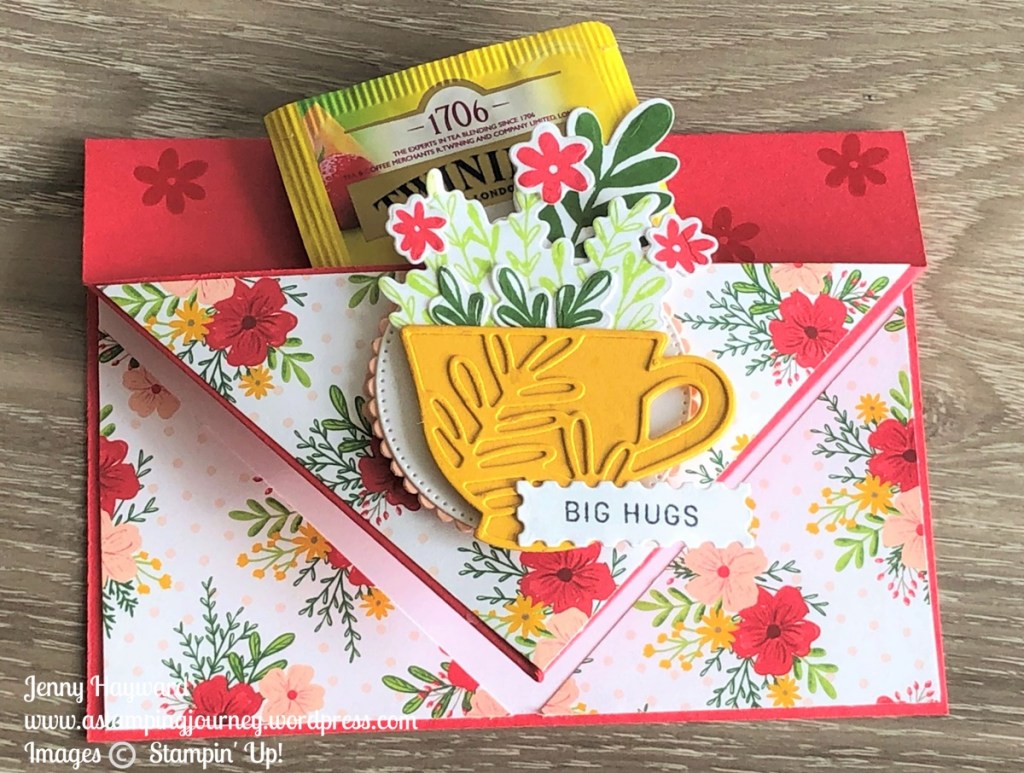
Wednesday’s WOW! #140 – Pearlized Dots.
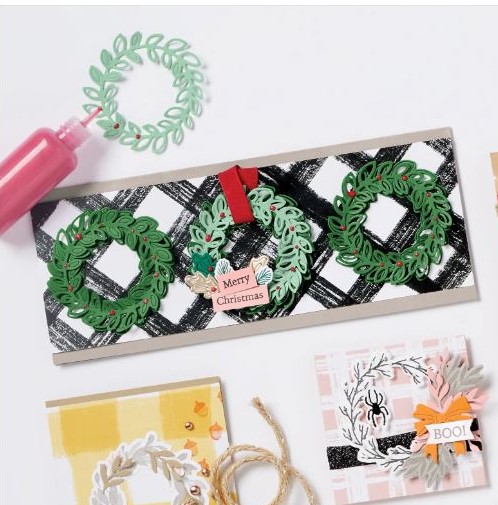
This is so cool. You can create your own shiny, pearly dots or lines with the Pearlized Enamel Effects Basics.
See them below.
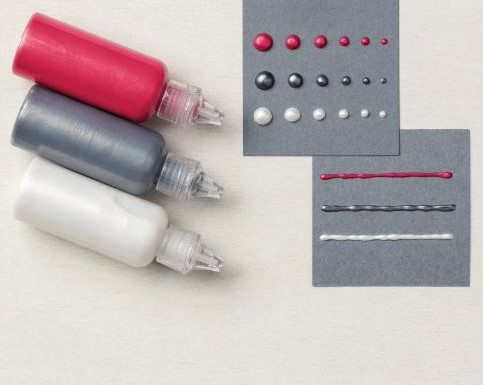
The Pearlized Enamel Effects Basics come in 3 little bottles (1oz or 29.5g each), in Red, Black and White lacquer.
With them you can create some really special elements for your projects.
- Outline your stamped images to add some extra depth.
- Add extra details like dots or lines.
- Add detail to part of a stamped image or other embellishment piece.
- Write words to give a “raised” effect.
- Draw shapes like stars or hearts.
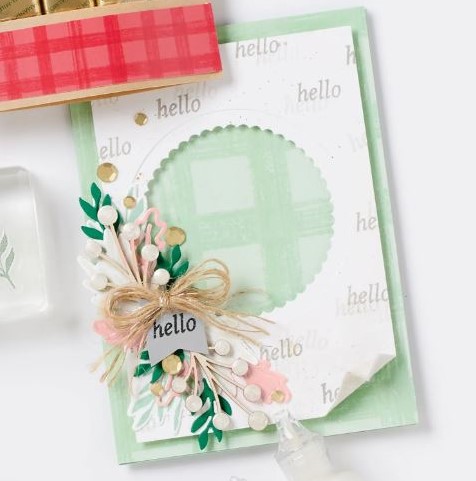
Here are some ideas how to use them.
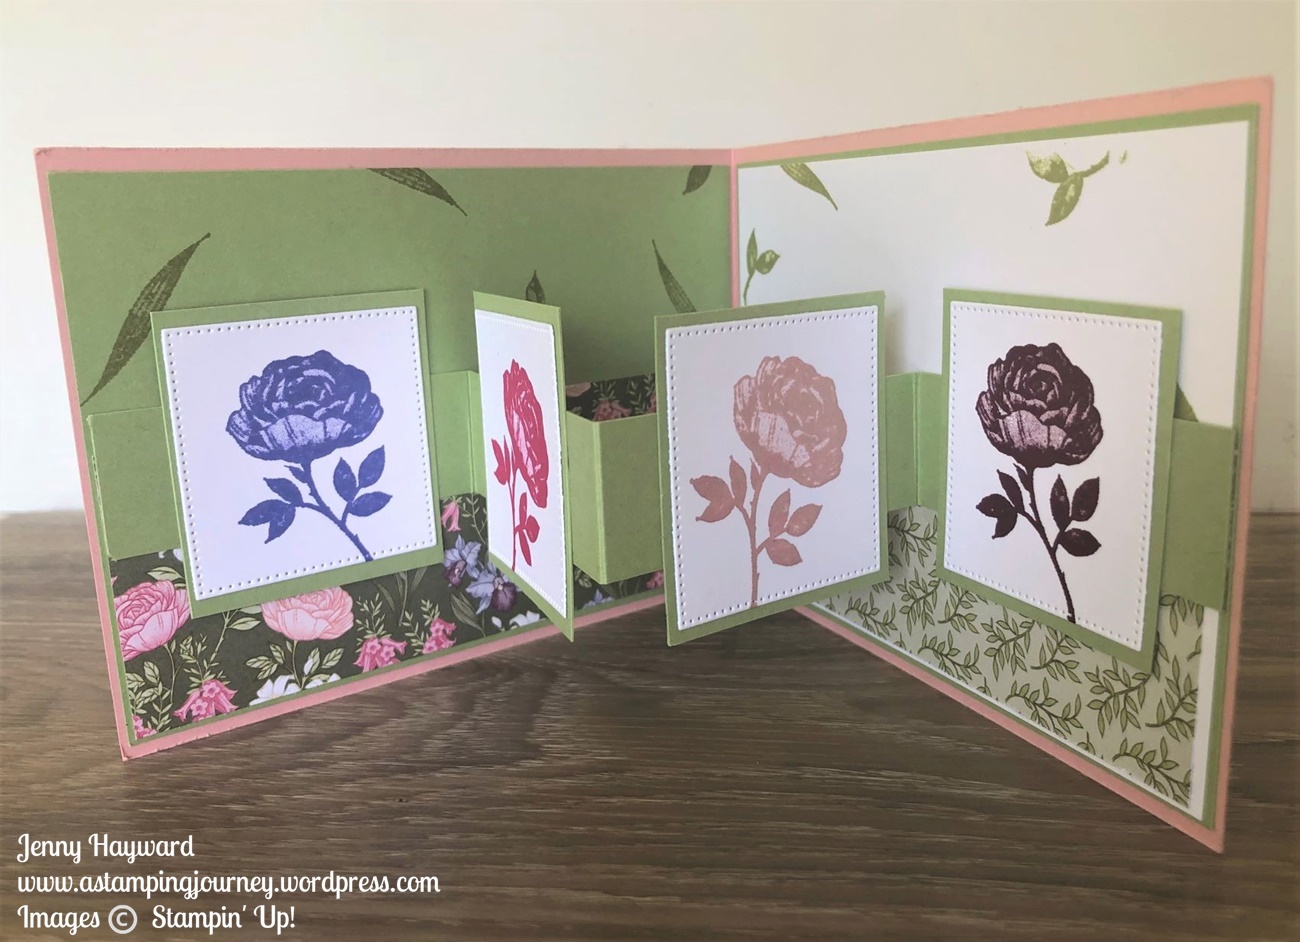
Add little dots around the wreath to create little “berries”.
Add the white to the end of the Textural Elements or similar to make a shiny surface.
How would you use it?
A bonus this week is the Pearlized Enamel Effects is on the Weekly Deals. So you can get it at a discounted price of $24.30 for the 3 bottles. This price is only until Thursday though.
Need to grab some and in Australia?
Head to my store -> HERE. Please use the Host Code: 6PPKEPZJ
Or Contact me directly and I can add it for you.

Now off to grab some so you can add some “Pearly” effects.
Have a great day,
Jenny