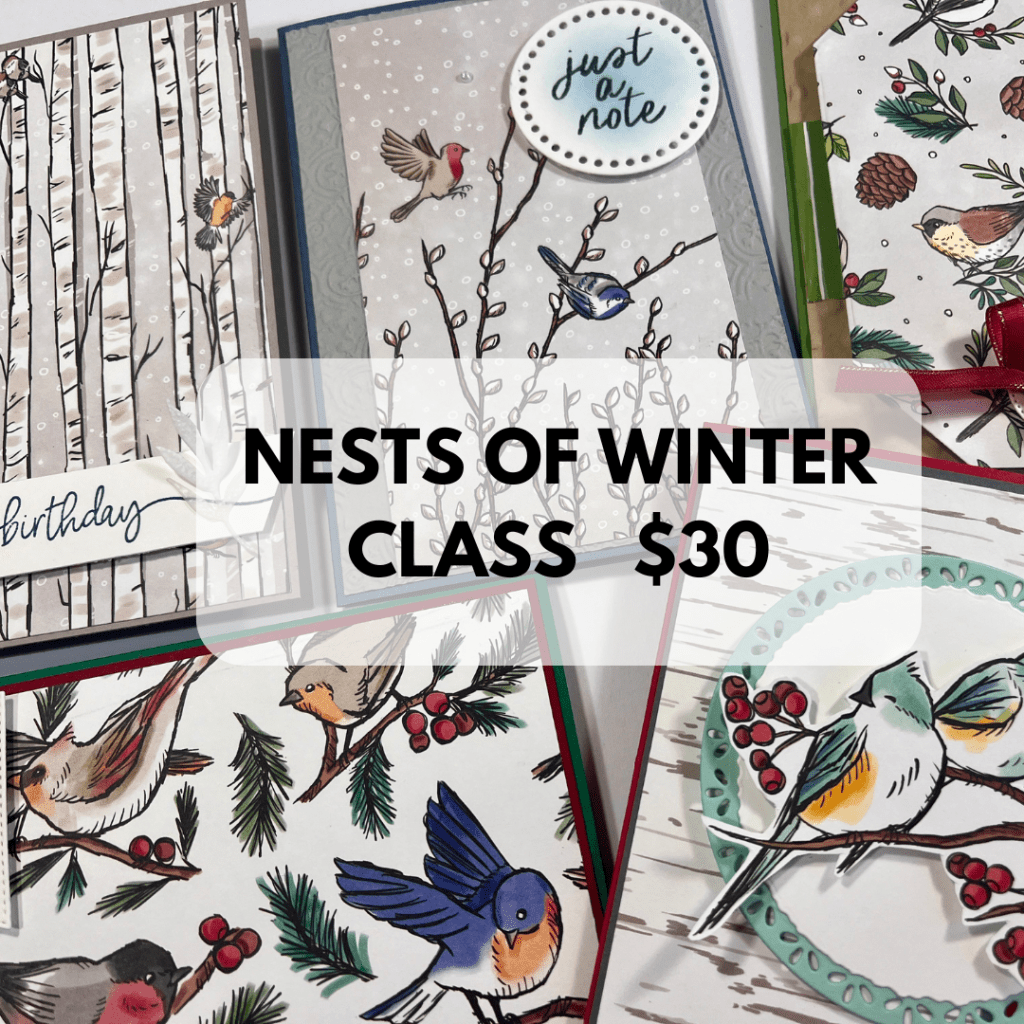
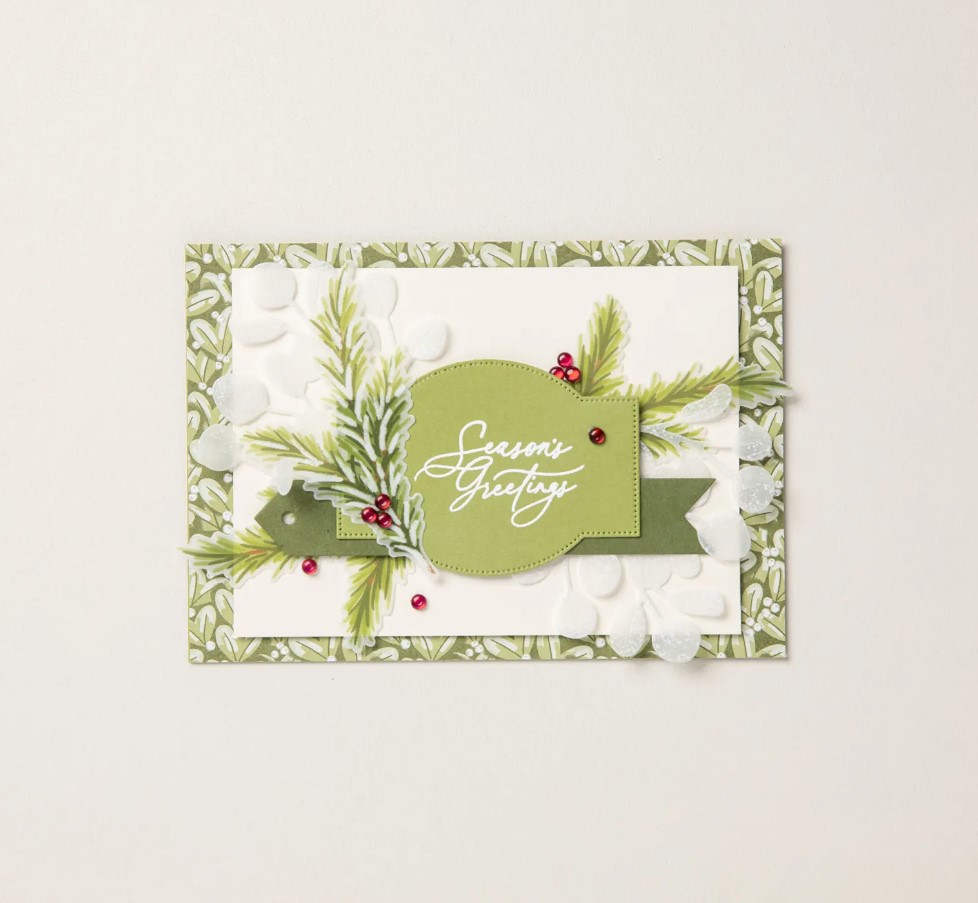
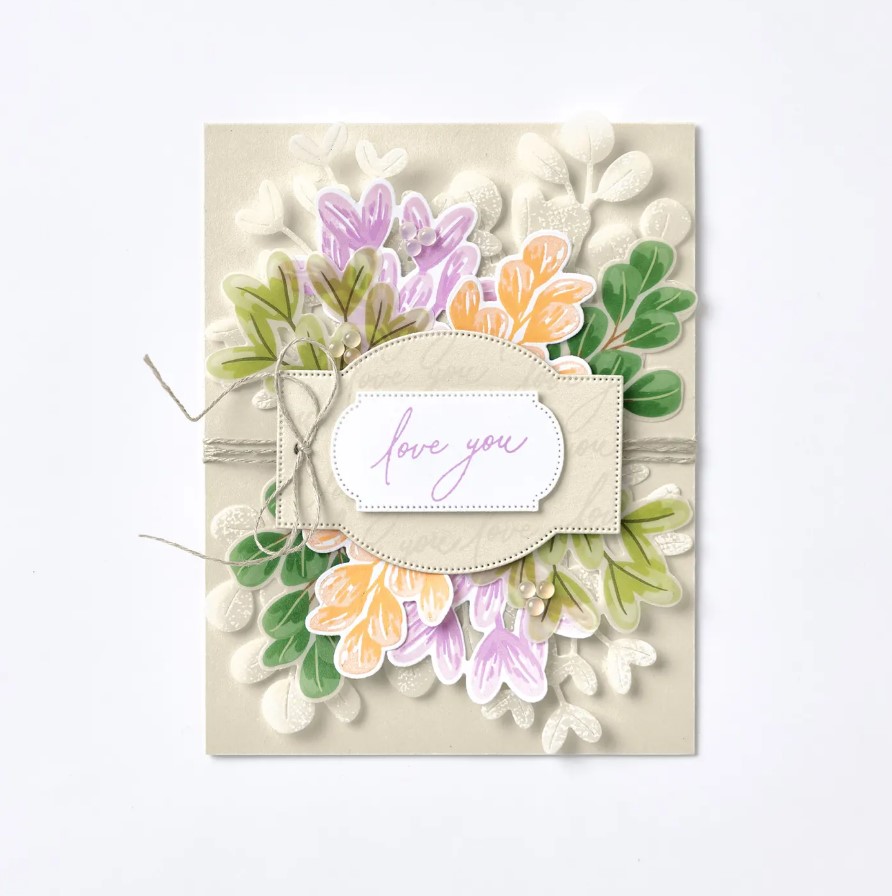
Join us to create with this gorgeous Nests of Winter Paper.
The class is available In Person in my studio OR if By Mail.
You will create 5 cards with this Paper including one Fun Fold.
WHEN: Friday 27th September 10am OR Saturday 28th September 2pm
RSVP: Thursday 26th September
COST: $30
For Class By Mail – Please Reply by the 26th September also. All materials will be included in the Card Kits. You will need your own sentiments (Christmas and Birthday or what you would like to use). Also Black Ink. Green and Red inks are used on some sentiments but that is a personal choice. Also included is some simple instructions to follow along.
Let me know ASAP to reserve your place. Email me at jghayward@yahoo.com or PH: 0439 844574
I have just returned from travelling in parts of the US for 3 weeks. While it’s good to travel it’s always good to return home don’t you think?
We saw so many road signs while we were driving watching out for deer. I have to say we only saw a small group early on.
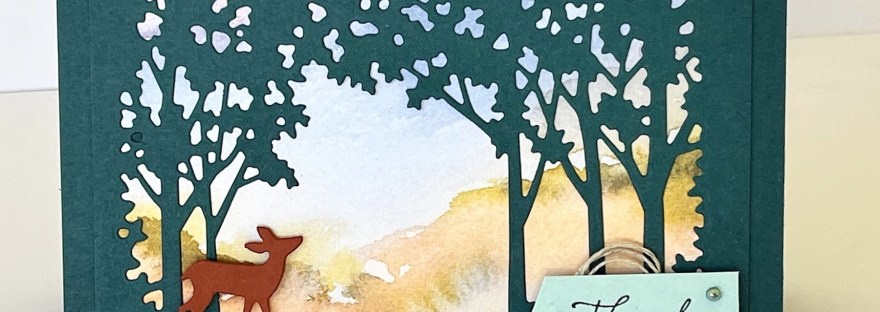
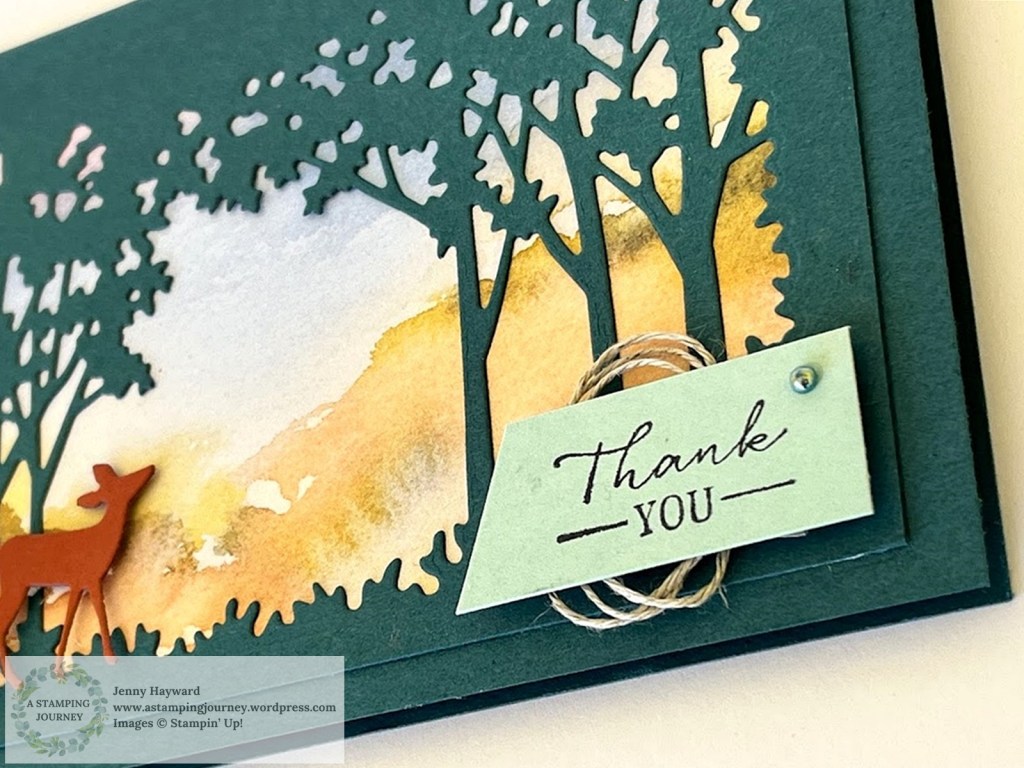
I made this card just before I left. All those signs reminded me of this card.
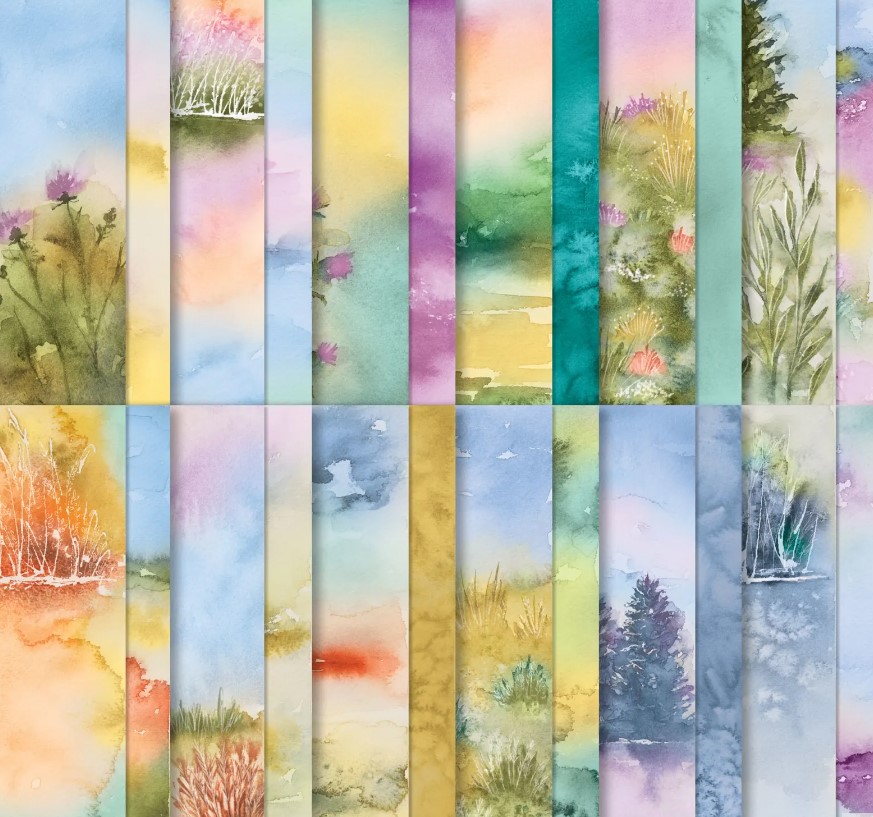
It’s a cute little deer peering out from the forest using the Grassy Grove dies. You don’t need a lot for the background. I added a piece of the Thoughtful Journey Paper behind the diecut.
Have you got the Thoughtful Journey Paper? It’s so pretty.
If you would love some Stampin’ Up! crafting supplies and you are in Australia I would love to serve you. You can head to the link just above and shop. Please use the Host Code: JT69XW3P
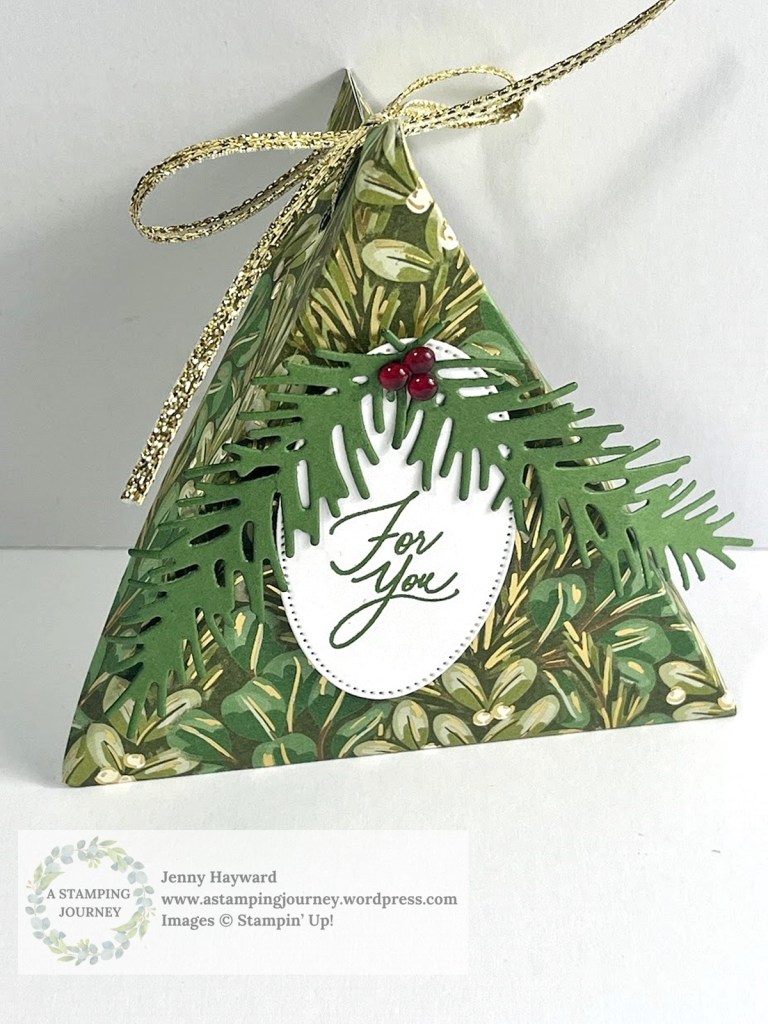
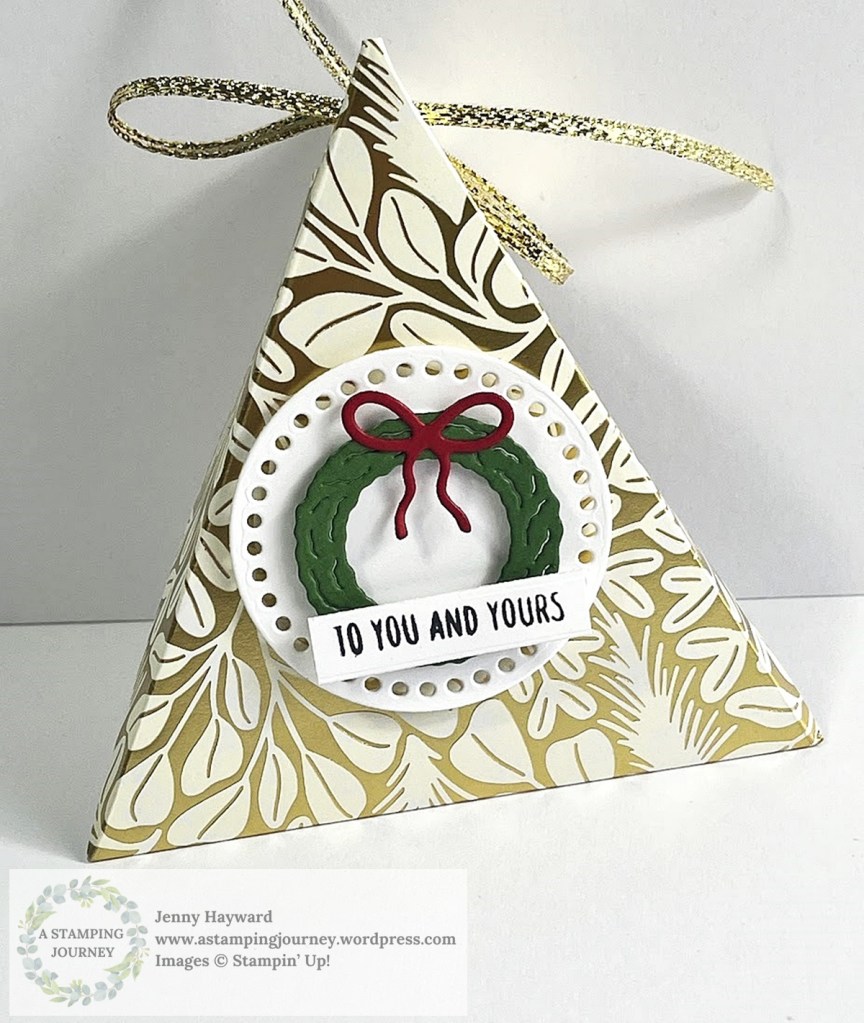
A Triangle Box would have to be one of the easiest type of boxes to make I think. No gluing. Just cut and score and fold.
Triangle Boxes have been around for some time. I used to make them a lot way back when I first started with Stampin’ Up! – 16 years ago!
I was reminded of them recently so pulled it out to make for a recent class. I wanted to share it with you.
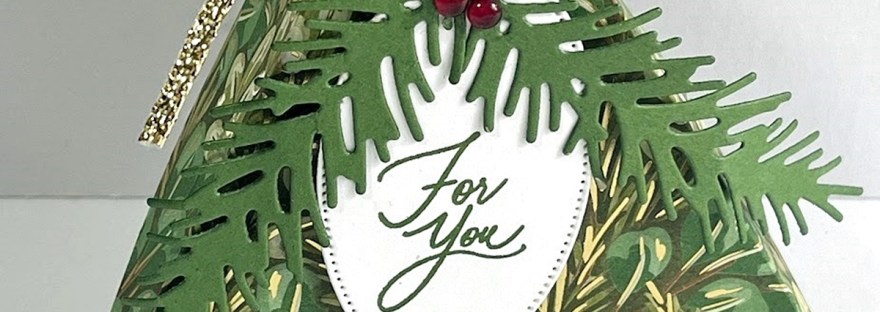
These are using the Green and Gold Specialty Designer Series Paper. Seen Here.
The Green one was decorated with the Golden Greenery Dies and the sentiment from the Greetings of the Season. The Gold one was using the Reindeer Dies available in the upcoming Mini Catalogue.
With this particular Triangle Box you can make it any size you like. The length needs to be double the width. For this one it is 20cm x 10cm (8″x4″).
You can follow along with the Video. Find it on my Youtube if it is not showing here.
You can make a wrapper to keep it closed up – or you can leave it off.
But then you open it…
Here’s the video to follow along with.
The written Tutorial will be sent out in my newsletter next week. Have you subscribed to my newsletter yet? I send out a Free Project Tutorial each week to keep you inspired. You can find the link for that in the right hand column. And there is a bonus Tutorial when you first subscribe.
Happy Crafting,
Jenny
Need some crafty supplies and you are in Australia? Head to my Online Store -> HERE.
Sunday Suites. We need to have a look at this gorgeous new Season of Green and Gold Suite.
I mean I’m a green fan so of course I’m going to like it but the leafy green colours are beautiful.
This Suite was just released as part of the new offerings for the Online Exclusives.
This is the Season of Green Suite Collection. There are lots of loveliness in this suite.
The Suite includes:
Greetings of the Season Bundle
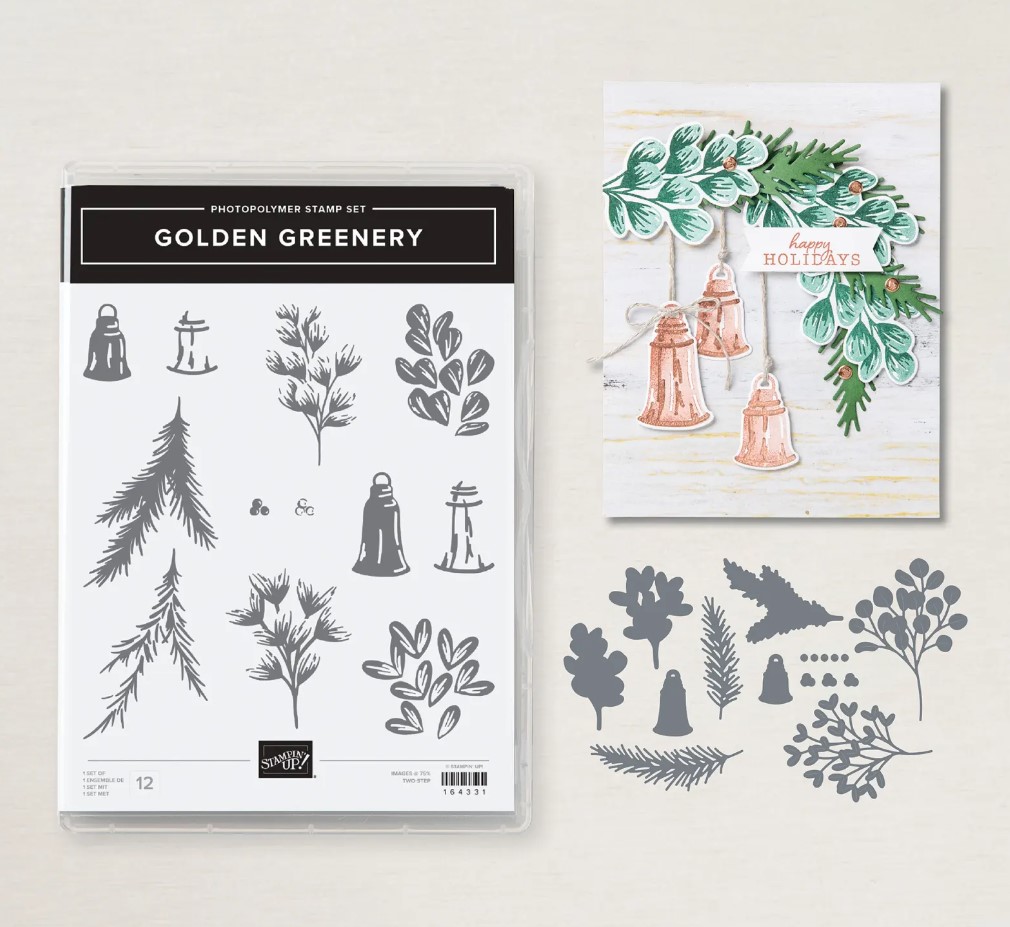
Golden Greenery Bundle
Season of Green and Gold Specialty Designer Series Paper
Graceful Greenery Vellum Specialty Designer Series Paper
Very Vanilla Satin Ribbon – 9.1m (10 yards) and is 1.9cm (3/4″) wide
Cherry Cobbler and Pearl Adhesive Backed Berries – 64 pieces in total in Cherry Cobbler and Vanilla
There are 2 different bundles. You can choose them both or only one of them.
The Golden Greenery Bundle. I particularly like the foliage dies.
The Greetings of the Season Bundle. This one is so versatile. I love the dies in this bundle.
But this paper…
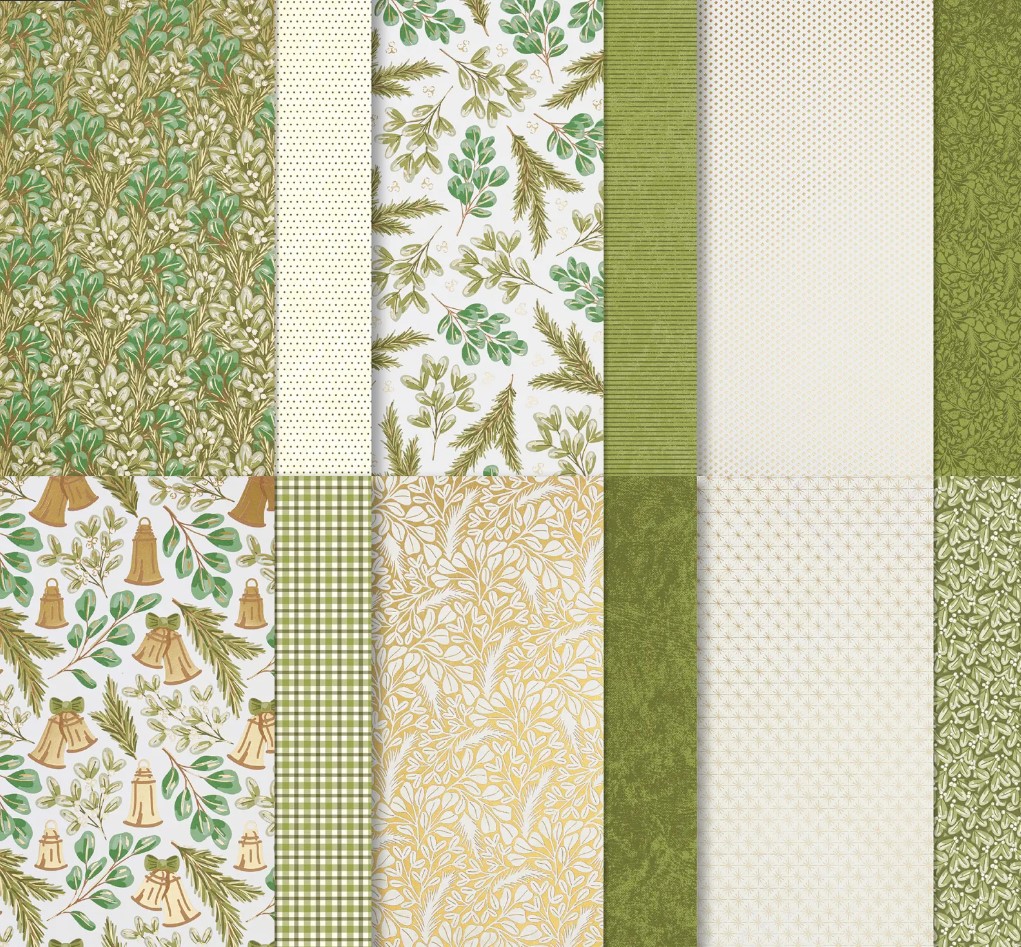
The Season of Green and Gold Specialty Designer Series Paper.
It comes in 12 12″x12″ sheets. 2 of 6 patterns. It has green patterns with glistening gold accents. You really have to see it. The colours in this paper are Garden Green, gold, Mossy Meadow, Old Olive, Pecan Pie, Very Vanilla.
There is also the Graceful Greenery Vellum Specialty Designer Series Paper.
It comes in 6 12″x12″ sheets. 2 each of 3 single sided designs. The printed foliage patterns can be used as a layering piece on cards and tags.
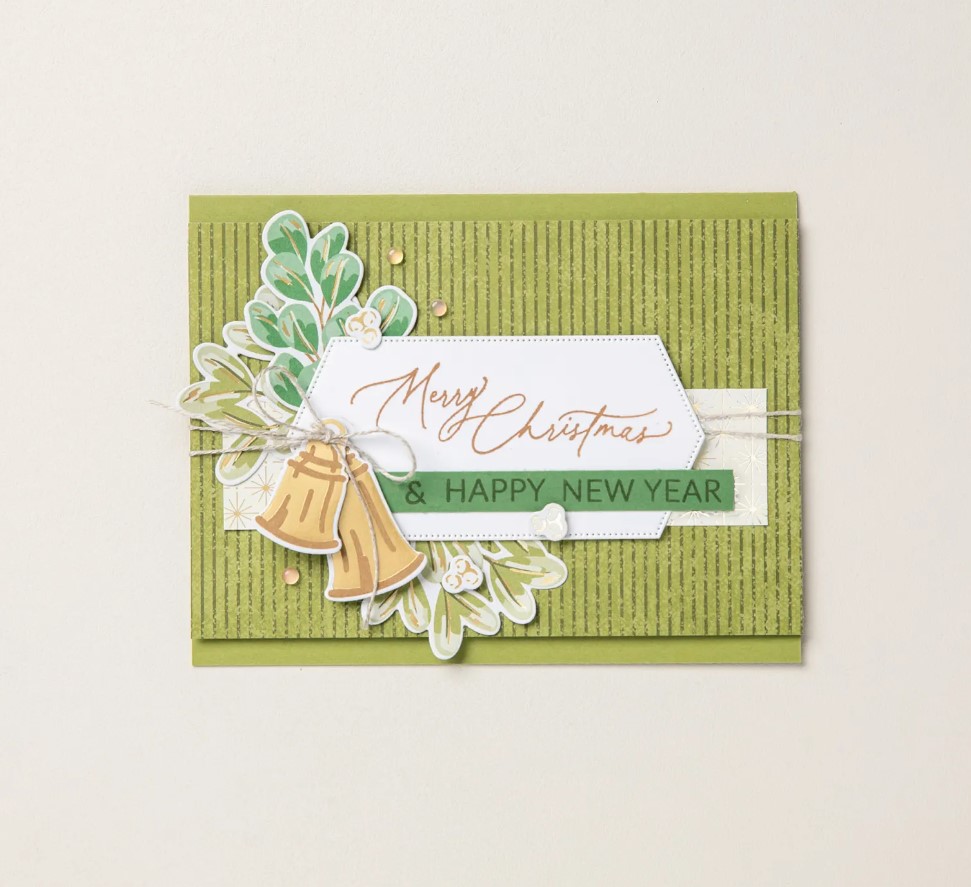
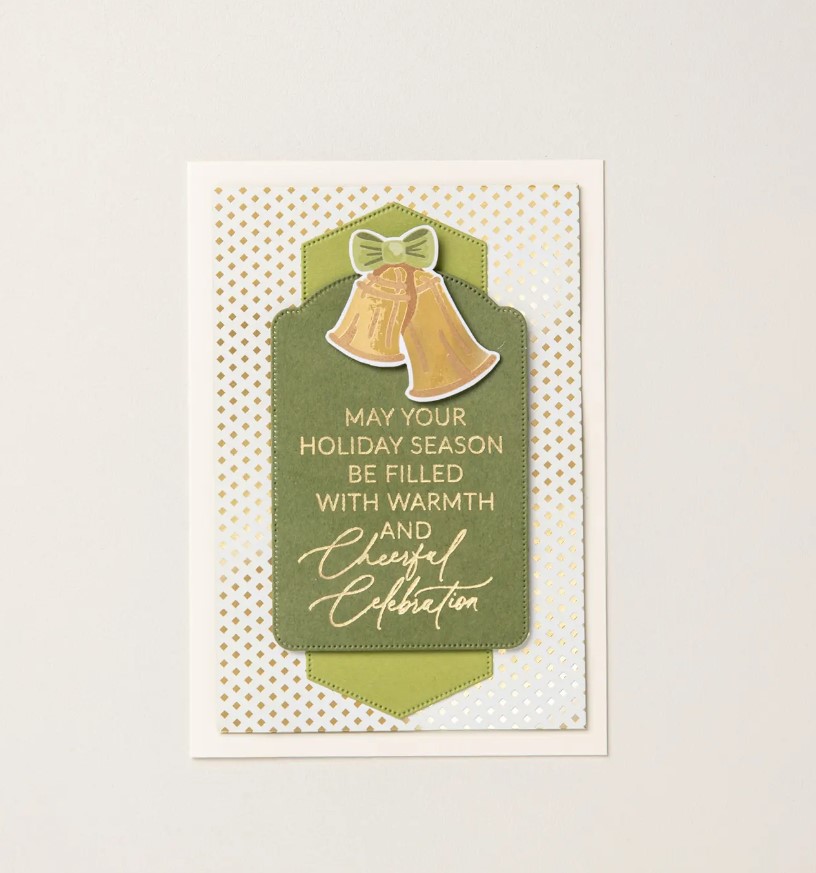
I have just got hold of some of these lovelies and while I start creating with it let’s check some of the projects that Stampin’ Up! have created with this gorgeous suite.
Don’t just think of it for Christmas with those lovely leafy images and the dies.
You can see more of the Season of Green Suite online -> HERE.
If you are in Australia and would love any of these products then head to that link just above. Please use the Host Code: JTRANKN3
Or contact me directly and I can help you out.
And it’s Bonus Days. Which means for your $90 order you receive a Bonus Card to redeem towards your order in August.
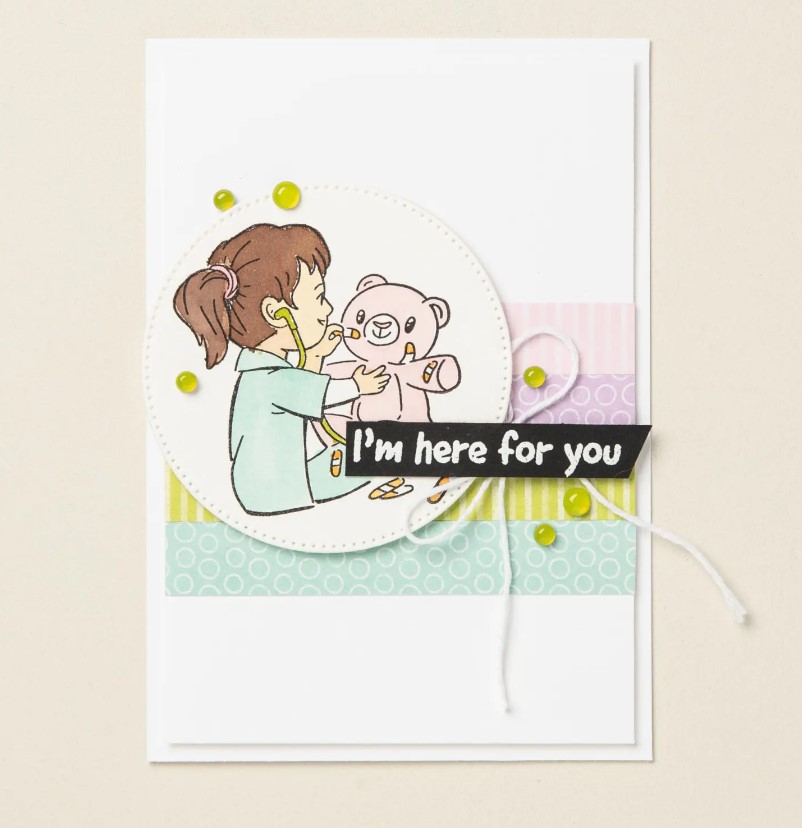
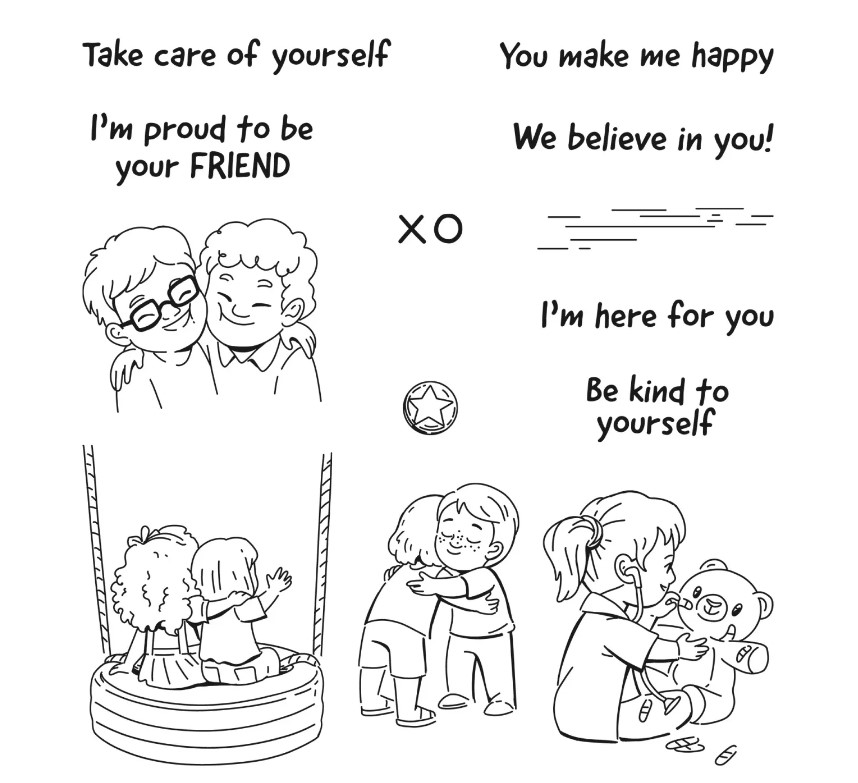
Sweet Sunday and I just had to share this card with the Tender Hearted Stamp Set. Well it is just sweet …
I remember my little kiddies doing this when they were young. Pretending to be Dr’s attending to their toys. It brings back such precious memories. I just had to share it.
This card was created by Stampin’ Up! Artists.
I love how they have used the strips of Designer Series Paper on the card too. This is a great way of using your little scrap pieces. Perhaps you can use that idea on a card you make soon.
The Tender Hearted Stamp Set has some cute images in the whole set. It’s not just for the young kids. What a lovely one to use on cards for friends.
It is now available in my store (Australian residents). You can order this now -> HERE. Please use the Host Code: R4QU9DB3
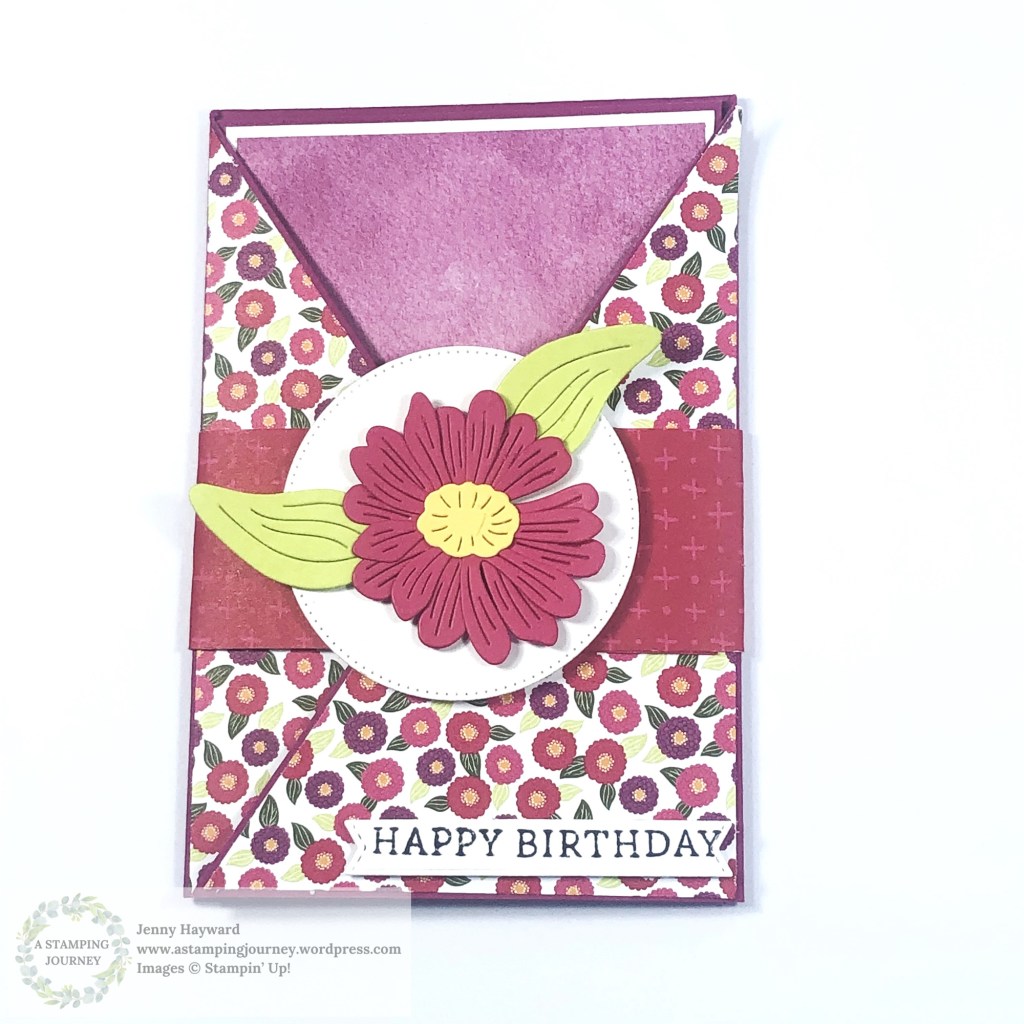
I love Fun Folds. I have a cool Fun Fold card for you today AND a video to help you create it.
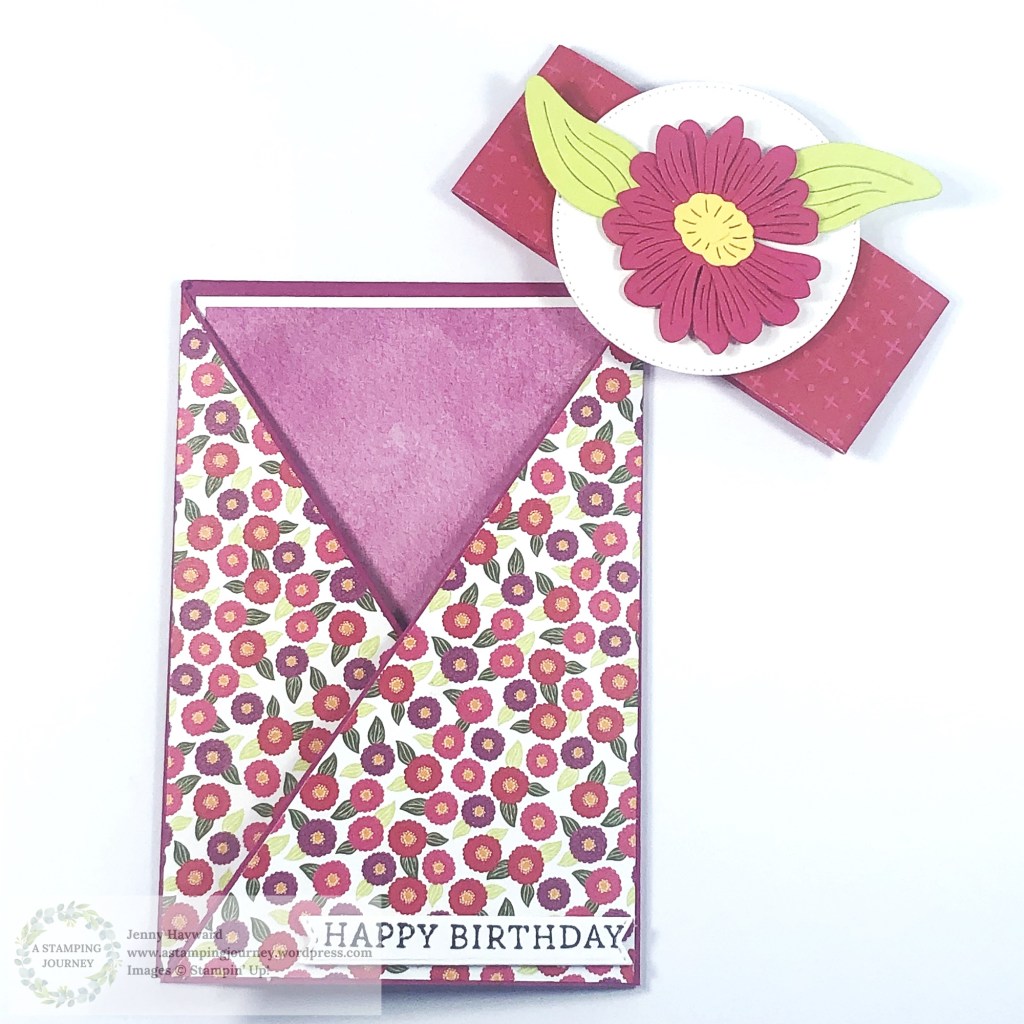
It’s a Front Panel Gatefold Card.
You have the Front of the card. Just like any regular looking card really. I have used the Stippled Roses Stamp Set for this one.
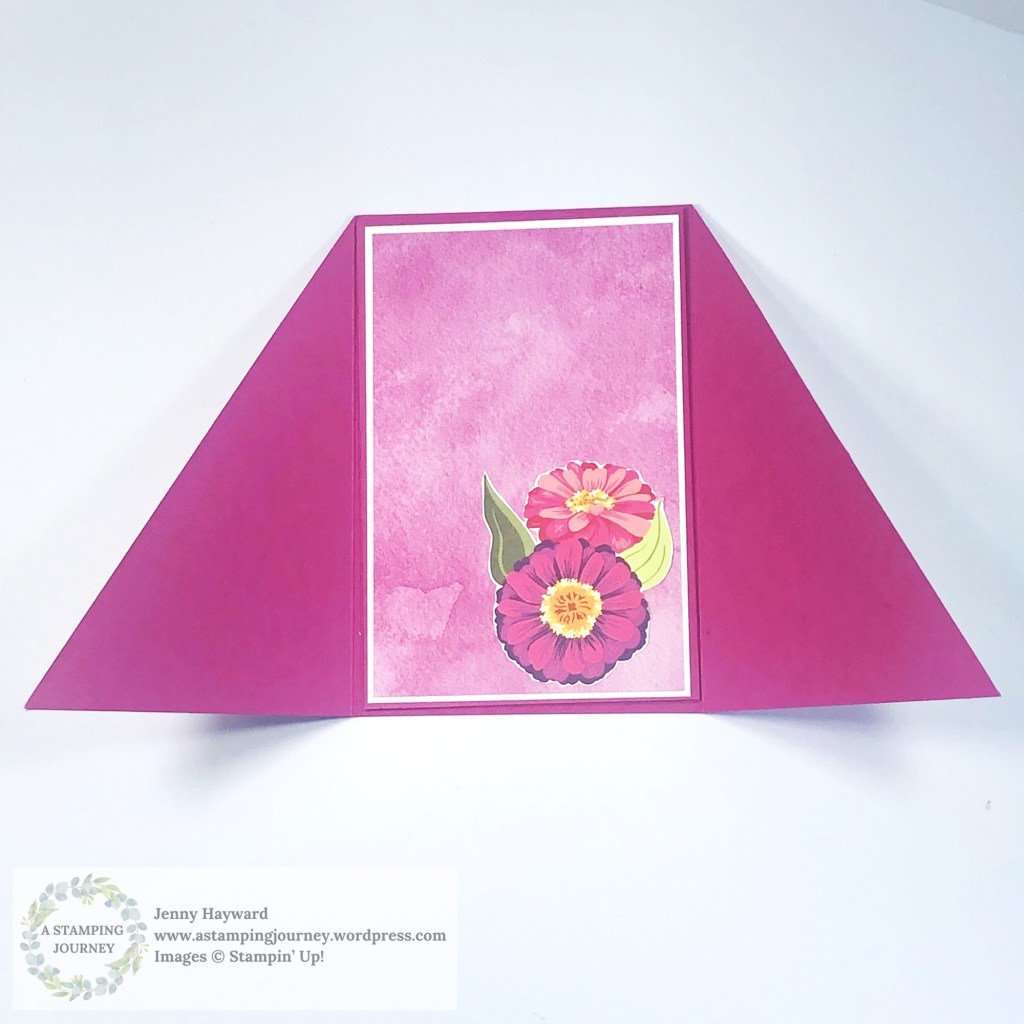
But lift the front and you have a Gatefold. It gives a little extra WOW! to the card. For this one I have used the Unbounded Beauty Designer Series Paper on the side panels.
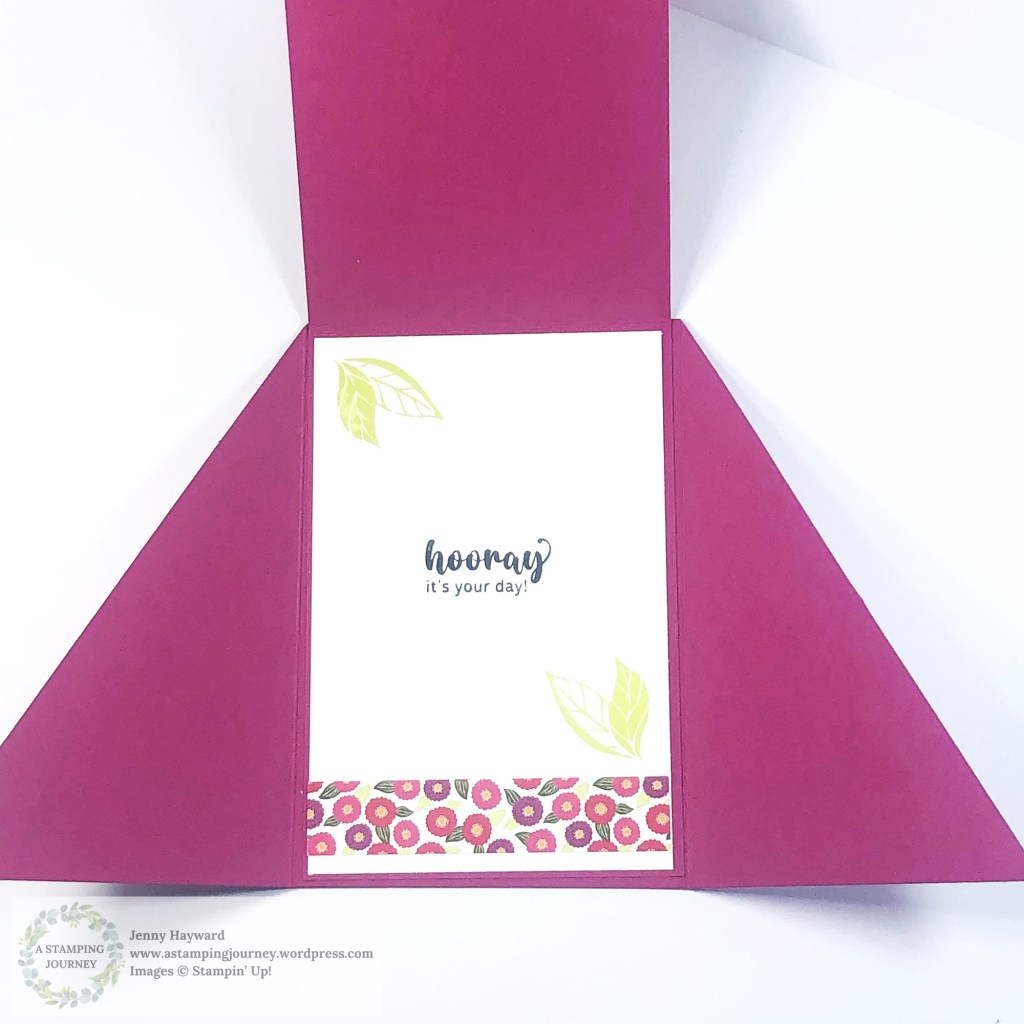
Then open the 2 flaps and you have the inside. With a little stamping and a strip of the paper it adds to the specialness.
What do you think?
You can follow along with the Video to make your own.
The measurements are included in the video. Stop or pause or rewind. If you prefer the written version I’m sending that out in my newsletter next week.
If you are not a subscriber to my newsletter please consider it.
I send out a Free Tutorial each week with a bonus one when you first subscribe. You can find the tab to subscribe in the right hand column on my blog.
Hope you get to make one.
Happy Crafting,
Jenny
Need some supplies and you are in Australia?
Contact me directly
OR
Head to my store -> HERE. Please use the Host Code: R4QU9DB3
Last week I had my Summer Craftastic event. Lots of fun and crafting and chatting.
I will share the projects we made in another post but today I thought I would show you the cute Mini Tag I made for all the guests to go on their gifts they received for coming.
These were so quick and simple to make – especially when I was on a time crunch!
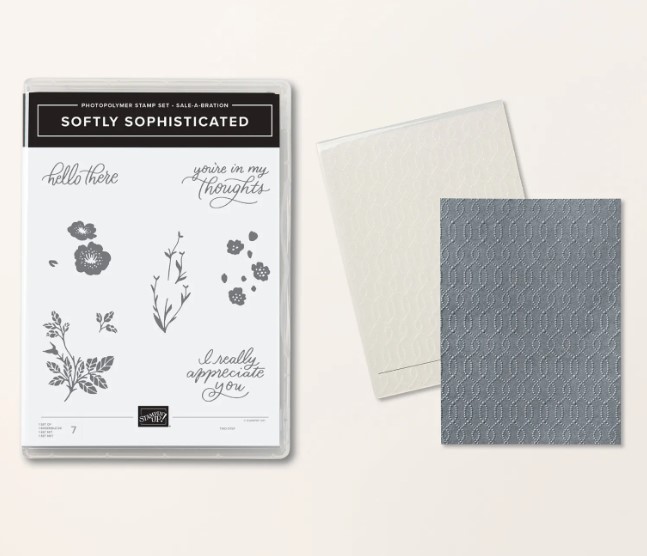
I used the Softly Sophisticated stamp set. I love how the flowers and leaves are separate so you can stamp the flowers in different colours without trying to colour the stamps.
The white tag was cut with one of the smaller sized Perennial Postage Dies. I punched a hole in the top of them and tied through some of the Natural Wavy Trim and tied off with Linen Thread.
Don’t miss the sweet little birds. They are from the Dragonflies and Birds Embellishments available only online. Often they get missed being an Online Exclusive. They add an elegant touch to your projects.
The Softly Sophisticated stamp set is a Sale-A-Bration choice as a Bundle with the Softly Sophisticated Embossing Folder. They are a great addition to your crafting supplies. I think they are so versatile – and lovely.
The Bundle can be chosen with orders over $180 AUD.
But it’s only around for just over 1 week. How time does fly! So I don’t want you missing out if you would like them.
If you are in Australia and “need” these or any other supplies I would love to serve you.
Head to my store -> HERE. Please use the Host Code: EWHZ23PV
I have a Stand Up Box Card for you today. I have made this one a Christmas version but you could create one for any occasion.
The video will show you step by step in metric and inches.
Here is the card.
Side On view
Top view
Flat view. Ready to post in a standard envelope.
Ready to watch the video. See it on Youtube or you can watch it below here.
You can see the measurements in the video but if you want to receive it as a Tutorial this will be sent out in next week’s Newsletter.
I send out a Free Project Tutorial each week. You can join up with my newsletter and receive these great project inspirations. Head to this link to sign up http://eepurl.com/dHRjGv Or there is a link in my side bar of my blog. If you are watching this after October drop me a comment and I can add you to the newsletter mailout and send it then.
Hope you get to make one,
Happy Crafting,
Jenny
If you are in Australia and need supplies I would love to serve you. Pop on over to my store -> HERE. Please use the Host Code: 9U6Y3AFW Or contact me directly and I can help you.