I can finally share these cards with you – and the video. It’s been a busy time over the last few weeks so it has been hard to get time to share them.
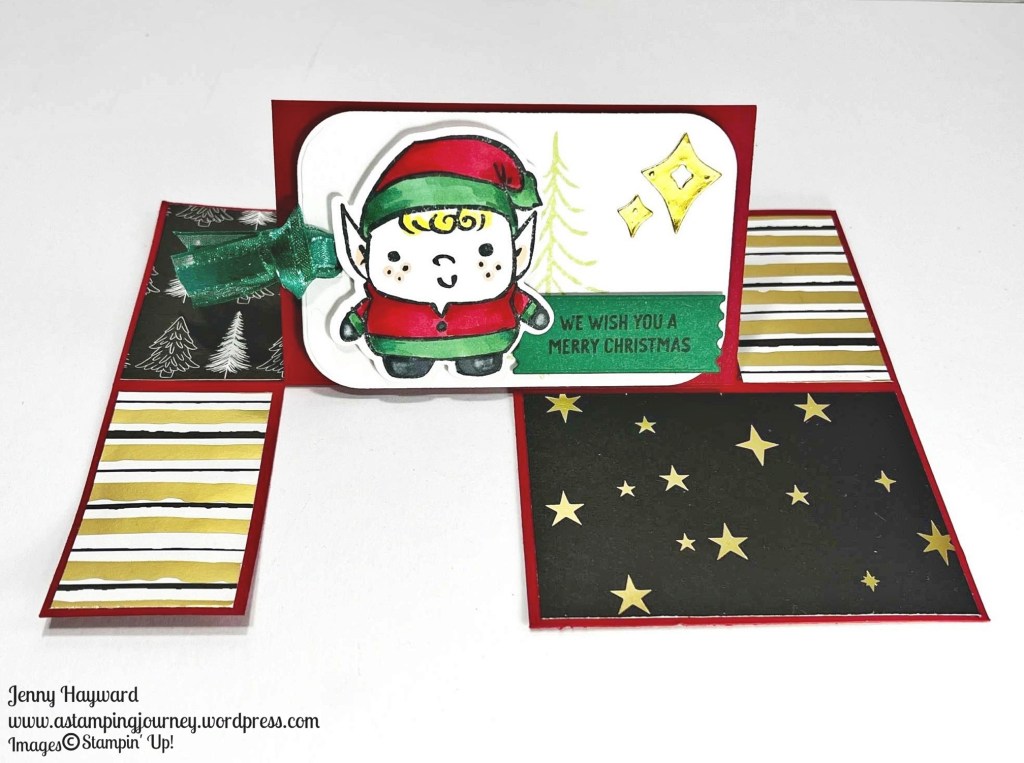
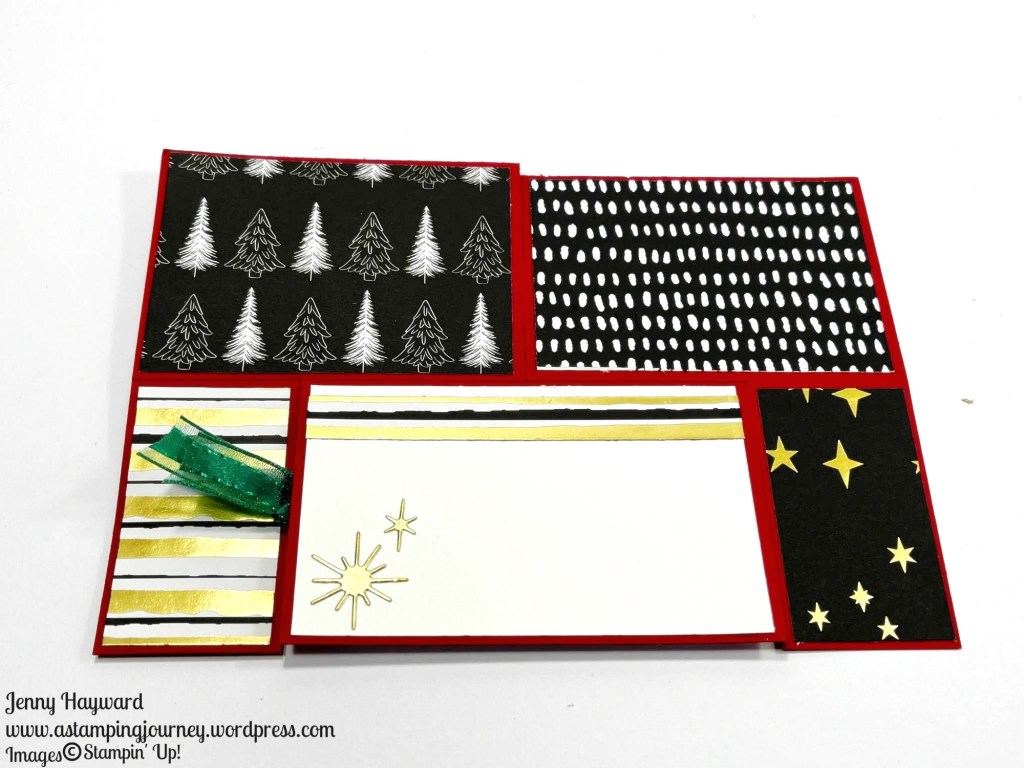
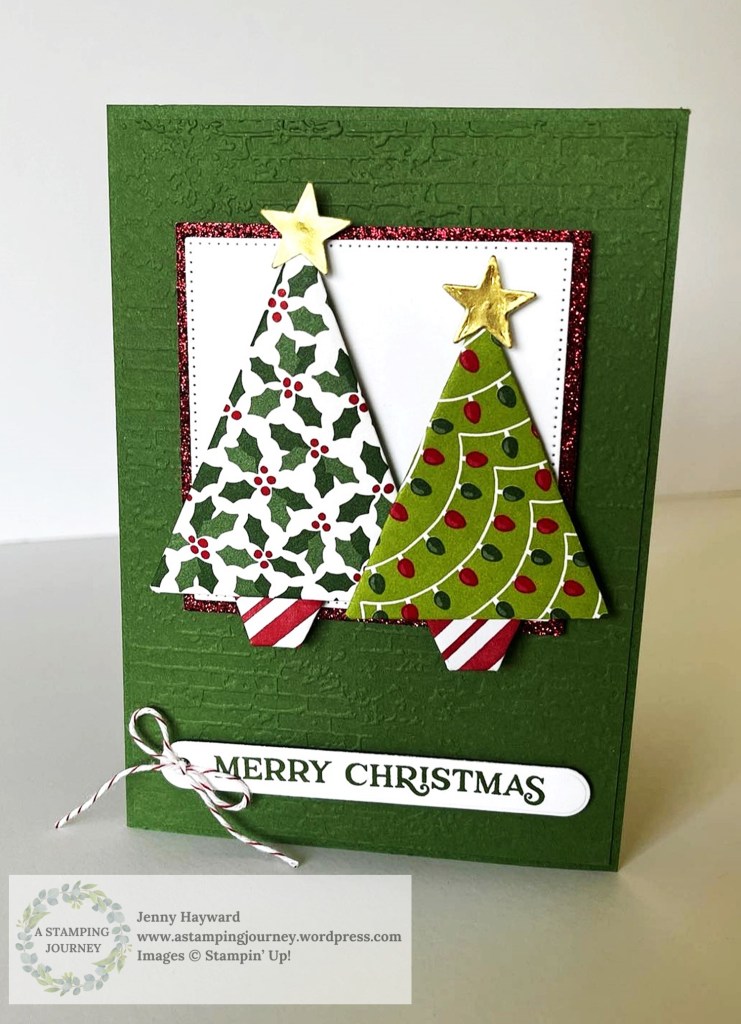
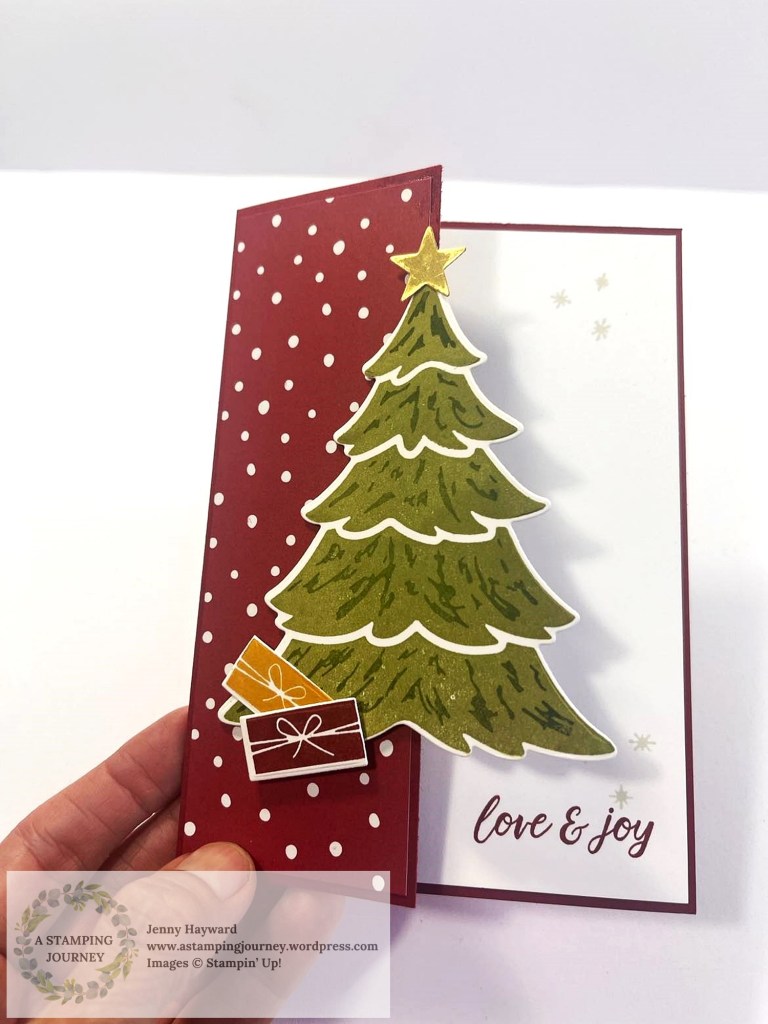
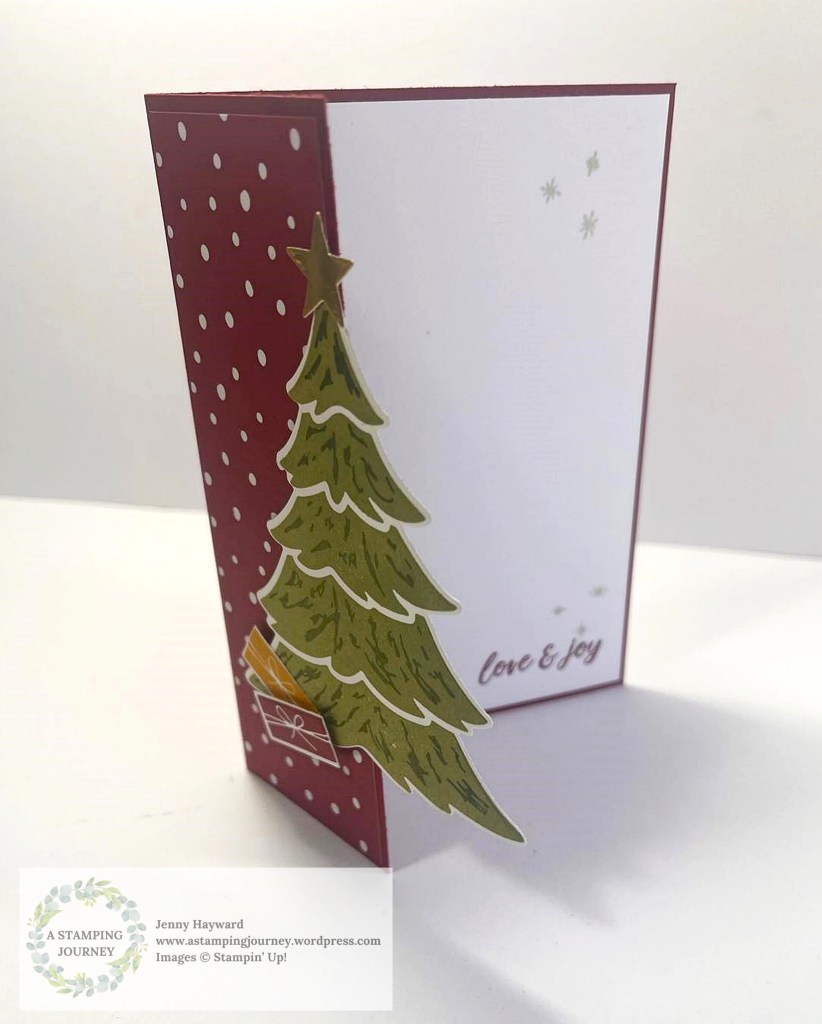
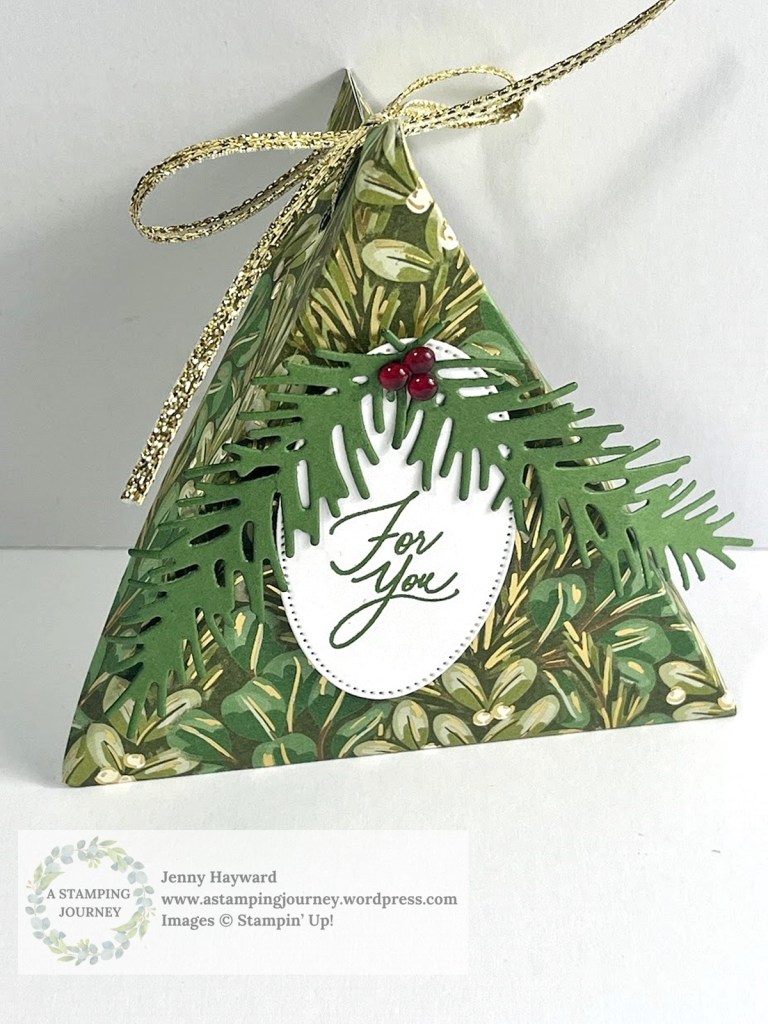
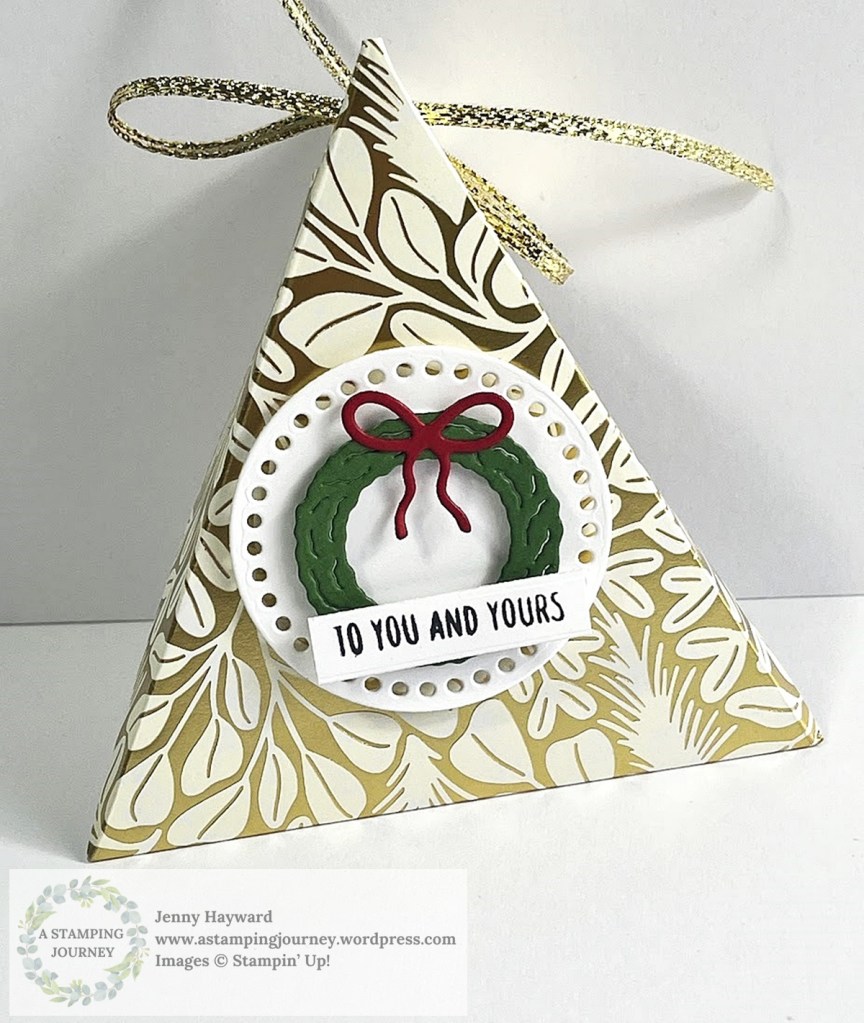
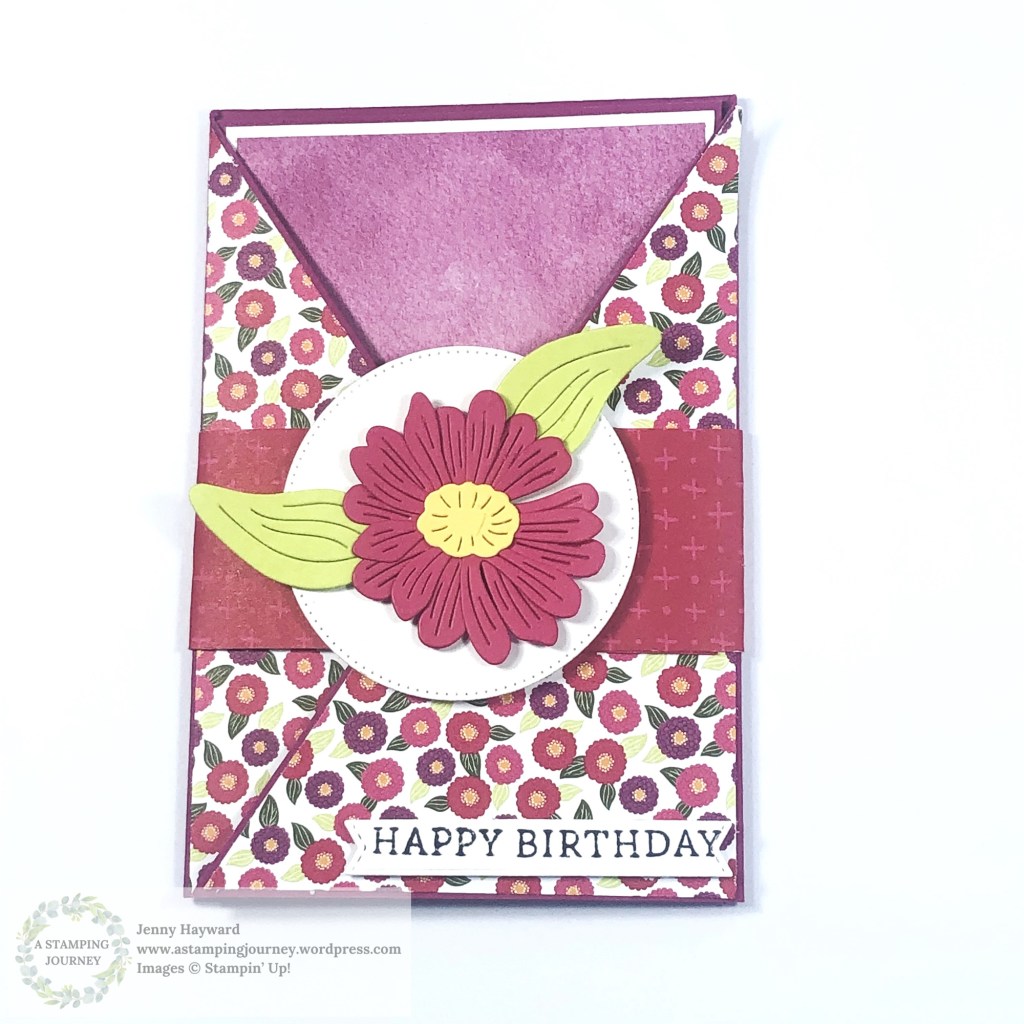
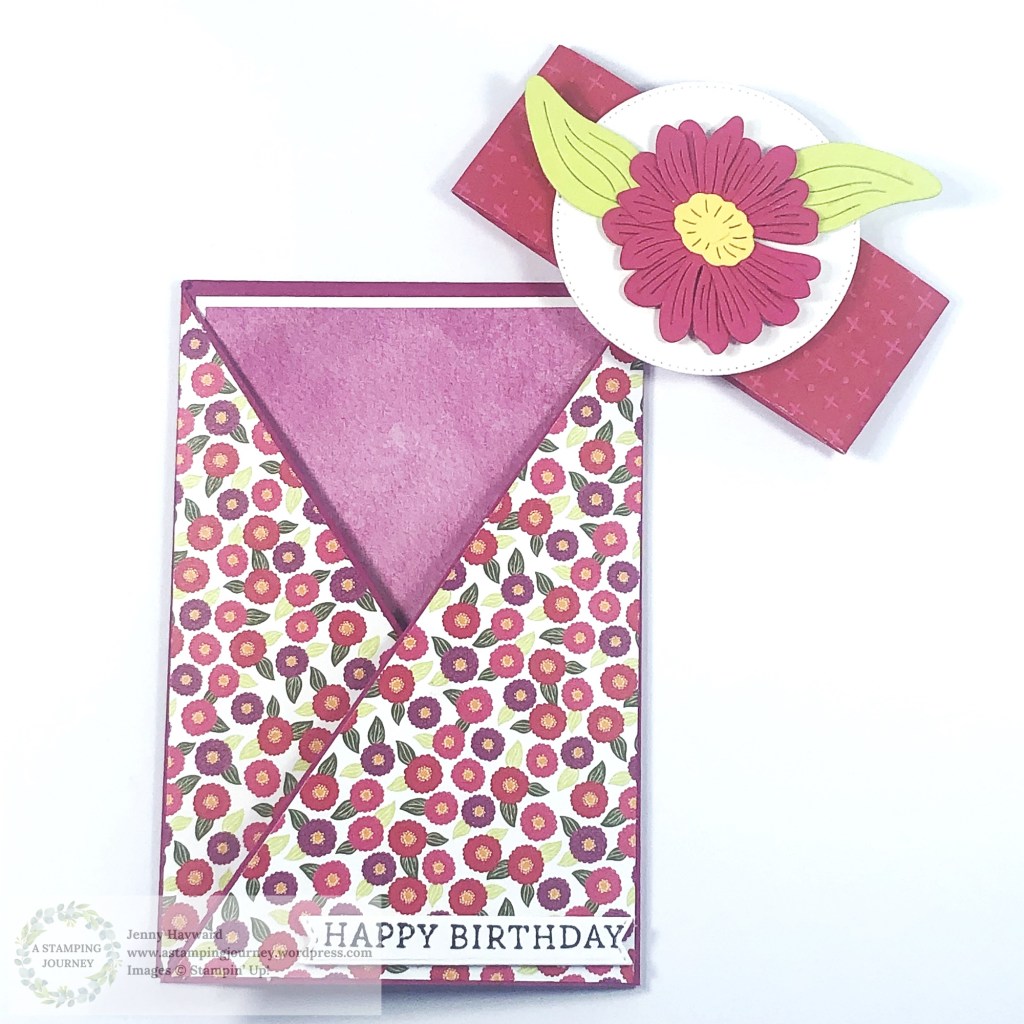
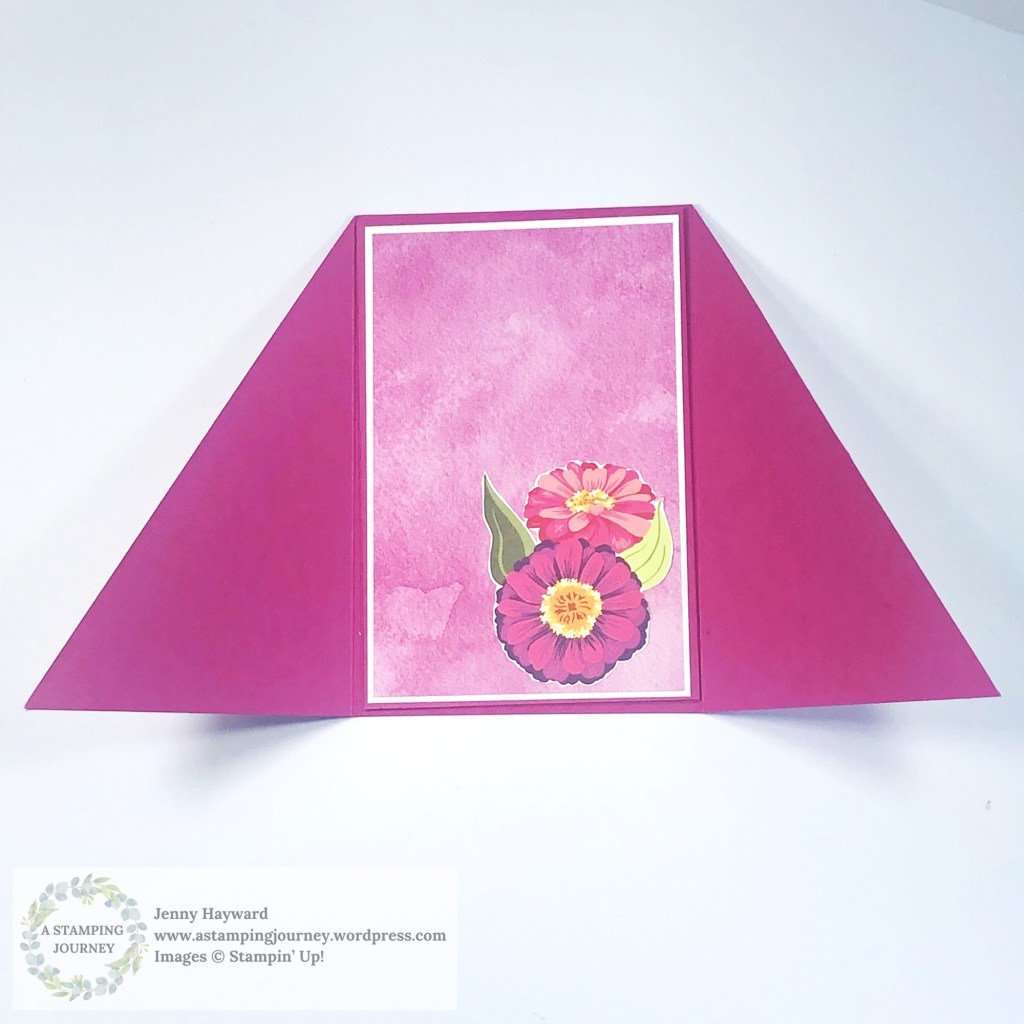
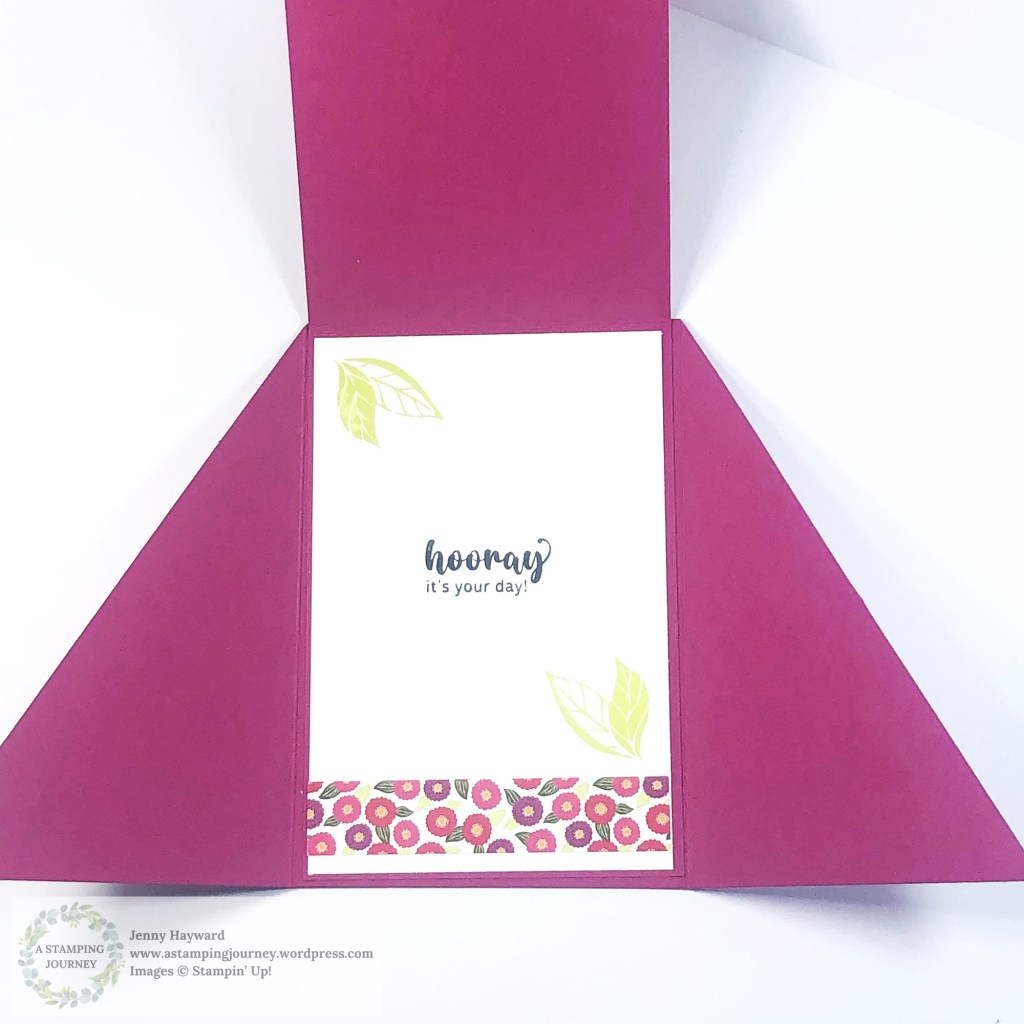
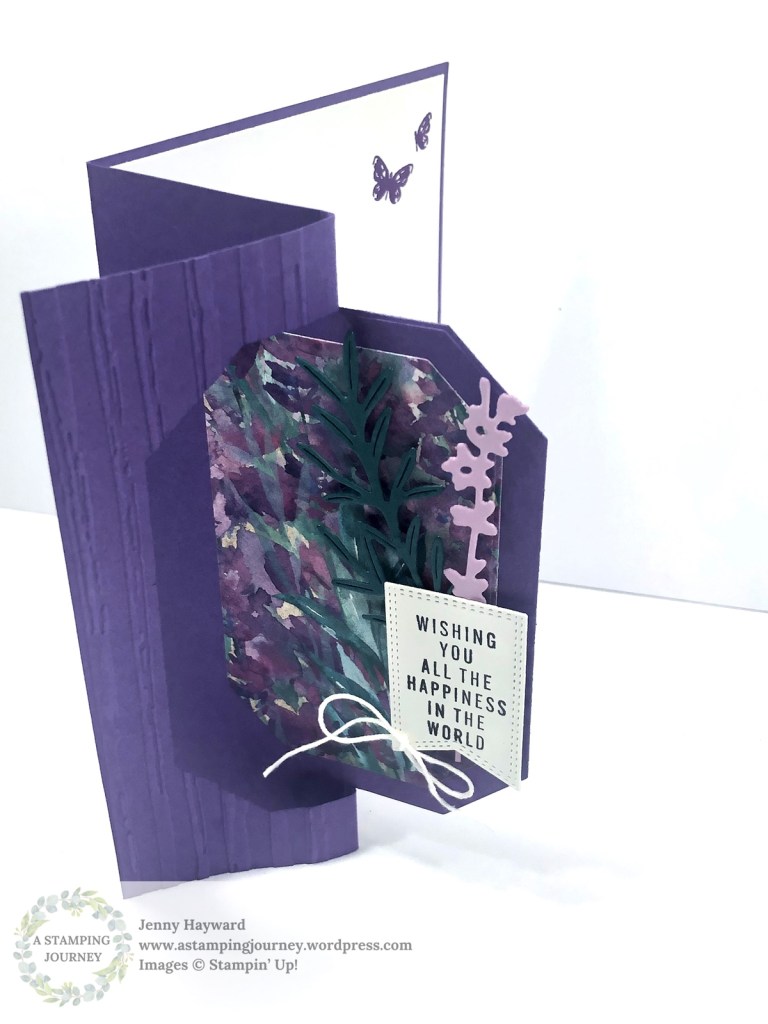
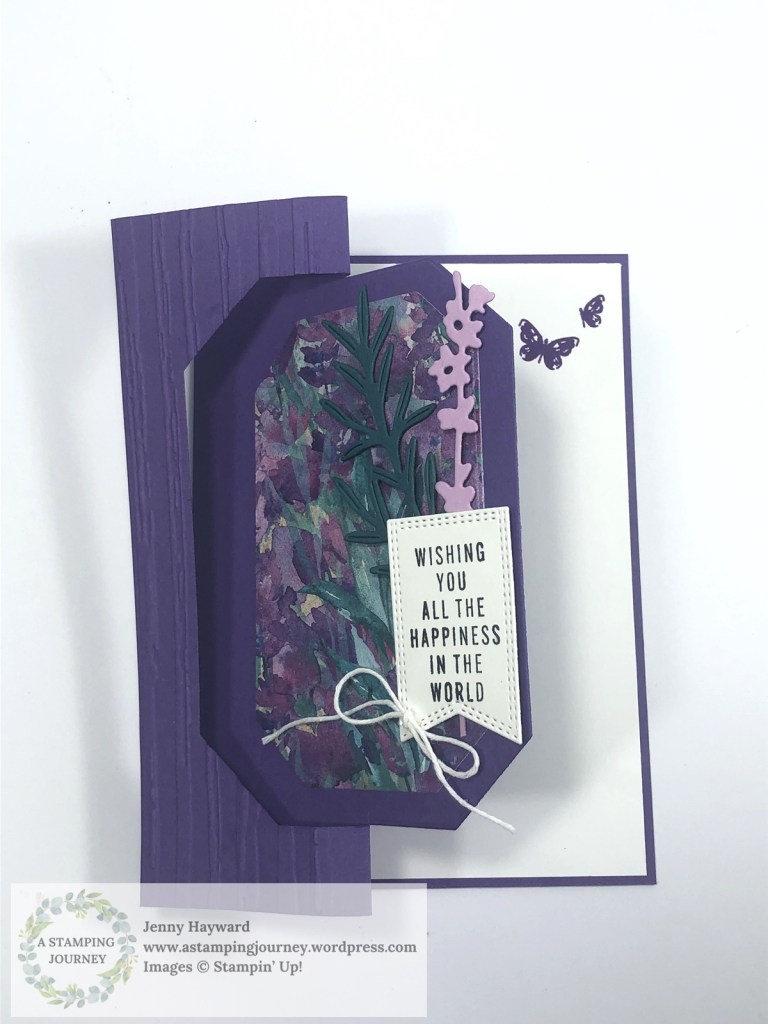
These are One Sheet Wonder Style cards. They are so easy to create. Make 4 cards all in one go. Some simple random stamping and cut. Add then add to Card Bases and Card Mats and add diecut pieces and you are done. Oh and add a sentiment too.
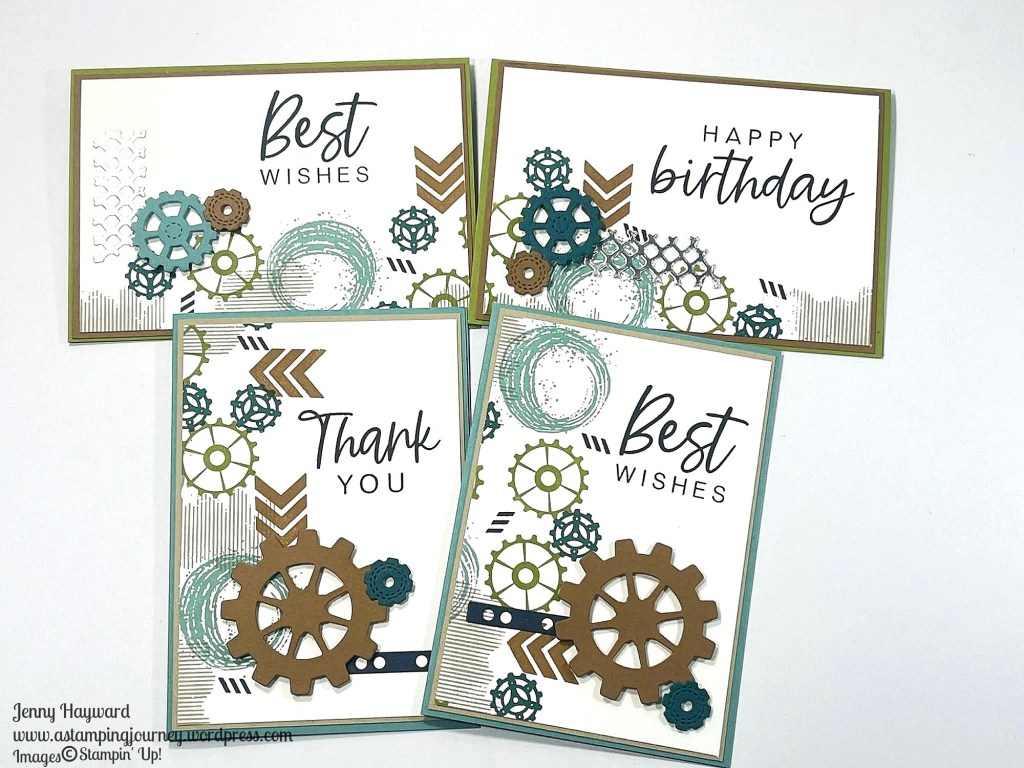
These were the cards I created as Swaps for Onstage last month so they were quick to make a lot. I have put together a video to show you how it is done. A written Tutorial will be sent out to my newsletter subscribers tomorrow.
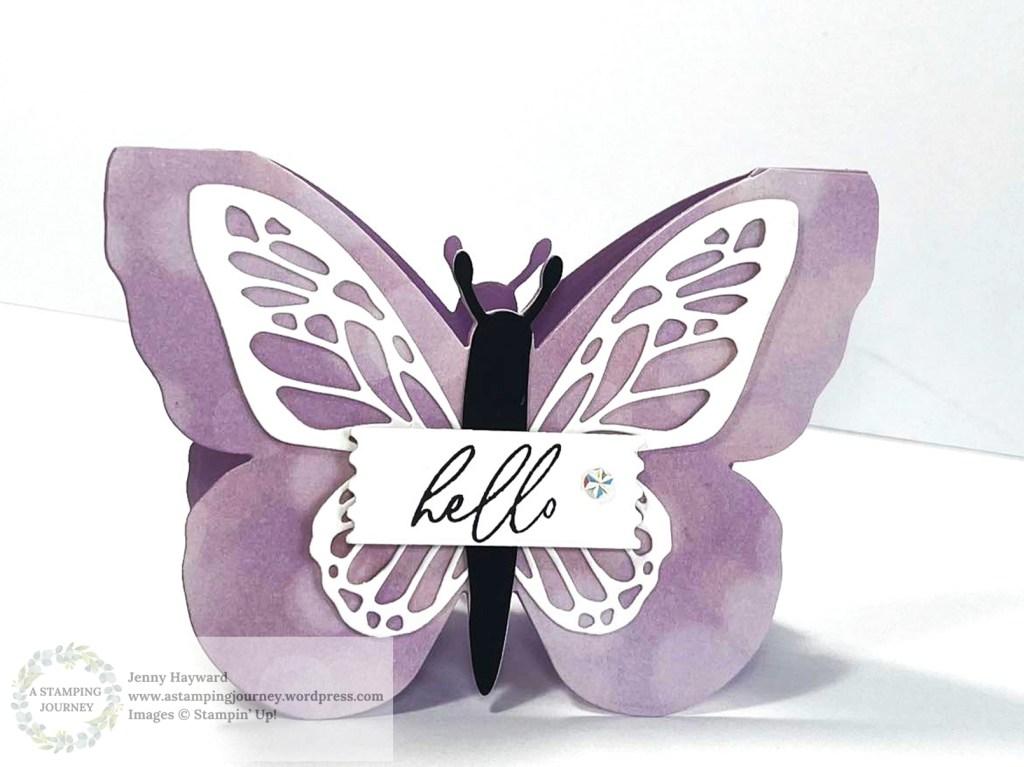
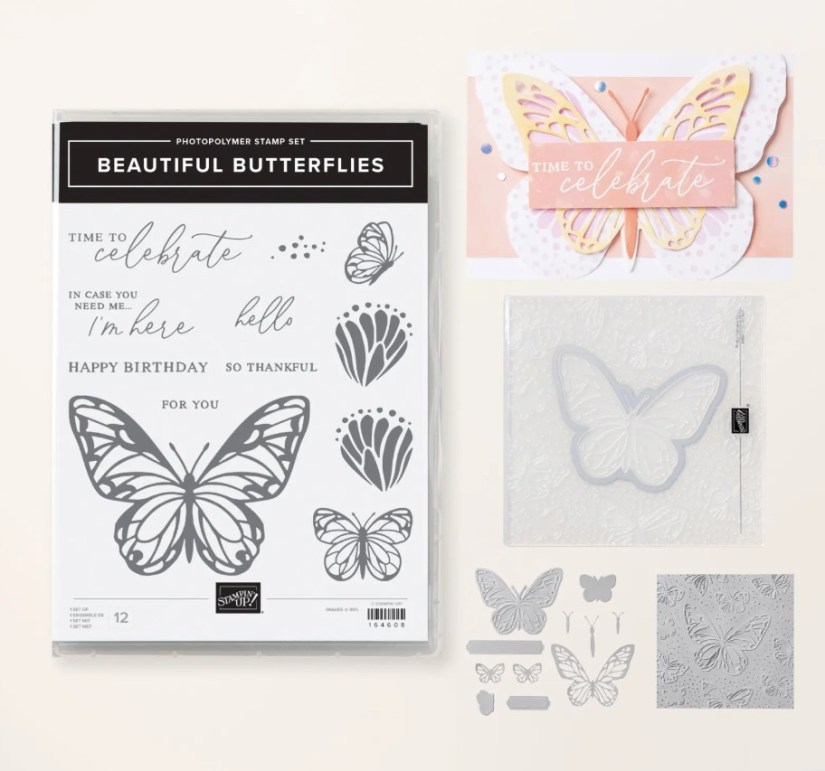
You could use any stamps and dies for this idea – Flowers, Butterflies, Seashells. Use what you have.
Here is the video to follow along.
Follow along. I hope you get to make them.
Happy Crafting,
Jenny