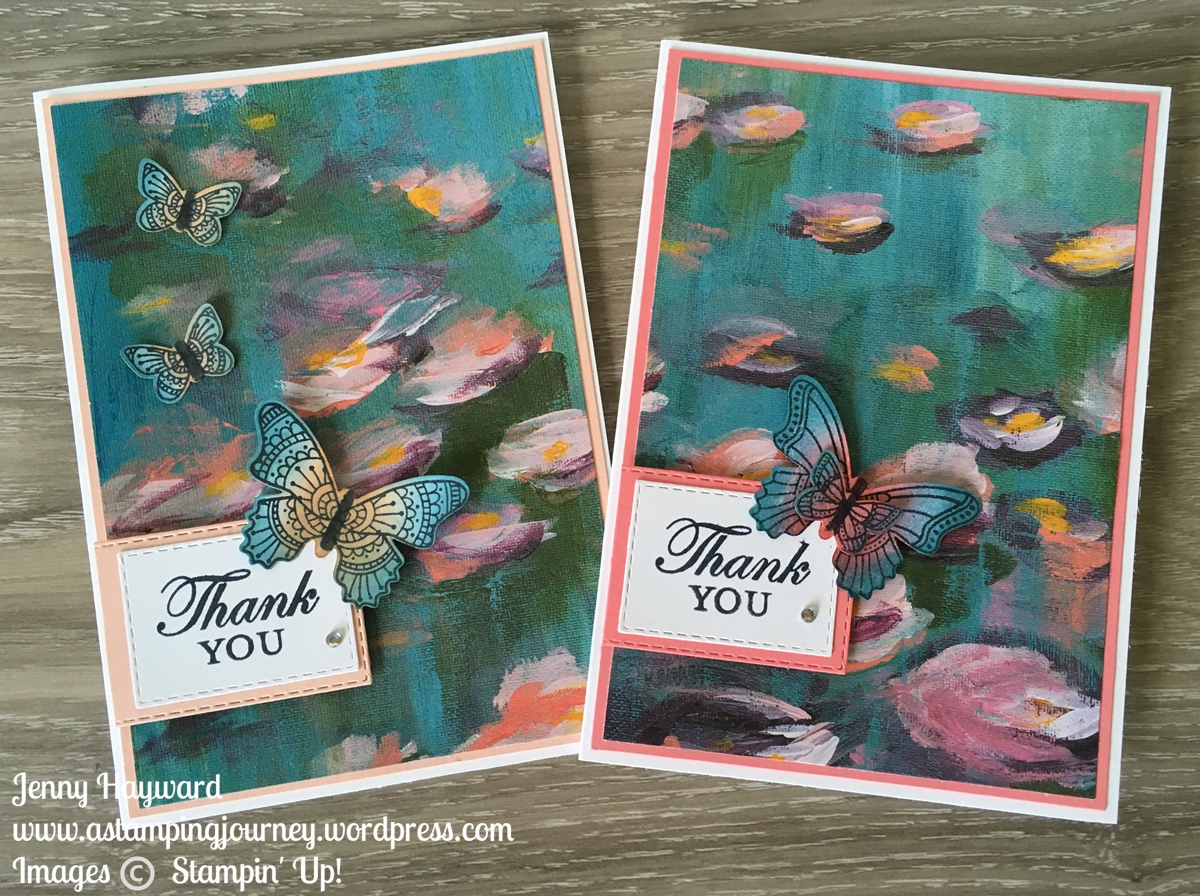
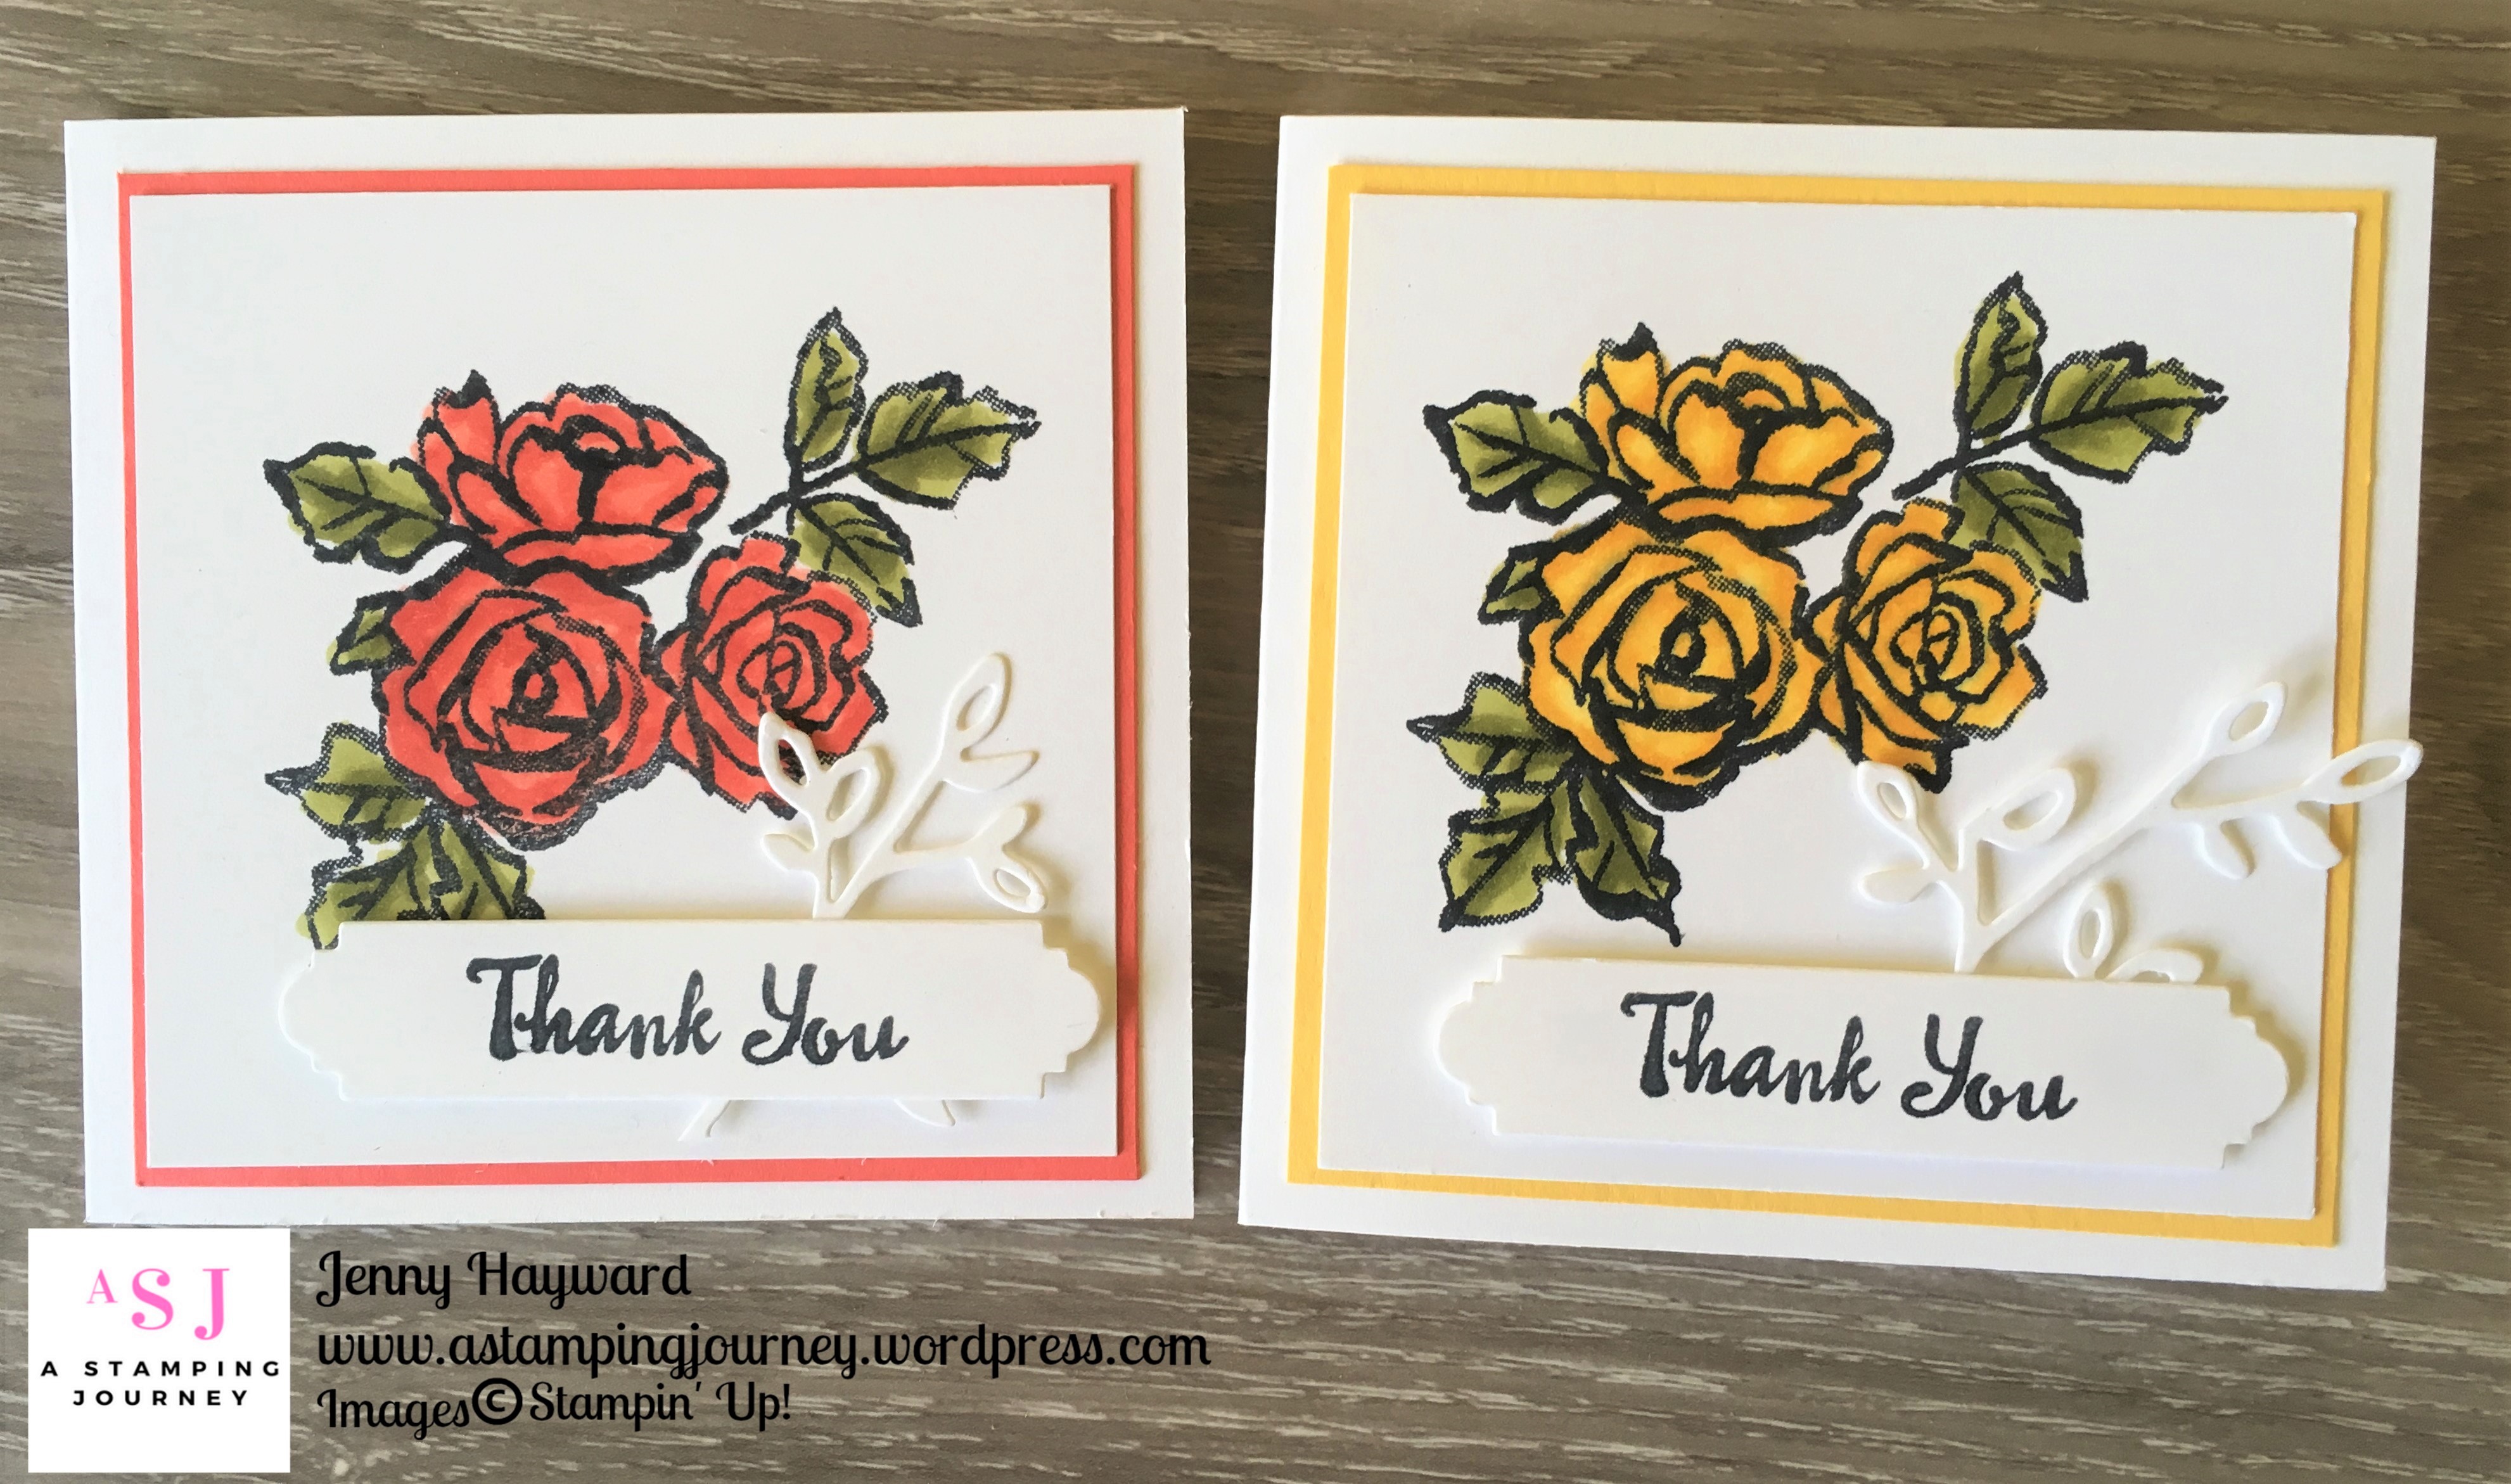
Sweet Saturday. Today it’s a cute little card – with leftovers.
Do you have “bits” leftover from another project. They just sit there for some time taunting you. Pull them out and see what you can create.
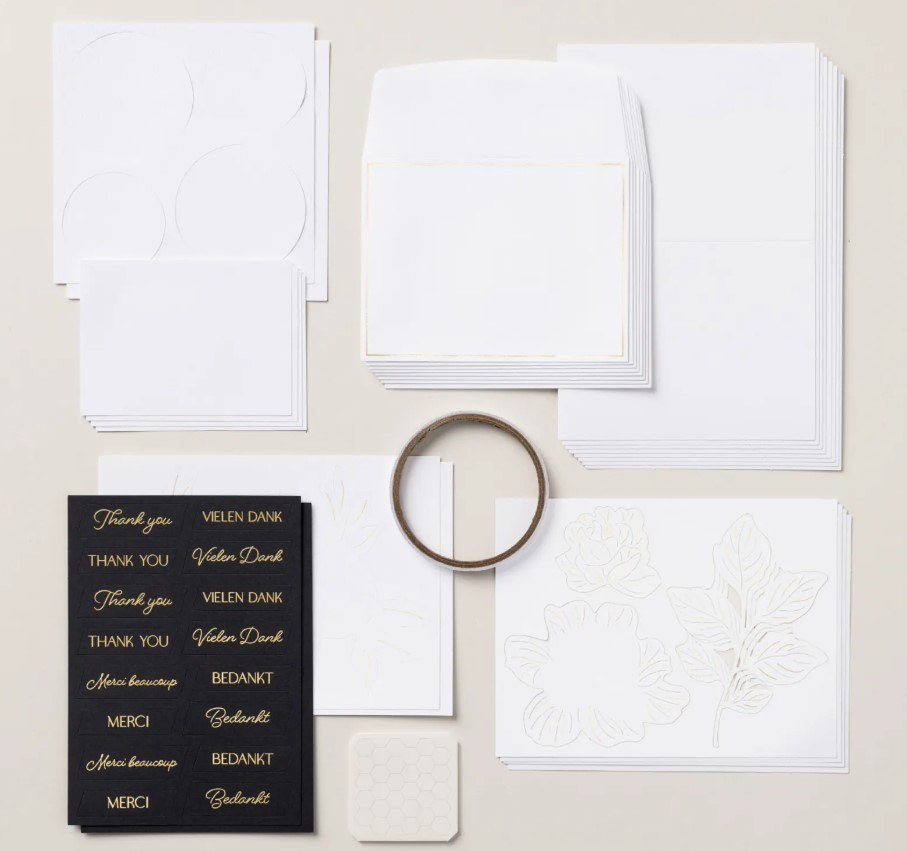
For this one I had some bits of the Toadstool Gardens Paper. I had a diecut heart from the Heart Shaped Dies along with the little flower. So it was all just the size to make a Mini Thank You card. This didn’t take long at all and I can send it out soon for a special Thank You to one of my customers.

The paper and the Heart Shaped Dies are available as Sale-A-Bration choices with your orders over the qualifying amount. ($100 AUD for the paper and $200 for the Heart Shaped Stamp Set and the Dies).
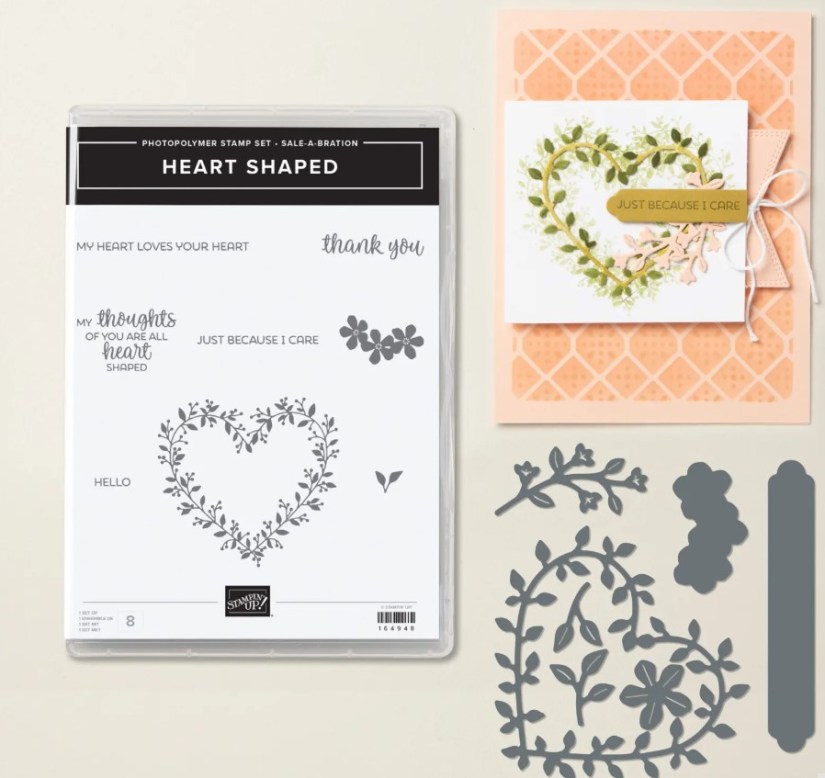
The words were diecut with one of the dies in the Mixed Labels Dies available as on Online Exclusives product.
So if you like these you will have to be quick to get them. It is only 2 weeks left for them.
If you need to order any of your crafty supplies and you are in Australia I would love to serve you. You can stop by my store OR Contact me directly. I would be happy to help you.
Happy Weekend,
Jenny