cards, Classes, Stampin' Up!

HELLO LADYBUG SIDE STEPPER CARD!

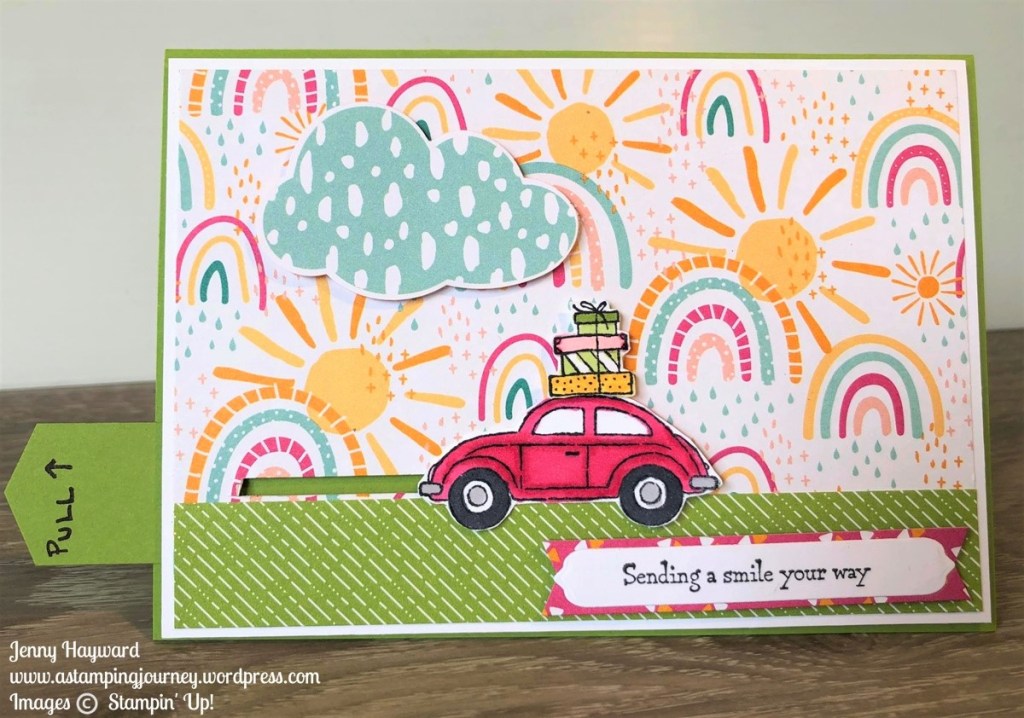
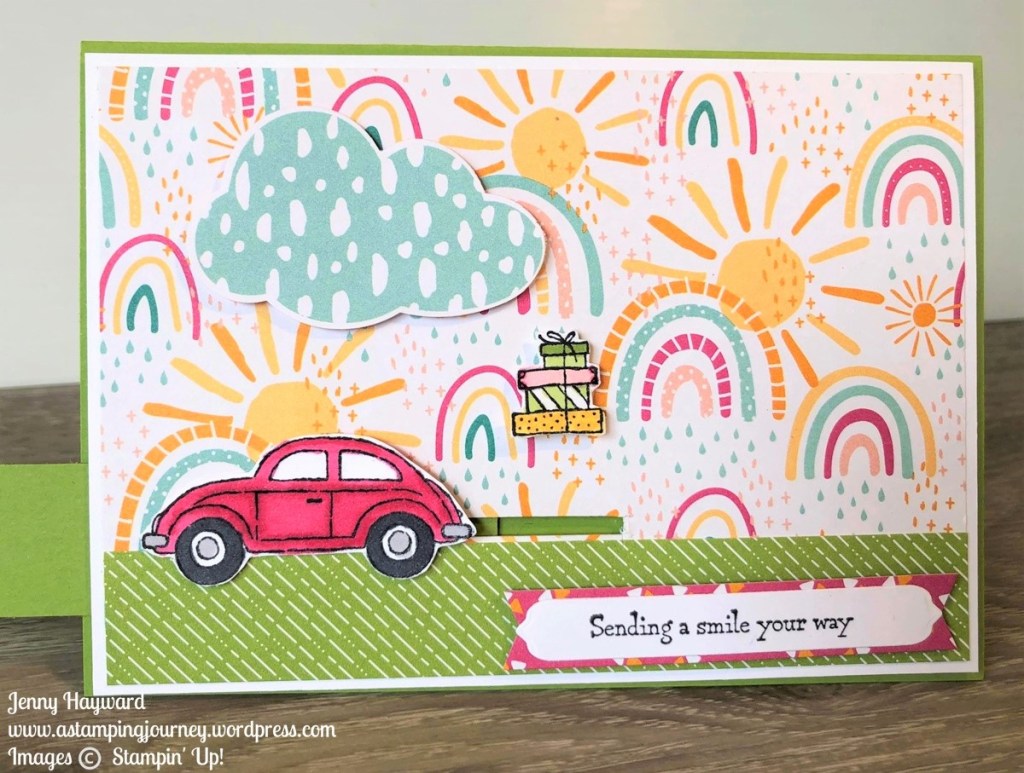
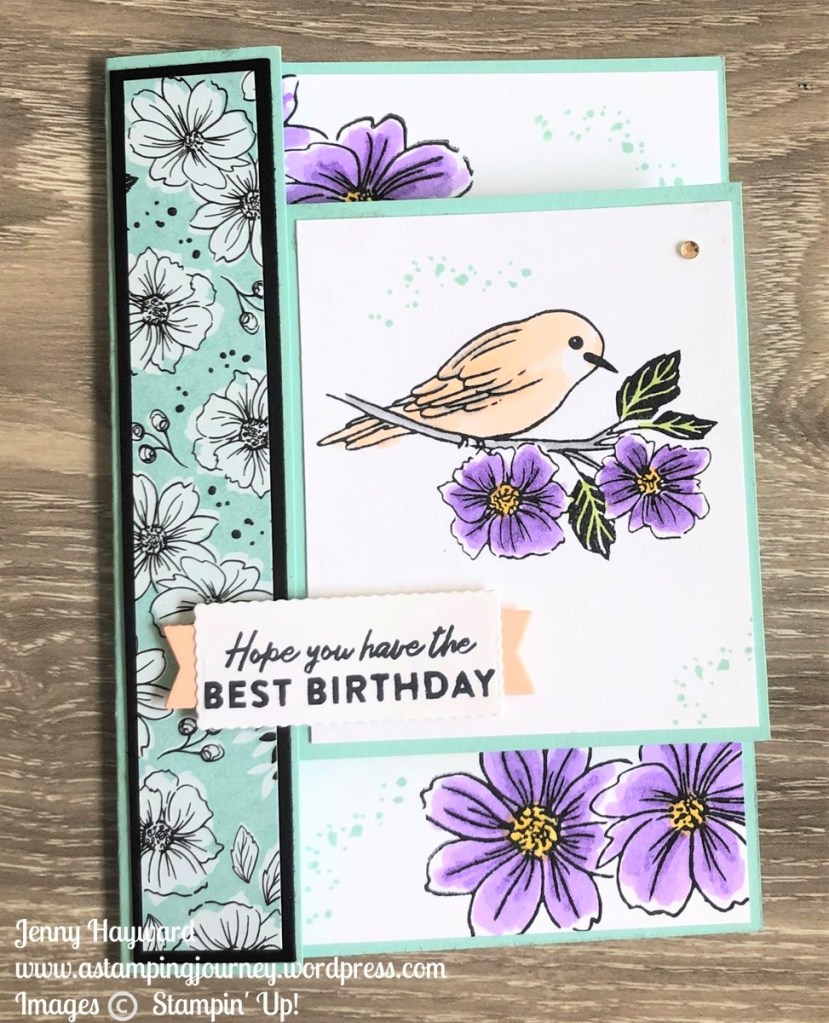
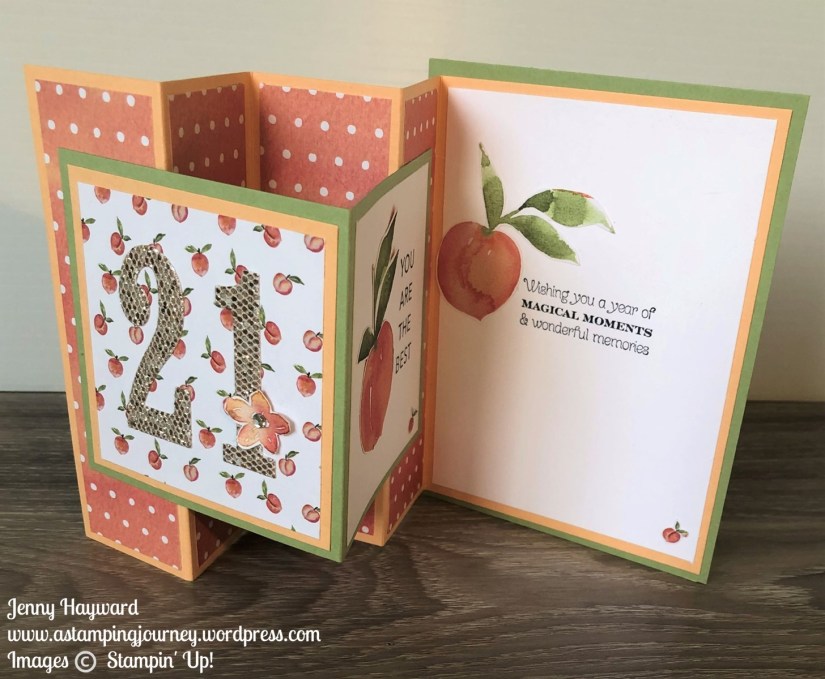
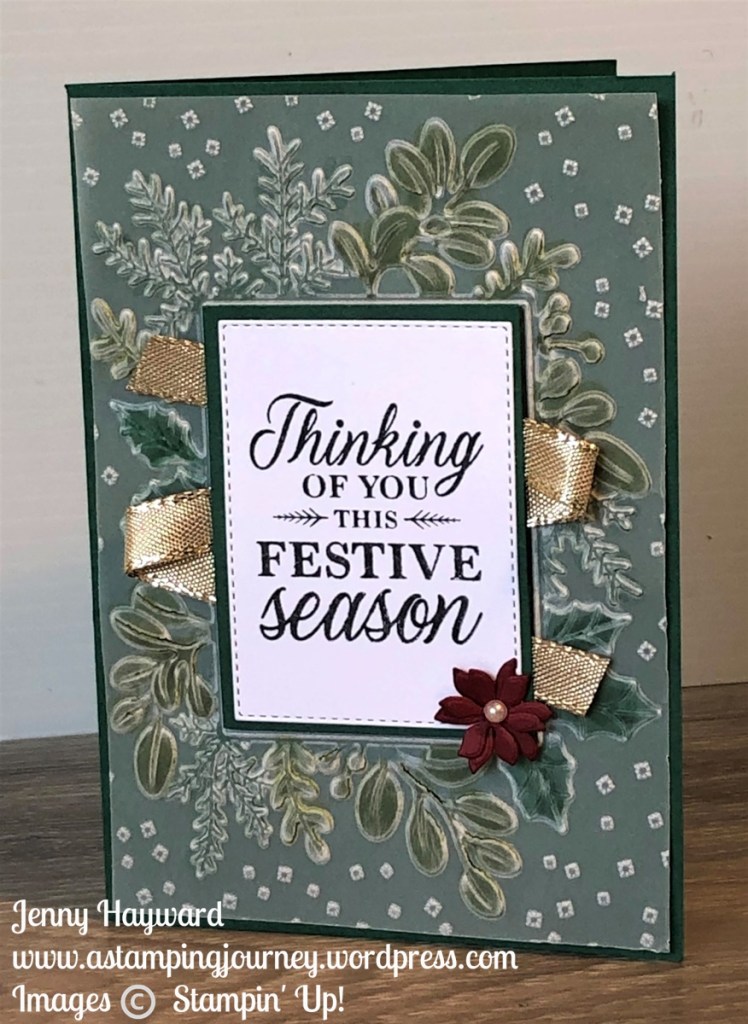
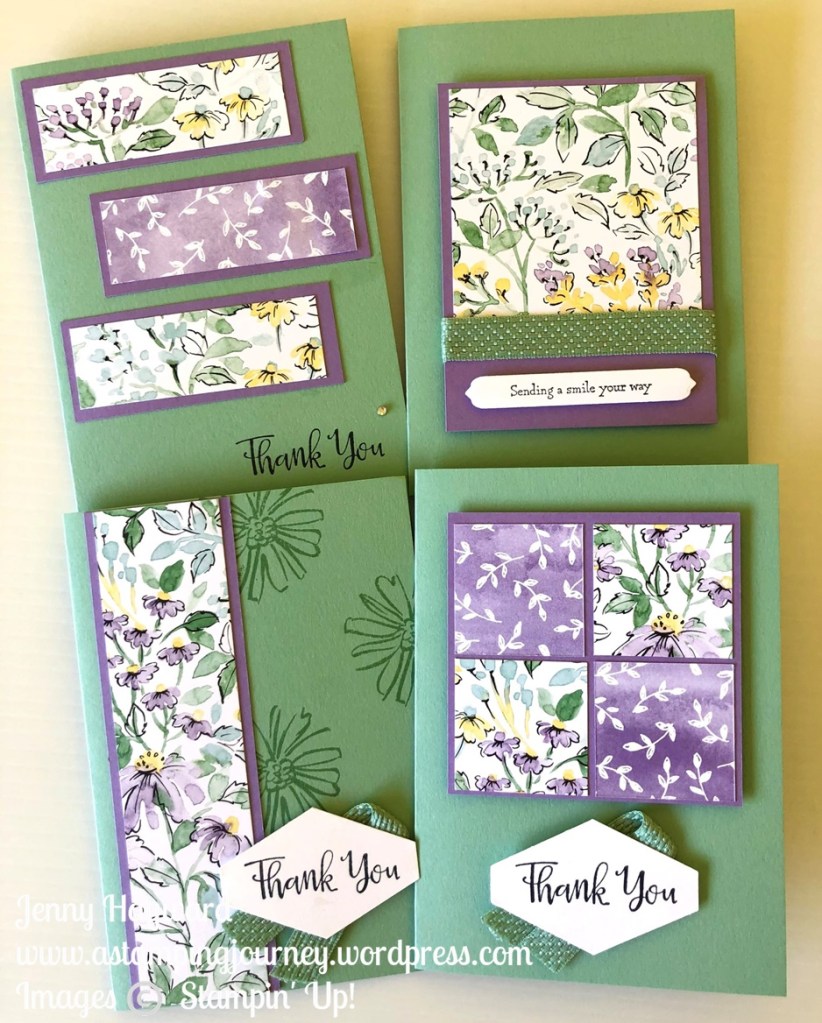
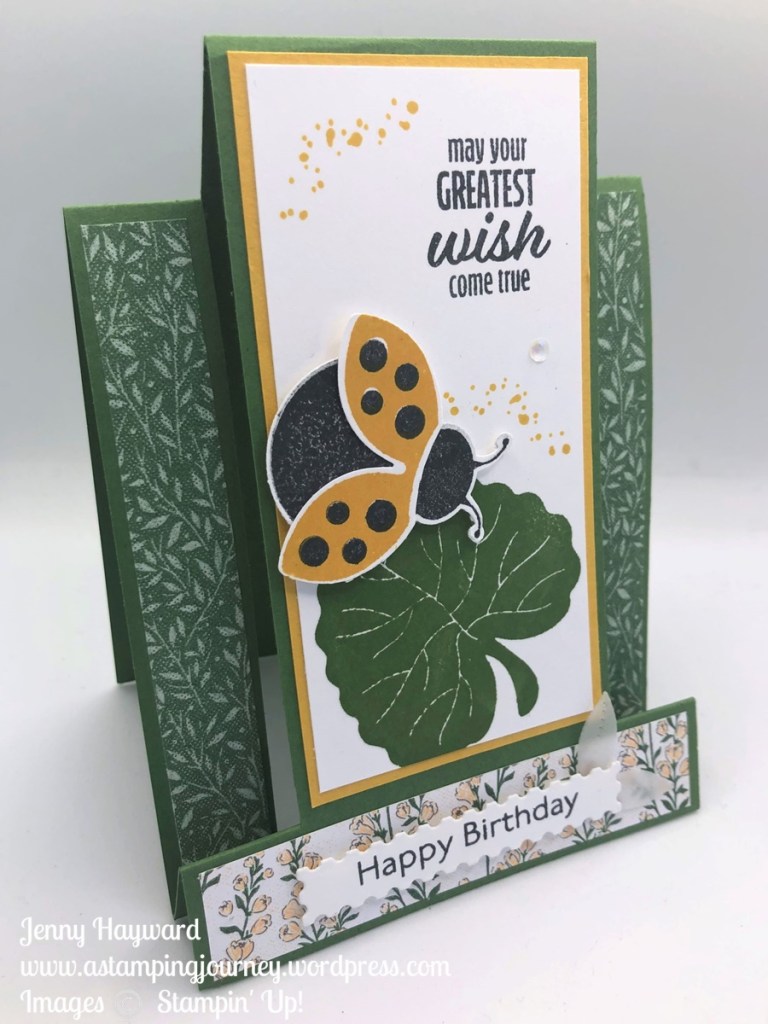
Sharing a card from my last class with you. Everyone loved it and I thought you might like it too.

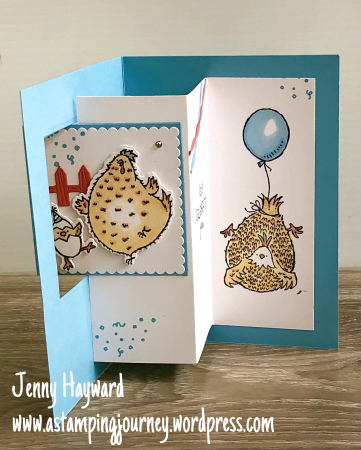
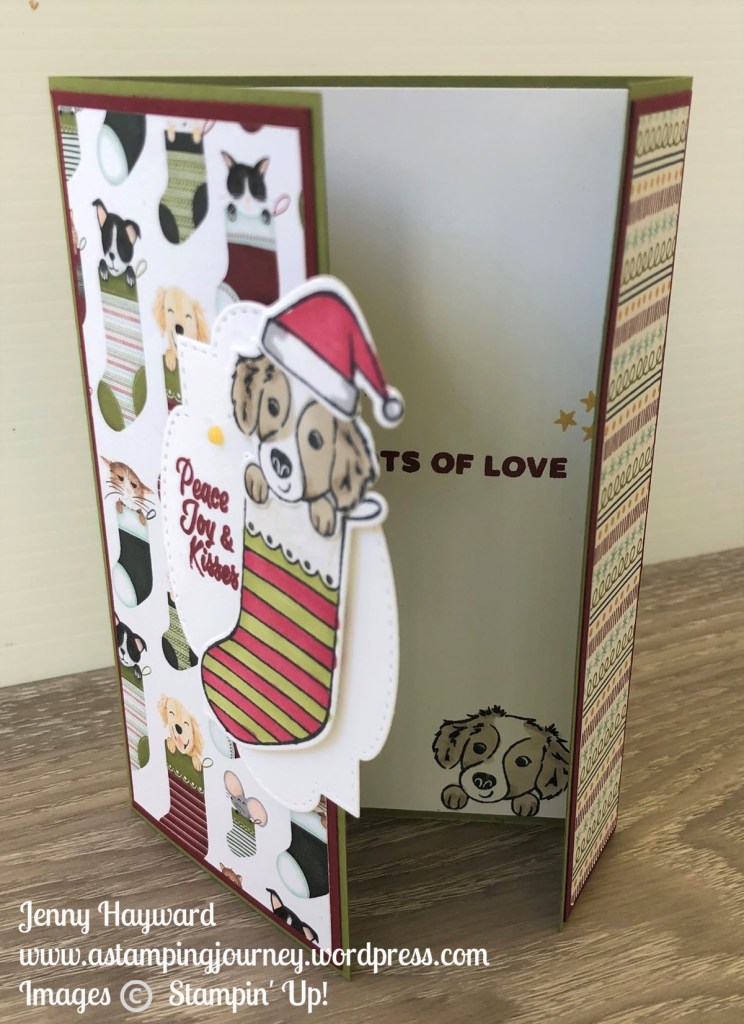
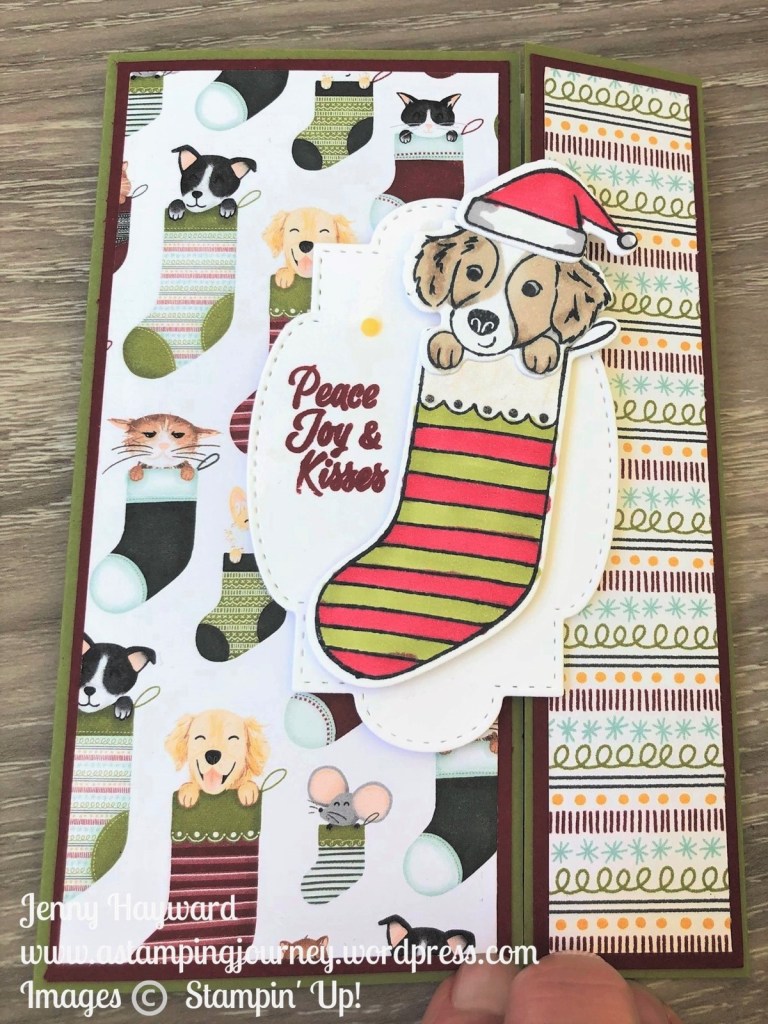
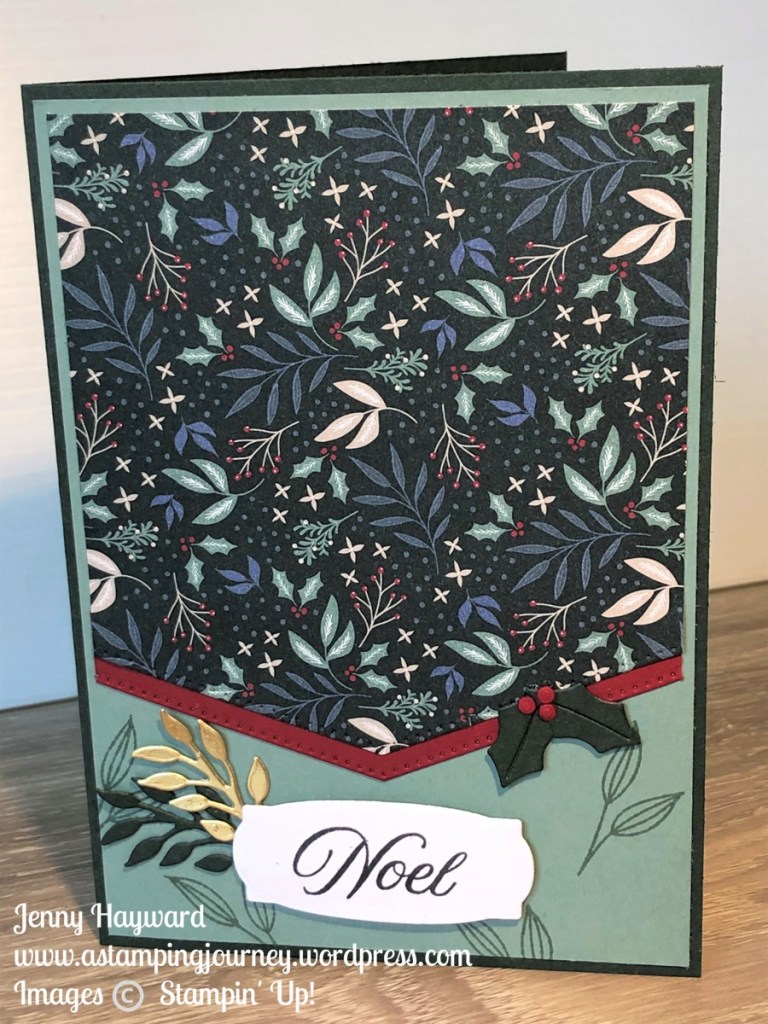
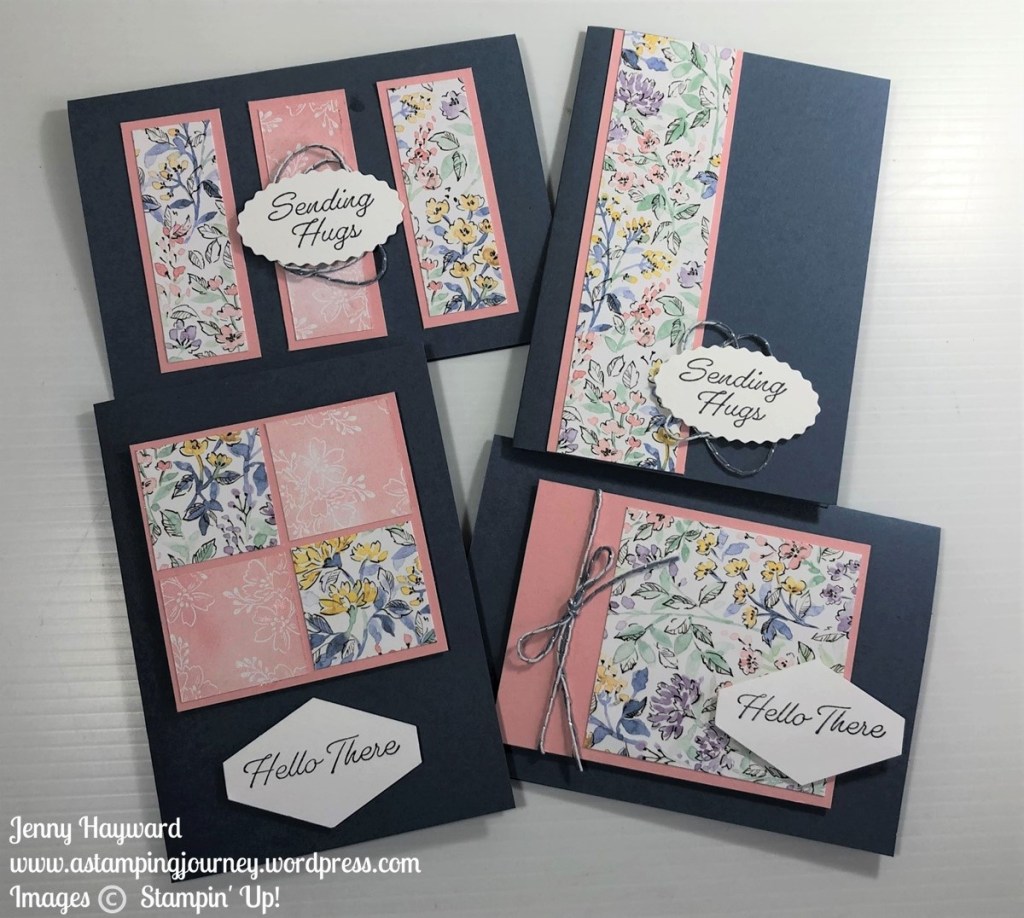
This is a Side Stepper Fold card. We used the Hello Ladybug stamps and punch. I always love seeing yellow ladybugs. We used the Heart and Home Designer Series Paper with it.

I have made several of these in the past. I shared the template and instructions way back and dug up the post to share it with you again.

See how to create your own Side Stepper card -> HERE. It was some time ago so I do apologise for the quality of the template. The instructions in that post are for metric but check at the top of the post there is a link for imperial measurements.

Have fun creating one.

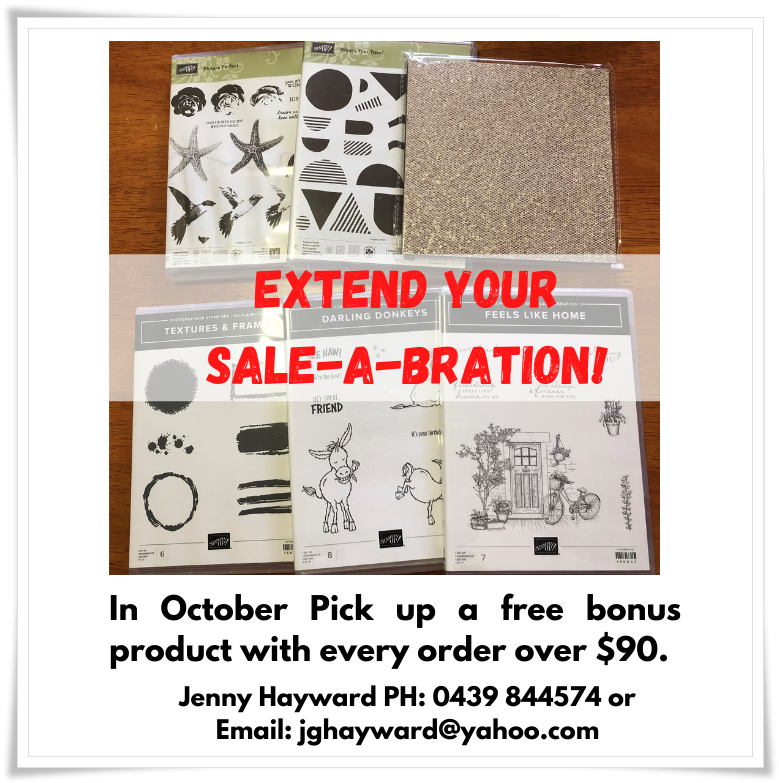
There is still some time for Sale-A-Bration. Don’t miss out on picking up your free gift with your orders over $90 or $180.

Head over to my store now -> HERE. If you need some help please don’t hesitate to contact me.

Have a great day,

Jenny

cards, Sale-A-Bration, Stampin' Up!, Videos

HOW TO MAKE A FUN, EASY SLIDER CARD!

A fun card for our video today. See how you can make a very easy Slider Card.

I have used the Driving By Stamp Set that is available as a Free choice for Sale-A-Bration. You could grab this or see what you have. Try cute animals or cars??

Check the video out below. (If you receive this blog update via email the Video won’t show in the email. Head to the Blog Directly to view it or you can head to Youtube to catch it).

Here is the card for you showing the Slider. I also used the Sunshine and Rainbows Designer Series Paper that is a Sale-A-Bration choice.

What do you think? Give one a try yourself.

Don’t miss out on these items or any other Sale-A-Bration choice. There is not a lot of time left. Both of these are available with your orders over $90 AUD.

See them -> HERE. You can also order there too or contact me directly.

Happy Creating,

Jenny

cards, Catalogues

WEDNESDAY’S WOW! #133 – LAYERING THE DAFFODIL DIES!

Wednesday’s WOW! #133 – How to Layer the Daffodil Dies.

You might have seen the Daffodil Dies in the Mini Catalogue. Now I will admit when I see dies like this I get overwhelmed of how to put them together. I came across these layering ideas shared from Stampin’ Up! I thought it might help you.

That makes it so much easier to see them visually like this. I hope that helps you like it did me.

These are the Daffodil Dies.

You can see the Daffodil Daydream bundle with the Daffodil Dies in my store -> HERE.

Here are some examples so you can see them in action.

If you are in Australia and need supplies please stop by my store now -> HERE and you can order. Please use the Host Code: AFHWZJKK

If you need some help with ordering please don’t hesitate to contact me.

Happy Stamping,

Jenny

cards, Catalogues, Sale-A-Bration, Videos

FRIENDLY HELLO FRONT FLAP CARD!

Last post I shared the card and video for the Front Flap Card. This one was using the Awesome Otters Stamp Set. I shared a different version in the video with the Friendly Hello Stamp Set. I thought I would show you that card today.

If you missed the video you can jump back a post OR head to Youtube now -> HERE to watch it.

You will find the measurements to make your own in the last post too so be sure to check that out.

The Friendly Hello Stamp Set and Paper is a Free choice for Sale-A-Bration with your orders over $180 AUD. You can see it online in store now -> HERE.

When ordering in my store please use the Host Code: AFHWZJKK.

OR you can contact me directly and I can place your order.

Thanks in advance for ordering.

Happy Stamping,

Jenny

cards, Catalogues

WEDNESDAY’S WOW! #132 – A DETAILED BORDER DIE CREATES A BACKGROUND!

Wednesday’s WOW! #132 – You can create a cool background with a detailed border die. What a great way to extend your dies. It does take a little time and is a little fiddly but the effect is so cool.

You can see the effect in this card below. (This card is created by Stampin’ Up! artists). Also note the rainboots have been stamped in reverse stamping which I am not going to address in this post today.

See the white background. This is actually created by the thin diamond strip die from the Rainboots Dies shown below.

How do you create such a cool background effect?

NOTE: This particular sample has been diecut just in white and then white card has been coloured with the Blending Brushes and inkpads.

Here is a simpler way.

You will diecut several of these dies out for the rows on the card. Firstly in white card. 5 was used on this card but check for the card you are creating. Then diecut the strip again in other colours. You can use individual colours for the centres. BUT…

There is an even easier effect – Diecut the detailed die strip in a piece of patterned paper.

Once all the pieces are diecut then assemble the card. Adhere the white diecut strips to a white card base. (You can adhere it straight to your card base but I think assembling it separately gives you some “control”). It might be helpful to lay out all the coloured diecut diamonds separately beside your card. Once you are happy with the layout then adhere each diamond inside the strips. This does take time but how effective is the end result. If you use the adhesive sheets this will also make it easier.

This method is call the Diecut Inlay Technique.

You could try this with any detailed die strip you have. Check them out and see what you can do.

Need to order and in Australia?

Head to my store -> HERE. Please use the Host Code: AFHWZJKK

Or contact me directly and I can help you with your order.

Have a great day,

Jenny

cards, Personal Ramblings, Stampin' Up!

FAVOURITES CARDS FROM 2021!

Today I wanted to share just some of my favourites creations from the 2021. It was hard to narrow it down.

A special Congratulations card for my son on his engagement. I think this was the highlight of the year when my son – and now daughter-in-law were married!

See the card -> HERE.

A Pop Out Swing Card with Hey Chick. This was a fun card to make. Try it with any of your stamps.

Hey Chick Pop Out Swing Card _ Inside

See the card and the video to create your own Pop Our Swing Card -> HERE.

5 Ways with Pretty Papers. Lots of ideas to use your papers that you like to stash right. 😉

This was a popular post and video. We all like to use our pretty papers.

See more of the cards and the video -> HERE.

Color and Contour Bundle. This card was for my Catalogue launch in June. I still think this is my favourite bundle.

See the post and also the cute Party Puffins card -> HERE.

One of my labours of love in this Concertina card for my gorgeous girl for her 21st birthday.

See more of the card -> HERE.

5 Ways with the Merriest Moments stamps and dies. This video has been extremely popular on Youtube.

Catch the cards and the video -> HERE.

Another popular one and I know many have followed along with the video and used the template to create these cards. Create 4 cards with 1 piece of 6″x6″ paper.

See the earlier post and the video -> HERE.

I had so much fun making this project. It has been very popular too. A Star Table Favour.

See how to create one -> HERE.

Perhaps you have had other projects I have shared that you have loved. I would love to hear about it.

I share lots of other projects in my Newsletters too. You can subscribe to my newsletter by clicking on the tab in the right hand column on my blog.

Have a great rest of 2021. Thanks for all your support in this challenging year.

Back with more creating very soon,

Jenny

cards, Techniques, Tutorials, Videos

A MERRY LITTLE CHRISTMAS SERIES – WEEK 4 – A WONKY CHRISTMAS CARD!

Week 4 of A Merry Little Christmas Series. Today is a “wonky” card.

This card is an Off-set Gatefold Card. You might have seen them around. This one uses the Sweet Stockings Suite. (very cute!).

This is the card closed.

This is the inside.

Catch the video below. I have the measurements further below.

OFF-SET GATEFOLD CARD MEASUREMENTS

Base card: 14.8cm x 21cm Score at 7cm, 17.5cm 5 1/2″ x 8 1/2″ Score at 2 3/4″, 7″

Left hand panel pieces: 6.6cm x 14.4cm DSP: 6.2cm x 14cm

2 5/8″ x 5 3/8″ DSP: 2 1/2″ x 5 1/4″

Right hand panel pieces: 3.1cm x 14.4cm DSP: 2.7cm x 14cm

1 3/8″ x 5 3/8″ DSP: 1 1/4″ x 5 1/4″


Here is the other version I shared in the video.

I hope you get to make one.

Have a great weekend,

Jenny

In Australia and need supplies? Head to my shop now -> HERE. Please use the Host code: CFW6WCHA or you can contact me directly.

cards, Catalogues, Stampin' Up!, Videos

A MERRY LITTLE CHRISTMAS SERIES – WEEK 1!

For the next 6 weeks I bring you “A Merry Little Christmas” Series. Each Friday I will bring you a different Christmas project. It may be a card, gift box or another project with a video to help you in your Christmas creating. Don’t miss it.

Week 1 project is a card created with the Tidings and Trimmings Bundle. Check it in the video below and to see some tips creating it.

Here is the card.

During this special series I have a bonus for you.

In Australia? Place an order over $50. Receive the card kit to create this card this week AND go in the draw to win a $20 Gift card that will be drawn after the last week.

Head to my store -> HERE. Please use the Host Code: CFW6WCHA

Or contact me directly and I can place your order for you. Text me on 0439 844574 or email me at jghayward@yahoo.com

Happy Creating,

Jenny

cards, Stampin' Up!, Techniques, Videos

CARD SETS WITH 6″x 6″ PAPER!

Last post I shared with you the video to create 4 cards with 1 piece of 6″x6″ piece of paper. I thought I would show you the card sets I have created with this.

Firstly the set shown in the video using the Hand-Penned Designer Series Paper.

By the way did you notice the sentiments on these cards above? It is with the new Eden’s Garden bundle coming in November. Watch out for more on this gorgeous suite.

This next set is also using the Hand-Penned Designer Series Paper.

This set is a Christmas one using the Painted Christmas Designer Series Paper.

Which set is your favourite?

To catch how to create them you can watch the video now -> HERE.

To get the Cutting Template head -> HERE.

I hope you get to play along with this. And if you like share them with me. You can email me at jghayward@yahoo.com

Have a great week,

Jenny

cards, Catalogues, Videos

1 PIECE OF 6″x6″ = 4 CARDS. SEE THE VIDEO!

Last weekend I joined in an online “Craft-along-athon”. (It’s a bit of a mouthful). It was a Zoom event for Demonstrators in the South Pacific Market – Australia and New Zealand. It was a fun time crafting together. Isn’t it always. 🙂 (And that’s why you need to join the family to take part in these fun type of events. I always love to welcome new crafters to my JEN’s INK team).

One of the projects we made was using one sheet of 6″x6″ piece of paper to create 4 cards. It’s similar to a One Sheet Wonder which you might have heard of. I loved it and I have to say I have been creating them all week. It’s a great way of creating lots of cards in a short time – and using up that paper you have.

So today’s video I’m going to share with you how to create 4 cards from one sheet of 6″x6″ paper.

Be sure to stay to the end and I will show you the other card sets I have made. I would love to hear what your favourite is. You can find the Template Link further below.

Watch the video below or it’s now on Youtube.

Here are the cards from today’s video using the Hand-Penned Designer Series Paper.

Would you like to get the Cutting Guide Template? Head -> HERE.

I hope you get to create these cards. They are fun and easy.

I will share the other cards I created at a later date.

Have a great day,

Jenny

In Australia and need some supplies? I would love to serve you. You can head to my store -> HERE (Please use the Host Code: F4PDXAY7) or contact me directly on 0439 844574.