WEDNESDAY’S WOW! #137 – Let’s look at some Pretty Pop-Ups. That is, Pop-Ups Dies!
I have to say I kept overlooking these dies and maybe you have too so let’s check them out. They are a different way of dies but they are – really pretty.
You will find the Pretty Pop-Ups Dies on page 173 on the Annual Catalague.
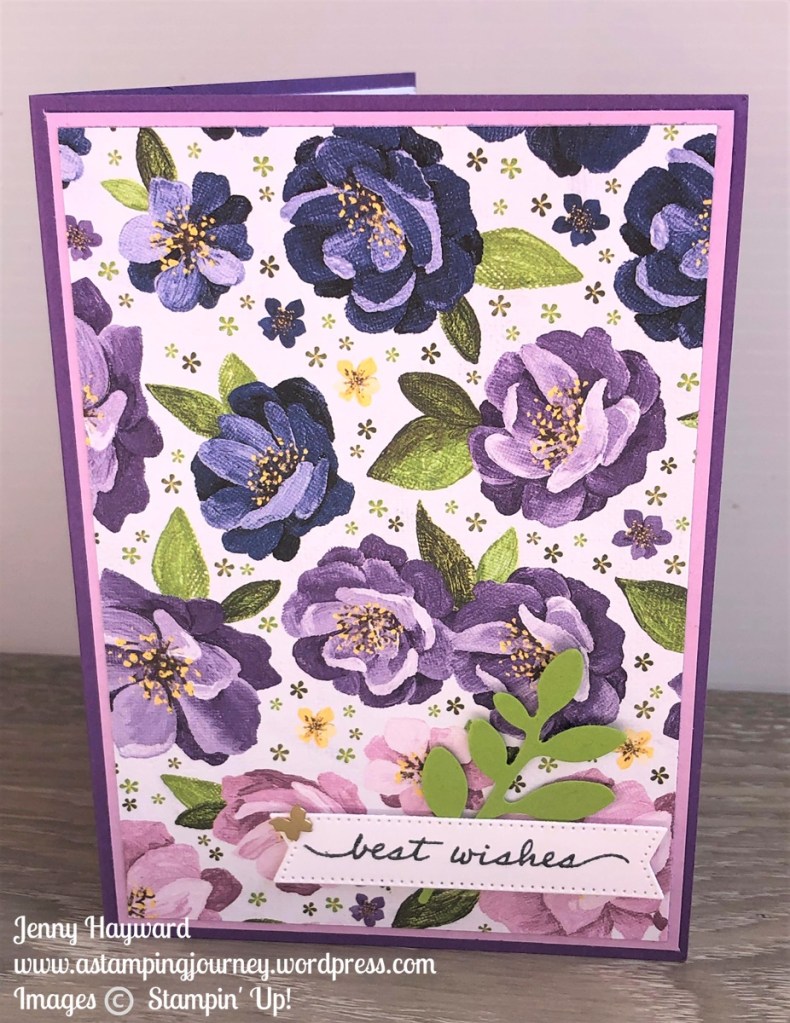
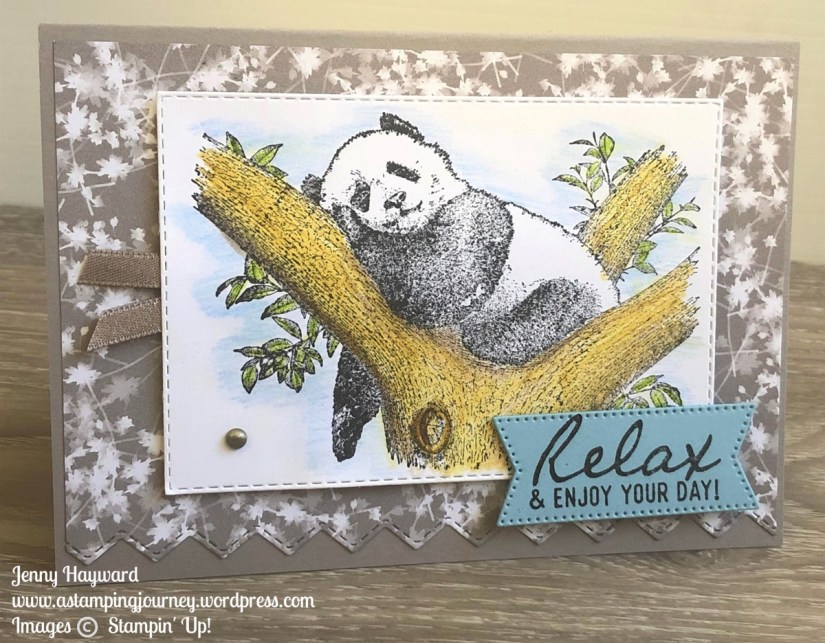
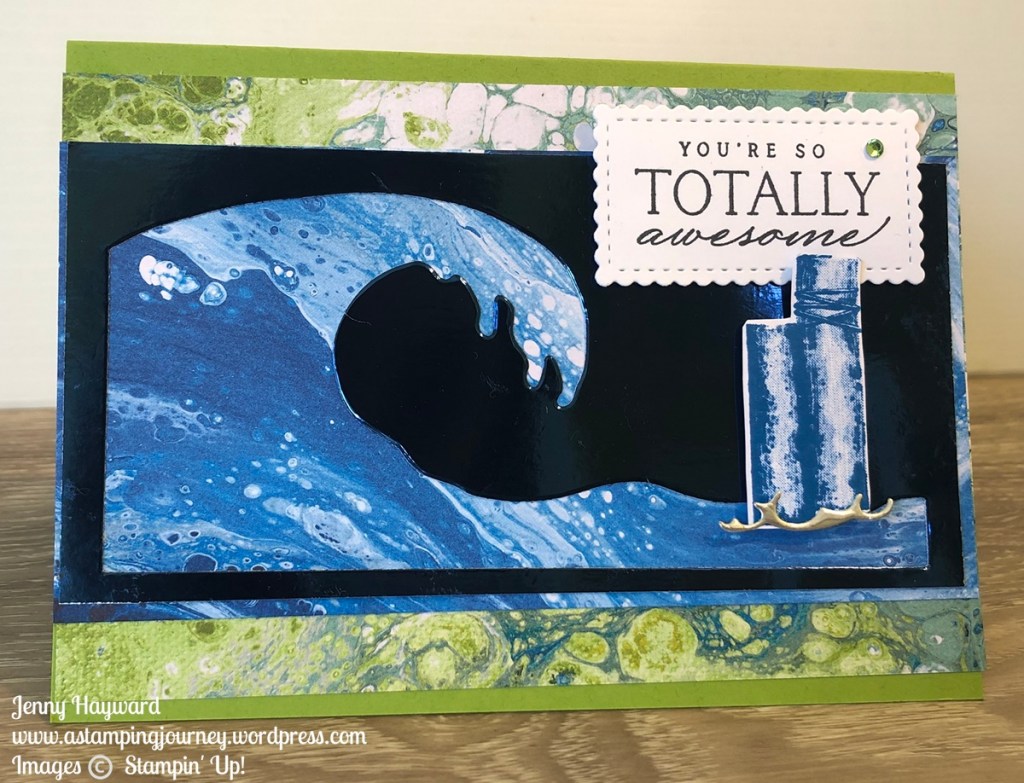
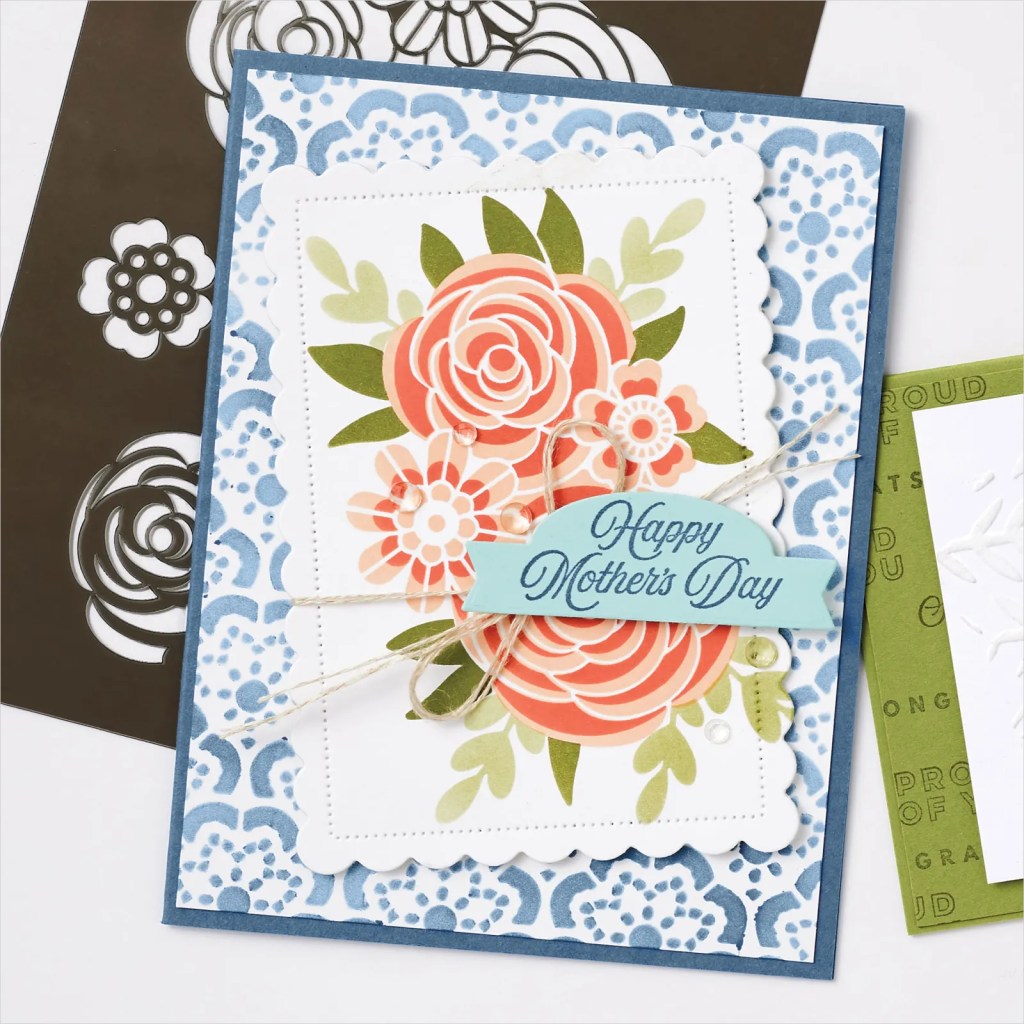
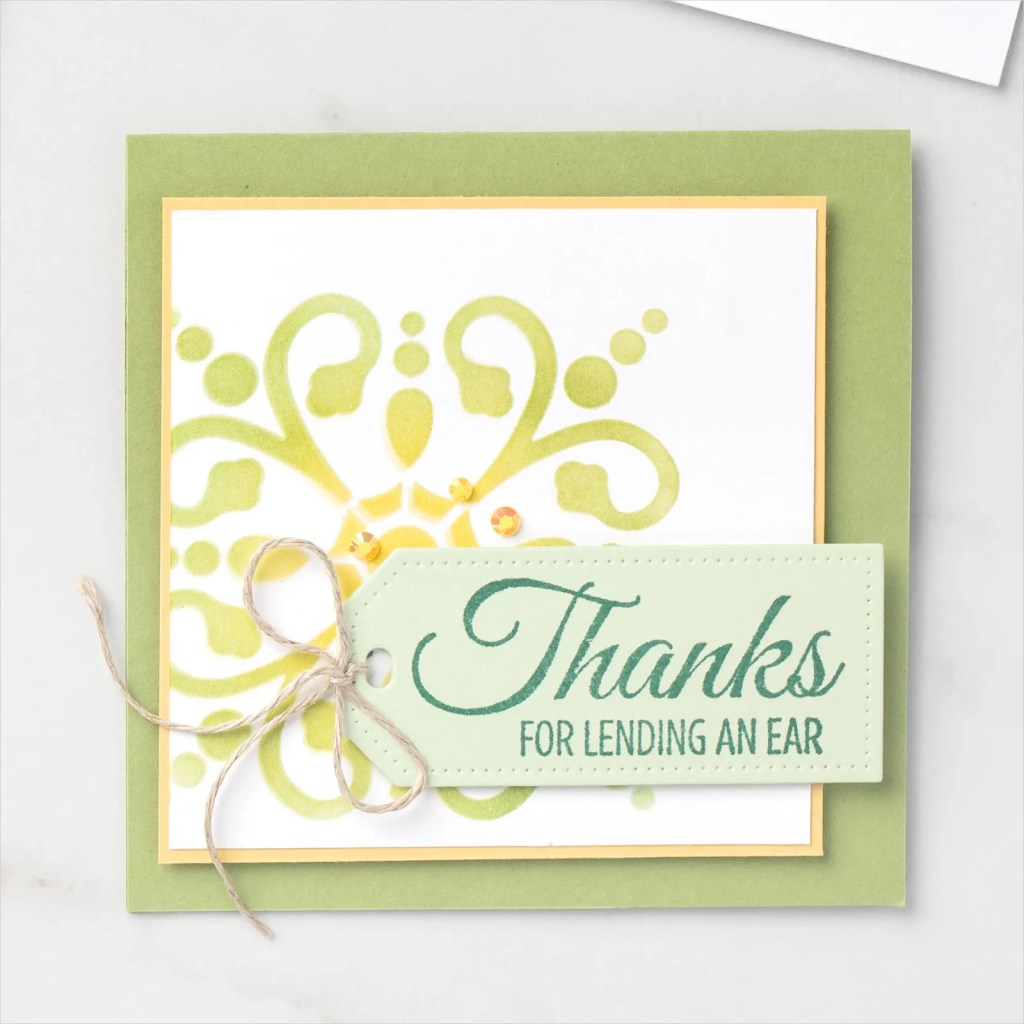
There are 10 dies in the Pretty Pop-Ups Dies set. The dies include beautifully intricate butterflies, flowers, and greenery designs in circle, oval, and rectangle shapes. You can use the unique intricate designs and shapes as a centrepiece on your handmade projects or as a subtle texture or layer when not popped up.
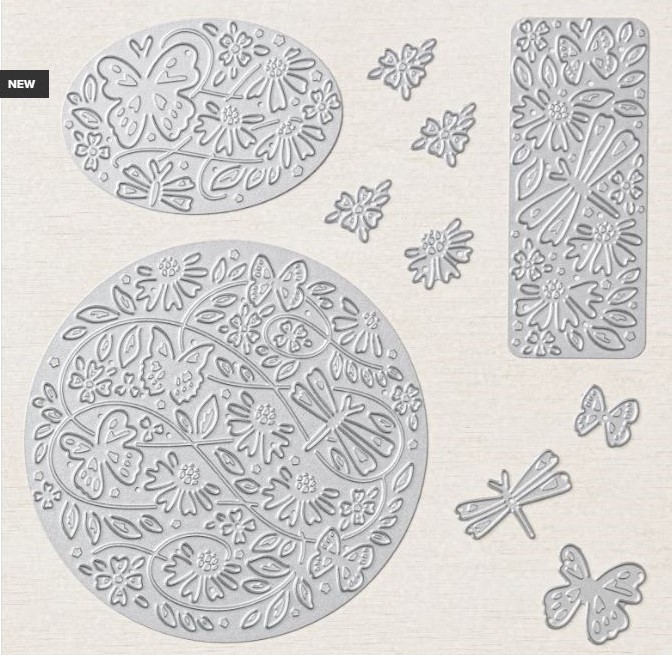
Aren’t they beautiful?
You can see how they are used.
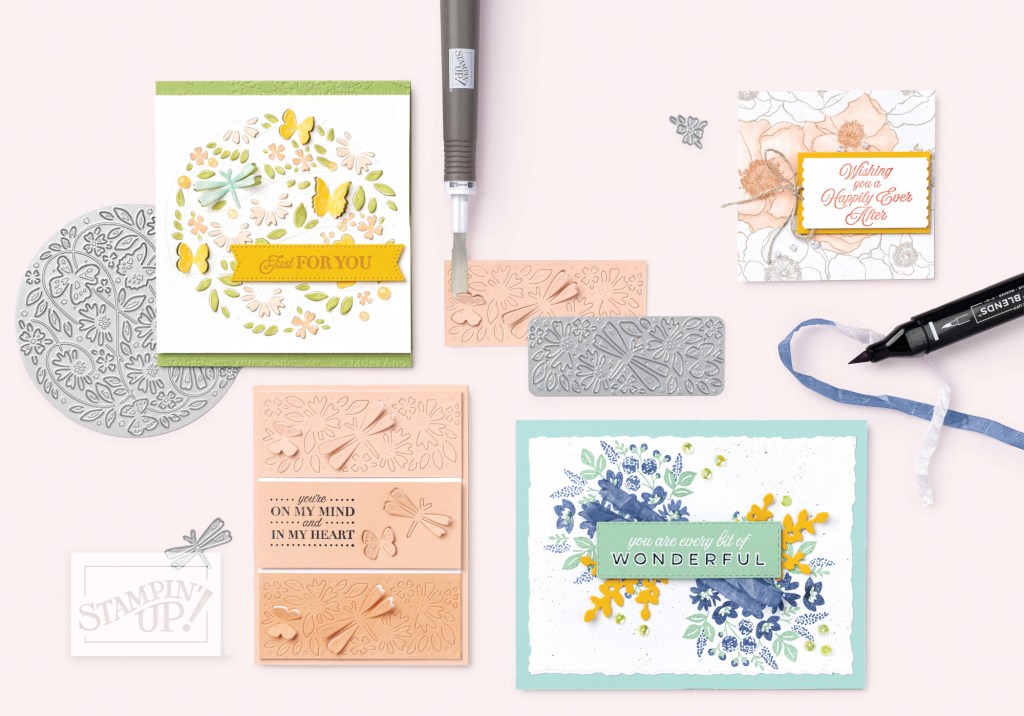
To lift the little Pop-Up sections you can use the spatula tip on the Take Your Pick Tool or you can use the Paper Piercer.
You can even colour some of the areas with the Stampin’ Blends.
And did you notice? Colour some white ribbon too and you have ribbon to match any project.
The cards can be so simple but they do create such an impact.
You can see the Pretty Pop-Ups Dies in my store -> HERE.
In Australia? You can shop in my store at the link just above. Please use the Host Code: 46HJZACA
Or contact me directly.

Have a great day,
Jenny