I recently came across a card idea in a magazine I was reading. I thought it looked cool. I wanted to replicate it with our inks and stamps. So I did! I put together a video for our Friday Flicks for you to see how to create it yourself.
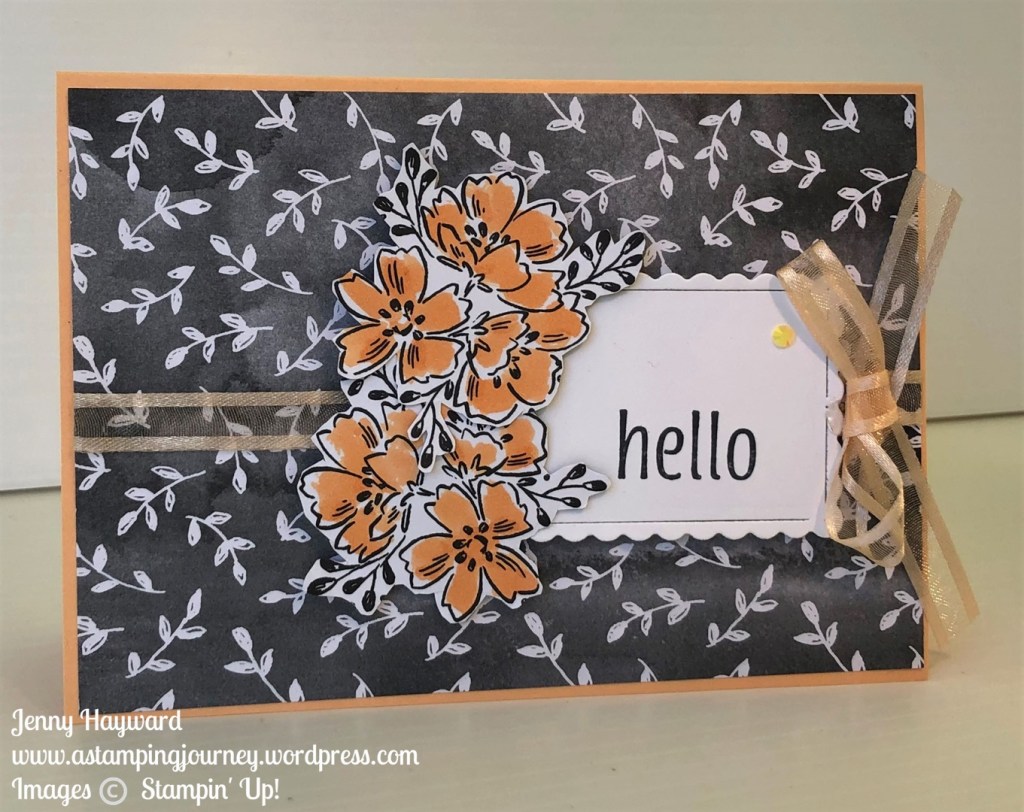
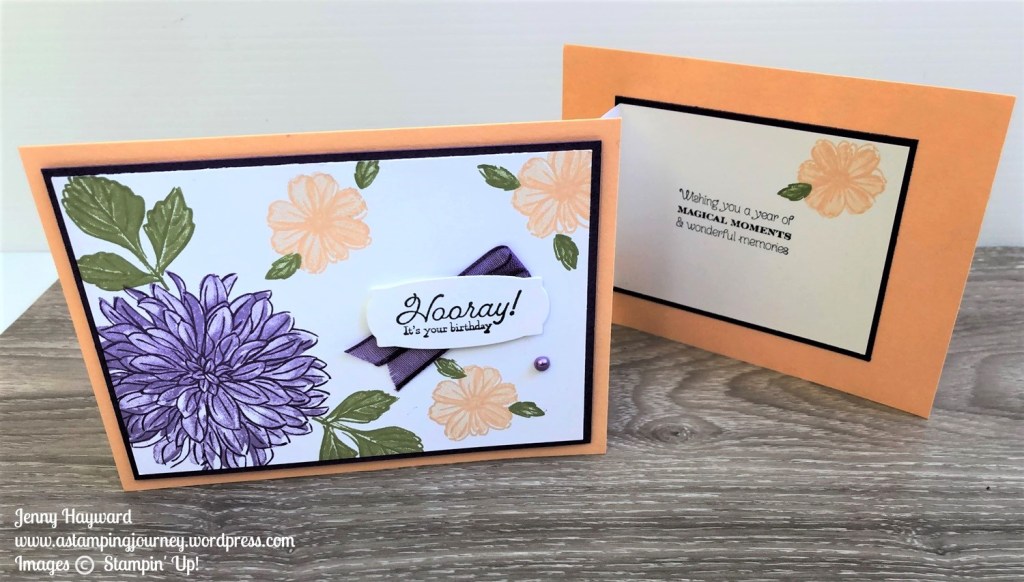
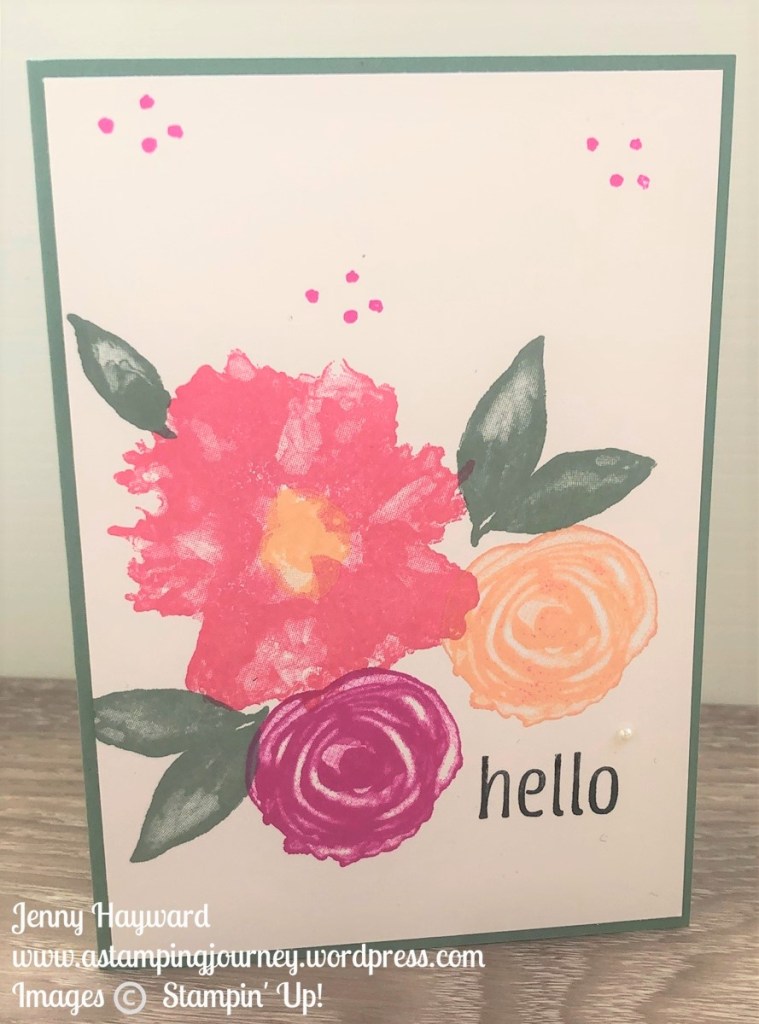
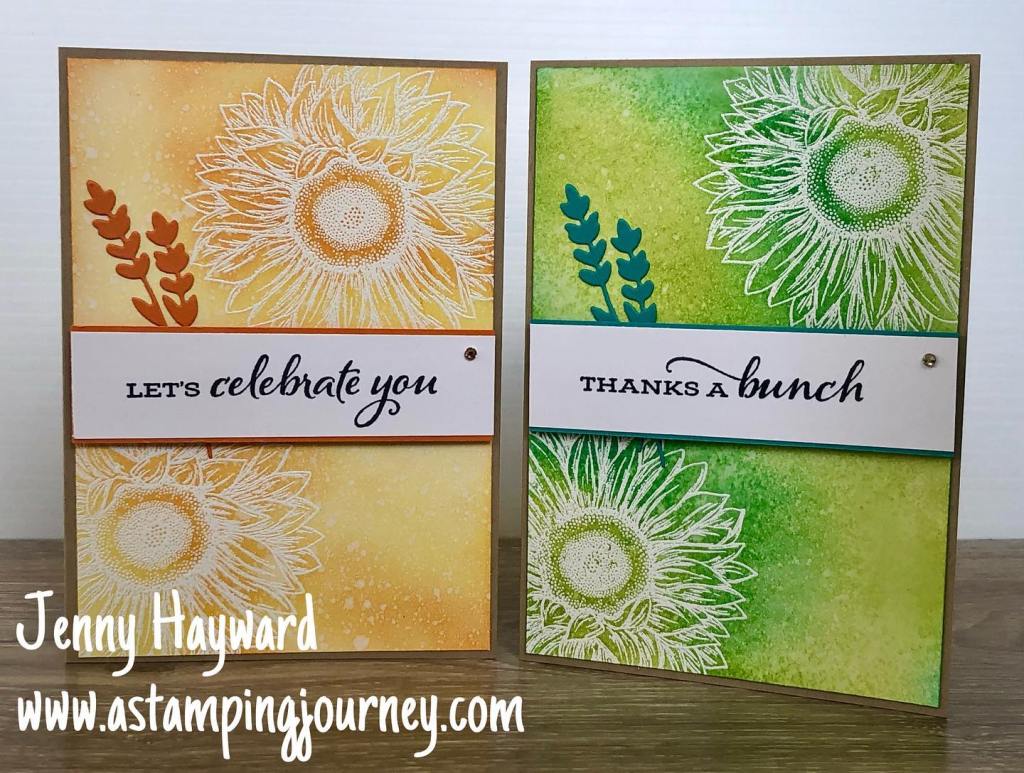
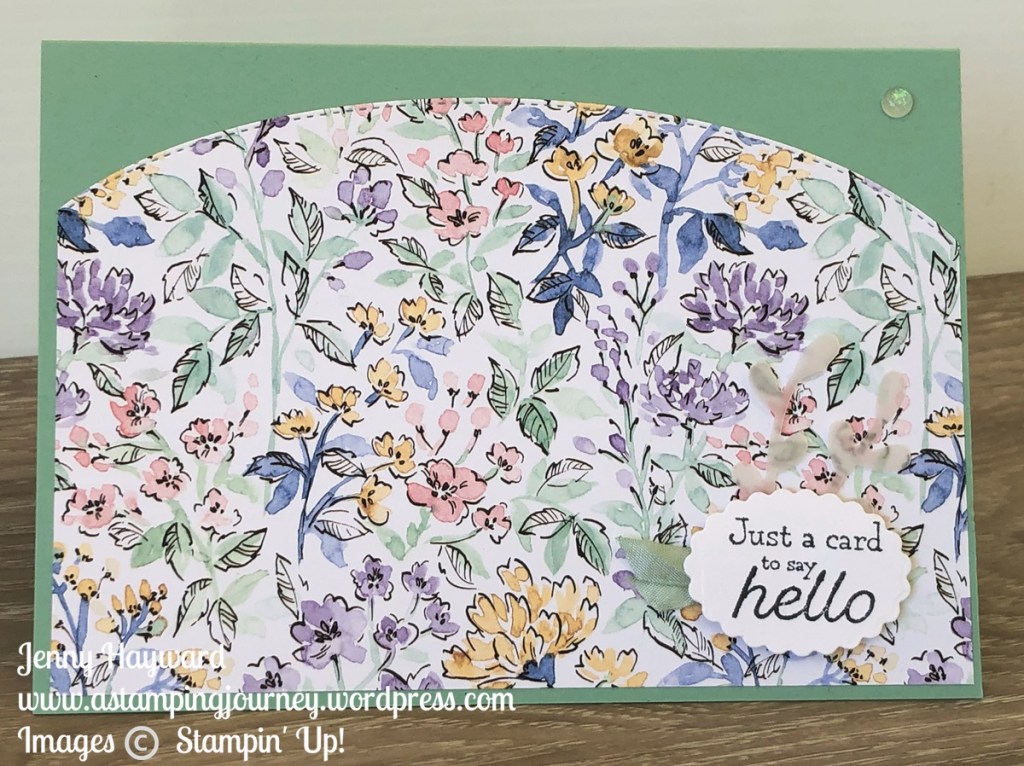
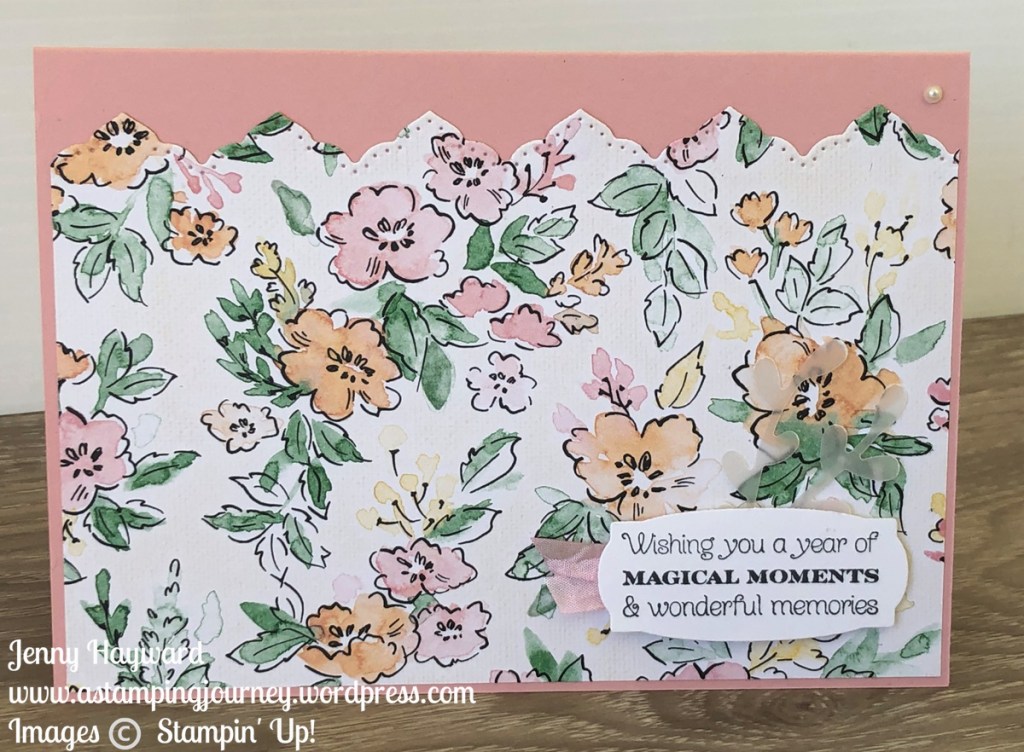
These are the cards. I call it the Double Layer Duo Technique. It’s an interesting twist on the Double Layer Stamping Technique if you have tried that before.
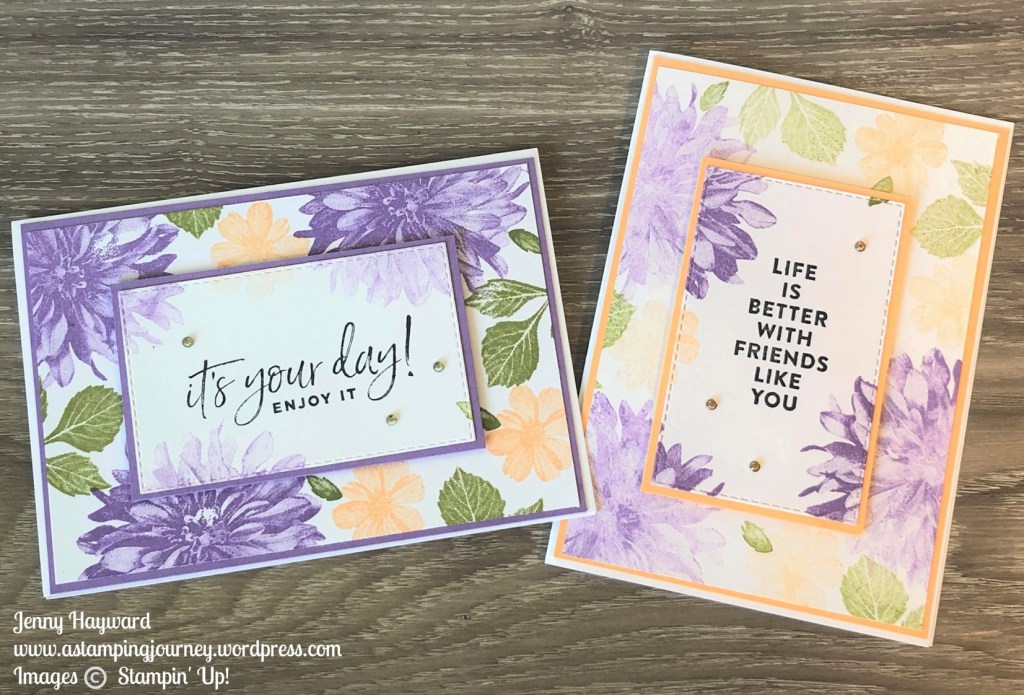
I have used the gorgeous Delicate Dahlias stamp set. This works so well.
For this technique you will want a stamp set with a number of images. I can’t wait to try this with some other stamps.
Here is the video.
The Delicate Dahlias stamp set is available as a free choice for Sale-A-Bration with your qualifying orders over $180 AUD. There are only a few weeks left to grab this.
If you need to place an order and you are in Australia I would love to help you.
Head to my store -> HERE. Please use the Host Code: GS9S4AY9
or you can contact me directly.

I hope you get to make one. Let me know.
Have a great day,
Jenny