cards, Techniques, Tutorials

WEDNESDAY’S WOW! #112 – ROLLING A BACKGROUND!

Wednesday’s WOW! today #112. I want to share with you how to create the lovely sponged backgrounds.

I don’t know about you but I have been enjoying creating these backgrounds a lot lately.

Here is a tip from our Stampin’ Up! Catalogue.

The great tool to use for these backgrounds is the Sponge Brayers.

To use the Sponge Brayer build up the ink on the Brayer to roll over your project. I have shared this technique in a few videos recently. You will find those on Youtube or scroll back a few posts to catch them.

One tip I tell people when rolling to collect your ink is to not roll back and forward on the inkpad. It’s a “roll and lift movement”. Roll gently over the ink pad, lift the roller and roll again gently. Keep repeating this until you get the amount of ink you want.

When rolling on to your card it’s a good idea to start off the edge of your project and roll gently onto your card. Repeat building up the ink on your inkpad and roll on your project again starting off the card. Keep building up as much colour as you like.

The Sponge Brayers come with 2 handles and 4 sponge rollers. So it’s good to have a different Sponge for a different shade of colour. You can see them in store -> HERE

For creating your backgrounds you could also use the Sponges or use the Sponge Daubers but I think the Sponge Brayers are more effective as they cover a larger area at a time.

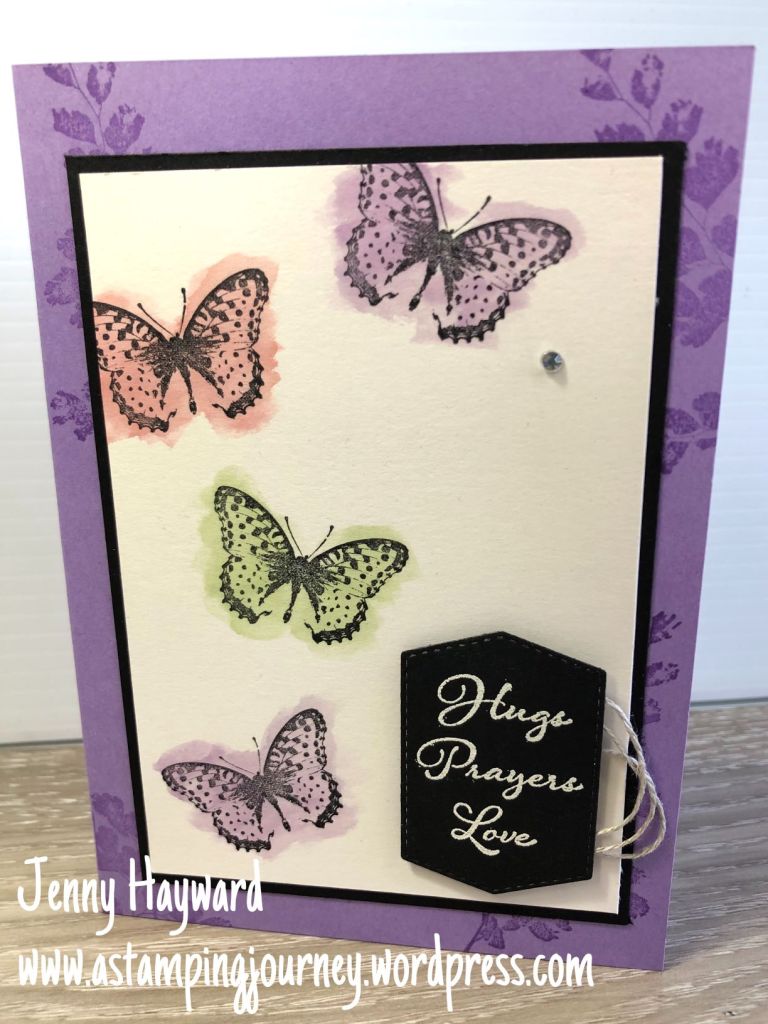
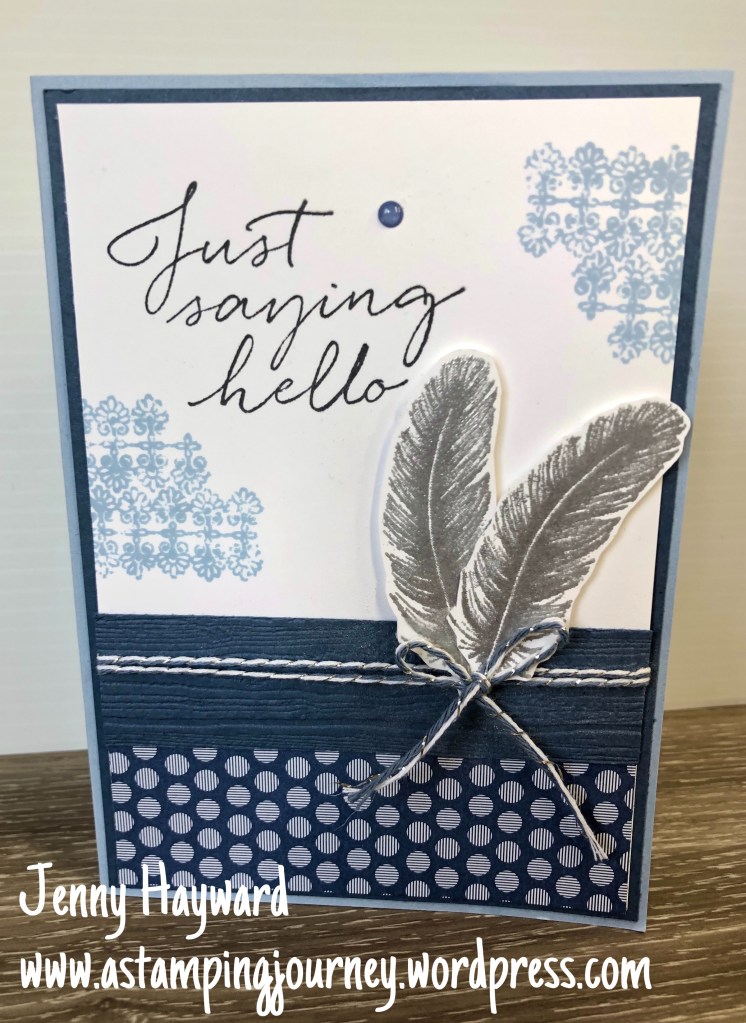
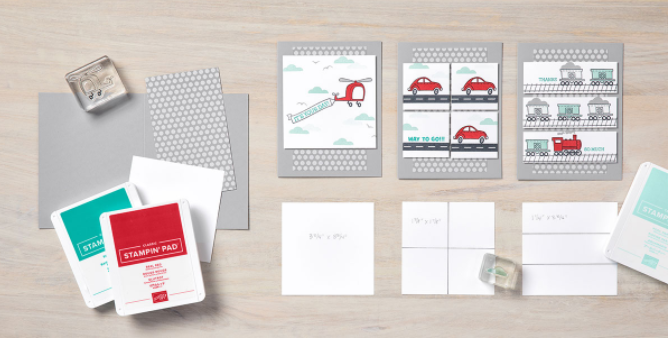
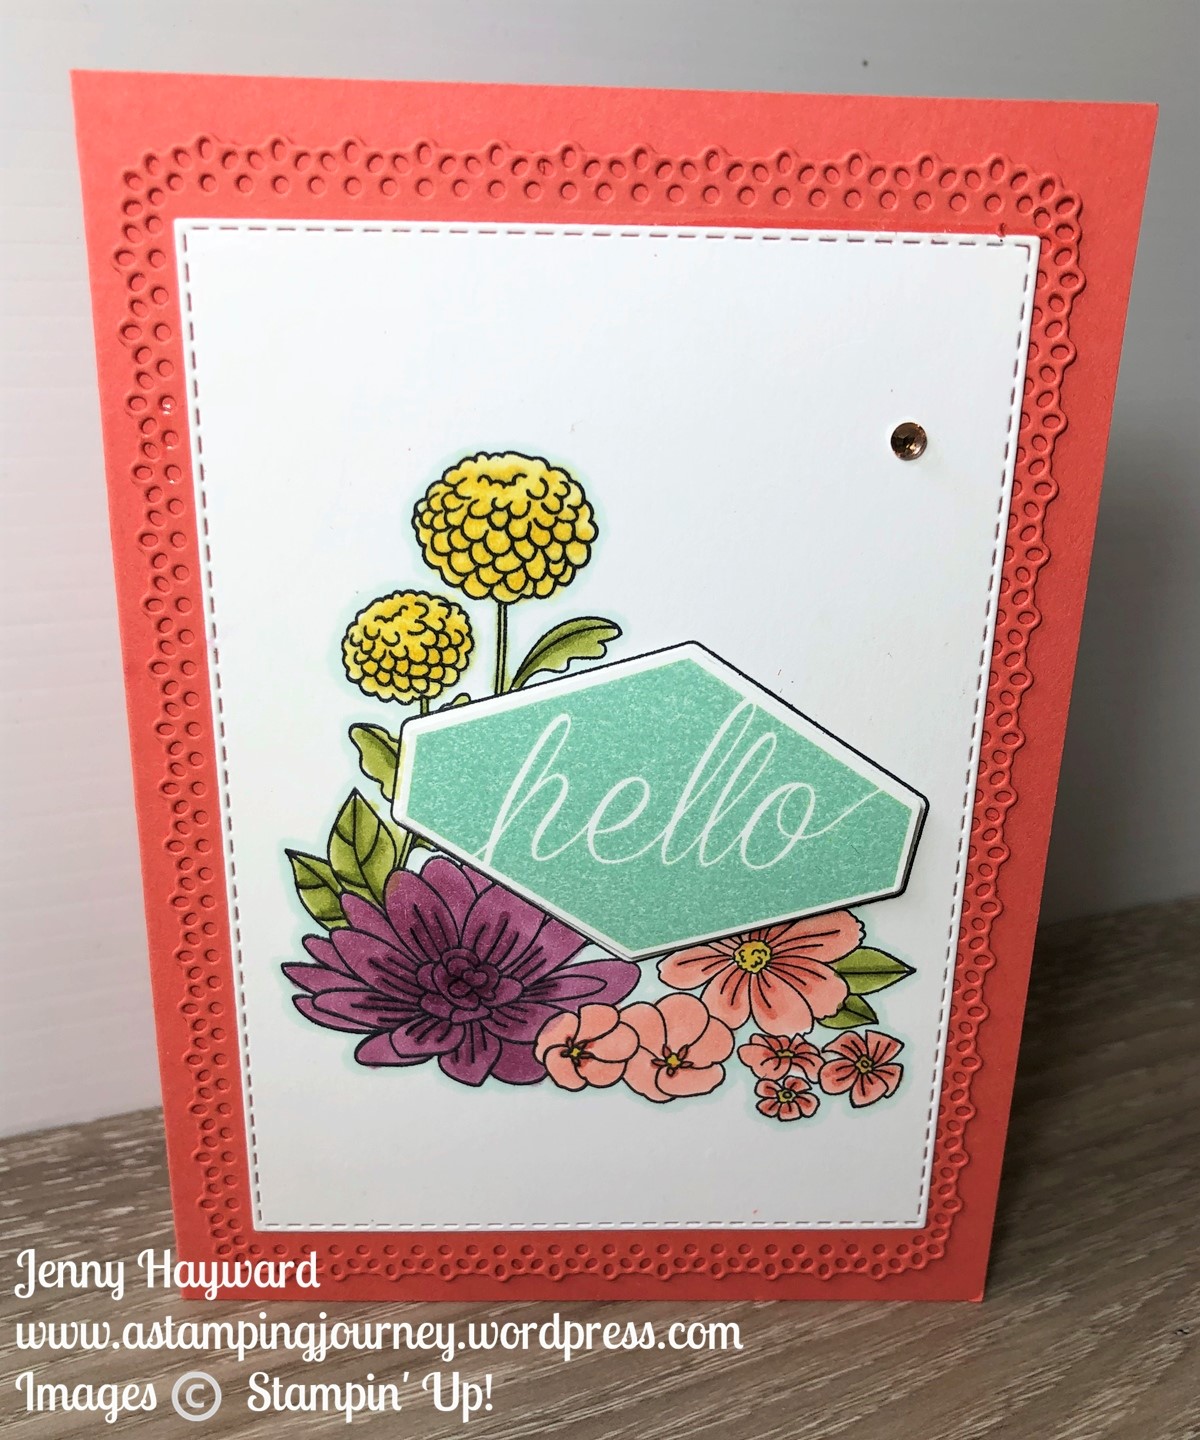
TIP: To create your “horizon” as shown in the projects above, place a piece of paper over a section to create a lined edge before you start rolling. Then if needed change your paper around to mask the edge again from the other direction to roll. Or on these cards they have elements stamped.

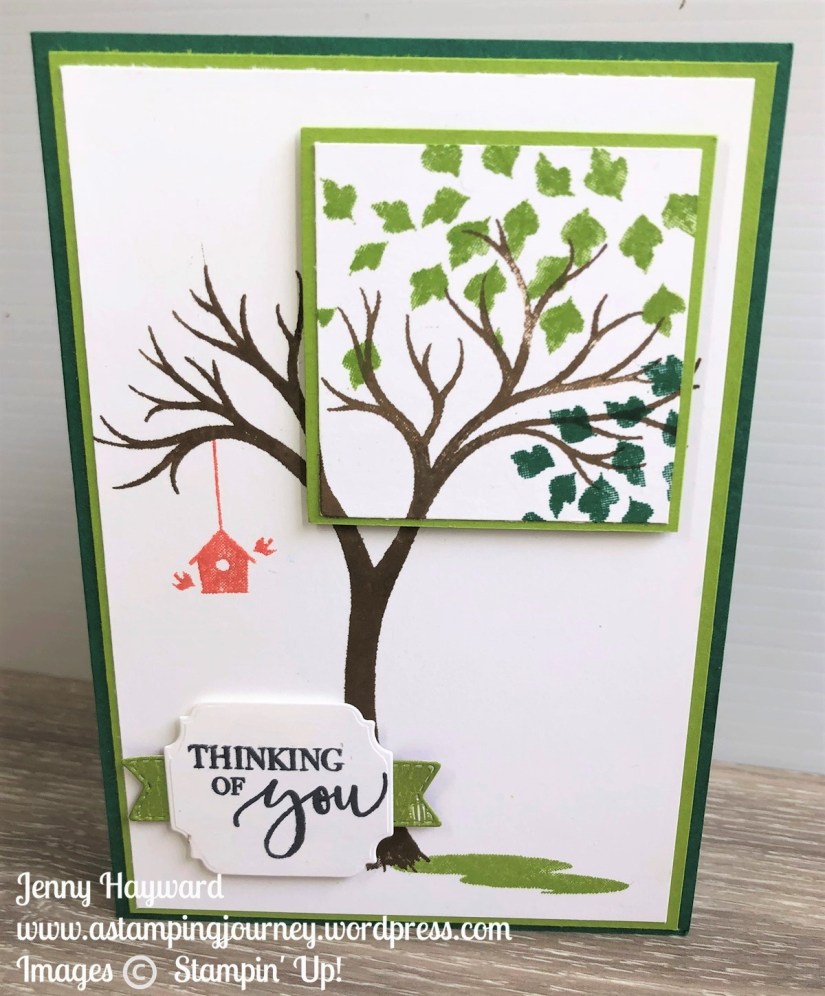
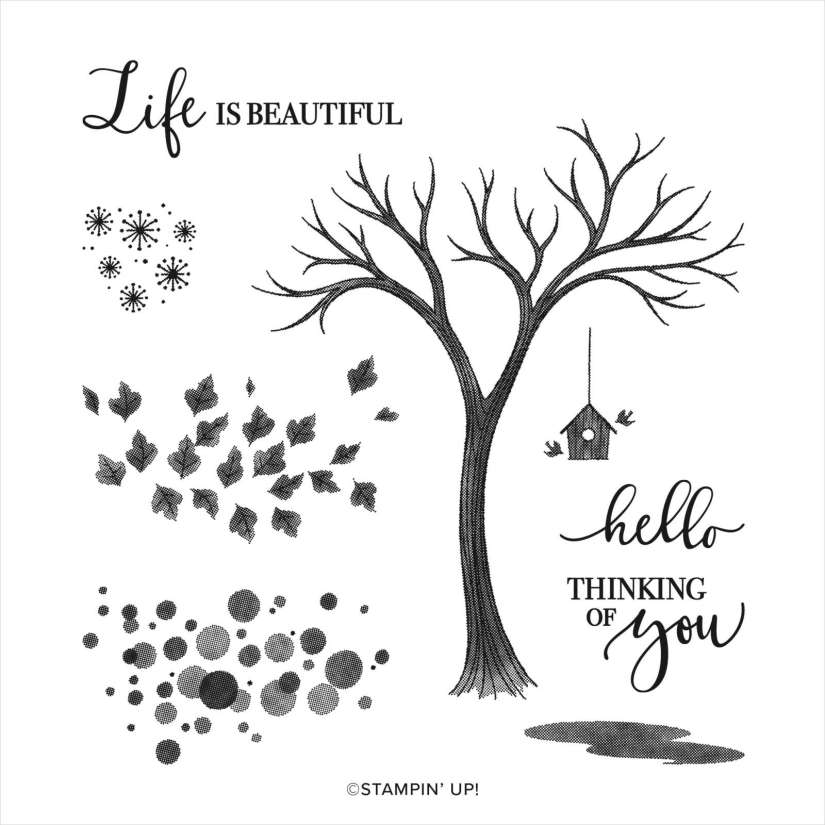
The stamp set used for these projects is the Sending Sunshine set seen -> HERE.

I hope you have a go at this technique. It’s a fun one to build up your coloured background.

In Australia? If you need any products to get creating these projects please stop by my store -> HERE. Thanks for your orders. Or you can contact me directly on 0439 844574.

Don’t forget to use the host code if ordering online. 9J63PU4C

Happy “rolling” 🙂

Jenny

cards, Catalogues, Stampin' Up!, Techniques, Videos

BUTTERFLY WATERCOLOUR WASH + VIDEO!

Today’s card uses a fun watercolouring technique.  I call it a watercolour wash.  It’s a great way of colouring your images freely without worrying about staying in the lines.  That’s so cool if you are not one for neat, “in the lines” colouring.

I have used the stamp set Positive Thoughts for this card.

You can check out the video below to see some tips in creating it.

Positive Thoughts is such a beautiful stamp set.  I particularly love the sentiments in it.

I hope you give this idea a go. Try it with different stamp sets.

Thanks for visiting me,

Jenny

cards, Catalogues, Stampin' Up!, Techniques, Videos

TASTEFUL TOUCHES EMBOSSED FEATHERS + VIDEO!

Today’s project is using the Tasteful Touches stamp set.  I love heat embossing and thought those feathers would look lovely in shiny silver.

Stampin' Up! Tasteful Touches Embossed Feathers

I have a video for you showing you how to create it all ready for Friday Flicks.  Check it out.

If you are receiving this blog post via email and the video is not showing then head to the post on my blog and you can view it there directly.  It is now on Youtube too so you can see it there.  (Be sure to subscribe if you haven’t already subscribed so you don’t miss out on any videos).

If you are in Australia and would like this gorgeous Tasteful Touches Bundle or any of the other wonderful products you can grab it now in store -> HERE.  Or contact me and I will take care of it for you.

Have a great day,

Jenny

cards, Catalogues, Techniques, Videos

LIFE IS BEAUTIFUL – DOUBLE LAYER CARD + VIDEO!

This card is one we made in class recently.  I wanted to share this video with you today to show you how to create it.

It is with the sweet Life Is Beautiful Stamp set and is using the Double Layer Technique.  That is using 2 layers of card mat that you stamp on and layer together.  The card was inspired by one I saw on Pinterest using the Sheltering Tree set.  It didn’t have a watermark and I couldn’t tell you who created it.  I changed it up a bit for this card though.

I found that it helped using the Stamparatus to stamp this to be sure to get a crisp stamping. It made it easy to re-stamp if I needed to.

I have the video below to see how you can create this card.


The Life is Beautiful stamp set has such lovely sentiments.

In Australia? Grab it in my store now -> HERE.

Please use the Host Code: TAWWBMRC

Or contact me directly and I can take care of your order.  Thank you so much for ordering. 🙂

Happy Stamping,

Jenny

cards, Catalogues, Stampin' Up!, Videos

CELEBRATE SUNFLOWERS SLIMLINE CARD + VIDEO!

Have you seen the Slimline cards around?  I have been wanting to give it a go.  I created a sweet slimline card with the Celebrate Sunflowers bundle.  


Earlier this week I did a Facebook Live on my page and shared how to create it. (Woo Hoo! I have now ventured in to LIVE videos. Eek!!). Follow along on my Facebook page ->  HERE.

I will post the video here just below,  But I have uploaded the video to Youtube so you can follow along.

If you get these blog post updates via email then the video might not show up in the post so go to my blog and you can view it there OR head to my Youtube Video -> HERE.  Be sure to subscribe to my Youtube channel too so you are notified when I post a new video.  I don’t want you to miss out on any inspiration.

Here are the measurements to create your own Slimline cards.

Card Base: 21cm x 18cm scored at 9cm   (8 1/2″ x 7″. Scored at 3 3/4″)

Card Mat: 20.4cm x 8.4cm (8 1/4″ x 3 1/4″)

White card: 20cm x 8cm (8″ x 3″)

I hope you get to make your own.

If you are in Australia and need to place an order and haven’t got a Demonstrator I would love you to shop with me. Head to my store -> HERE. Or contact me directly on 0439 844574

Have you got a lot on your Wish List?  Then it would be better value to join Stampin’ Up!  Pay $169 and get $235 of products of your choice.  Then every time you order you will get a minimum 20% discount. I would love to welcome you to my JEN’s INK team.  Head -> HERE for more information.

Happy stamping,

Jenny

cards, Catalogues, Stampin' Up!, Techniques

WEDNESDAY’S WOW! #109 – DIFFERENT CARDS WITH JUST A FEW CUTS!

Wednesday’s WOW! #109.  Today I have a cool tip for you.  How to create 3 different look cards by cutting one card piece in different ways.  I thought it was so clever and just wanted to share it with you.  It makes it very quick to put some cards together.

These cards are created by Stampin’ Up! artists using the Moving Along Stamp set but it’s a great idea that you could use with any stamp set.

Stampin' Up! Moving Along stamp set

You have the standard card size and a piece of Designer Series Paper which is the same for each card.  The Designer Series Paper is approximately 7.6cm x 12.7cm (3″ x 5″).  By cutting the white card you can create the different looks.

The Whisper White Cardstock is 9.5cm x 9.5cm (3-3/4″ x 3-3/4″)

1. The first card the white card is as is and the image stamped on the piece.   This is raised up off the card with Dimensionals.

2.  On the second card the white card is cut into four squares measuring 4.8cm x 4.8cm (1-7/8″ x 1-7/8″) and then stamped within the squares.  Each square is raised up off the card with Dimensionals.

3.  On the third card the white card is cut into three strips measuring (9.5cm x 3.2cm (3-3/4″ x 1-1/4″) and stamped. The stamped strips are raised up off the card using Dimensionals.

What a clever idea! I can’t wait to try this idea with some other stamps. I hope you find this idea helpful. If you try this idea be sure to send me a photo at jghayward@yahoo.com  I would love to see them.

What do you think of this fun Moving Along Stamp set?? I wish I had little kids to use this set.  It is so cute.

In Australia?  You can buy this set (or any of the other awesome products) in my store now -> HERE.  I would be happy to help you with your order if you would like me to order for you. Just drop me an email at jghayward@yahoo.com

Have a great day,

Jenny


cards, Catalogues, Stampin' Up!, Techniques, Videos

WEDNESDAY’S WOW! #106 – 6 DIFFERENT LABELS WITH THE LOVELY LABELS PUNCH!

Today for Wednesday’s WOW! #106.  Let’s look at the versatility of the new Lovely Labels Punch.

Did you know that this one punch can create 6 unique labels.  Pretty cool right!

There are 2 different label styles on the punch and each punch can punch 3 size widths in–1″ (2.5 cm), 3/4″ (1.9 cm), and 1/2″ (1.3 cm).   They create a different type of shape when they are punched depending on the size. That’s pretty clever.

To use the punch, cut the card to the width you want the label to be eg. 2.5cm, 1.9cm or 1.3cm.  Slide the card in to the track on the punch being sure to go right to the end of the punch – And then punch away! Easy as. 🙂

Want to see a video of this fun punch?  Check out the Stampin’ Up! one below.

See the pretty tags below.

The Lovely Labels Punch can be ordered on it’s own for $40 AUD. See it -> HERE. 

OR as part of the Lovely You Bundle for $73.75 AUD.  See it -> HERE.

Don’t forget it’s Bonus Days.  Grab your $9 voucher to redeem in August for every $90 order you spend in July.  It’s a great way to spread your savings – and save!

If you are in Australia I would love to help you with your order.

You can order online at the links above or you can contact me directly on email jghayward@yahoo.com and I will place the order for you. Every order I send a little Thank You card and something little to say Thanks.  I do appreciate each and every order.

Have a great day,

Jenny


cards, Techniques

WEDNESDAY’S WOW! #103 – WHICH WAY TO FOLD YOUR CARDS??

Wednesday’s WOW! #103.  I get asked this question so many times so I thought maybe it’s a question you have.  Which way do you fold your cards?? Inwards or Outwards after scoring???  I thought I would talk about this today for our Wednesday’s WOW!

I have my opinions but I did a little search on the internet to see what others might say. I have to say there were different opinions.

So which way do you fold your cards?  Do you fold them inwards.  By that I mean when you have scored the card and it is flat on the table. You have an indentation on the card where you have scored it. Do you take both sides and fold the sides in towards each other.  Or do you fold the sides away from each other and fold it outwards?

Personally I fold the card outwards, so the scored indentation is on the outside.

Firstly, before I tell you why I fold it that way.  Most crafters that I looked at online folded it this way.  Perhaps I missed some if you find it the other way.

I fold it this way as when you score the card you are breaking the tissue of the card.  This will enable some “give” to the card to be able to fold it.  On another note, scoring the card will give you a crisper fold.

If you fold it inwards you then end up with the underside of the card as your front.  I don’t know about you but I find that the cut edge has a little raised edge and I don’t like the look of that.

Maybe you have other reasons why you fold your card the way you do.  I would love to hear it.  Drop me a comment.

Now since we are on the topic of scoring your card.  The other question I get asked a lot is What do you cut your card with?? I use the Stampin’ Up! Paper Trimmer.  It has a cutting blade and a scoring blade making the job of preparing your card very quick and easy.  Everything is contained in one and you don’t have to muck around with different tools.

You can see the Paper Trimmer -> HERE.

Hope that helps you.

Have a great day,

Jenny

cards, Catalogues, Stampin' Up!, Techniques

WEDNESDAY’S WOW! #102 – EMBOSSED BREATHTAKING BOUQUET!

Wednesday’s WOW! #102 – Creating Feathery Ribbon.

I have a fun technique to show you today.  I wanted to show you how you can create these wispy, feathery threads on your cards. You can see it on this card below.

Check out the feathery threads.  This is a really cool technique. I have outlined it below.

This is using the Gold Edged Ribbon.

Trim off the Gold edges of a length of the ribbon.

Then gently pull out the threads of the ribbon to wisp them and give that feathery look.  It will be easier to start from one end. You can use the Piercer or a large needle if that helps. You pull off the small threads running across too.

I found it helpful too to hold the centre of all the threads as you can, to keep them all together.

Once you have the threads, hold the threads carefully together and tie them in a bow. Trim the length as you like.

+++

It’s a cool effect isn’t it? Vanessa showed us how to do this when we made the card at our team meeting a few months ago.

What do you think?  It’s a cool effect don’t you think?  Must try it again.

Below is a PIN-IT image for you to pin to Pinterest to have on hand.

+++

I will tell you more on how I created the rest of the card too.

The card is using the retiring Breathtaking Bouquet which is a background stamp from the current Occasions Catalogue.

This is actually a one layer card but has so much shine.

The Breathtaking Bouquet background is stamped on  the front of the card with versamark and then heat embossed in Gold Powder. 

It is also heat embossed in Gold on to Black card too.  The black card piece is trimmed around some of the outline of the flowers. Then the feathery bow was adhered with a glue dot on the sentiment piece.

This large Background stamp is still available.  Check it out in my store now -> HERE.

Thanks for looking.

Jenny


cards, Techniques

WEDNESDAY’S WOW! #101- CREATING DEPTH WITH COLOURED IMAGES!

Wednesday’s WOW #101.  Today I wanted to show you a little tip with colouring your images and how to create depth.

Firstly though.  Last Wednesday I had a little Giveaway.  Congratulations to Lynne C for winning the Little Ladybug Stamp set.  I will be in touch with you soon.

Back to our WOW!

I recently created this card with the retiring Accented Blooms set.  I wanted to give this a little ink up one more time before it retires.  It’s been a while since I have played with it.

I coloured it with the Stampin’ Blends.  I cut the white card with the Stitched Rectangles Dies But I added a little “new” with the Ornate Layers Dies by cutting the Calypso Coral card mat.

But this is what I wanted to show you.  You can give the appearance of depth to your image in a very simple way. Take a closer look below.

When I finished colouring I outlined the image with a lighter colour Stampin’ Blends.  This one I used the Light Pool Party.  I have used Light Smoky Slate at times too and even Petal Pink.  It just depends on the look you want.

I hope you try that trick next time you colour your images.

Thanks for visiting me.

Have an awesome day wherever you are.

Jenny