cards, Catalogues, Stampin' Up!

WEDNESDAY’S WOW! #131 – PICK A PUNCH!

Wednesday’s WOW! #131 – Pick a Punch. I can’t believe how many new punches there are in the new Mini Catalogue. Punches are so quick and easy to use and great for any level of crafter (or any age). And many of these new ones are so cute!

The new punches co-ordinate with new stamp sets available. You can buy them as a bundle with the stamps or individually. I thought it would be fun to check them out.

Here are all the new ones below. (This image is taken straight from my store so you will be able to head there to see them more).

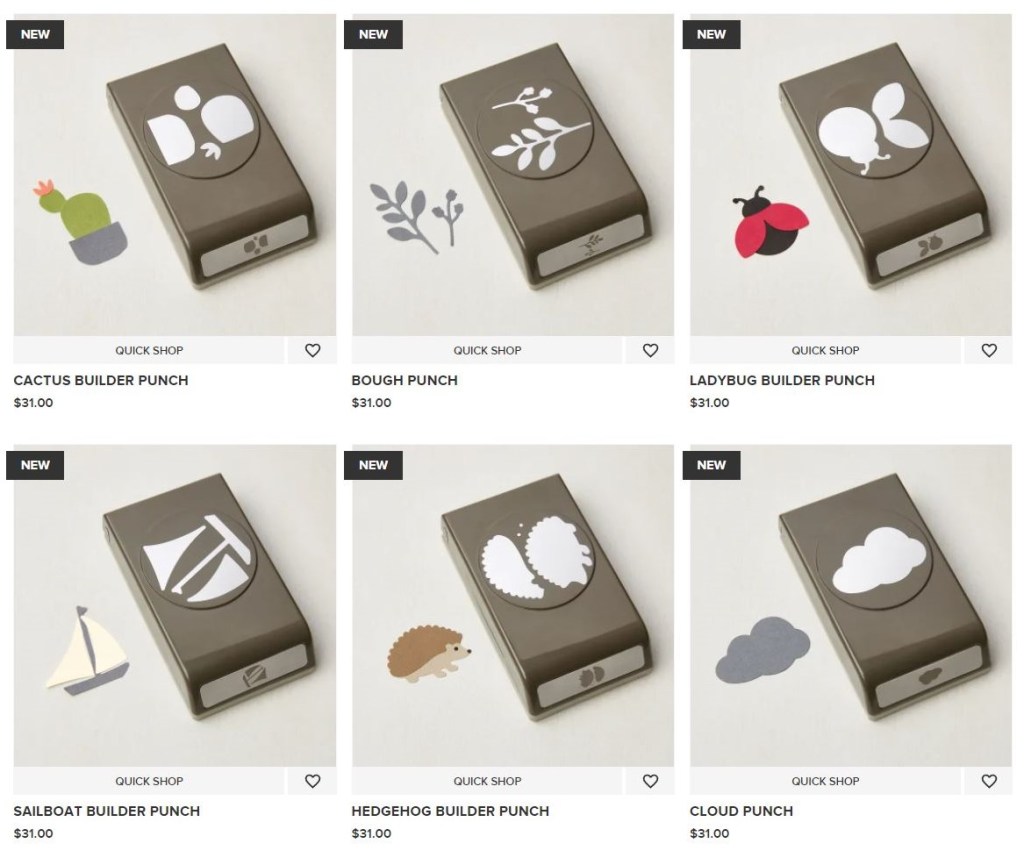
So what is your favourite new punch? I can’t choose.

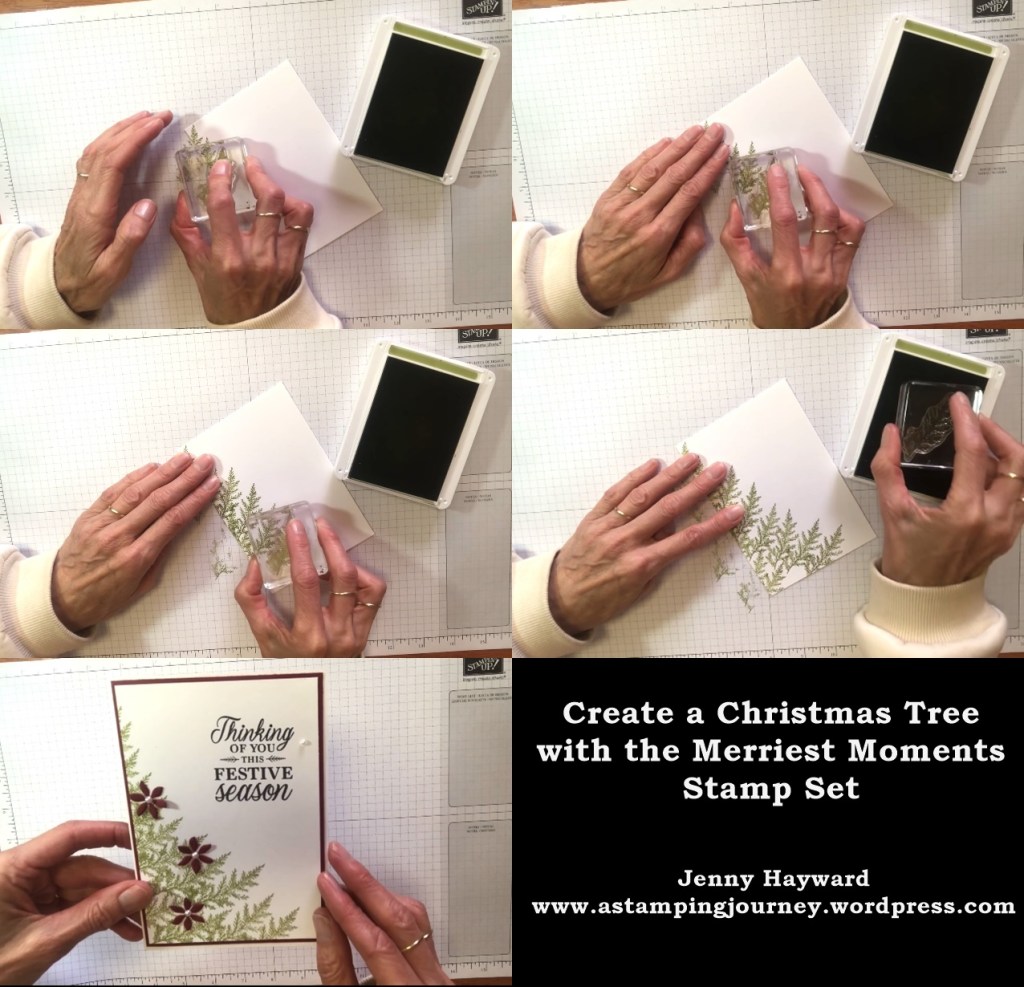
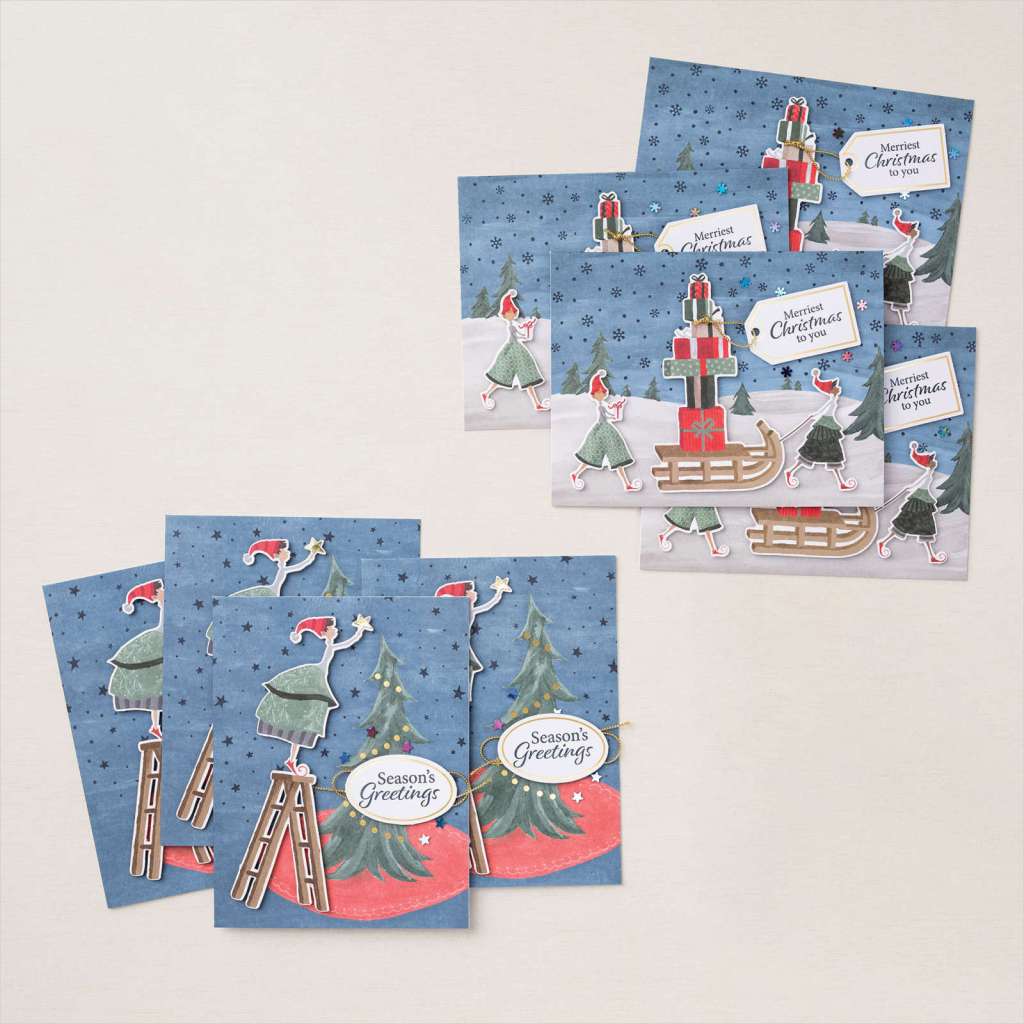
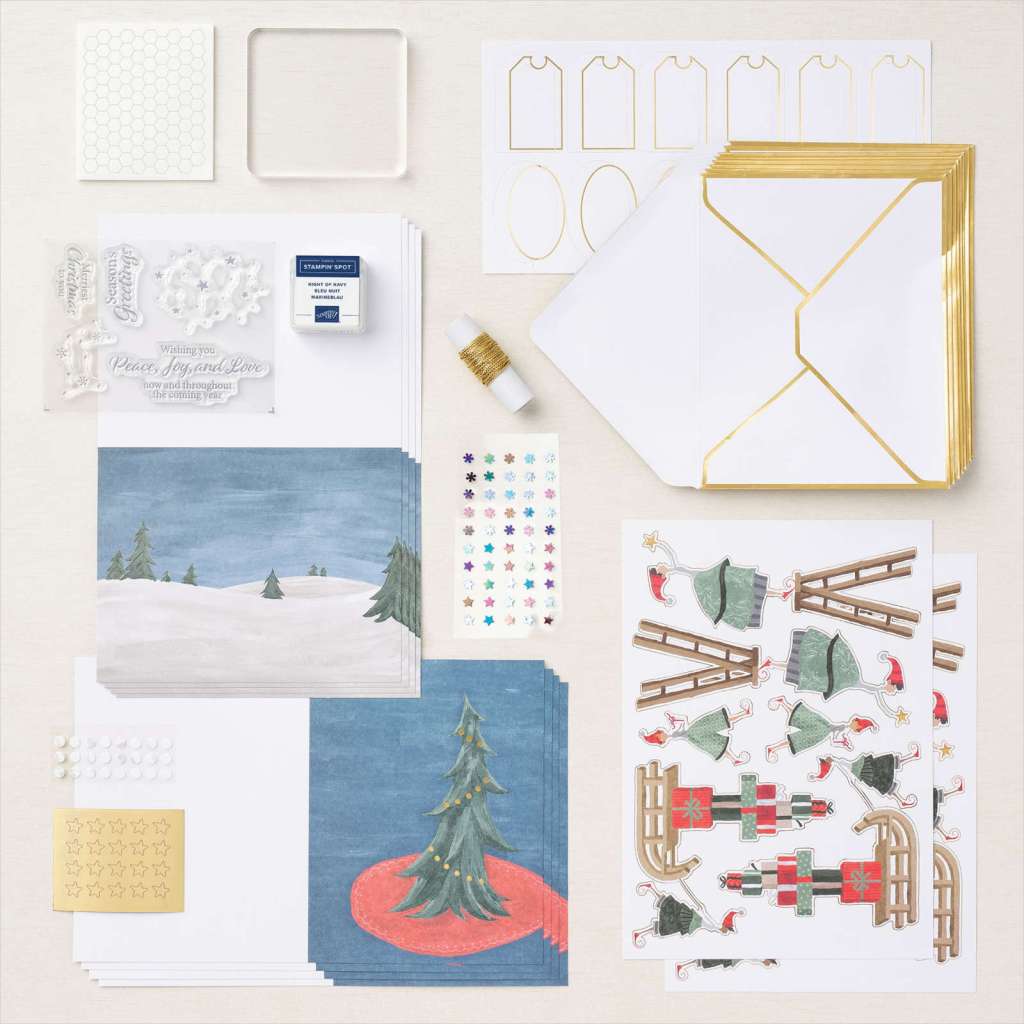
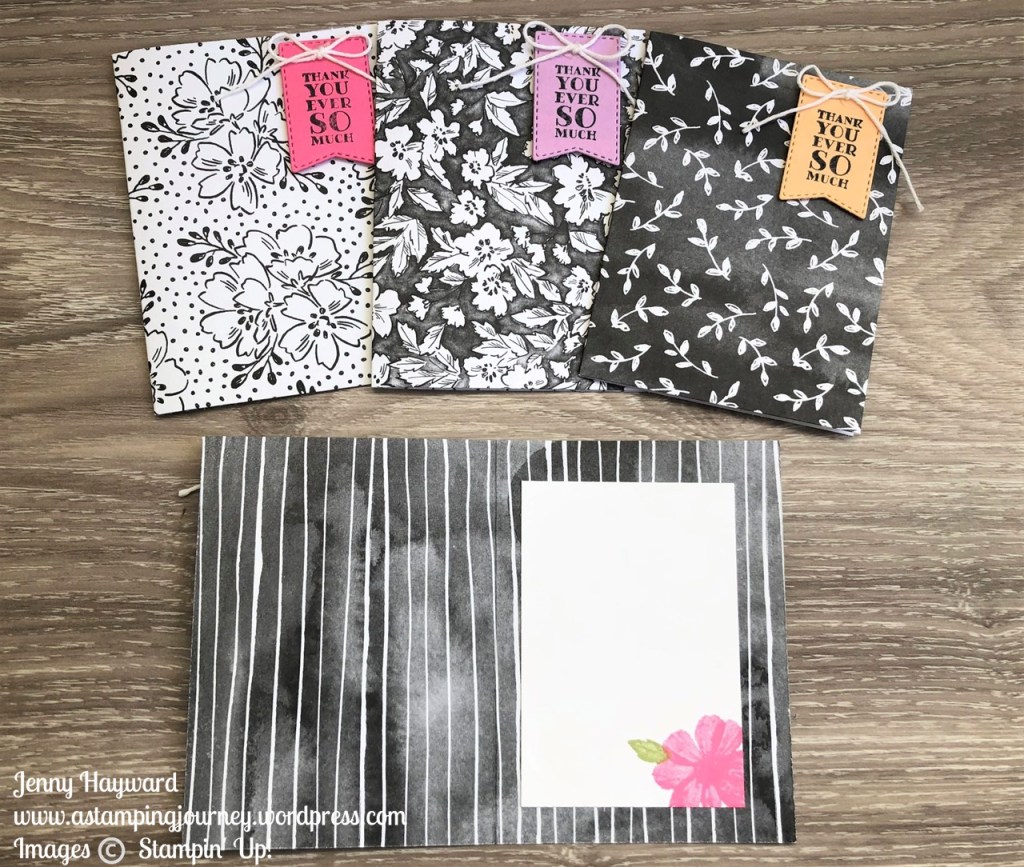
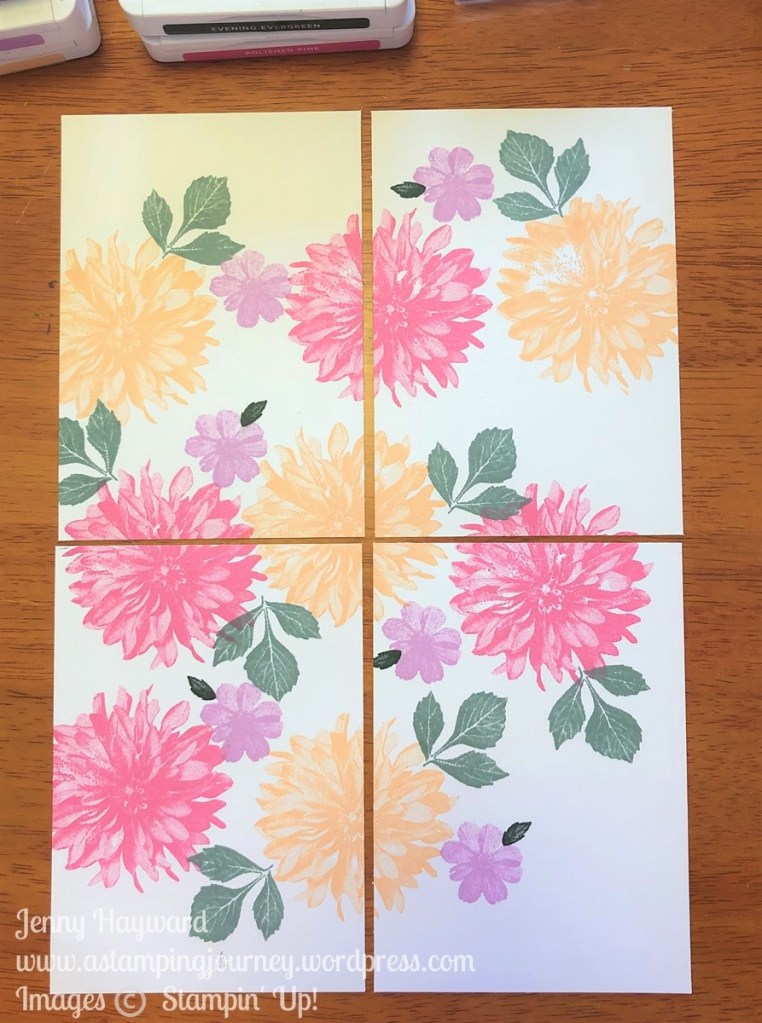
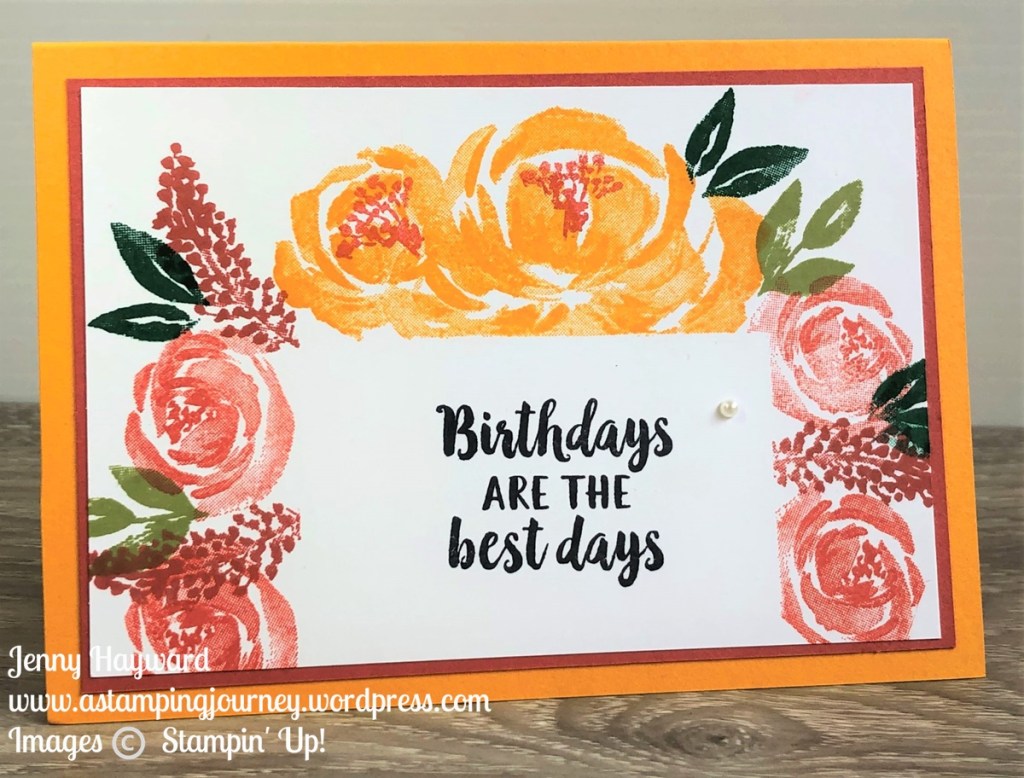
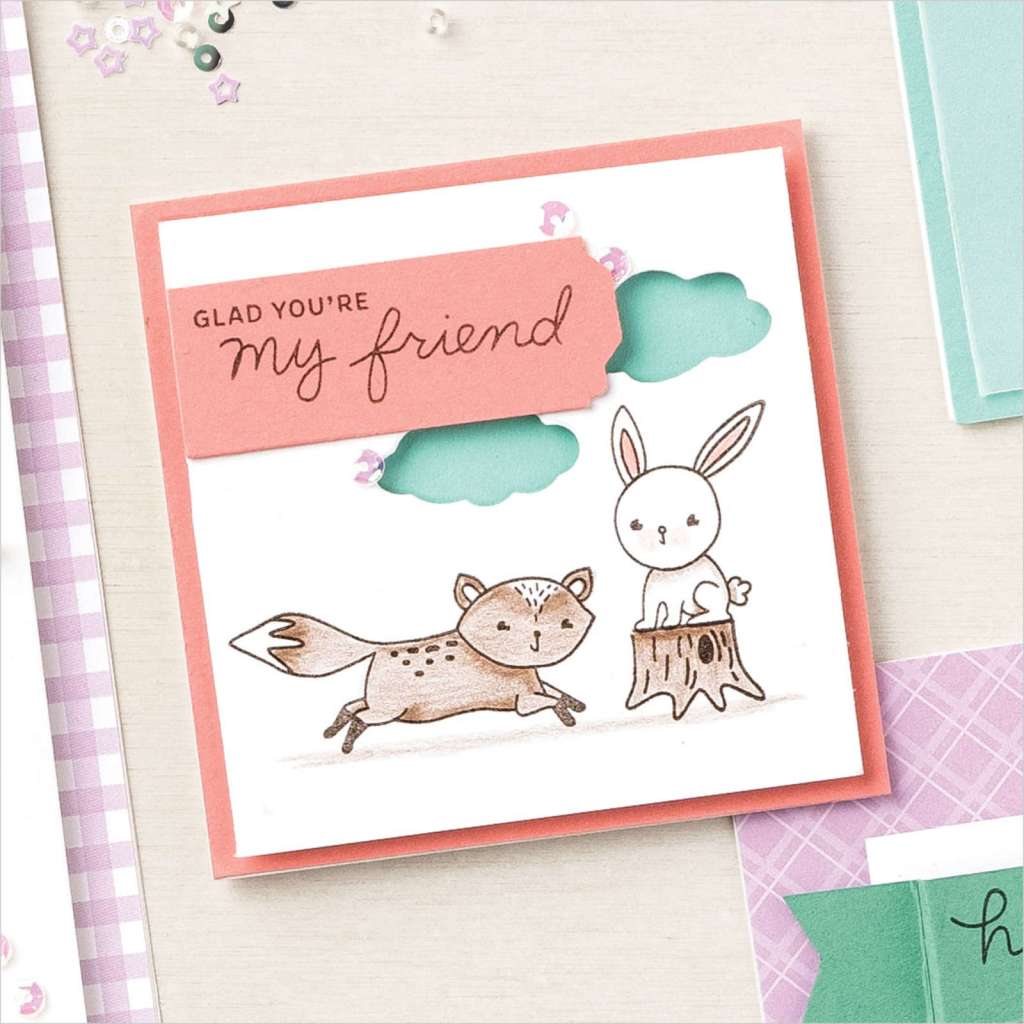
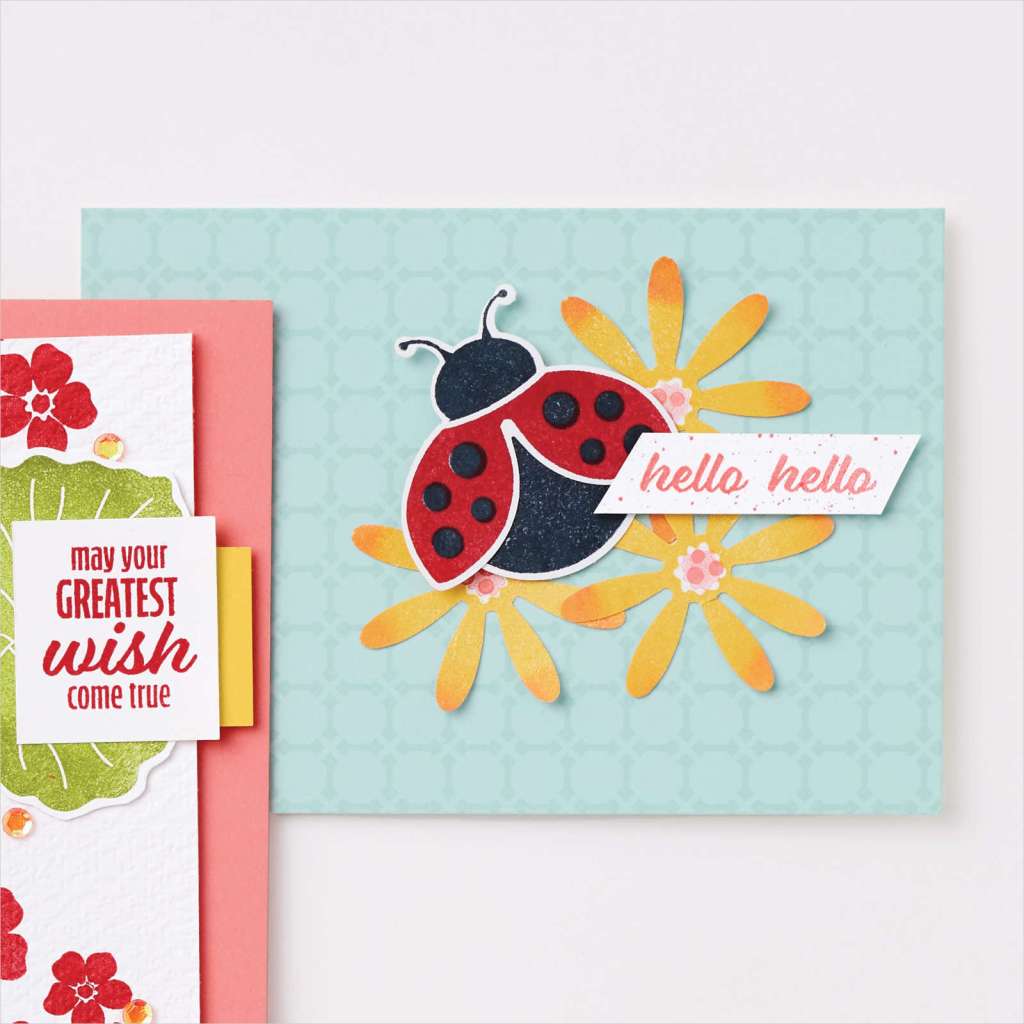
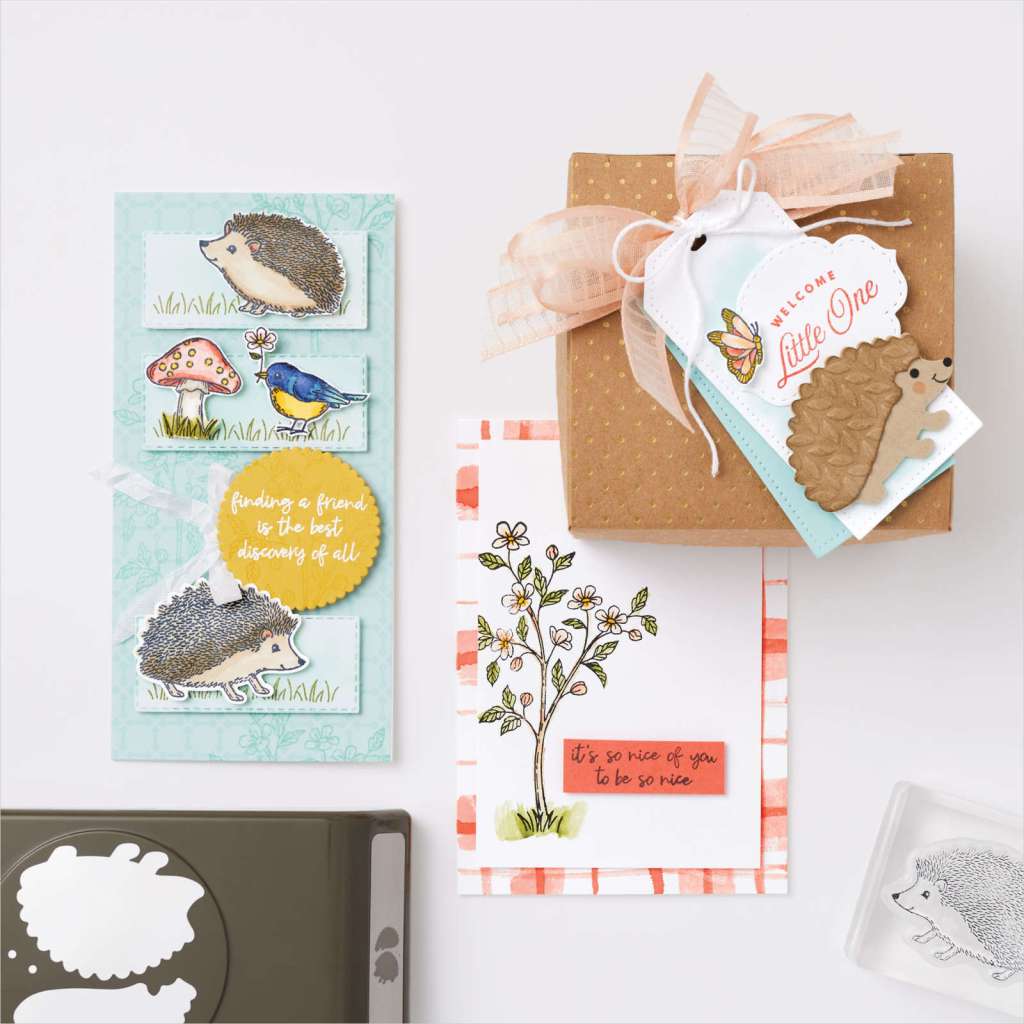
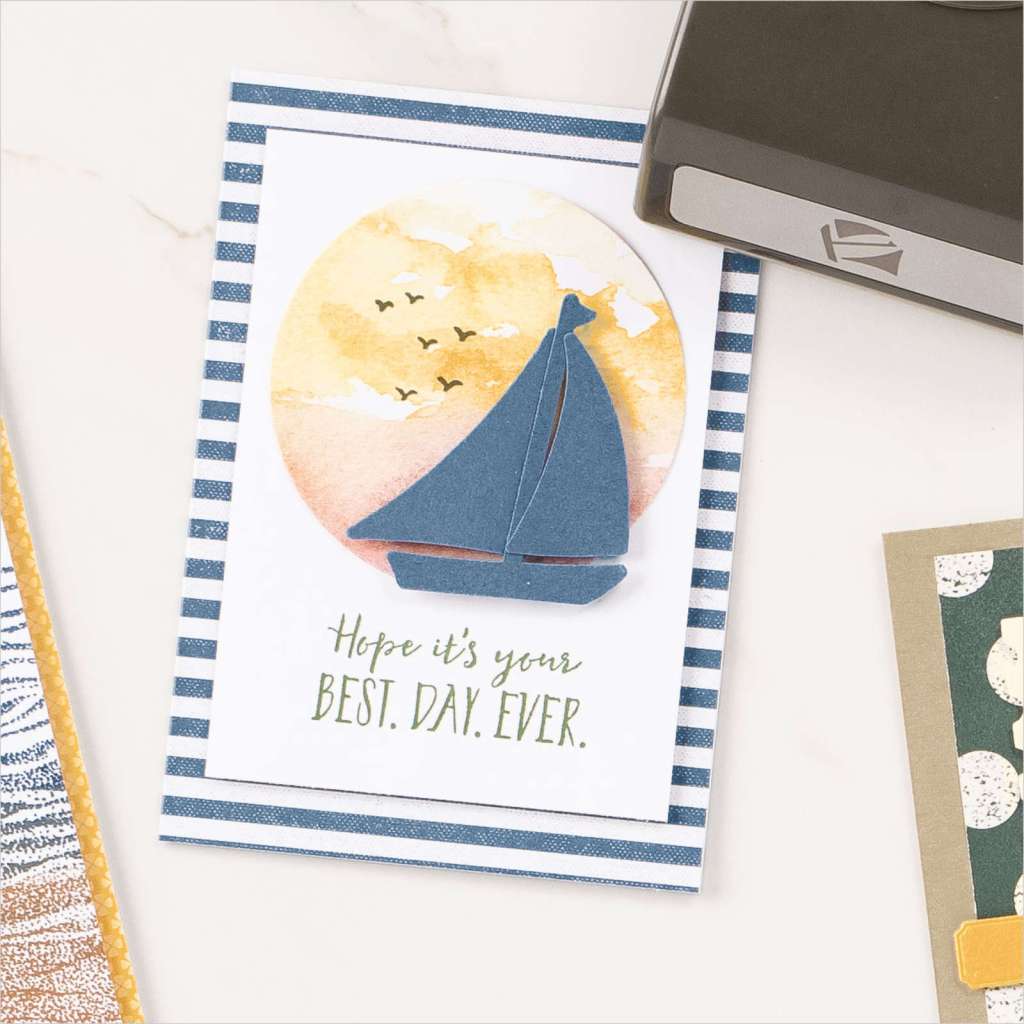
Here are some samples of just some of them to see them in action. (samples created by Stampin’ Up! artists).

See these and all the other great punches in my store -> HERE. If ordering there please use the Host Code: NR7MK2VR. Don’t forget to pick your Sale-A-Bration item with your qualifying orders over $90 or $180.

If you need help with your order or like me to place it for you please don’t hesitate to contact me at jghayward@yahoo.com

Happy Punching,

Jenny

3D projects, Christmas, Stampin' Up!

WEDNESDAY’S WOW! #130 – EXTEND YOUR DIECUTS!

Wednesday’s WOW! #130 – Extending your diecuts to make them larger.

This is a tip I use so often. It works well with punched out shapes too. If you have a die or a punch that you wish would be just a little larger, cut the piece in half and separate the pieces to adhere them under the images or sentiment.

This is what Stampin’ Up! have done in the tag on page 3 of the Mini Catalogue with the Christmas Season bundle and the Painted Christmas Designer Series Paper -(and it’s a gorgeous tag they have created too).

Try that with your diecuts or punches next time.

Happy stamping,

Jenny

cards, Christmas, Tutorials

WEDNESDAY’S WOW! #129 – A MERRIEST MOMENTS CHRISTMAS TREE!

Wednesday’s WOW! #129 – Creating a Christmas tree with the Merriest Moments stamp set.

I have shared a lot of projects with the Merriest Moments bundle recently. This card was one shown in my 5 Ways with the Merriest Moments Video I shared in a recent post. Just back a few posts to find it if you missed it.

For this card I wanted to show you how to create the Christmas tree with the “branch” stamp. If you are on my Facebook page or Instagram I share a quick video for it. You can check that out but I will share a step-by-step image for you.

You can shop the Merriest Moments Bundle in my store now -> HERE. Australian residents. ($94.50 AUD) Please use the Host Code: F4PDXAY7

Or contact me directly.

BONUS: During October I’m extending Sale-A-Bration. Choose an extra gift with your orders over $90 AUD. Get in soon to get your pick.

Have a great day,

Jenny

cards, Stampin' Up!

WEDNESDAY’S WOW! #128 – SPARKLE WITH THE CHRISTMAS WHIMSY KIT!

WEDNESDAY’S WOW! #128 – Christmas Whimsy Kit. It’s even better than it looks!

Have you noticed the new Christmas Whimsy card kit just released? I have to be honest I saw it but passed it by BUT… I just checked the video and it is WAY better than it looks in print AND it sparkles! Check the video to see what I mean.

This kit ($33 AUD) contains all you need to create 8 cards. (4 each of 2 designs).

What I discovered about this kit?

  • The dimension to the images. I thought they were all one layer cards.
  • The added stamping
  • Sparkly elements.

This are so cool! These 8 cards would not take long at all to assemble.

Here are the contents in the kits AND the Christmas Whimsy Stamp set.

The sentiments in this stamp set are so lovely with such a nice font. You could use this stamp set over and over on other cards once these cards are finished.

I think this is a great set to get those quick Christmas cards together.

In Australia? You can order them in my store -> HERE. Please use the Host Code: GS9S4AY9

OR contact me directly.

Have a great Wednesday,

Jenny

Sale-A-Bration is ending soon. Be sure to grab your Free choice with your order OR if you have so much to get it’s better value to join especially with picking an added bundle. Don’t wait!

Join Stampin' Up! Australia
cards, Stampin' Up!

WEDNESDAY’S WOW! #128 – SENDING CARD LOVE!

This might seem an unusual one for a Wednesday’s WOW! But I think it fits nicely. We make cards so why not send them out.

Wednesday’s WOW! #128Send Card Love. Not only does it give us the warm, fuzzy feeling but it really makes others day. We need to send more cards.

I can vouch for this. I have received some gorgeous Card Love recently. I wanted to share them with you but also to make a point to send those cards out. It’s nice to know others are thinking of us.

So can I challenge you on this Wednesday. Grab a card or two you have in your stash. I know you have them. If not then make 2 of a card. Then send them out. I know that it will bring a smile to someone’s day. We need to do more of this.

Thank You to so many of my friends who have sent me some “love in a card” recently. It made my day. 🙂

Have a great day,

Jenny

cards, Stampin' Up!

WEDNESDAY’S WOW! #127 – BEAUTIFULLY PENNED SWEET PAPER NOTES!

It’s Wednesday WOW! #127 and Beautifully Penned Paper Week. What a double bonus!

What about making some cute little Paper notes with pretty papers. I used the Beautifully Penned Designer Series Paper for these. They are so easy – and sweet!

These are little Customer Thank You notes for those of you who ordered this month. Are you getting one?

HOW TO CREATE YOUR OWN

Cut the paper to 15cm x 10cm. Score at 7.5cm. (6″ x 4″ score at 3″). It’s that easy!

I added a white card insert inside to write on. The small flower from the Delicate Dahlias stamp set (another Sale-A-Bration choice) was stamped inside to match the sentiment tag I added on the outside.

The sentiment is from the Many Messages stamp set and diecut with a die from the Tasteful Labels Dies.

This Beautifully Penned Designer Series Paper is a free choice for Sale-A-Bration with orders over $90.

You can see more of the prints on this paper -> HERE.

In Australia? I would love to help you with your order. You can contact me directly on 0439 844574 or head to my store now -> HERE and order. Don’t forget to pick up your Sale-A-Bration choice. Please use the Host Code: SN2FPKZB

Have a great day,

Jenny

cards, Catalogues, Sale-A-Bration, Stampin' Up!

WEDNESDAY’S WOW! #126 – 4 CARDS FROM ONE SHEET!

Wednesday’s WOW! #126 – Create 4 cards from one sheet of white card.

This is a fun twist on the one sheet wonder style of cards. And it is SO EASY! This is great if you need some cards in a hurry.

For this version I haven’t stamped over the entire sheet of card. To make it easier first make a mark in pencil on the halfway point on each side. That can help you visually where to stamp.

I have used the Sale-A-Bration set Delicate Dahlias for this one and used the new 2021-2023 Incolors – Fresh Freesia, Pale Papaya, Polished Pink, Soft Succulent and Evening Evergreen.

Start roughly in the centre of the card and stamp outwards from there. Using the different images and different colours. Don’t completely stamp the full card.

Then cut the card in quarters.

You will need to trim down the stamped card pieces for the front of the card. Trim off 4mm or 1/8″ on the width and the length. If you want to add another card mat under the stamped piece you will need to trim an additional 4mm or 1/8″. I just kept these cards simple.

The sentiment is diecut with the Tasteful Labels Dies. A silver banner is diecut from the Be Dazzling Specialty Paper also available as a Sale-A-Bration choice. I added bling of course with the In Color Jewels.

These cards are going out to new team members this month. Do you want one?? Come and join in with my JEN’s INK Team. It doesn’t matter if you don’t want to “demonstrate” but I know you would love the discount on your stamping supplies and you will enjoy the fun we have. 🙂

It’s awesome value this month and in September with Sale-A-Bration. You pick an additional free bundle on top of the already great value.

READ MORE -> HERE.

Have a great day,

Jenny

Are you in Australia and need supplies?? Head to my store -> HERE to shop Please use the Host Code: SN2FPKZB

or contact me directly.

Stampin' Up!, Techniques

WEDNESDAY’S WOW! #125 – STAMP WITH YOUR BLOCKS!

Wednesday’s WOW! #125 – Why not stamp with your clear blocks.

You might have tried this. I have to say I used to do this a while back to create some cool backgrounds but I forgot about it. I was reminded of this from Stampin’ Up! recently.

Use any size block. Try different ones even on the same card.

These project were created by Stampin’ Up! They have used the same stamp set (The Biggest Wish) in other languages too on these card.

Simply tap your block lightly on the inkpad and press on to your card. It will be patchy but that’s part of the fun effect.

If you want a multi coloured effect, ink up part of the block in one colour and the other part in another colour. Or ink it up all in one colour and sponge the edges or other areas on the block. You can lightly spritz the block with water too to give another different effect. Be sure to stamp this on Shimmery White card or Watercolor card if you are using the water.

Have fun with it.

Have a great day,

Jenny

cards, Catalogues, Stampin' Up!, Videos

WEDNESDAY’S WOW! #124 – STAMP BEFORE YOU STICK AND OTHER STAMPING TIPS!

Wednesday’s WOW! #124 – Stamp before you stick.

I get asked this question a lot. Do you stamp before you stick? Do you stamp before you punch or diecut? Check the video for the answer that might help you and there are some other stamping tips to help you out.

If you are a long-time stamper you might know these already but there might be something you didn’t know. If you are just starting out in your stamping journey then I think you will find this helpful.

Sara (the Stampin’ Up! CEO) shares the tips in this video and she is mentioning the new kits but these tips will help you with any projects you create. Of course any of these kits or other products are available in my store.

Tell me what you found helpful in this video.

Would you like more videos and stamping tips? Let me know.

I have shared many already. Just click on the “tag” stamping tips or videos or techniques. You might be surprised what you will find.

In Australia? You can shop in my store anytime -> HERE.

Please use the Host Code R3RKJZNW

Or contact me directly on 0439 844574

Happy Stamping,

Jenny

cards, Catalogues, Classes, Stampin' Up!

WEDNESDAY’S WOW! #121 – MASK YOUR SENTIMENT!

Wednesday’s WOW! #121. Sharing a tip for you on masking your sentiment area. This creates an “edge” for your surrounding stamping and creates a white space for your sentiment that helps it stand out without even raising it on a separate punch or diecut. It creates such a cool effect.

We created this card in my Retiring Class last week. I love the Beautiful Friendship stamp set and I’m so sad it is leaving. This card is not my original idea. I saw it on Pinterest by Nancy Ferb.

I have used the Mango Melody for the card base and Terracotta Tile for the card mat.

You create the mask for your sentiment area by adding a Sticky Note on the white card. I have shown it below. You can place it anywhere you like. Then stamp around the Sticky Note. When you are done remove it and then you have a “block” area to add the sentiment.

Sadly this stamp set is no longer available. 😦 They go quick when they are retiring.

Don’t miss out on any other of the Retiring Items. Only 2 weeks left. Check it out -> HERE.

Check out the Clearance Rack too for some huge discounted items. See it -> HERE.

With your orders I’m sending out some of my Hand-made cards. I have lots to give away. That’s in addition to the other little gifts I send out.

Happy Stamping,

Jenny