Do you get stuck making a card thinking how will I put this card together? Well today I thought I might give you a few tips for Wednesday’s WOW! #20.

When I get stuck creating a card firstly I have a look through my stamps to find one I might want to stamp with. With a new catalogue and new products that’s often easy. Once I choose the stamp set I then turn to card sketches to help me. I think it’s hard when you just look at blank card and have no idea what to do with it. Today I thought I would go through a few previous cards I have made and go through the card sketches. Full details can be found on the blog post which I will add the link.
BUT WHICH CARD SKETCH?
I get a few emails from different Sketch blogs. My favourite is Freshly Made Sketches but I also follow Clean and Simple Stamping.
I also have a board on Pinterest which I pin Card Sketches too that I come across and the design I like. You can check out that board HERE. Follow along if you like to.
I will talk you through a few sketches and how the card resulted.
BRIGHTLY LIT
This was a new set at the time and as I was not sure what to do with it so I looked up a few sketches.
When choosing a sketch I look at the stamps in the set and then look at some sketches to see if some of the images in the set would work with the elements in the sketch.
The layer underneath could be paper or card. I chose paper for mine.
The rectangle shape is where you can stamp your images in the space.
The Star shape can be any shape. The thing with sketches is that it doesn’t have to be the exact shape or even the same position. I slid it across and used it for the sentiment.
You can see the post for this card -> HERE.


SITTING HERE

I loosely based this card on the above sketch. The sentiment banner I slid to the top and stamped the sentiment directly on the card. I added a few elements to this card that wasn’t on the sketch like the Glimmer paper strip and the bow.
You can see the full post for this card -> HERE.

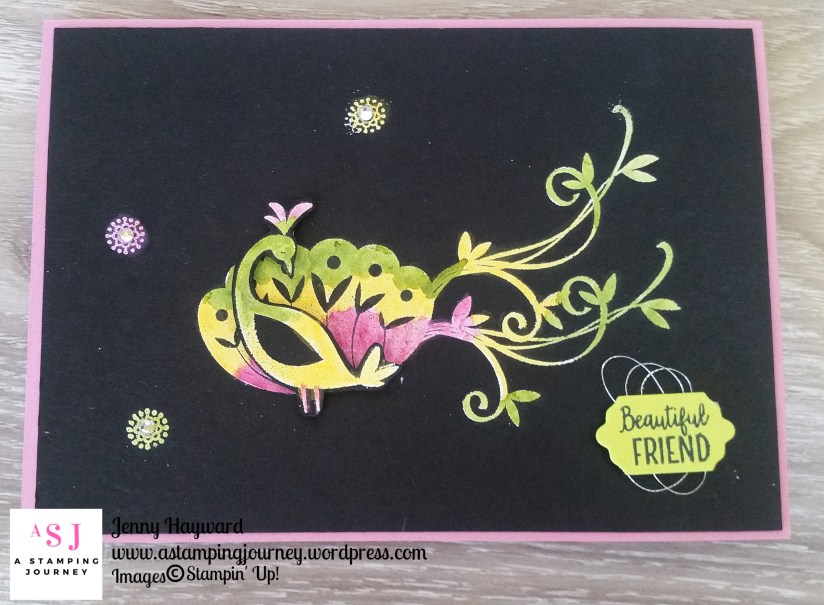
A COLOURED BUTTERFLY

I like simple style sketches. This was an easy sketch to follow and I think is a little different by having your stamped piece off-set on your card. For this I used some Designer Series Paper. Once again the star shape can be any shape. I had been playing with colouring this butterfly so this worked here. I added an additional card mat being the Gold Foil to lift the paper. The sentiment could be stamped directly on the piece but I stamped it separately and raised it off the card.

You can see the full post -> HERE.
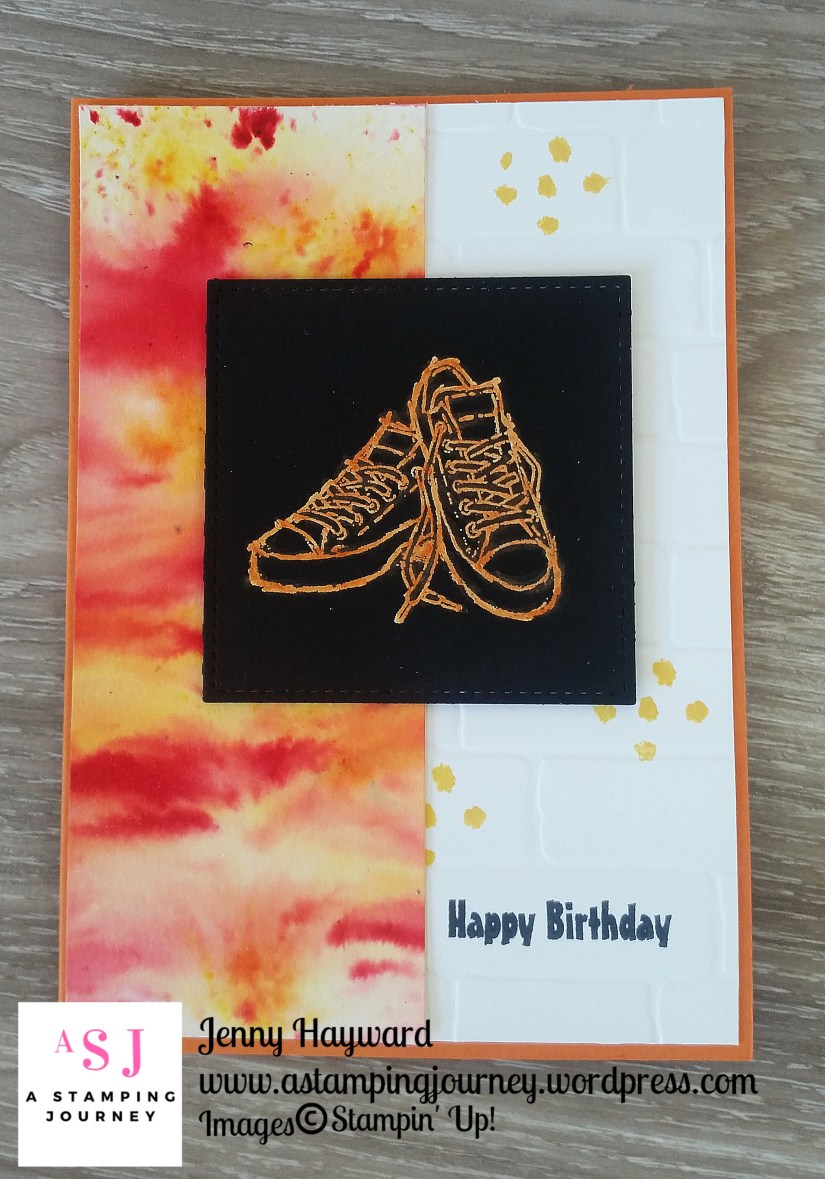
SUNBURST
This card I particularly wanted to show you that elements on the sketch can take any shape. Don’t be scared to change the shape or even move elements. The sketches are spring-boards to ideas to start your card.

For this card the larger square was a piece of Designer Series Paper. It could be card though. For the tag shape I created a trimmed down starburst using the Starburst Thinlits. I slid down the extra elements a little lower to make them fit better.

You can see the full card post -> HERE.
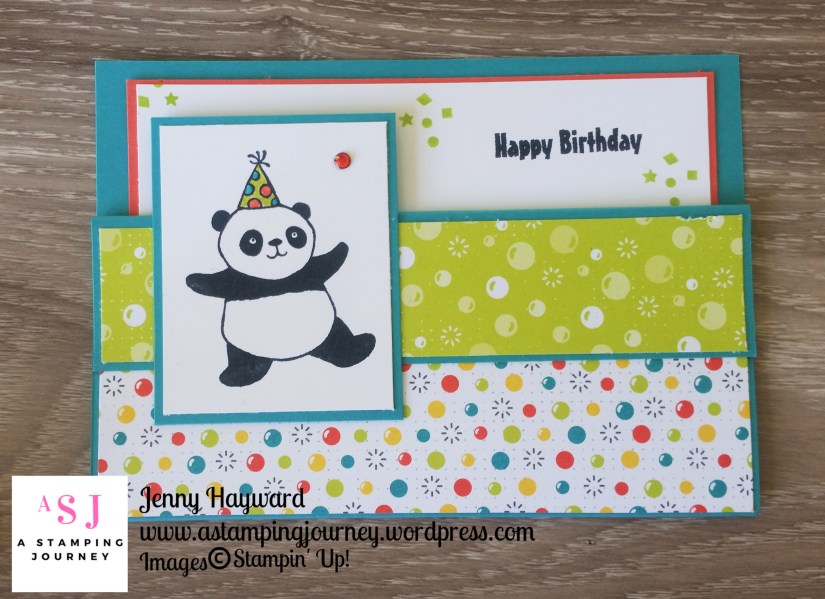
CAROUSEL BIRTHDAY
A different sketch blog site other than Freshly Made Sketches is this one, http://www.ilovecardsketches.com. This site is not available any more but I had the sketch on my Pinterest board to use. The sketch has several layers which I used with Designer Series Paper with the larger rectangle. The vertical strip worked for the stamped image in this case. The sentiment banner was placed up in the top right. If you were to use this sketch then you might want to slide a few of these elements around and that works too. It’s about playing around with them.


You can see the full post -> HERE.
———–
Is this helpful to you?? I hope so. Why not drop a comment to let me know or you can click “like post” which is at the end of the post.
If you want to see more sketches and cards then click on the tag at the bottom for card sketches or sketch challenges and it will take you to other posts.
Thanks for getting through all this. I know there was a lot of information but hope it was helpful. To come back to this post you can PIN the image at the top.
Have a great day,
Jenny