You have probably heard a lot of talk of the Stampin’ Up! Onstage event last weekend. You might have even gone yourself at one of the event centres. I went to the Onstage in Sydney, Australia. It was awesome connecting with all my Stampin’ Up! Friends again rather than see them on a screen or on Social Media. It fills your cup. 🙂
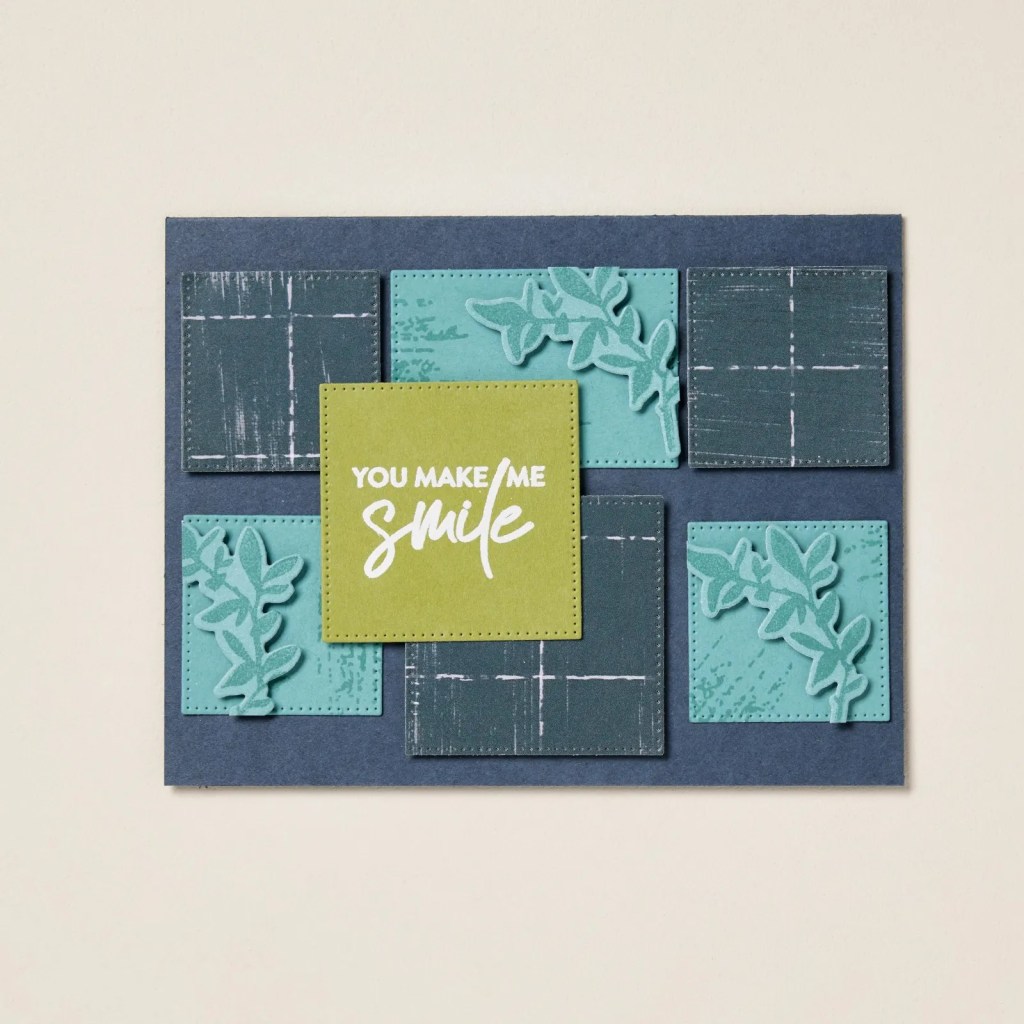
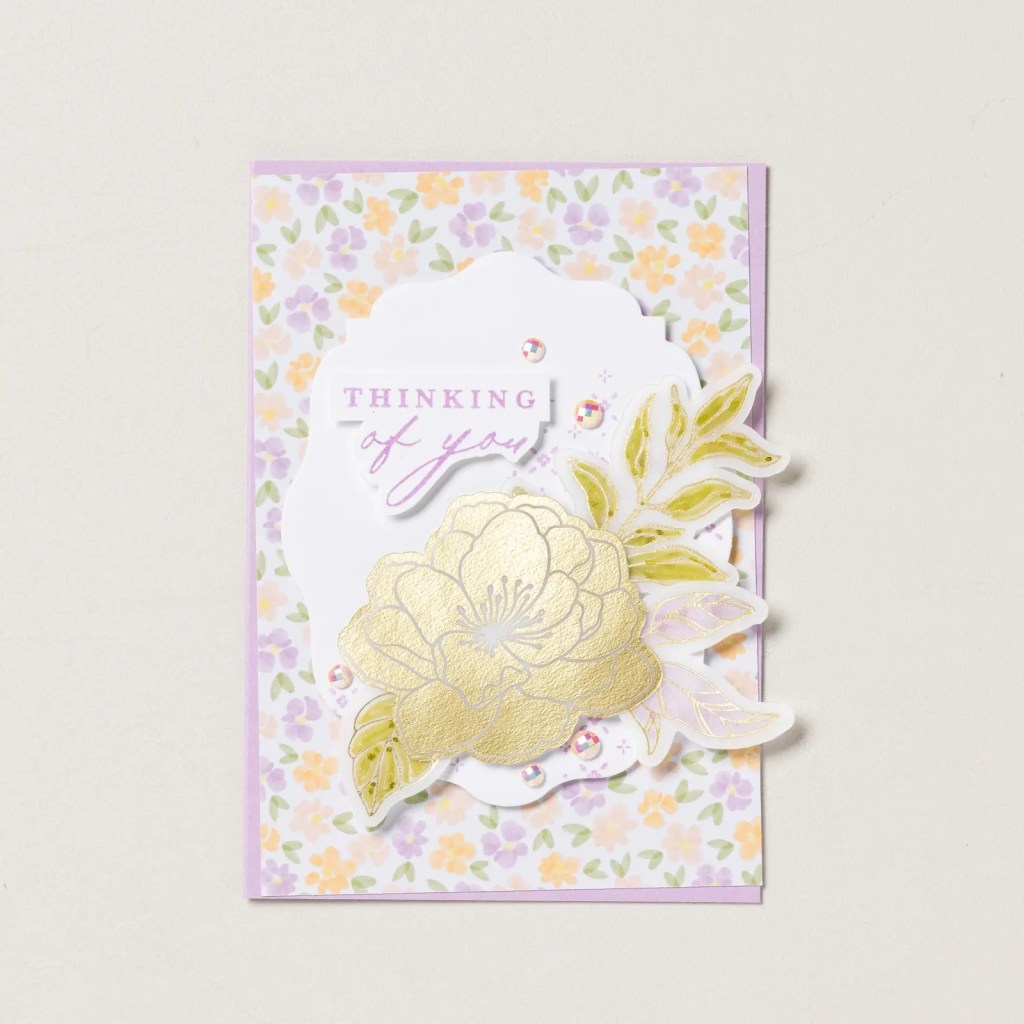
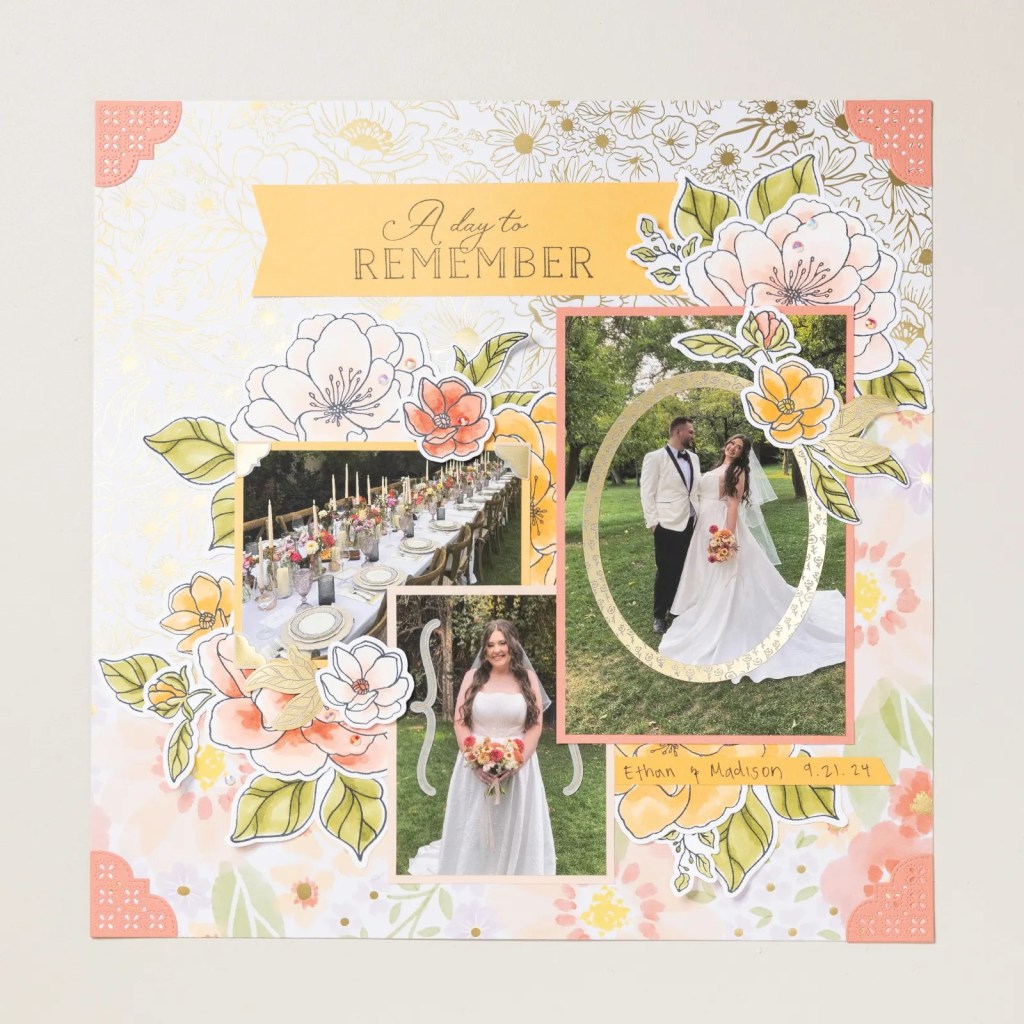
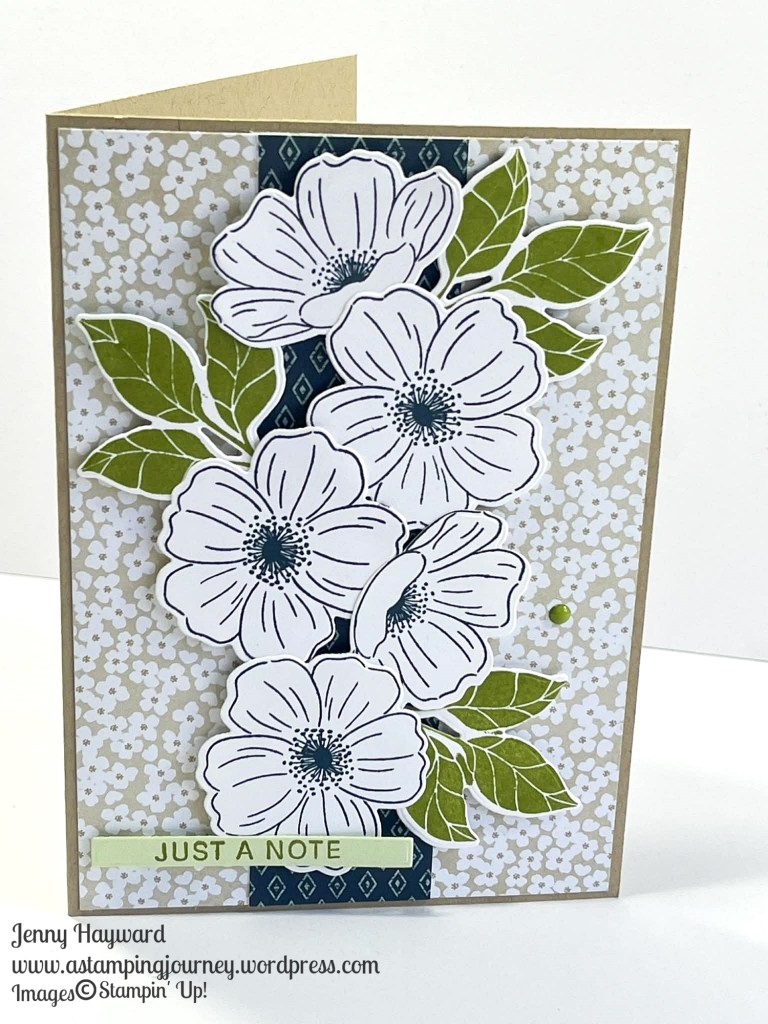
I put together a Video Sharing the Swaps I receive. You could see photos of the Swaps. (And I will share them in the next post later) but showing them in the Video I can look more closely at the details and look at all that extra texture. I share some Sneak Peeks and news too. And What is happening in my World. Changes are coming! (I will add that further below too).
You can see that Video -> HERE (if it doesn’t show below)
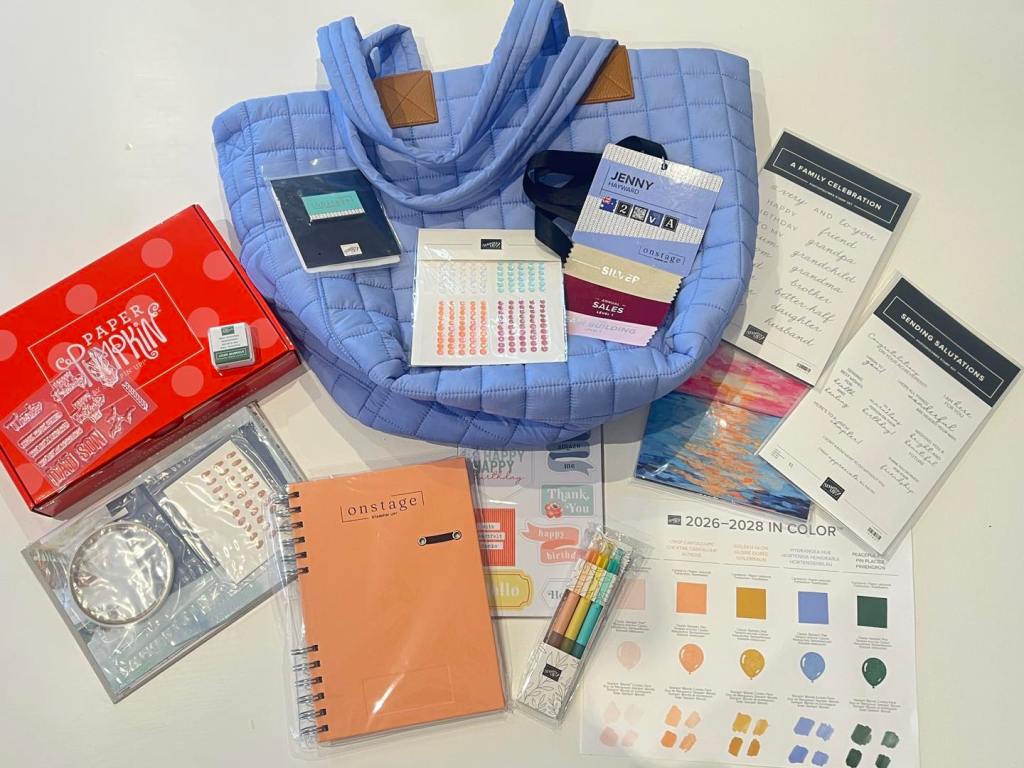
Of course going to Onstage we receive a Swag of goodies including a Tote Bag, pens, notebook and other bits. Also some Prize Patrol and … Paper Pumpkin. More on that in another post too.
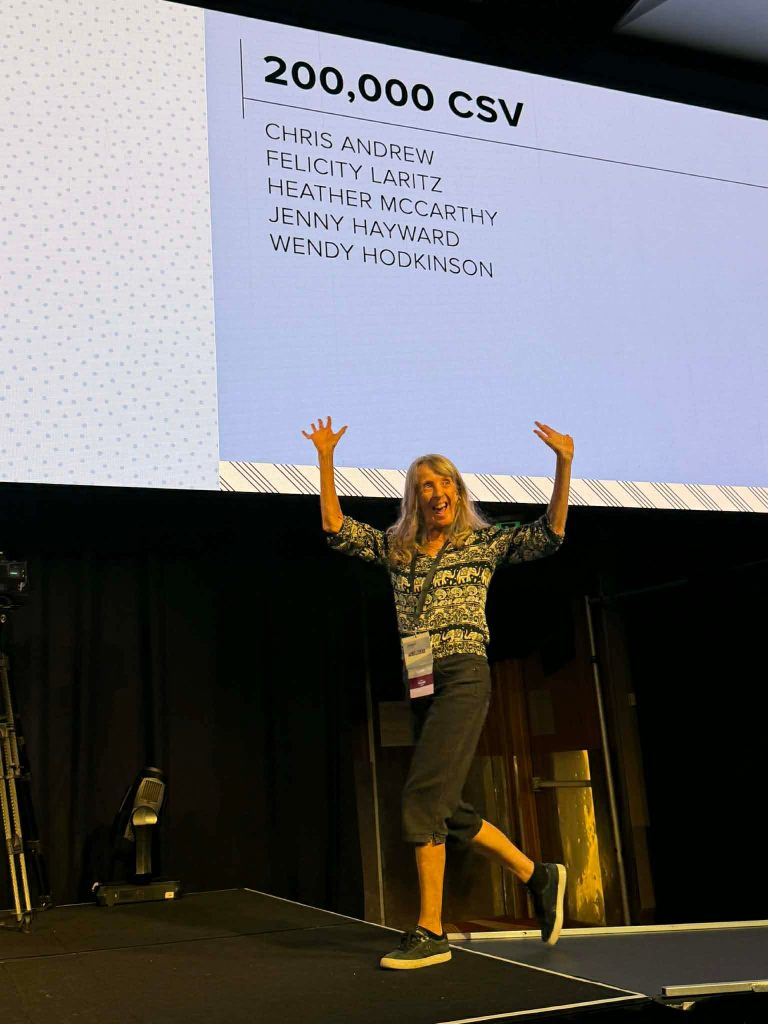
It’s taken a while and finally cracked the 200,000 CSV in Sales (equivalent to just over 300,000 AUD). I got to do a stage walk for that. Pretty exciting!
So, What’s happening in my World…
Changes are coming. I’m still not 100% sure how I will navigate it but it will work out I am sure. I mention briefly in the video but thought I would give more background.
I have been running Face to Face Classes for nearly all of the 18 years I have been a Demonstrator. It’s been wonderful meeting in person and sharing cardmaking.
We are moving. Soon, my studio, our large shed and our house is being demolished. (Quietly freaking out here now …). We are building a new house so will rent elsewhere during the build. With our rental house I will have a small craft room and when we return to our new house I will have a small craft room also. But the designated Studio will be gone. I still endeavour to hold classes though. You can still have fun around the Dining Table. While I’m renting it may be a little more difficult but I will try.
I’m planning to turn more frequently to Online. Maybe some more regular videos, maybe some Online Classes. What would you like to see more of?
It’s all fun and exciting, scary and overwhelming. But we will work some way to create together.
So I will leave you to watch the video. I will share more of the swaps and news in later posts.
Happy Crafting,
Jenny