I have another card to share with you today using the Brusho Crystal Colours. I shared one yesterday. If you missed it just pop back a post.

This card was created a little differently to the one I shared yesterday. Let me tell you about it.
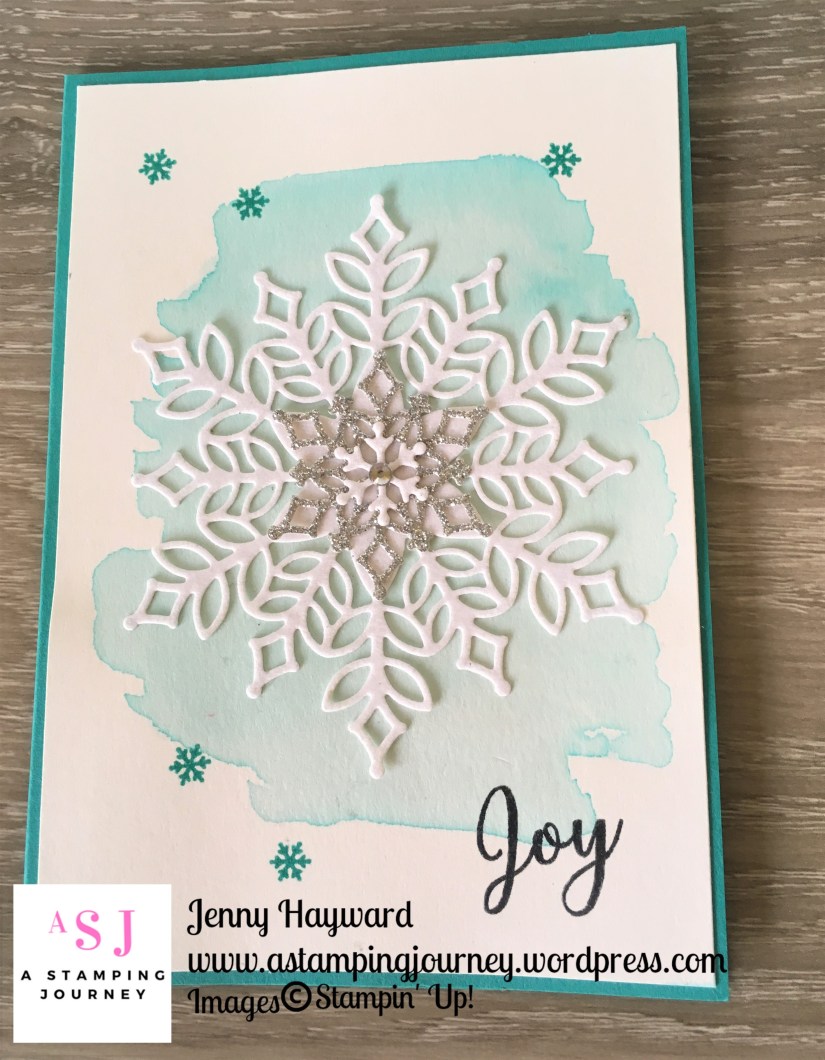
Firstly on Shimmery White card you will heat emboss your butterfly. If you are not familiar with heat embossing. Rub over your card with the Stampin’ Buddy. Ink up your image (I used the butterfly from Beautiful Day), with Versamark. Stamp the butterfly on your card and tip over some White Embossing Powder. Clear Embossing Powder would work as well. Heat the image with the Heat Tool to melt the powder. I LOVE heat embossing. That is what drew me in to stamping all those years ago. It never gets old.
With the Aquapainter, wash over the butterfly going outside the lines too. Sprinkle over the Blue Brusho Crystal – and watch it dissolve and spread. That’s almost as magic as Heat Embossing. You may like to add some more Brusho to add more colour or wash over more water. Just see what it looks like. Let it dry.
** I made a similar card a little while ago and even did a video back then. (It’s not a great one – still learning in that aspect). If you want to head back to see that card and maybe catch the video, then head back to this post -> HERE.
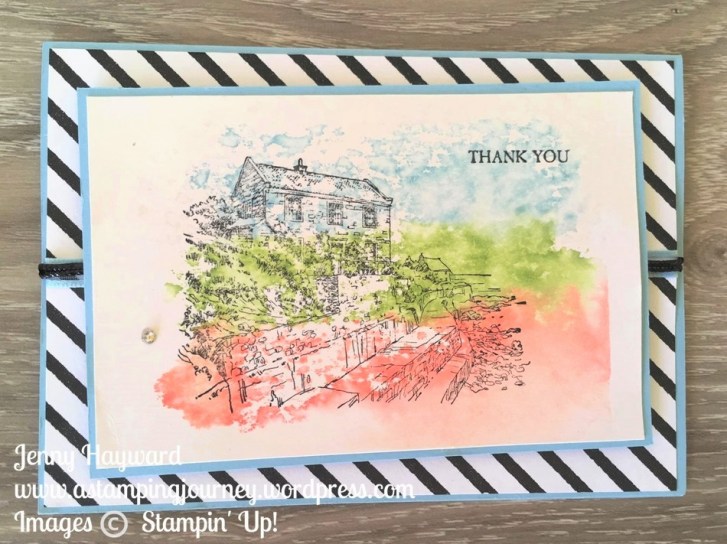
To finish the card, I layered it on a piece of the Gingham Gala Designer Series Paper. Before adhering it down on to the Balmy Blue card mat I tied around some Black Baker’s Twine. Then added the “friend” from the Well-Written Framelits.
Thanks for visiting,
Jenny